Building a Shedquarters
During 2020 I began working full-time from home in our 2 bedroom house. I completely took over the kitchen table for a while because I thought the pandemic would only last a few weeks, which was adorable in hindsight. After a couple of months I moved to the spare bedroom and set up shop in there. Our company has since decided to go fully remote forever, so I needed a more dedicated space for working I've always wanted a shedquarters because it seems so fun to build out the perfect workspace, so I decided to pull the trigger on it sometime in October. If you want to follow along on Twitter, here's the thread:
About a month ago, I got a 10x20 shed delivered so I could build out a shedquarters office in my backyard. It's been a ton of fun (and work) so far! I'm going to share a lot of it on this thread over the next couple of months until it's done. (Also at https://t.co/qAXSKUZdyk .) pic.twitter.com/G1MOWBS777
— Aaron Francis ( @aarondfrancis ) December 1, 2020
Build vs Buy The first question I had to answer was whether I
was going to try to build a shed from the ground up, or buy a pre-made one. Having never built anything before I thought it might be fun to try something relatively low-stakes like a shed. I watched a ton of YouTube videos and felt pretty confident I could pull something off. However, in the end I decided that it would take way longer than I wanted to build it from the ground up, and I have a lot of other projects that would suffer if I spent 3 months building a shed. I am so, so glad I decided to buy a pre-made shell instead. ## Choosing a Builder There are lots of fancy options that come totally pre-done and look beautiful (Kanga Rooms being one of them). Those were way too expensive for my budget, and didn't leave me quite enough room for customizing to my liking. Those fancier options are really geared toward "turn-key home offices", while what I wanted was more of "a shed I can turn into an office". There are a shed load (get it) of shed manufacturers to choose from, at least here in Texas! The one I settled on was Lone Star Structures. Their prices are great, their customer service is amazing, and they have an online shed designer that lets you build out exactly what you're looking for. They also delivered and leveled it for me, but more on that later. Here is a screenshot from my 3D design:
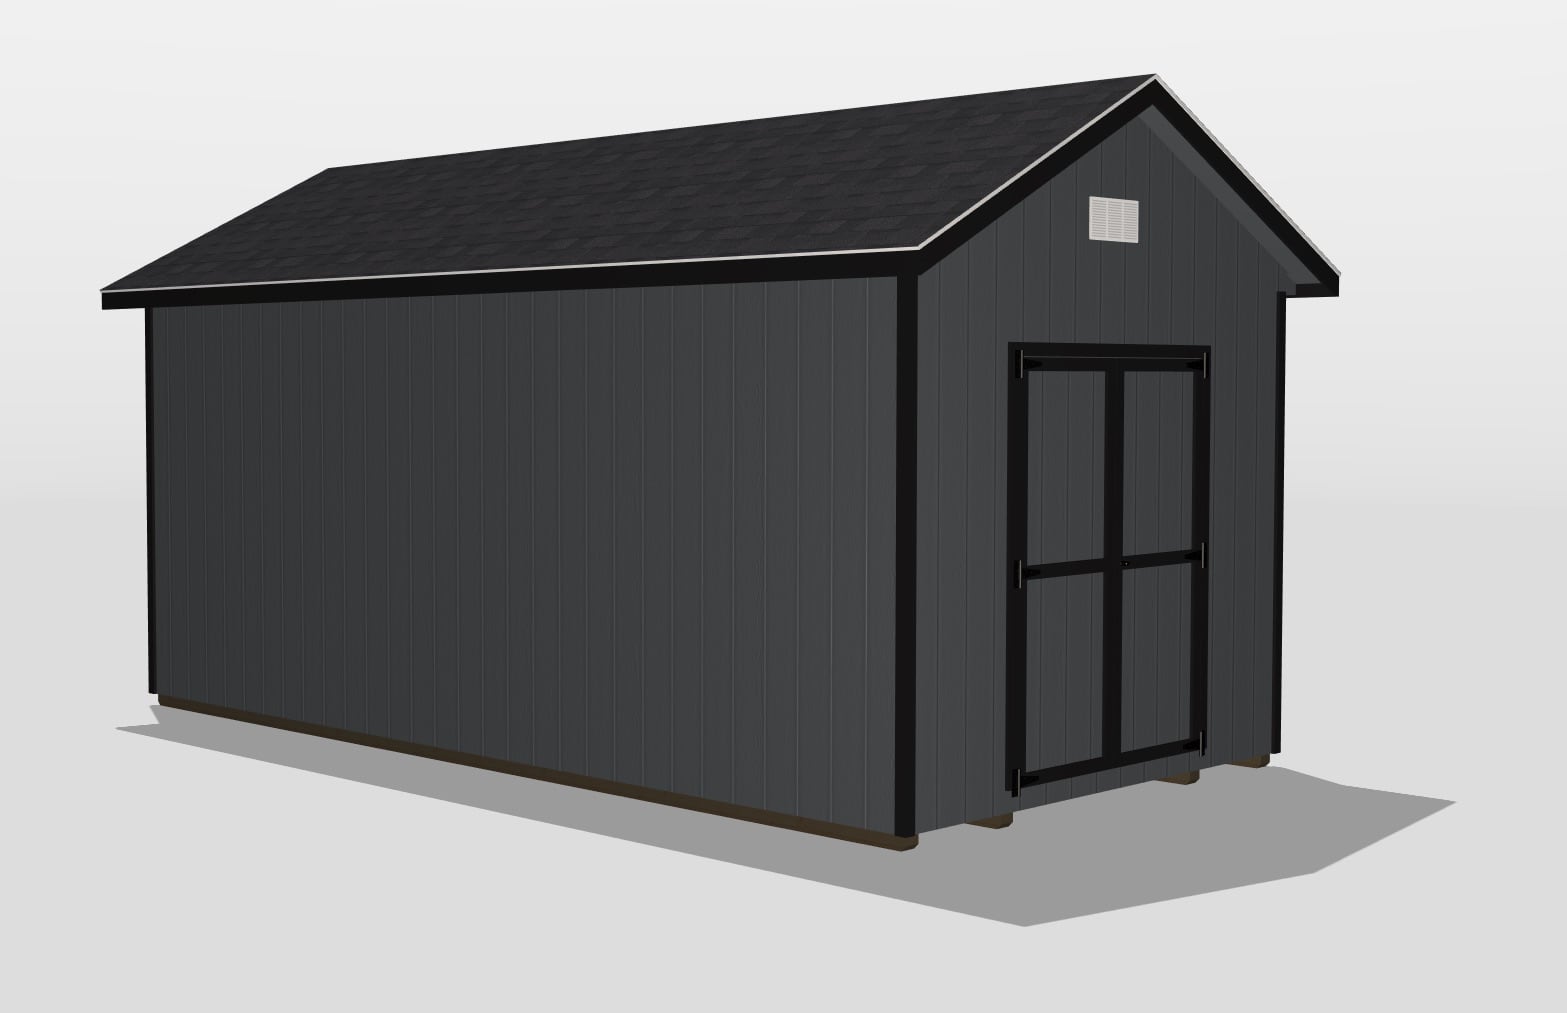 _You can click on any picture to view it full size._
You can view the actual model here: shedview.lonestarstructures.com/#c7aadf9f04f8920f492af4f47b95021d
Building Size I decided to go with a 10x20 building, for two
reasons. The first is that we only have about 10 feet of space in the spot where the shed was going to go, so that limited the width. The second reason is that anything <= 200 square feet does not require a permit. We had an old shed that was 10 feet wide and 12 feet long, you can see how tight the width is:
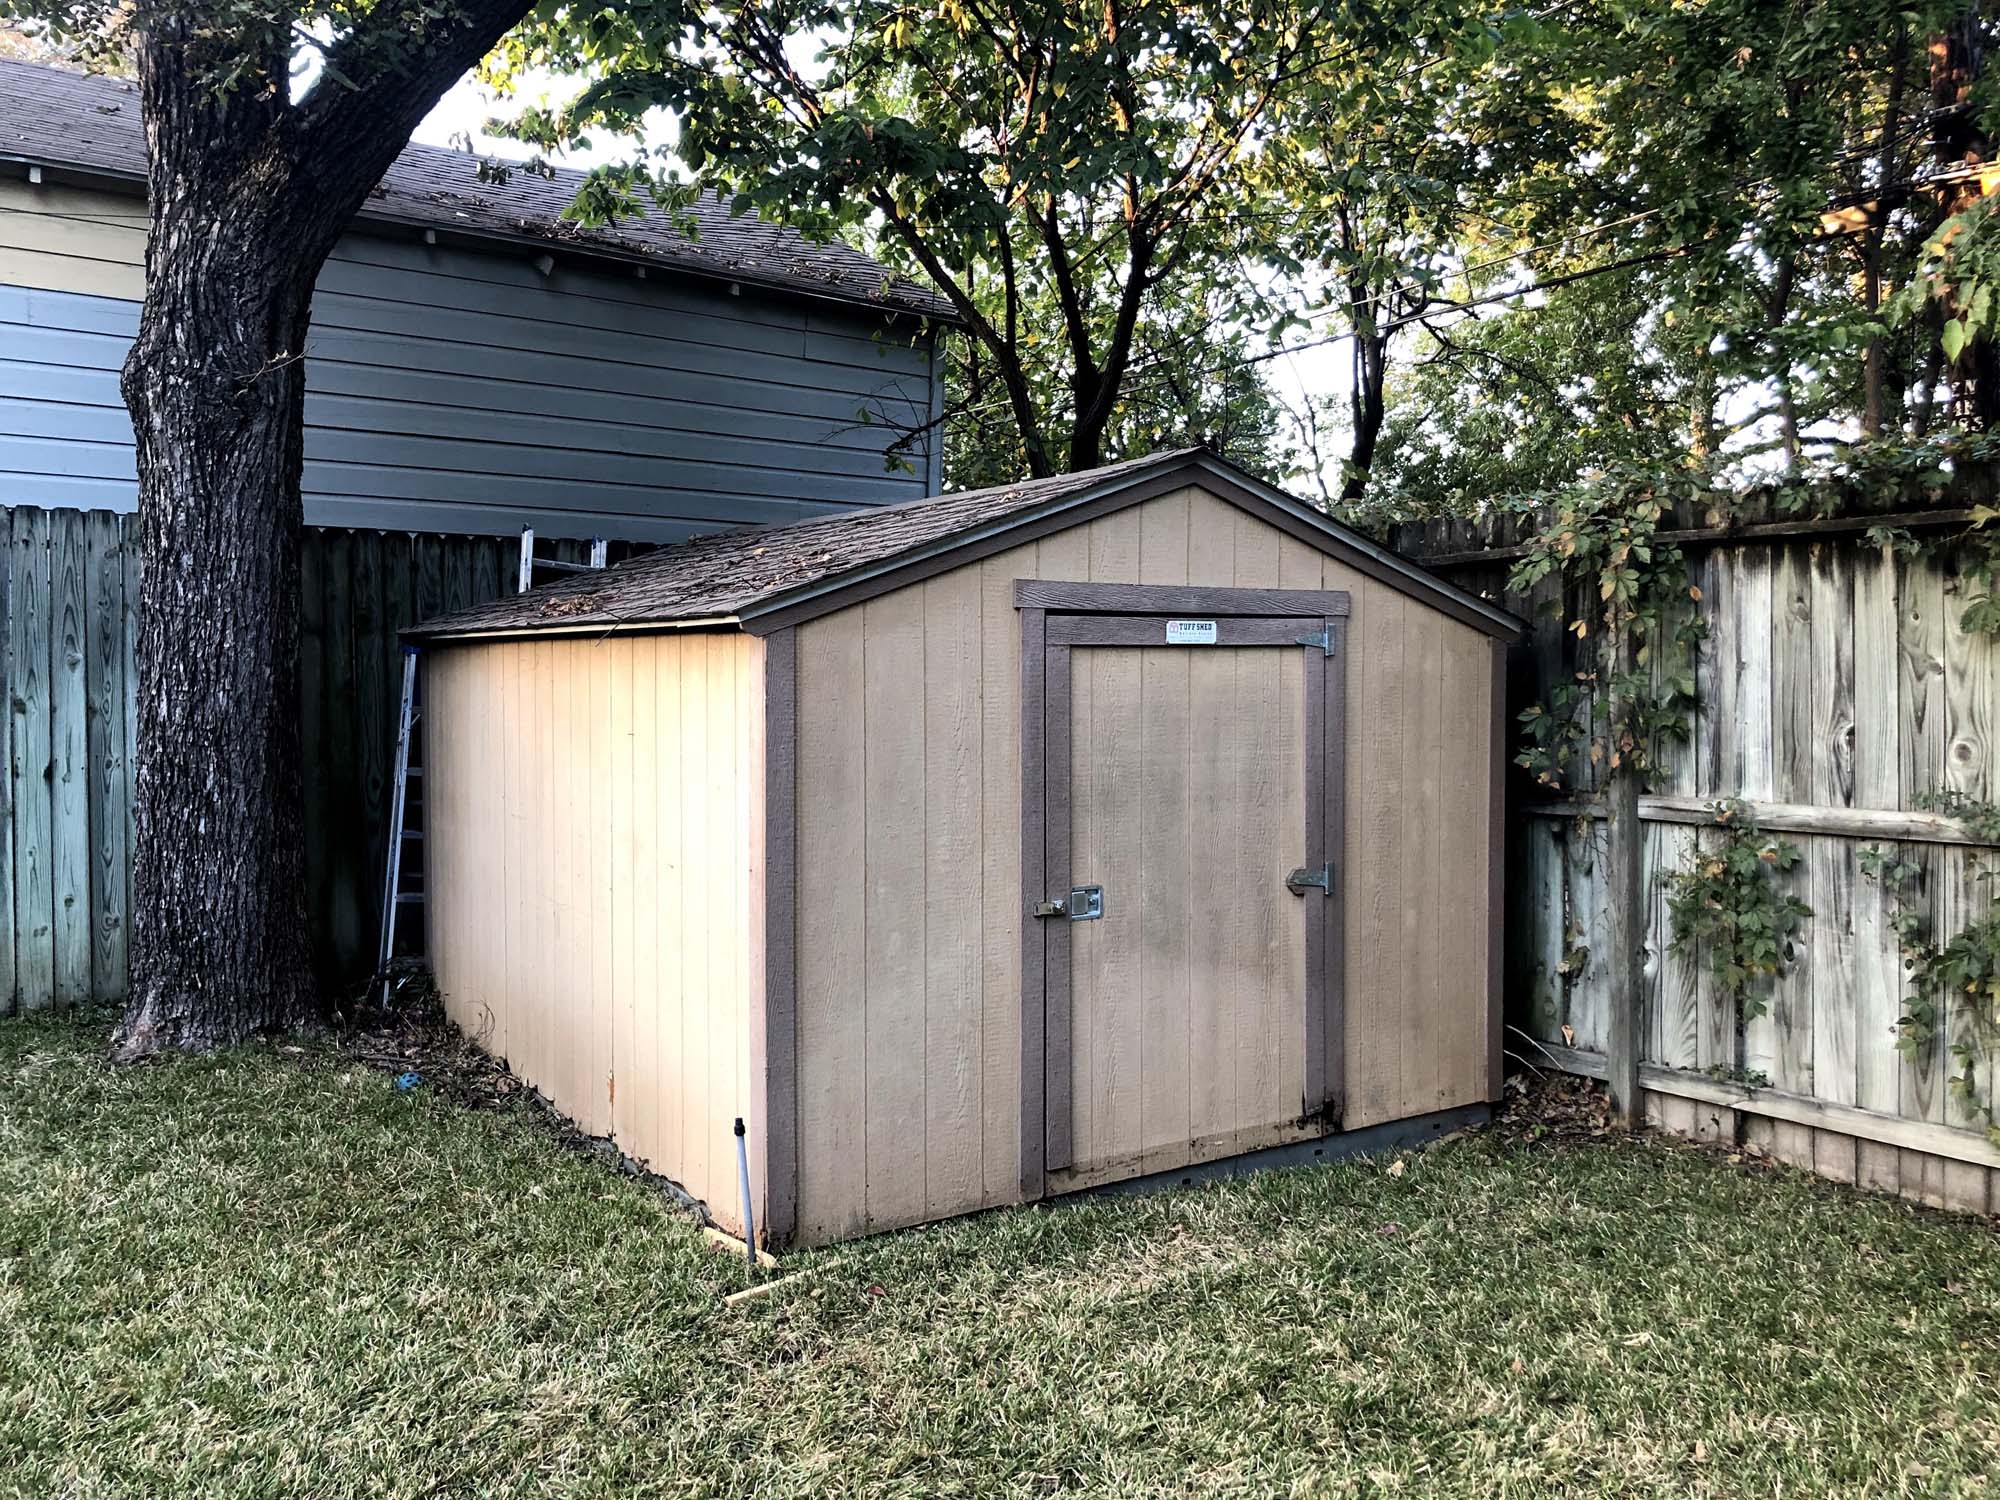
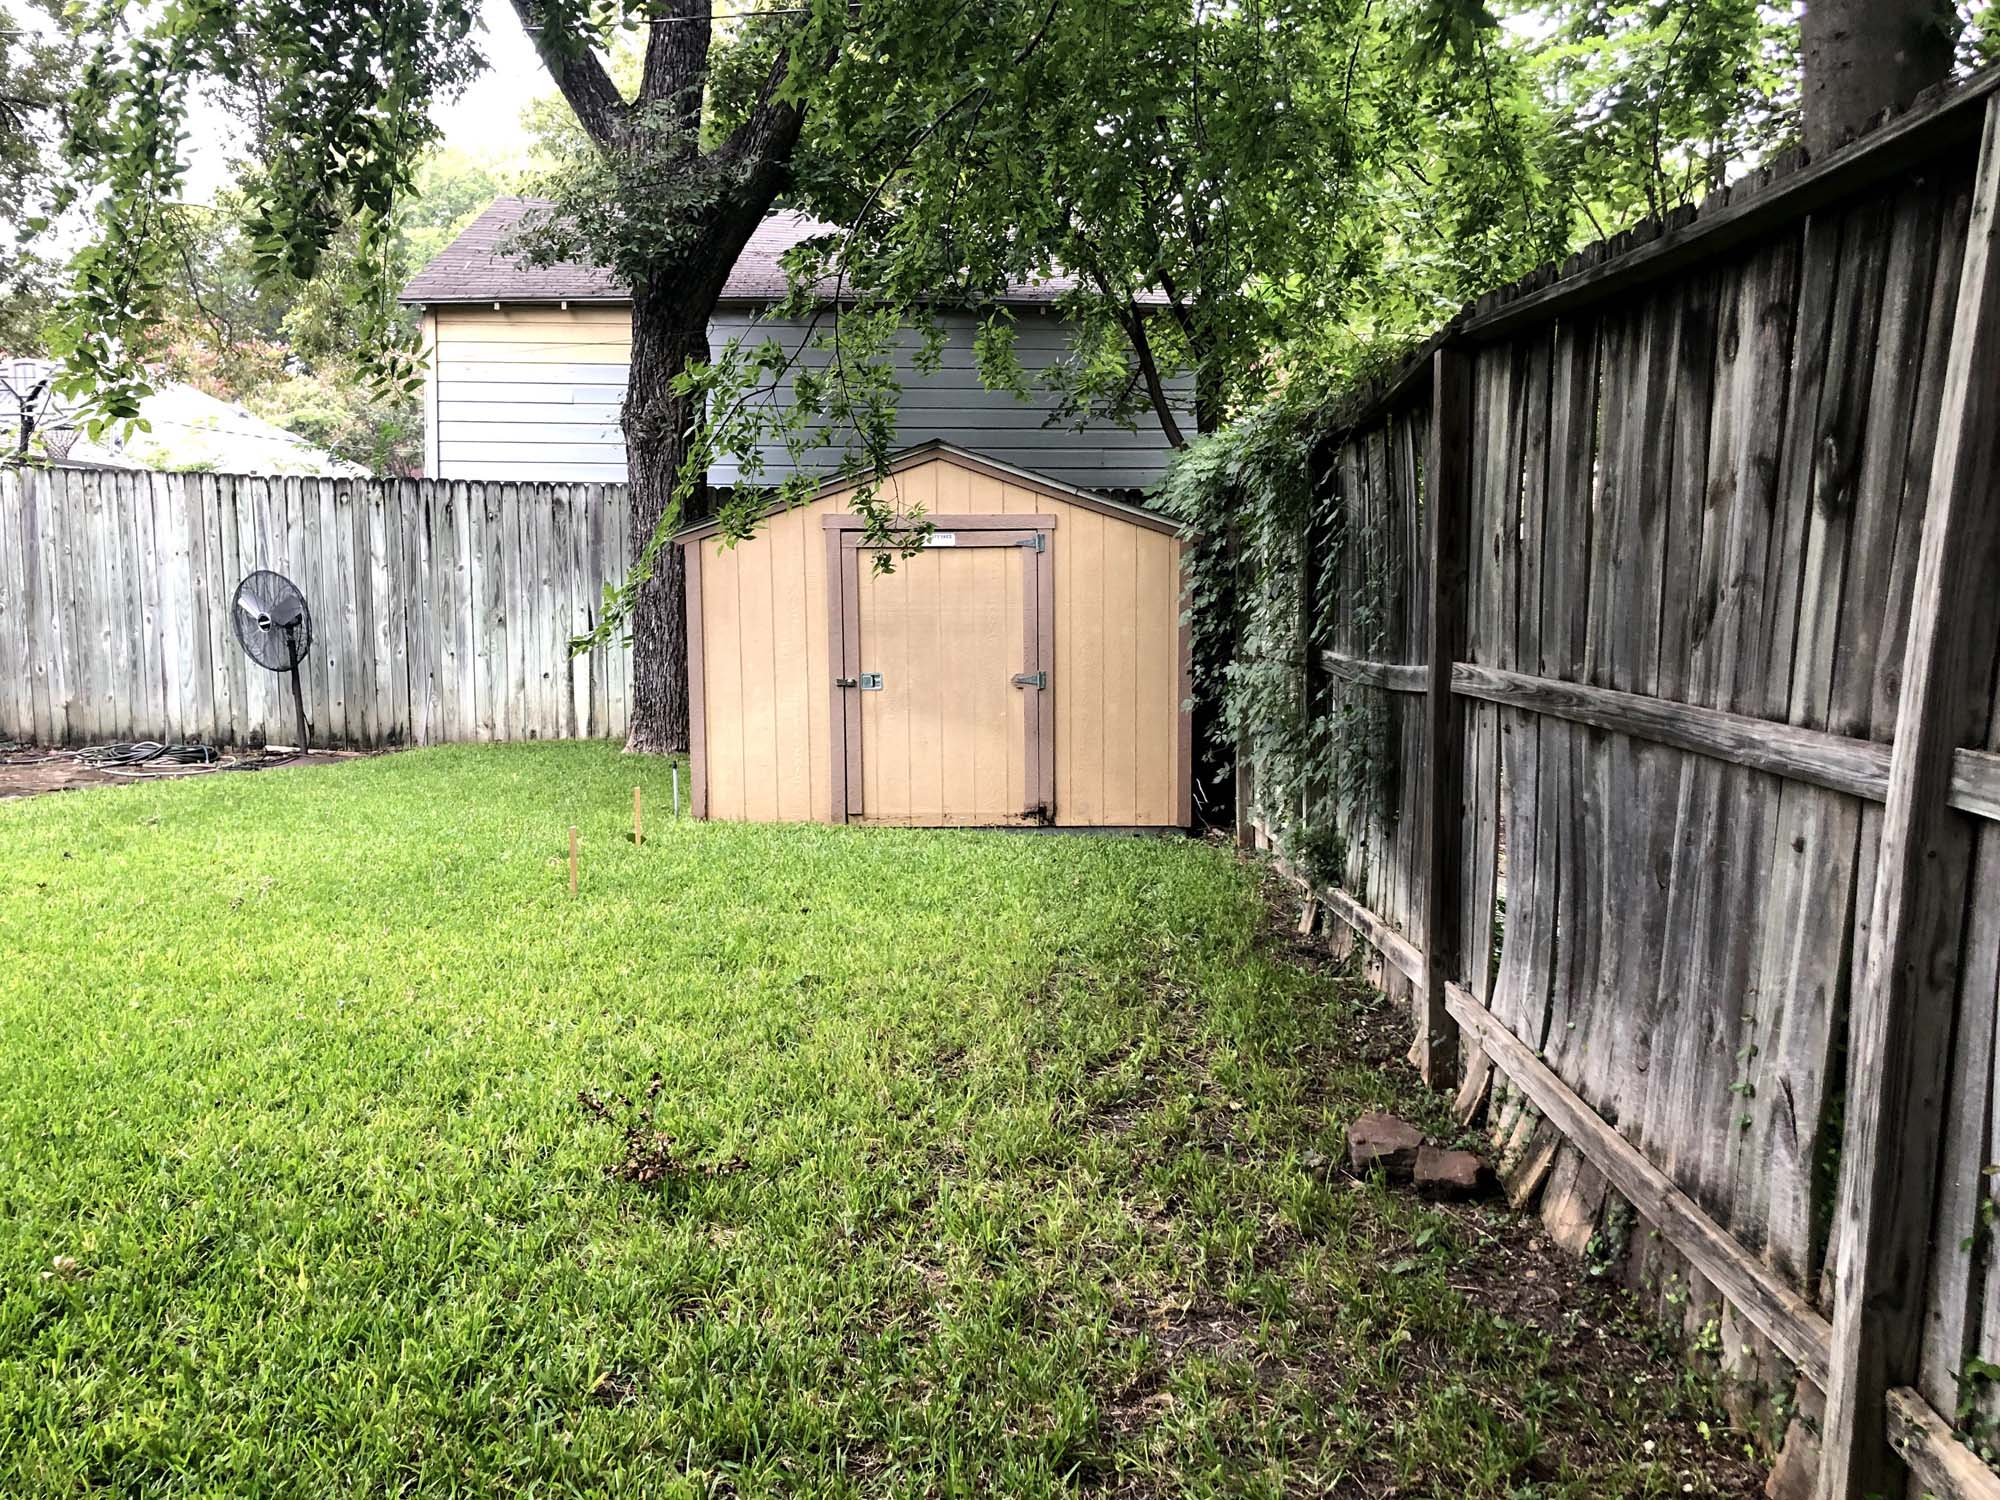
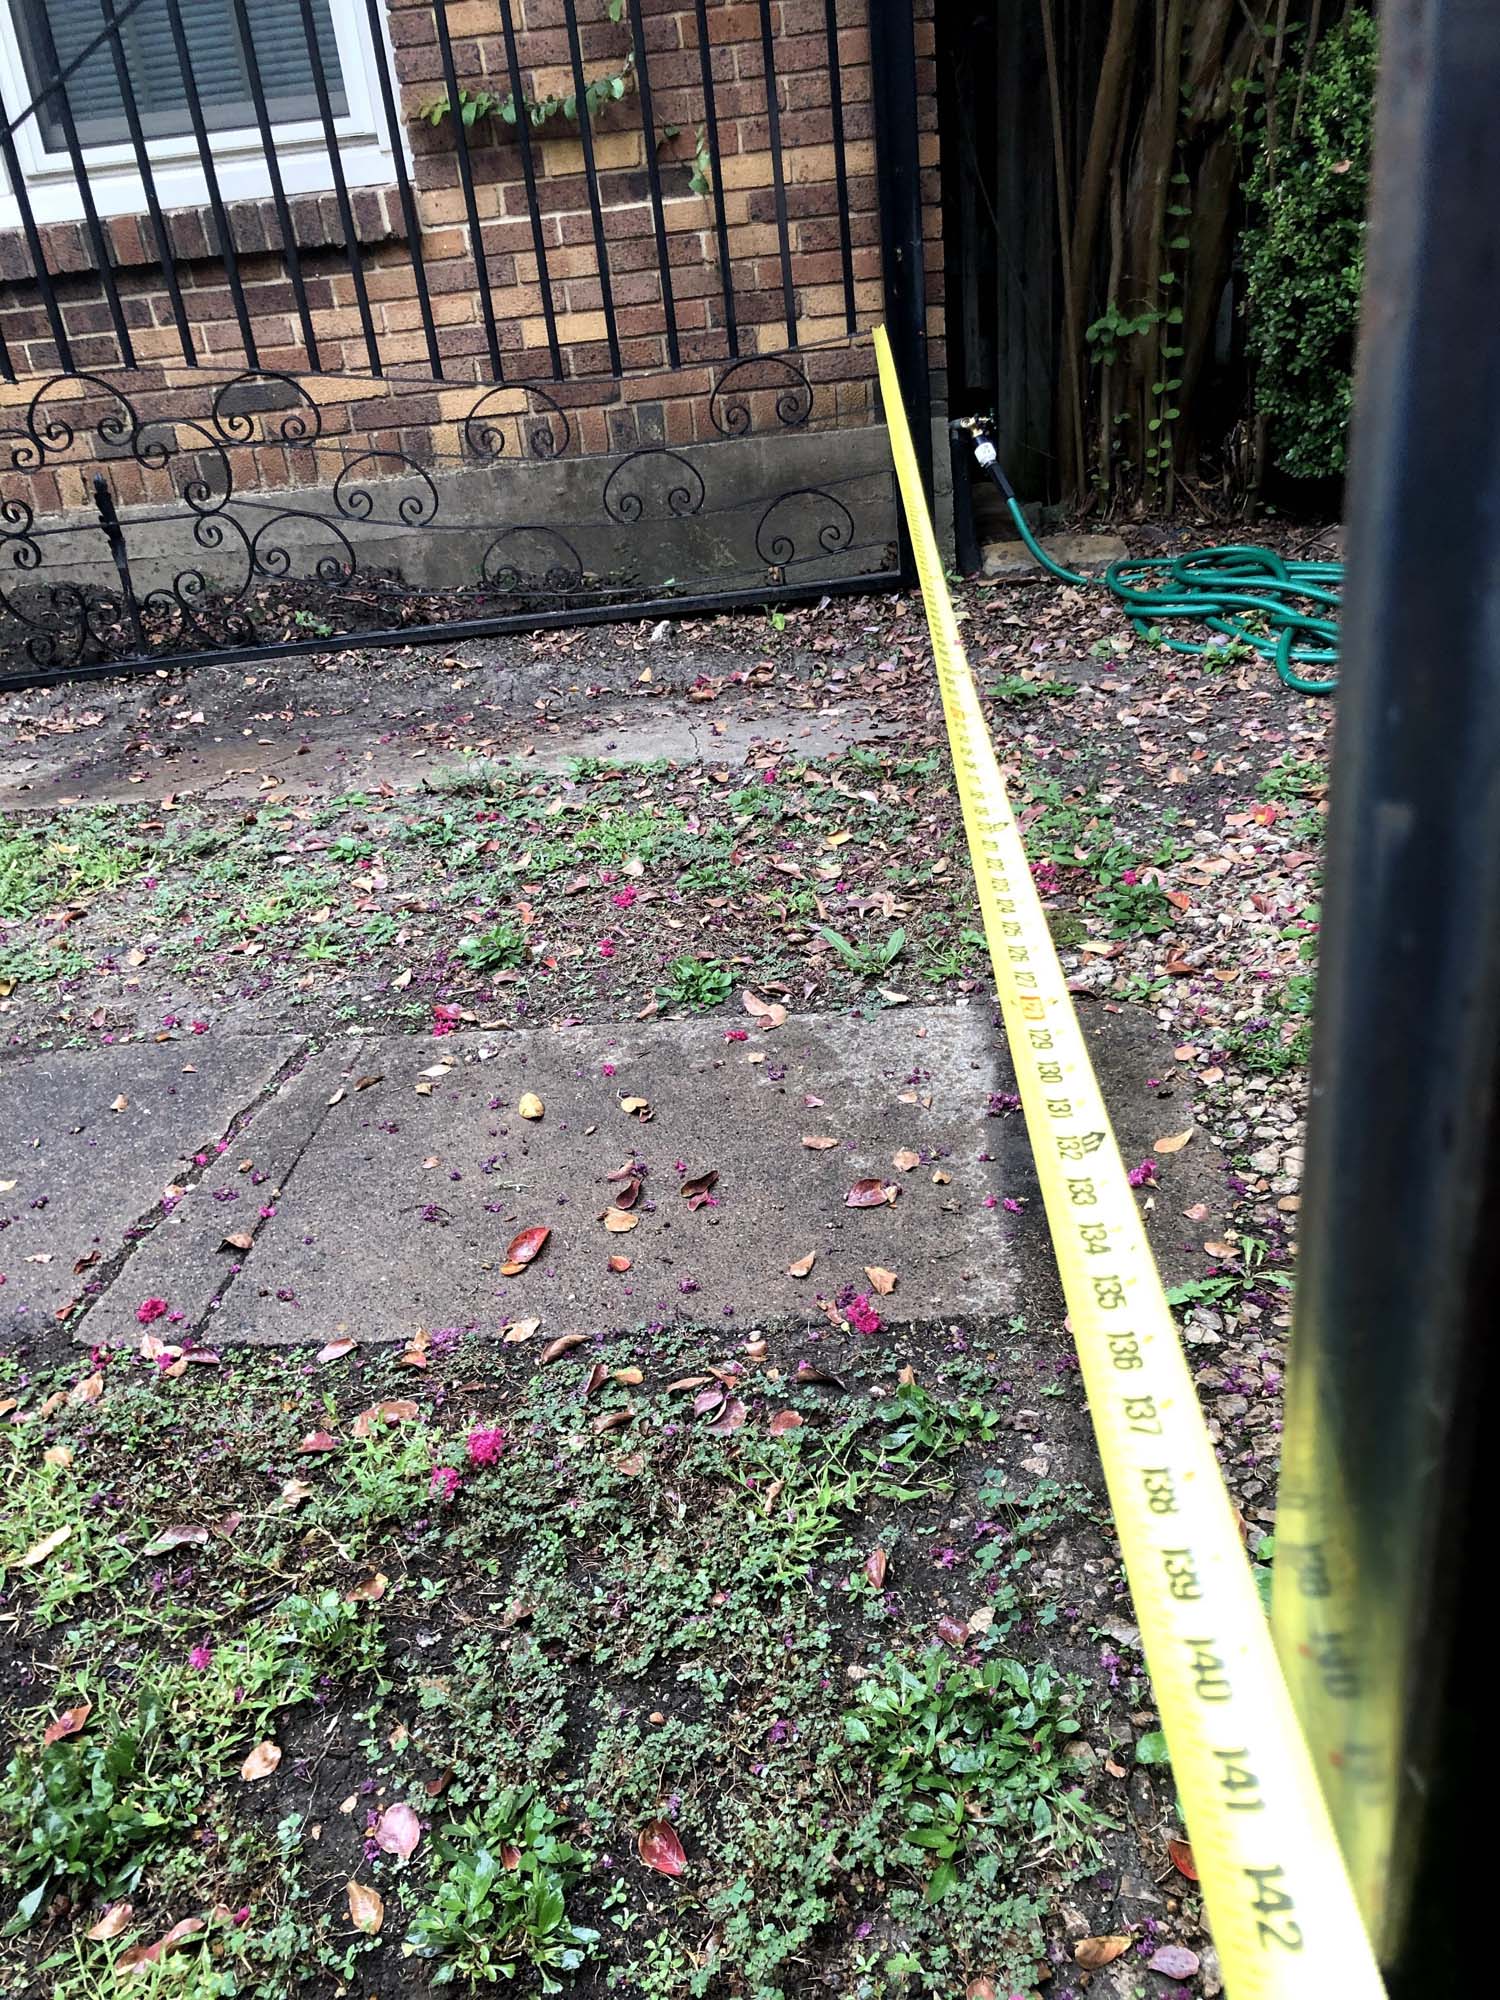
The only access to our backyard is through a large gate that is just over 11ft wide.
I have some pictures and videos of the delivery, you'll see just how tight it was even with the 10ft model. ## Floor Plan We don't have a garage, so that old shed was serving the purpose of storing "garage stuff", which the new building would have to do as well. To accomodate both the needs of a new office and "garage stuff", I decided to split the shed into two sections. A 10x16 space for the office, and a 10x4 space for the garage stuff. Lone Star Structures has the option to add a 4 foot "loft" in their configuration tool, so I added the loft and then specifically requested that they build out a wall underneath. Here's a floor plan overview:
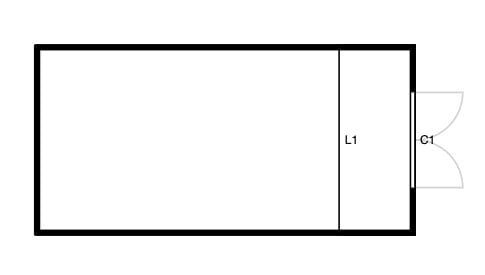
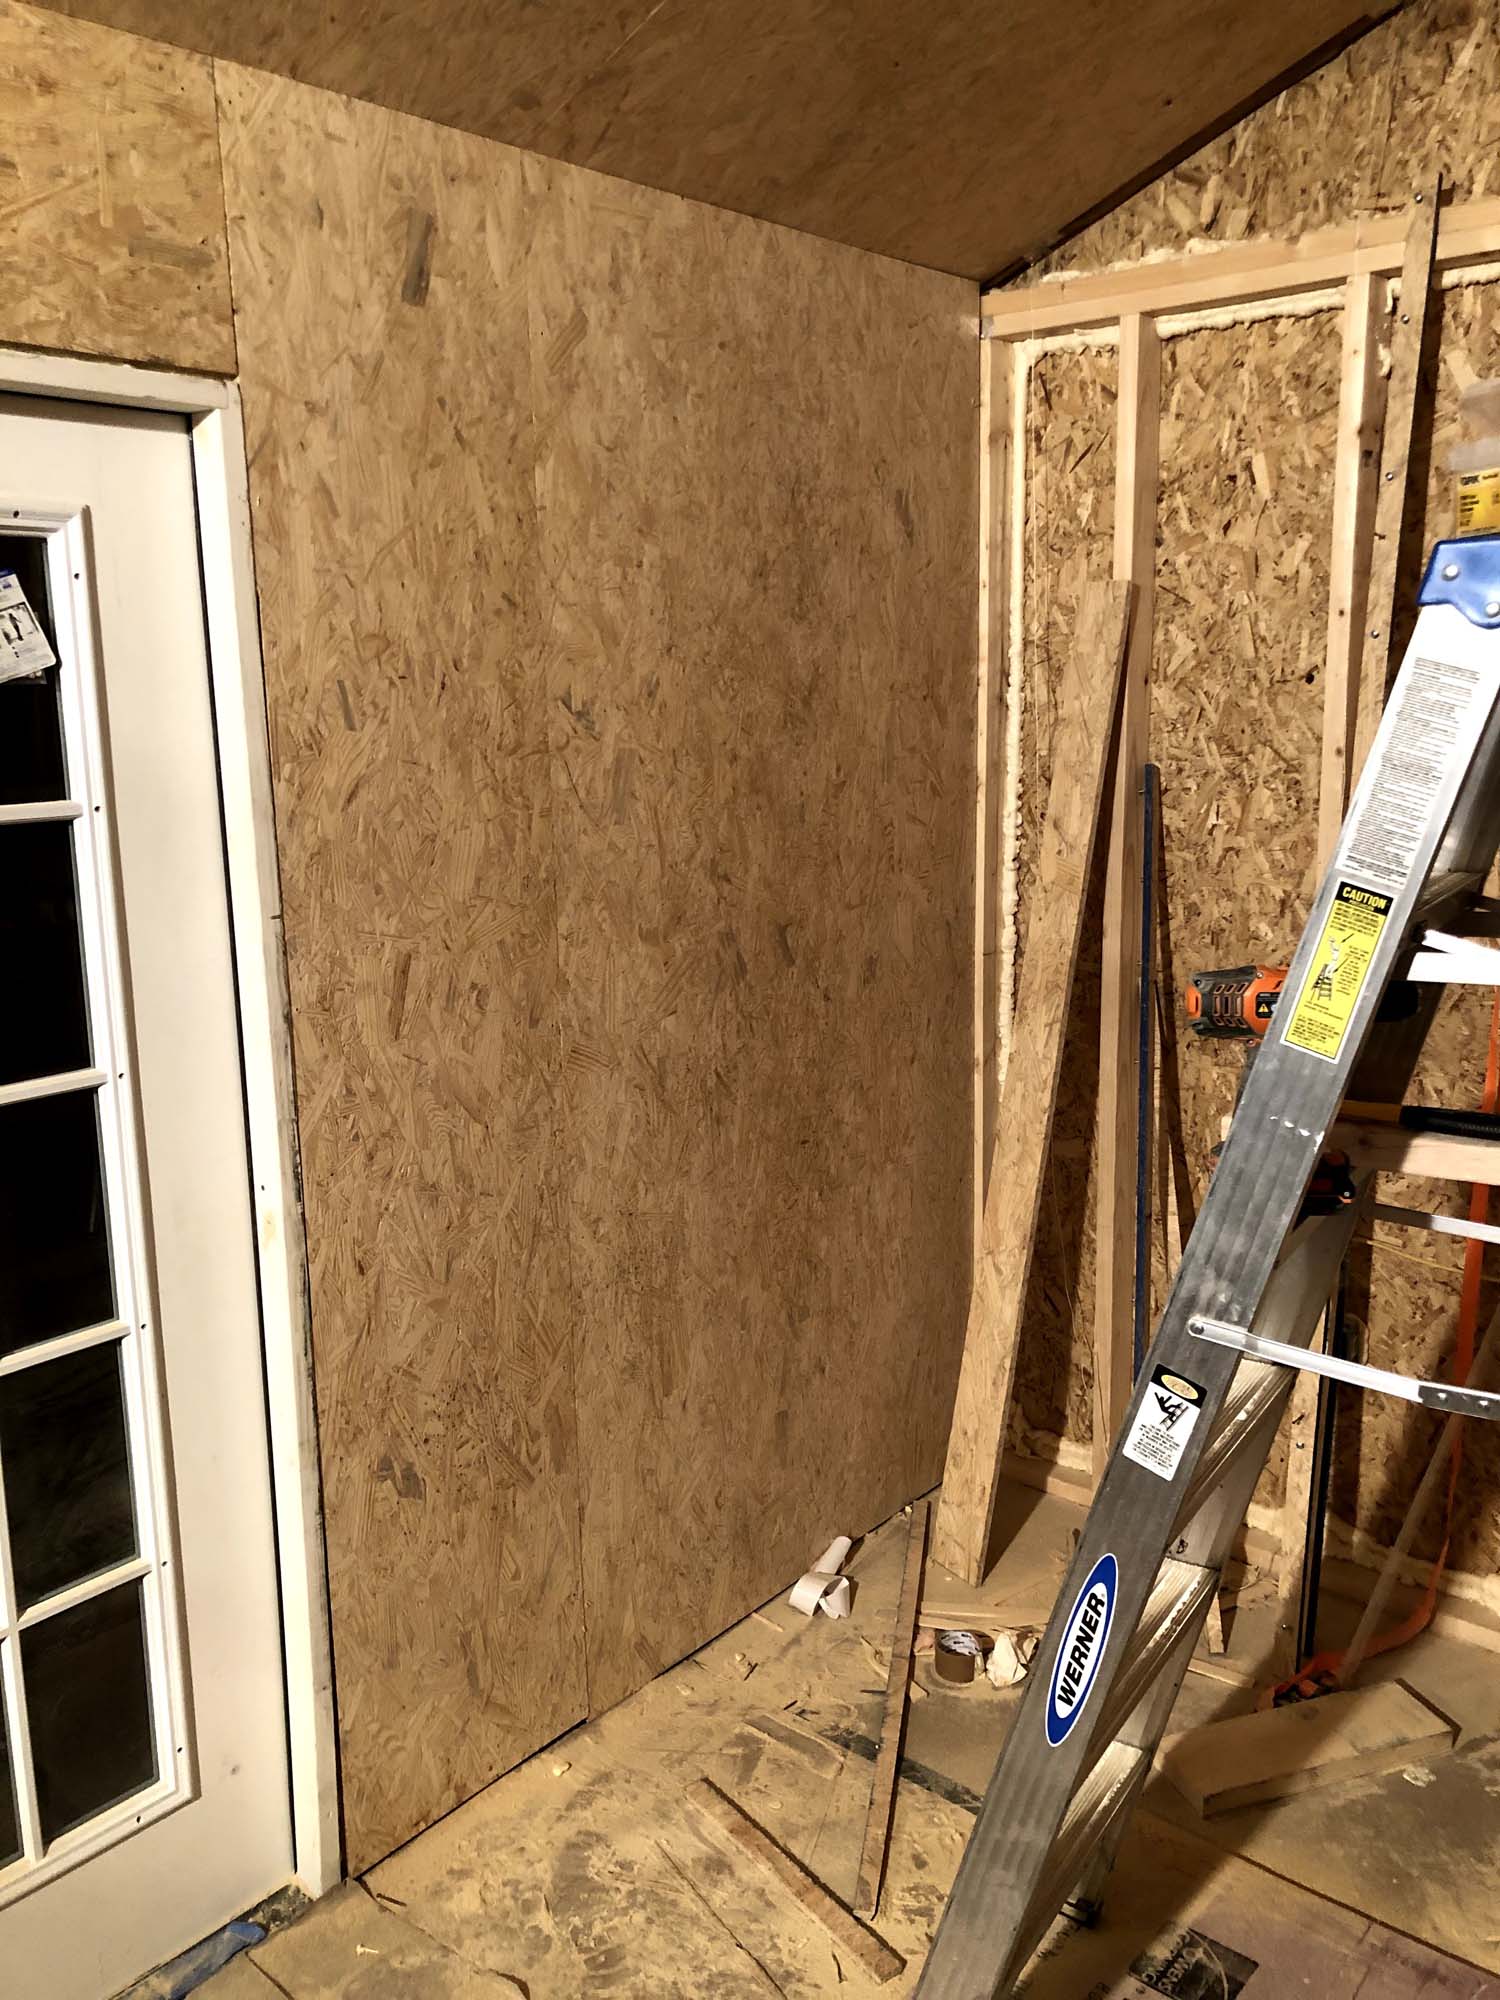
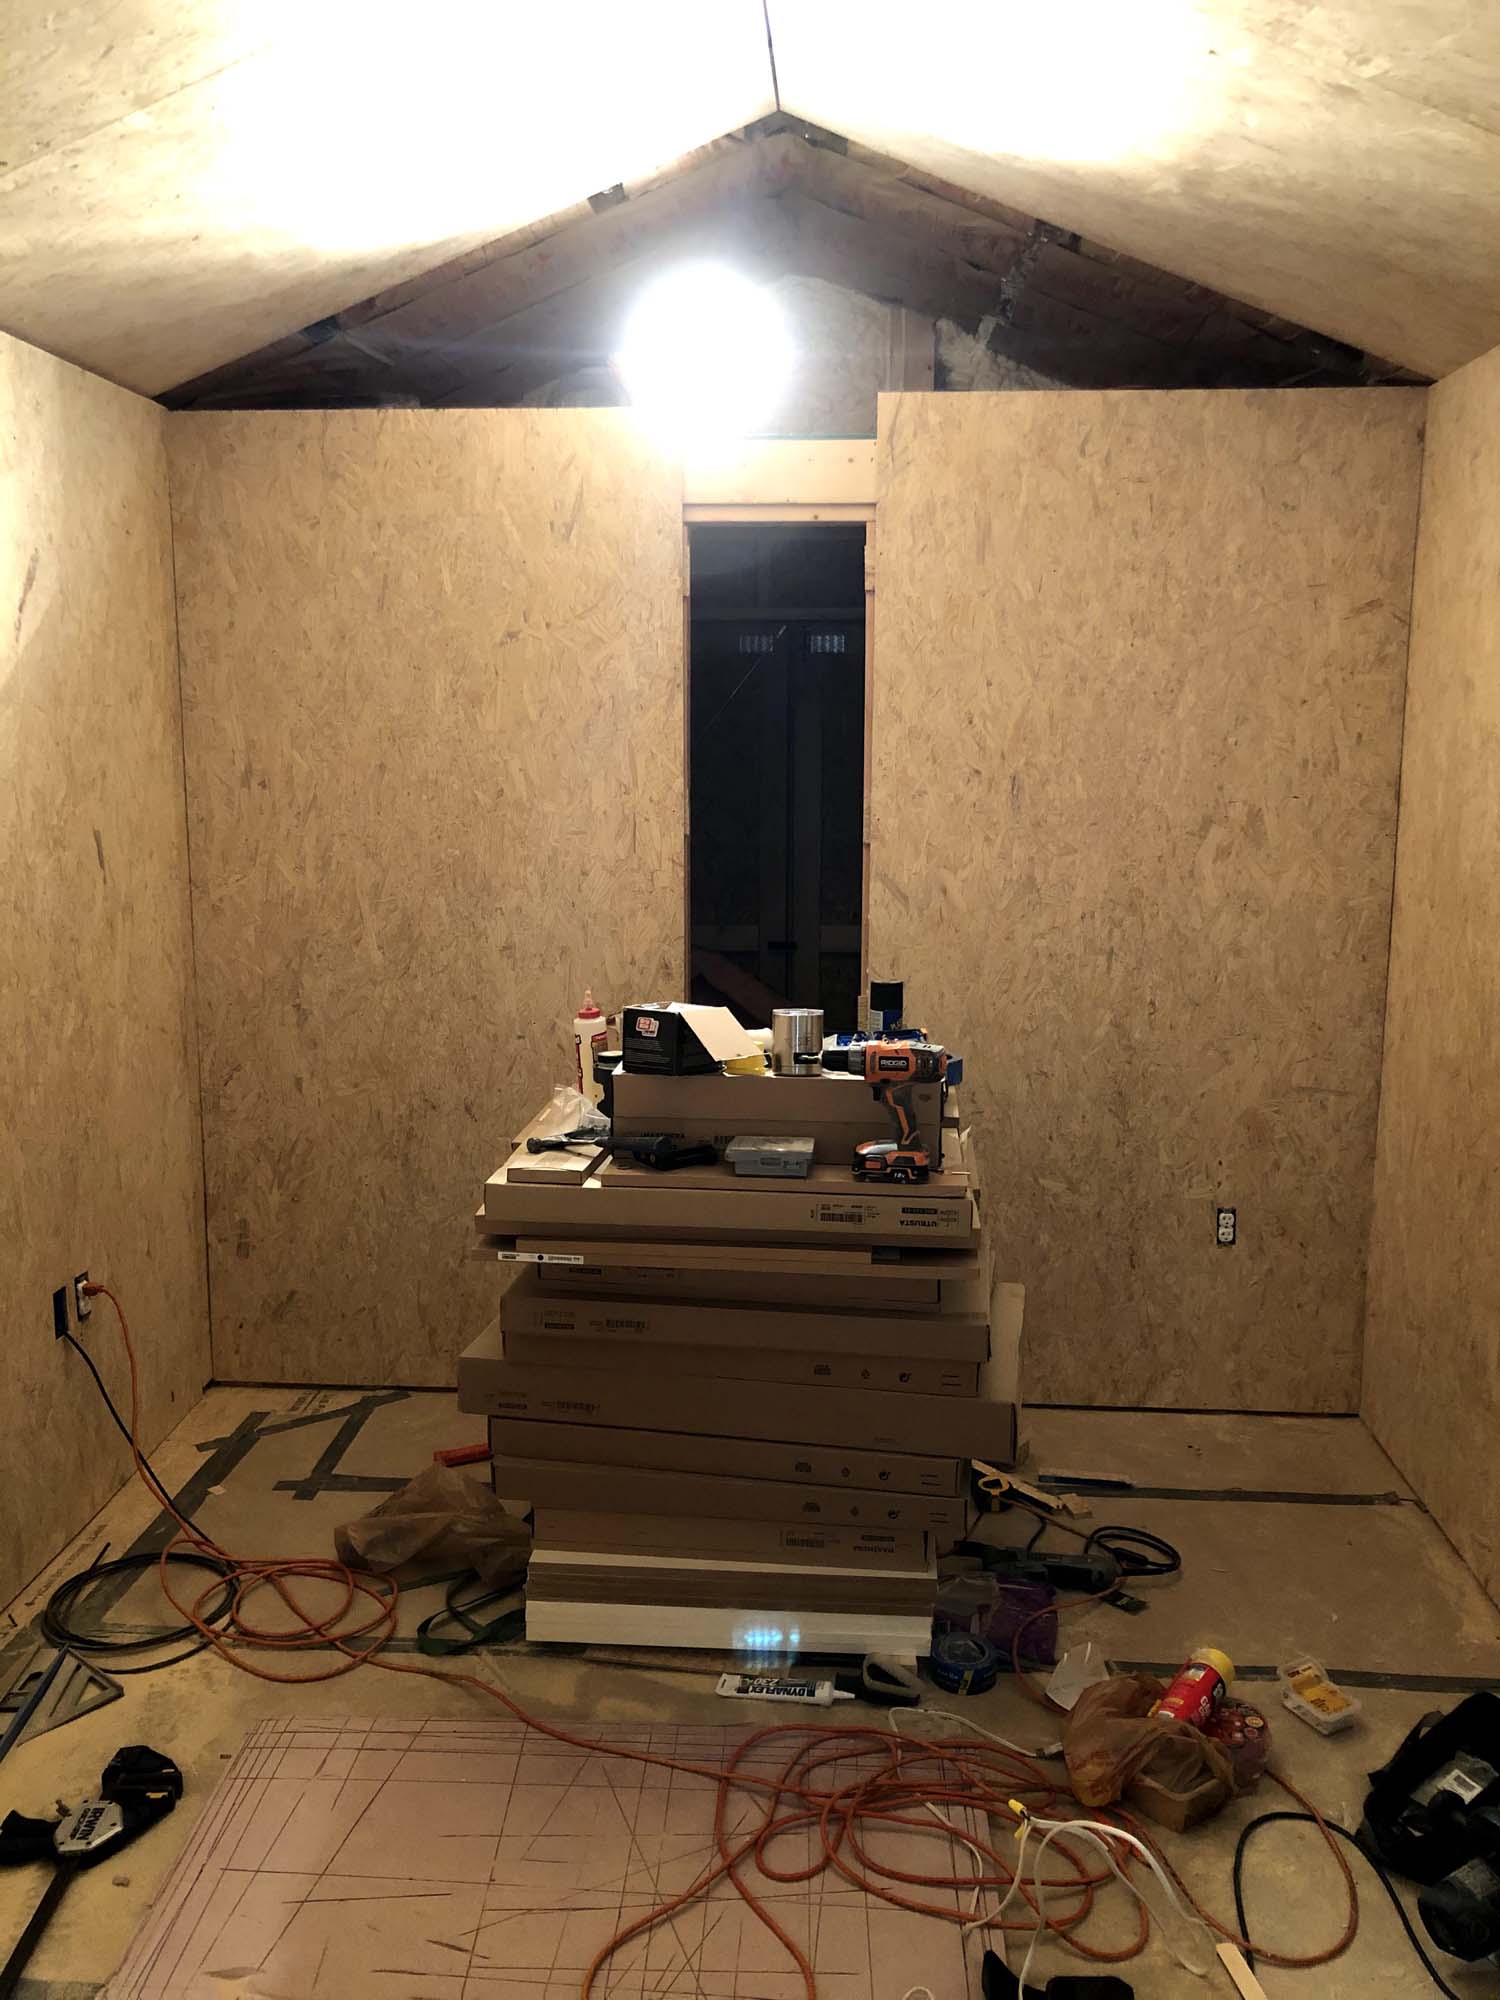
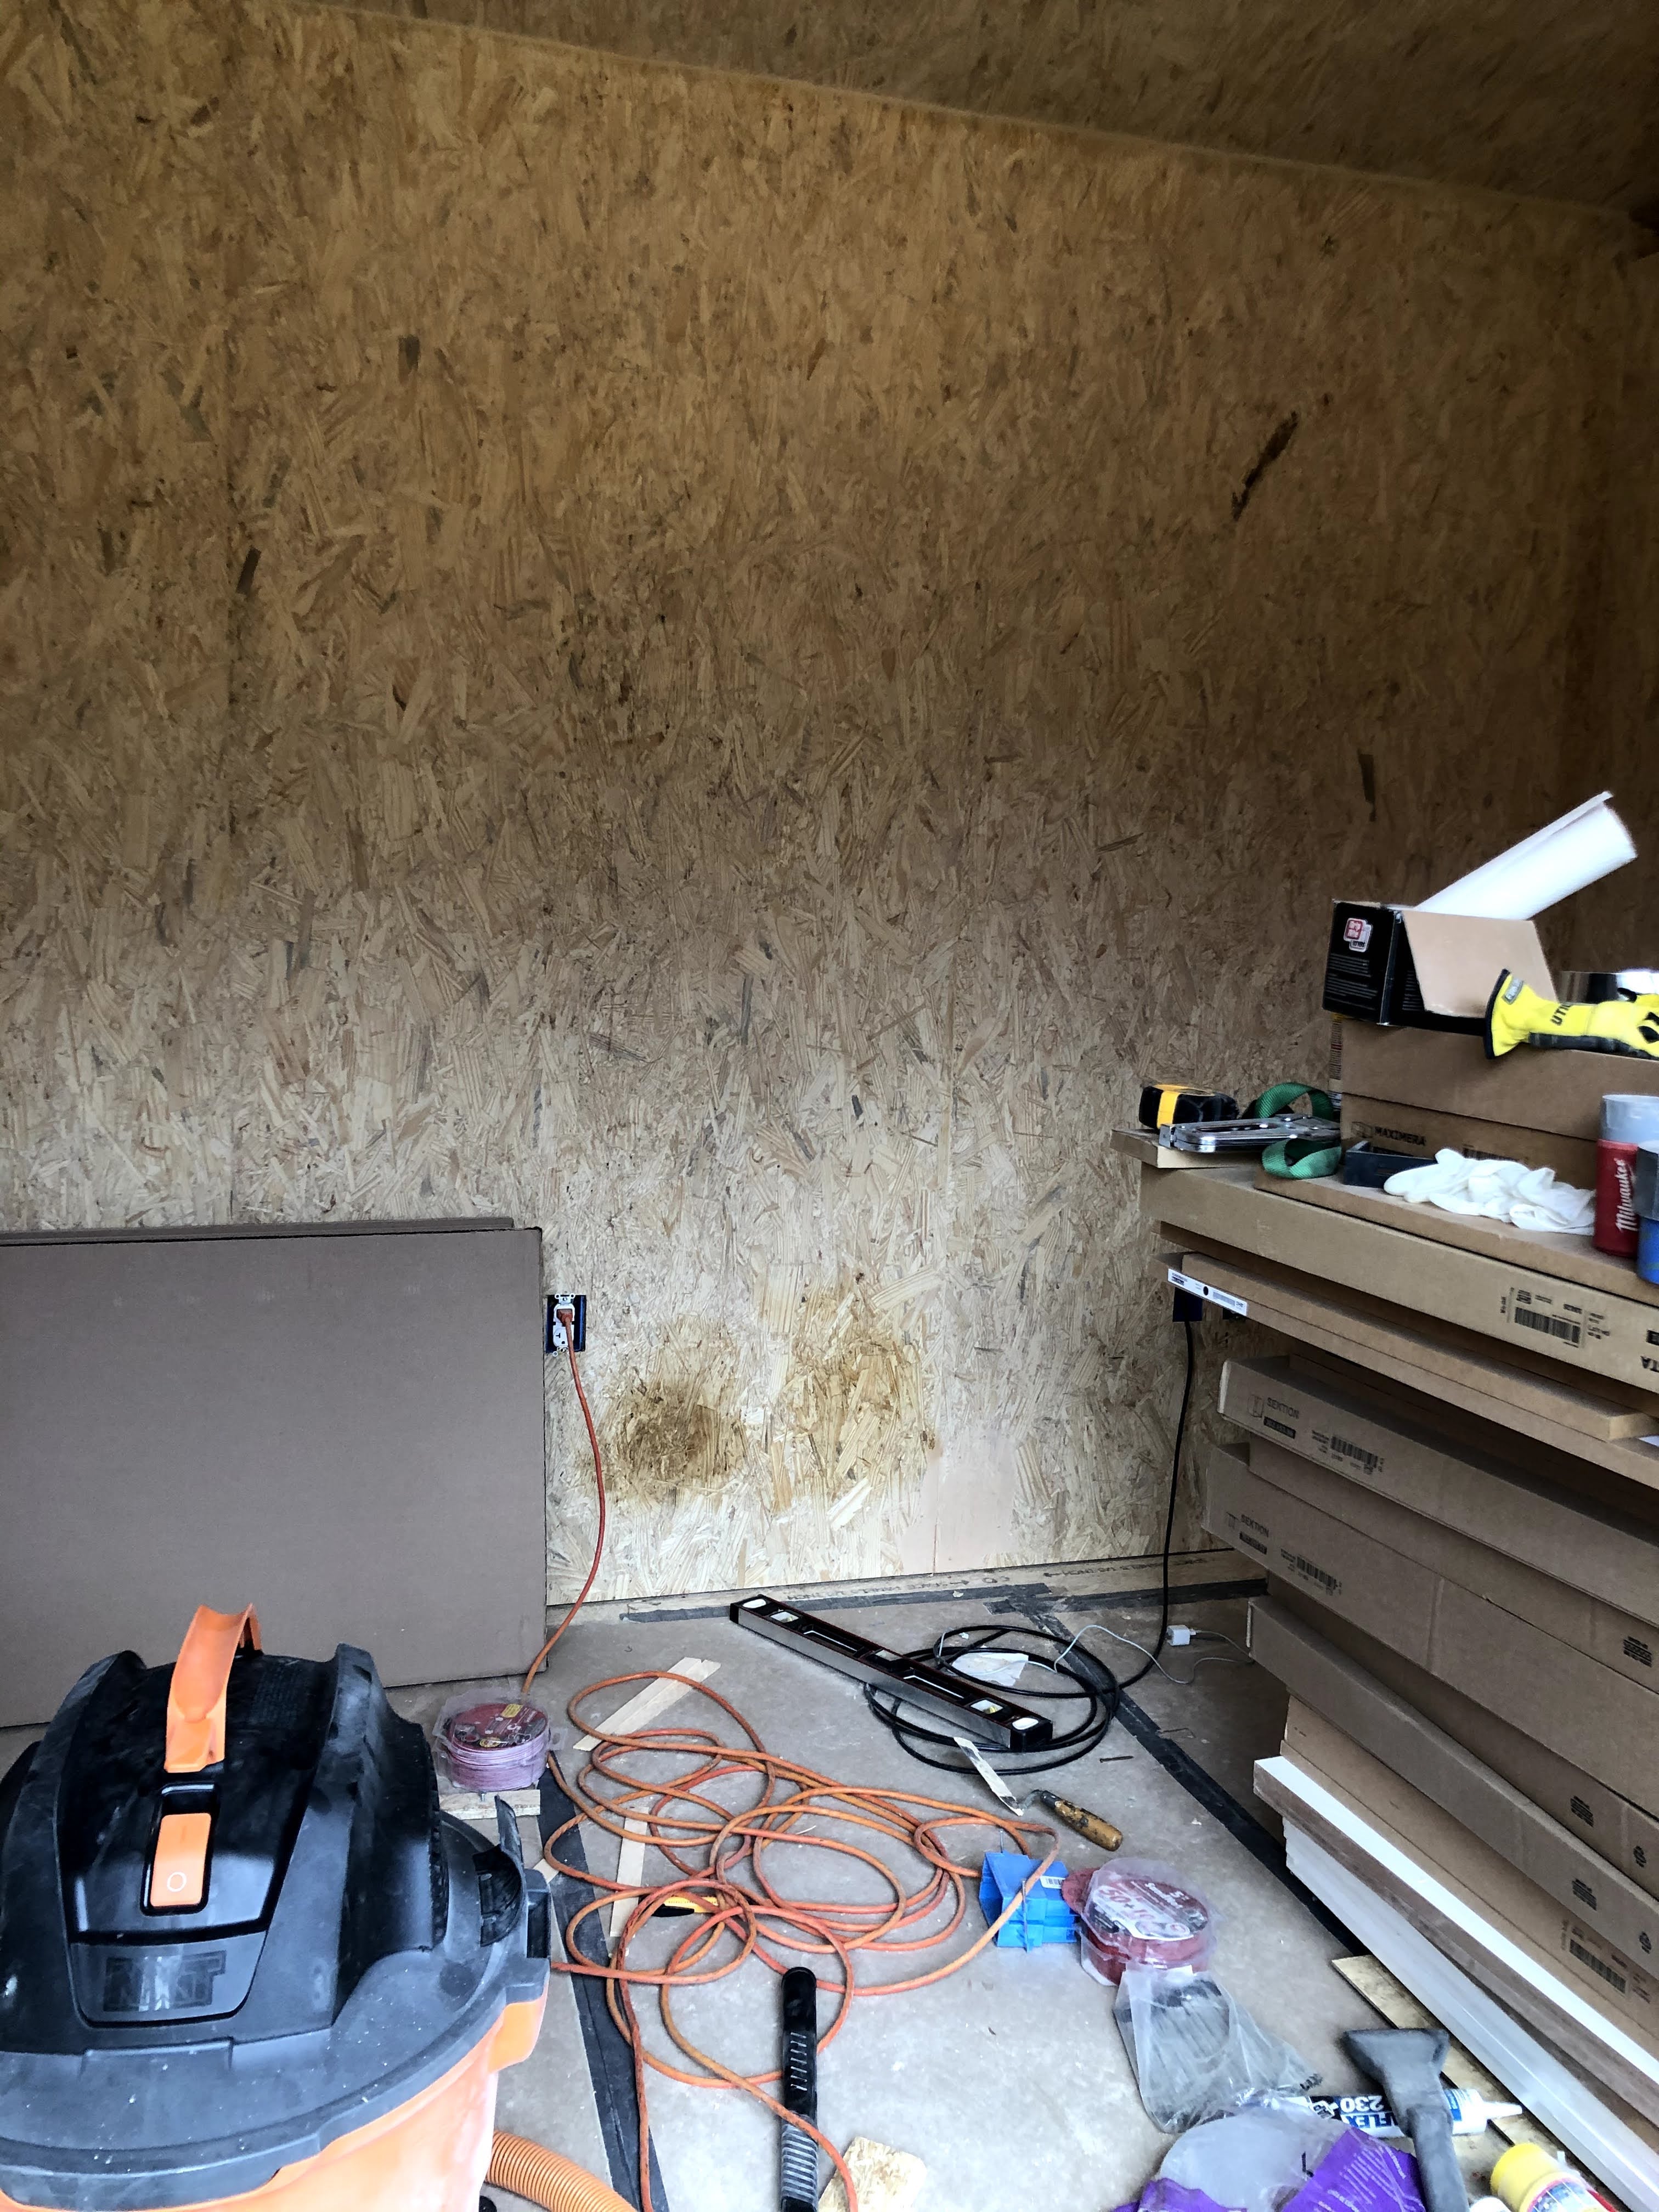
And here's what it looks like in real life:
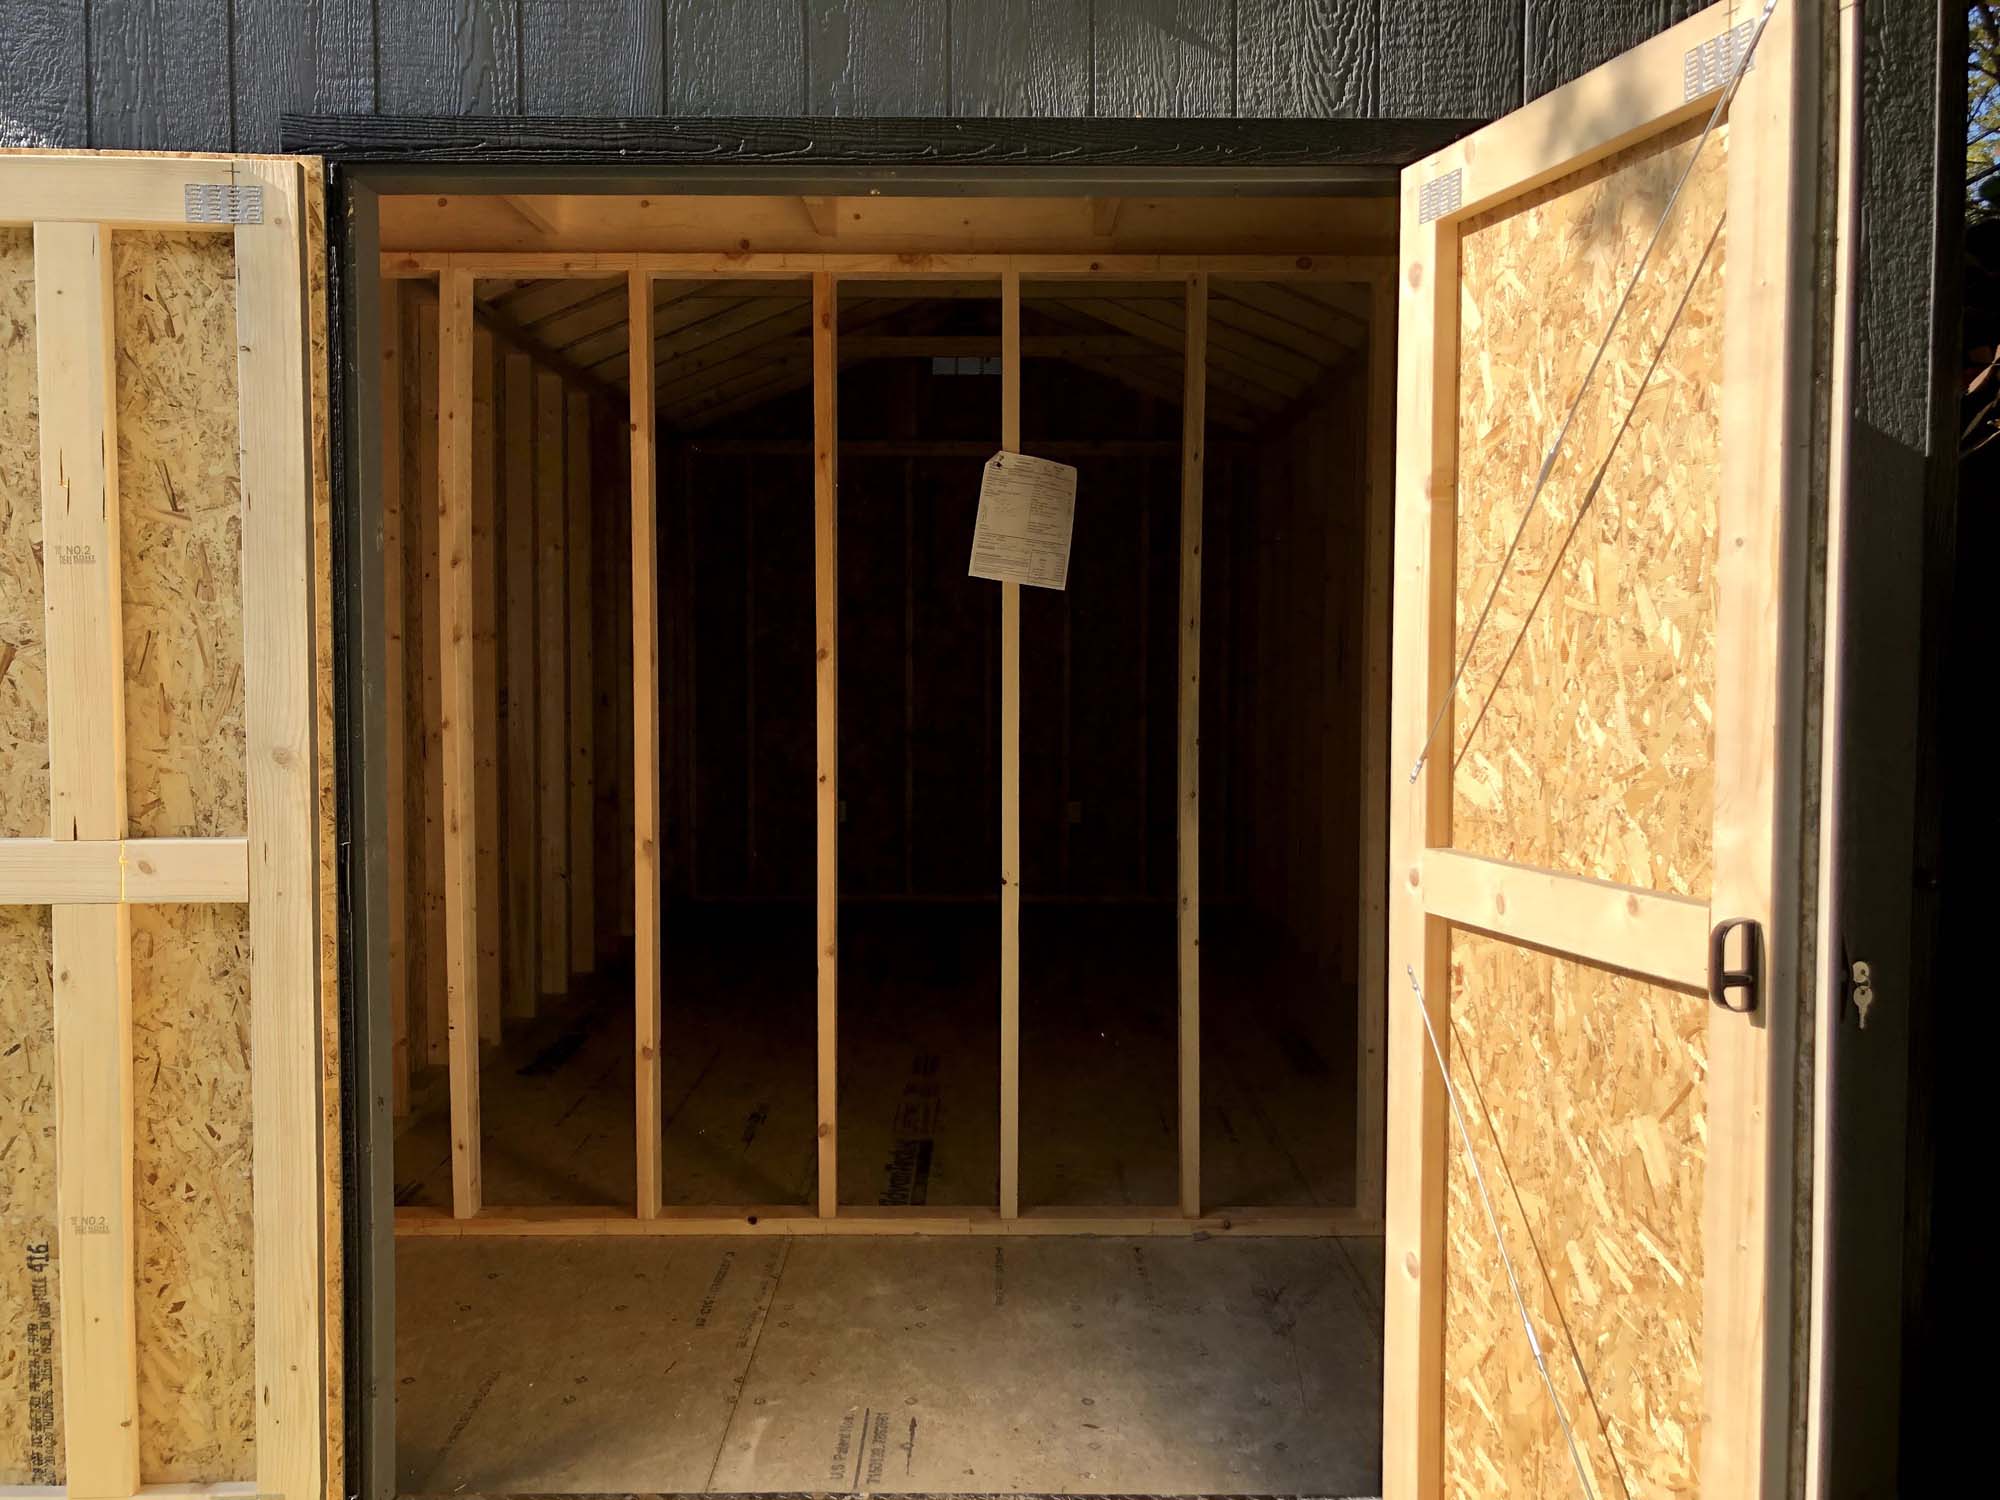
The large, double doors open from the yard into the storage area. You can see the stud wall Lone Star built for me to partition the space. Eventually there will be a proper wall there and the two spaces will be totally discrete. Here's a shot from the inside looking out. You can see the "loft" that will be accessible from the office and give me a bit more air conditioned storage space.
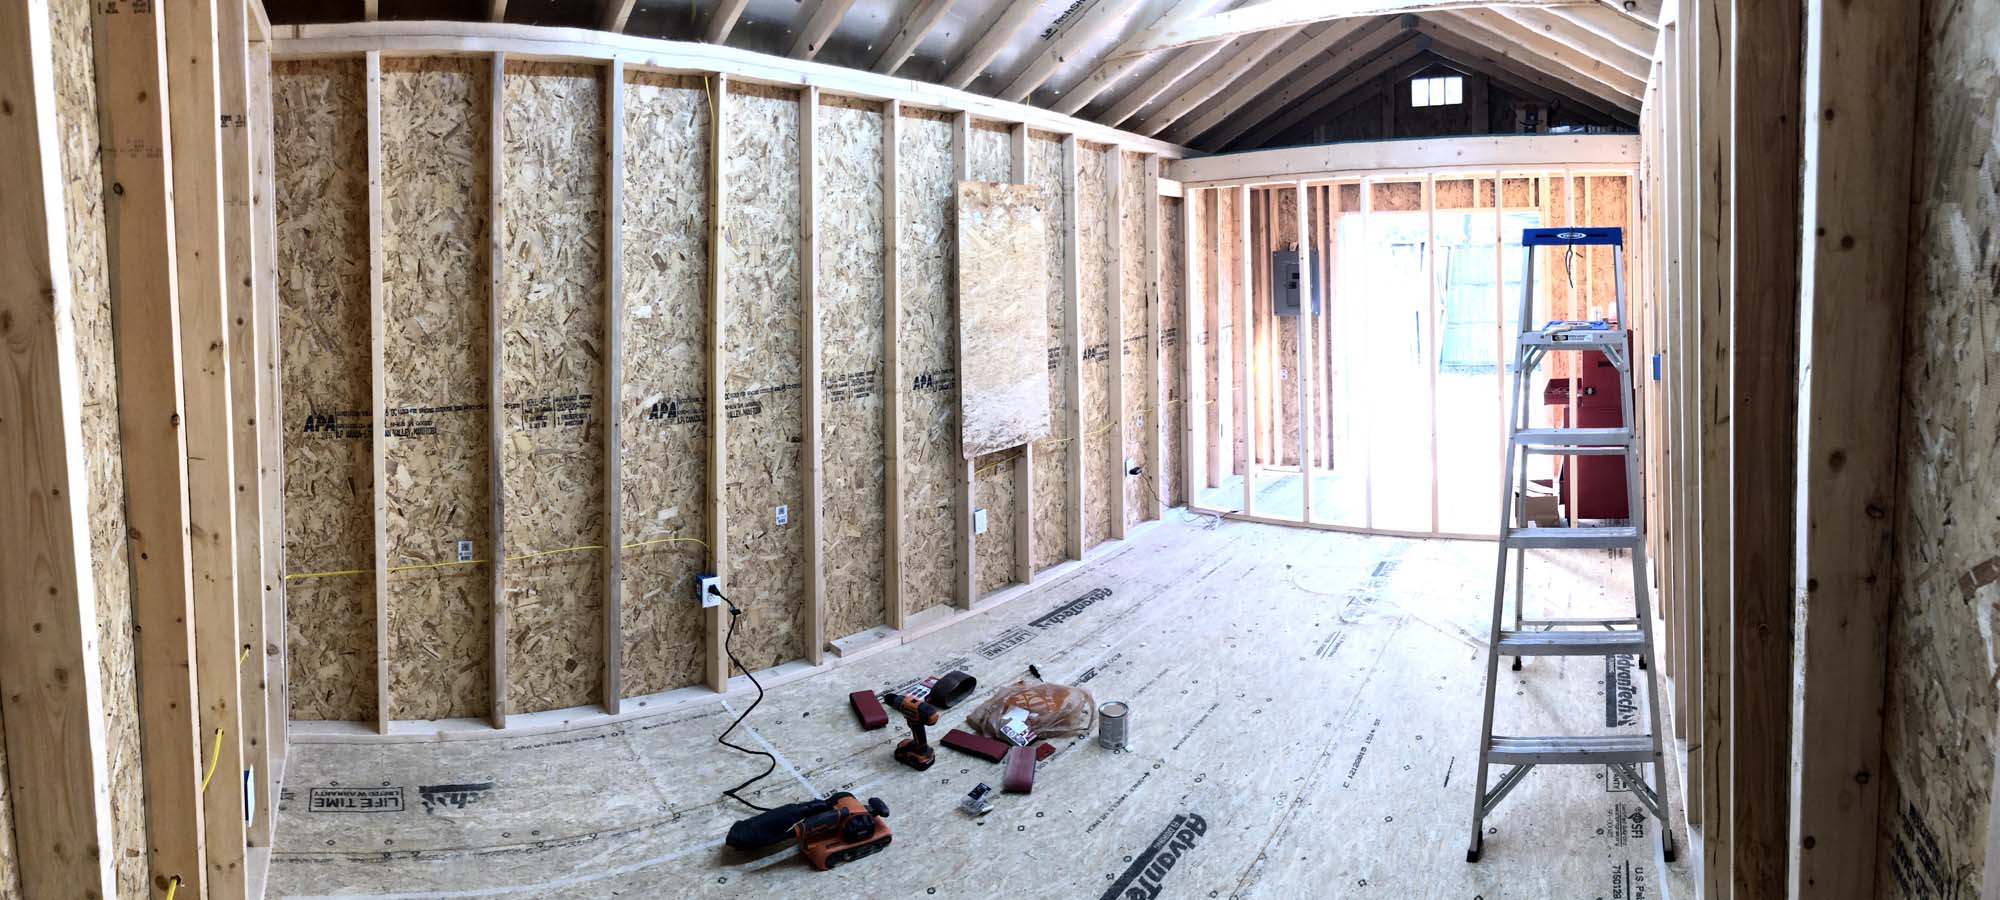
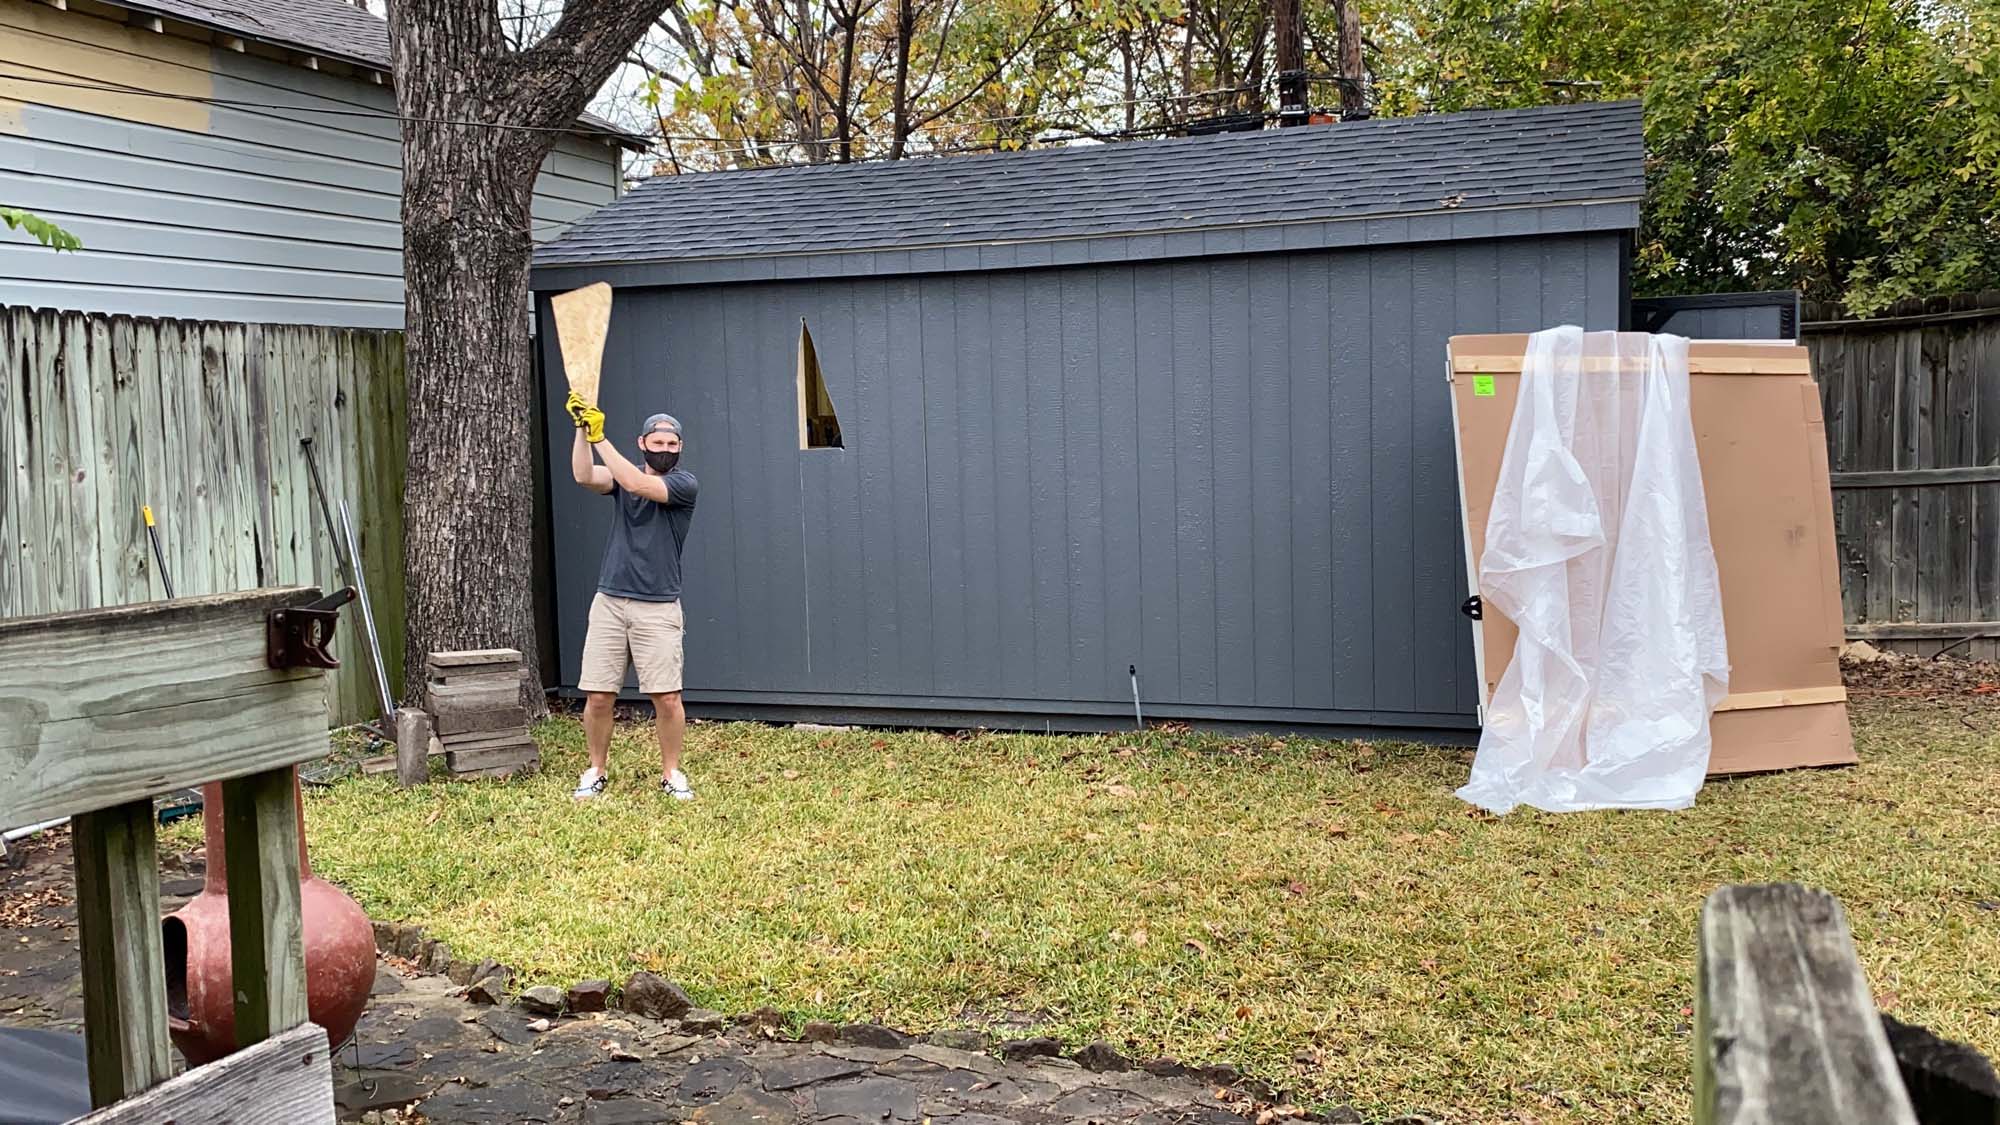
The astute reader will now note that when the wall is completed... there will be no way to get into the office! More on that soon. ## Demolition of the Old Shed Before the new shed came, I had to get rid of the old one. I tried for a week or two to give it away on Craigslist, but that failed hysterically. A couple of people asked if it would fit in their SUV. It's a 10x12 shed that weighs hundreds of pounds! After being disappointed by Craigslist once again, I decided to borrow a sawzall and demolish it myself. It was a lot of hard work, but this timelapse makes it look super easy:
Preparing the Pad for the New Shed Since the new shed is 8
feet longer than the old shed was, I needed to make the pad 8 feet longer. Lone Star was responsible for leveling the shed (which they did a great job of), I just had to provide a pad that was within 12 inches (!) of level. The old pad was a few inches lower than the surrounding ground, so I wanted it to be a little more uniform. I started by tilling the ground and then used the broad side of a pick axe to break it up more. I repeated that process for... ever. Tilling, axing, raking, over and over. After I got it all level enough, I wanted to compact it down. Since I didn't have a tamper and didn't want to spend 40 bucks on one I'll never use again, my genius neighbor and I made a pretty janky makeshift tamper out of a sledgehammer and some boards. It mostly kind of worked! It also looks hysterical and insane.
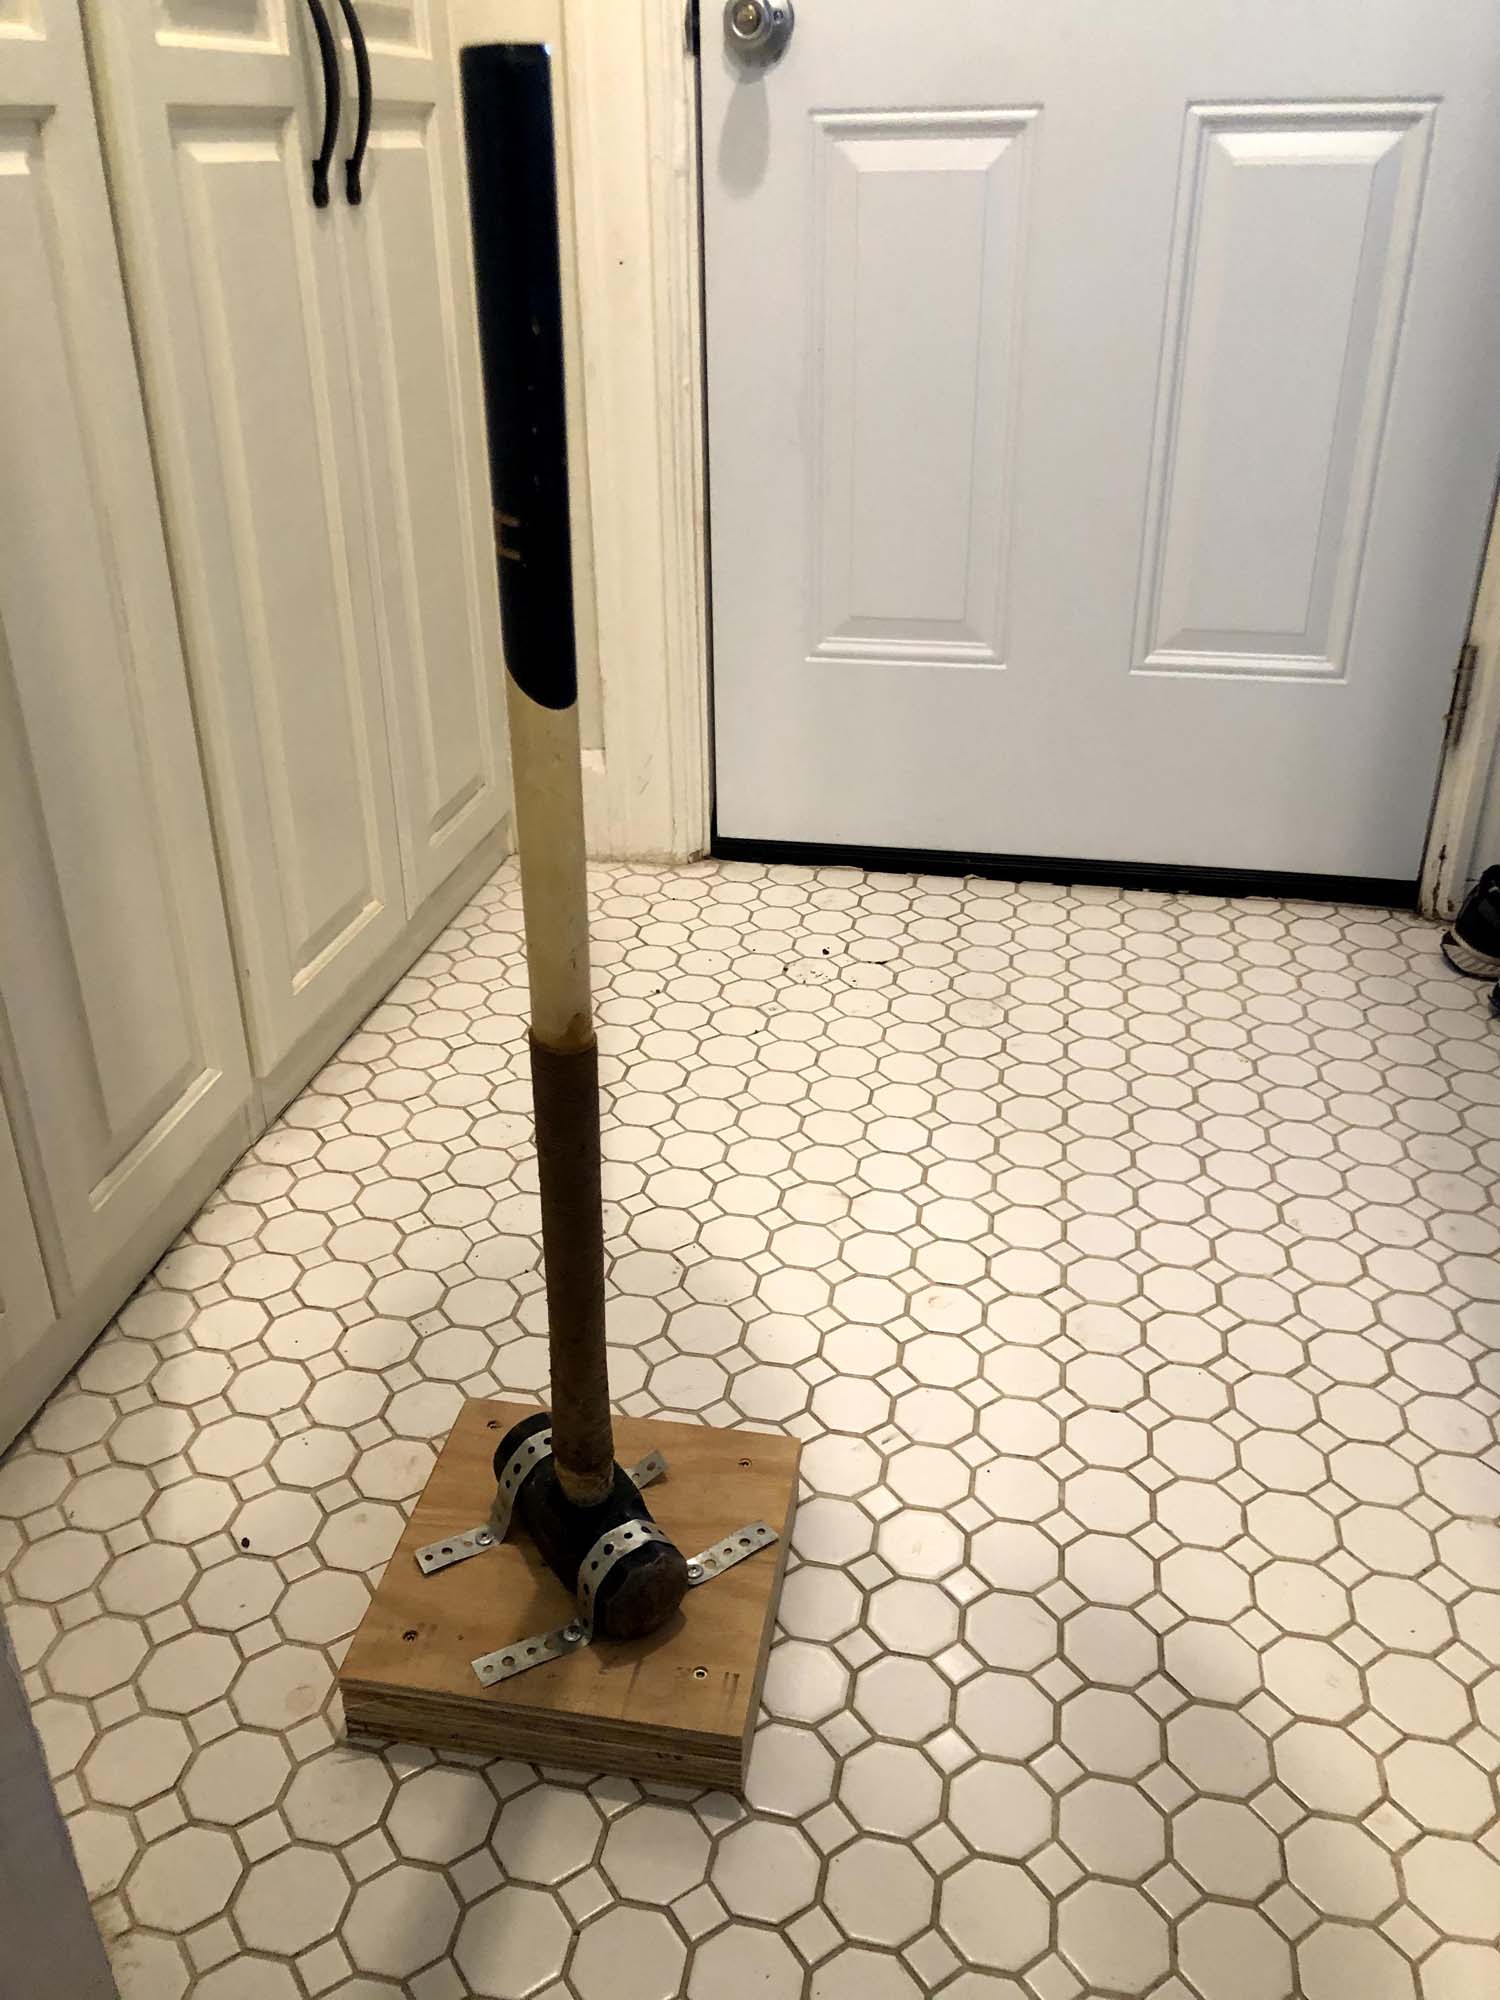
Turns out the best tamper is not a sledgehammer attached to some boards, but rather an SUV. Maybe my best idea so far.
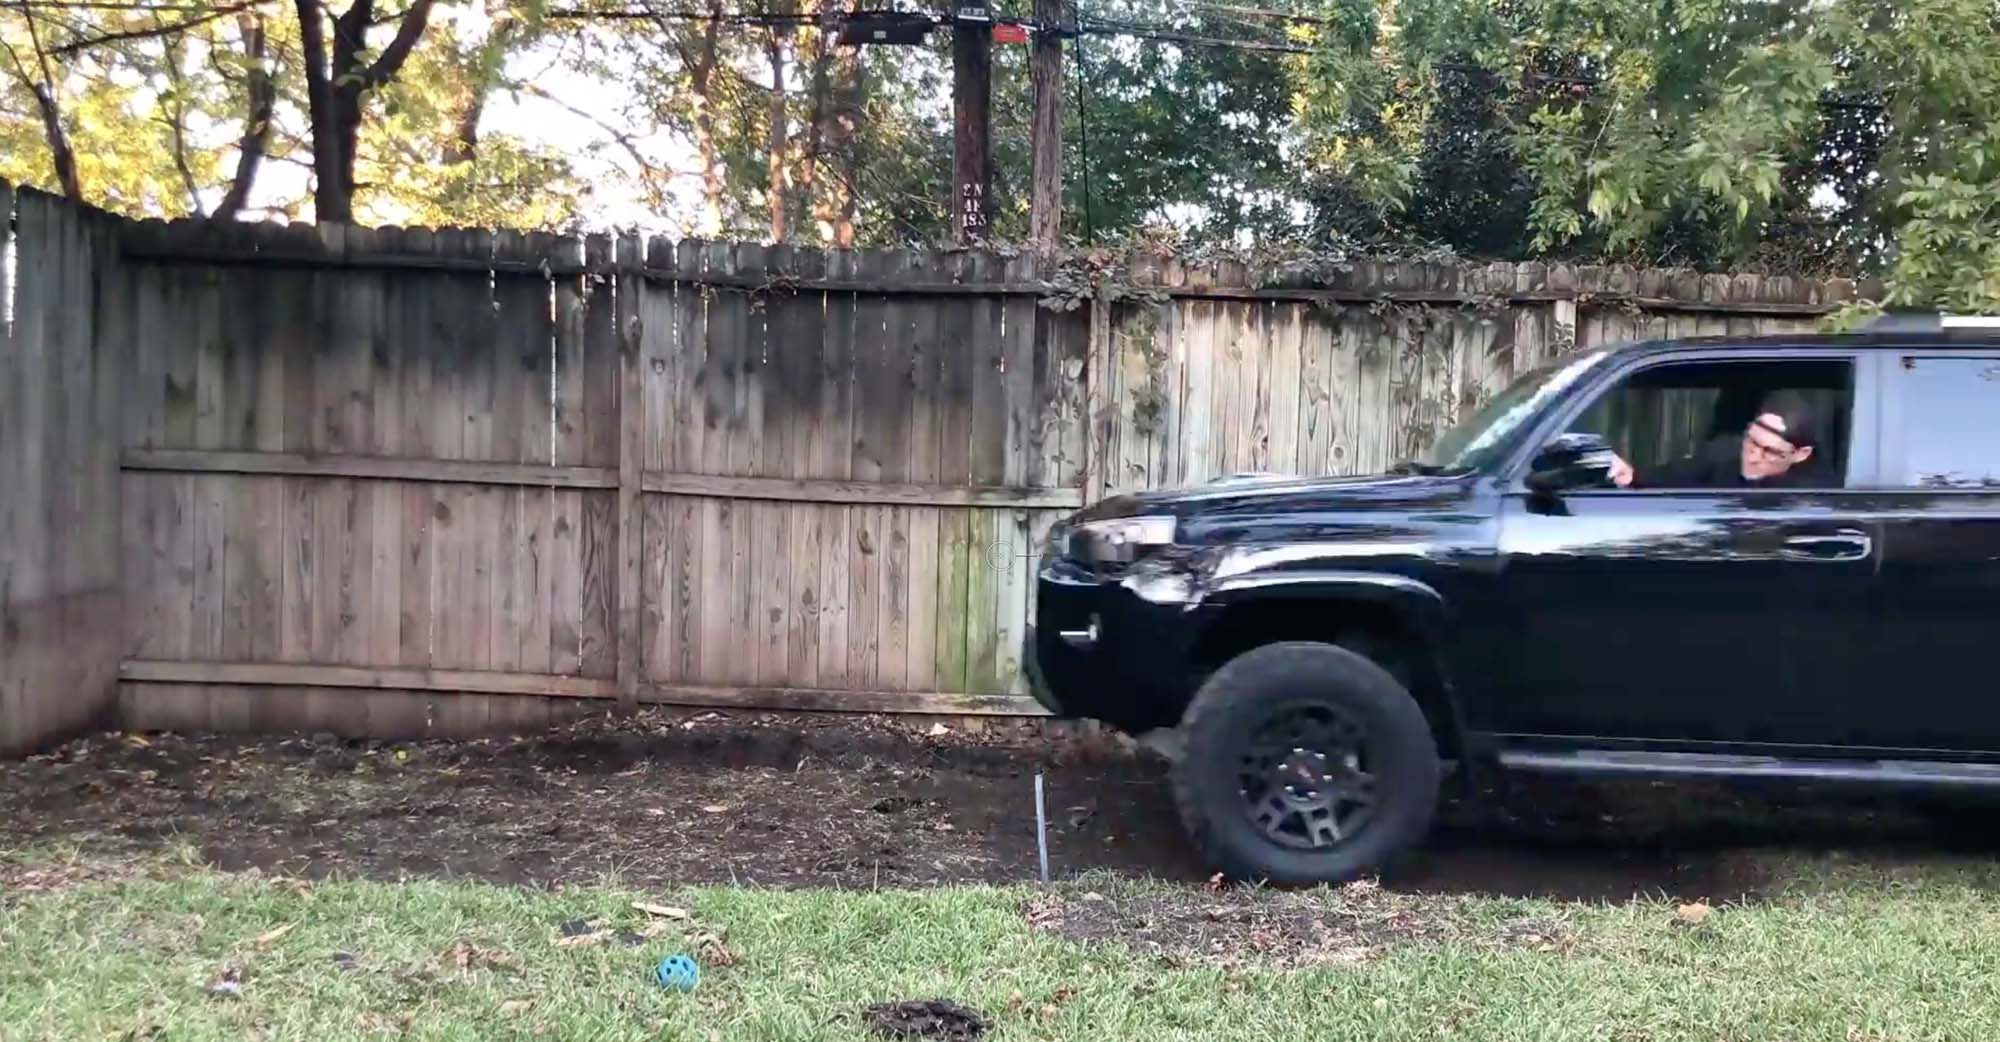
Again, the timelapse make it look super easy, but it was a lot of work. Please validate me!
Delivery Day The day the shed was delivered I was nervously
just waiting around for them to show up. We live on a quiet residential street that is not super wide, so I was a bit worried that they wouldn't be able to make it down the street. I was also worried that they wouldn't be able to make it down our driveway, which is also not very wide. Then a full on 18-wheeler turned the corner and I thought to myself

Not only did he have my shed on there, he had another one too! Like it was no big deal!
This is the face of a concerned person whose neighbors are coming outside to see what the ruckus is.
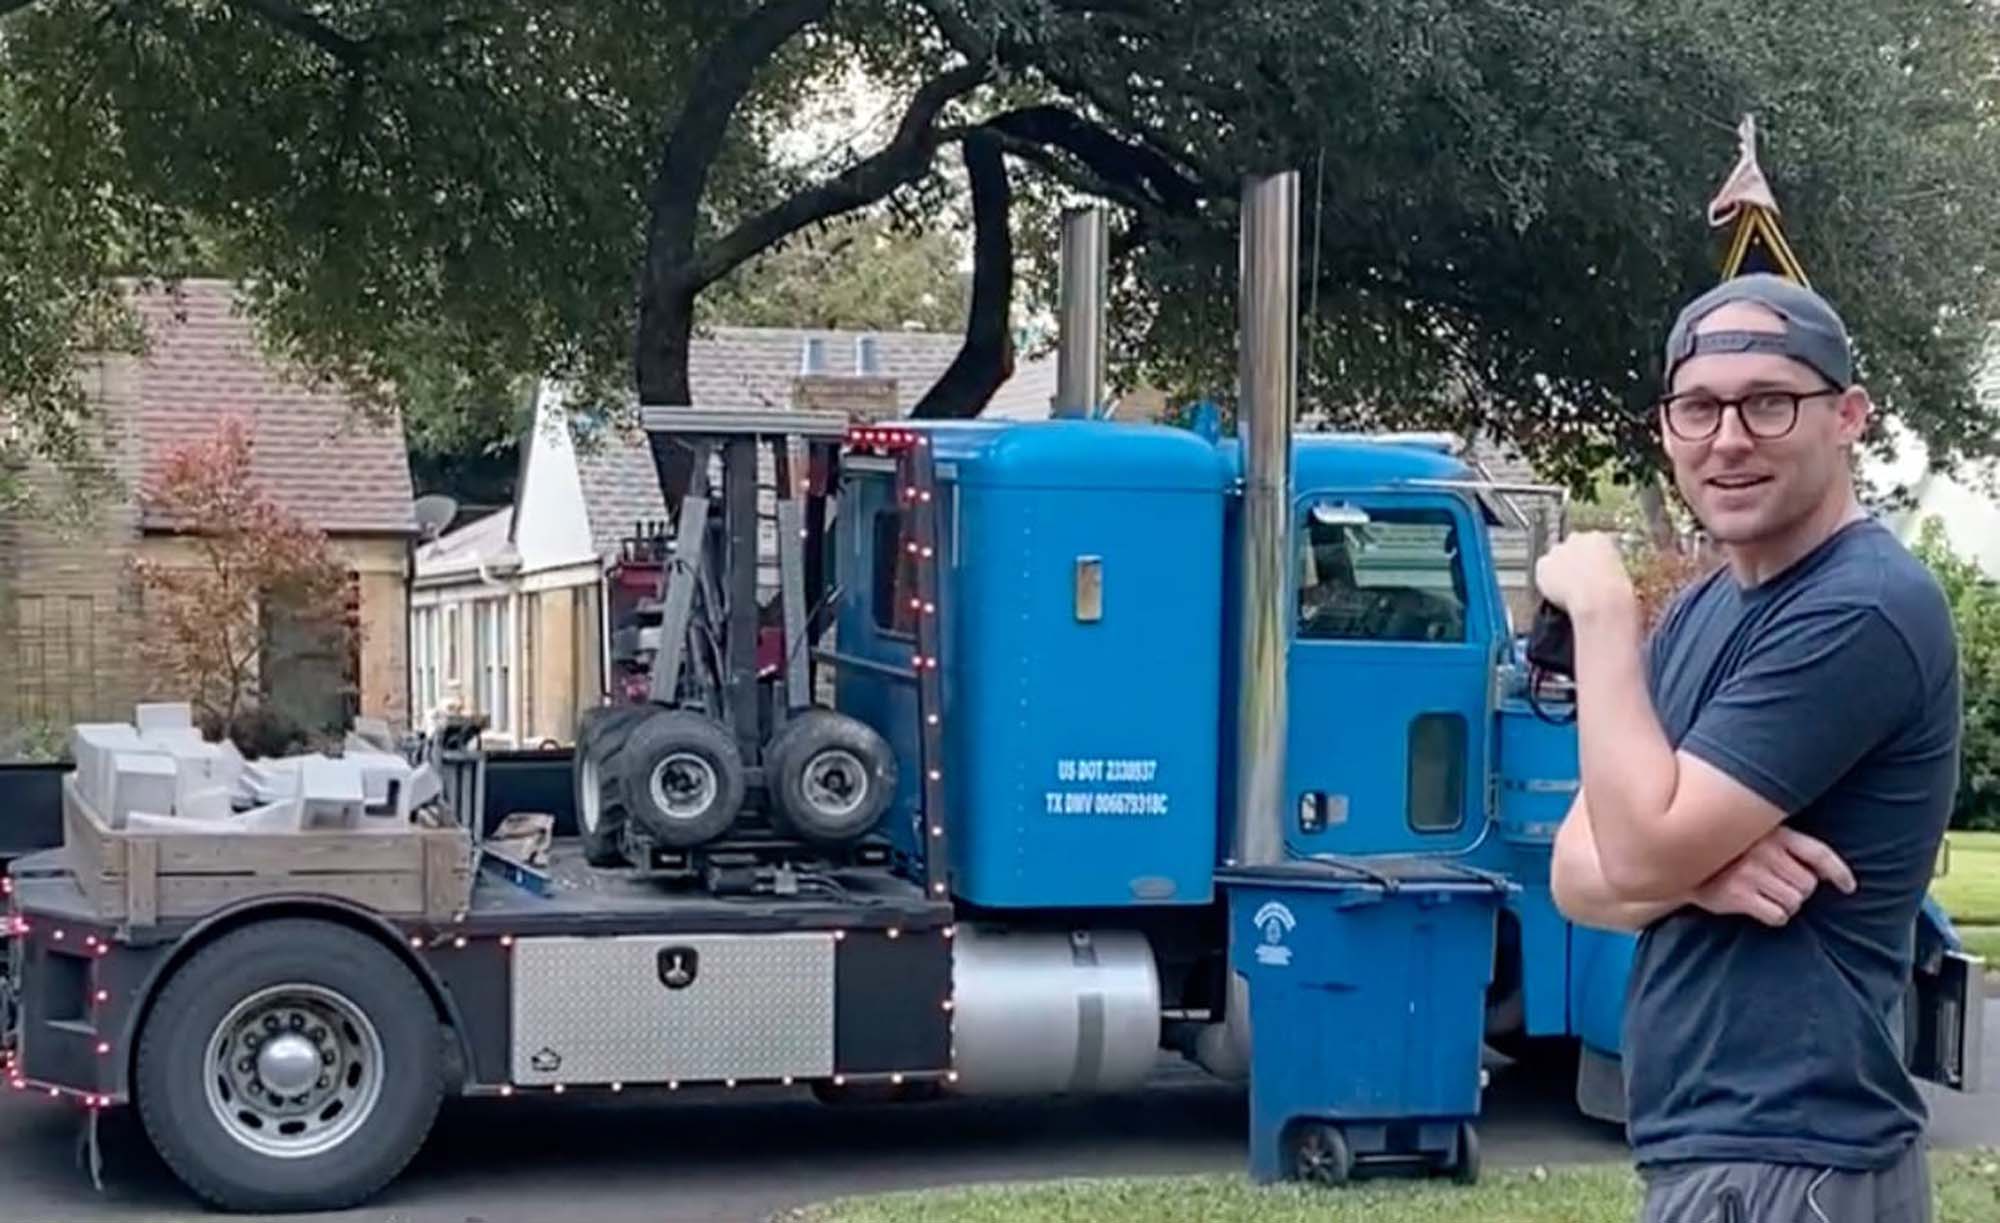
And here I am talking to him trying to figure out just exactly what the plan is here, as if I could help.
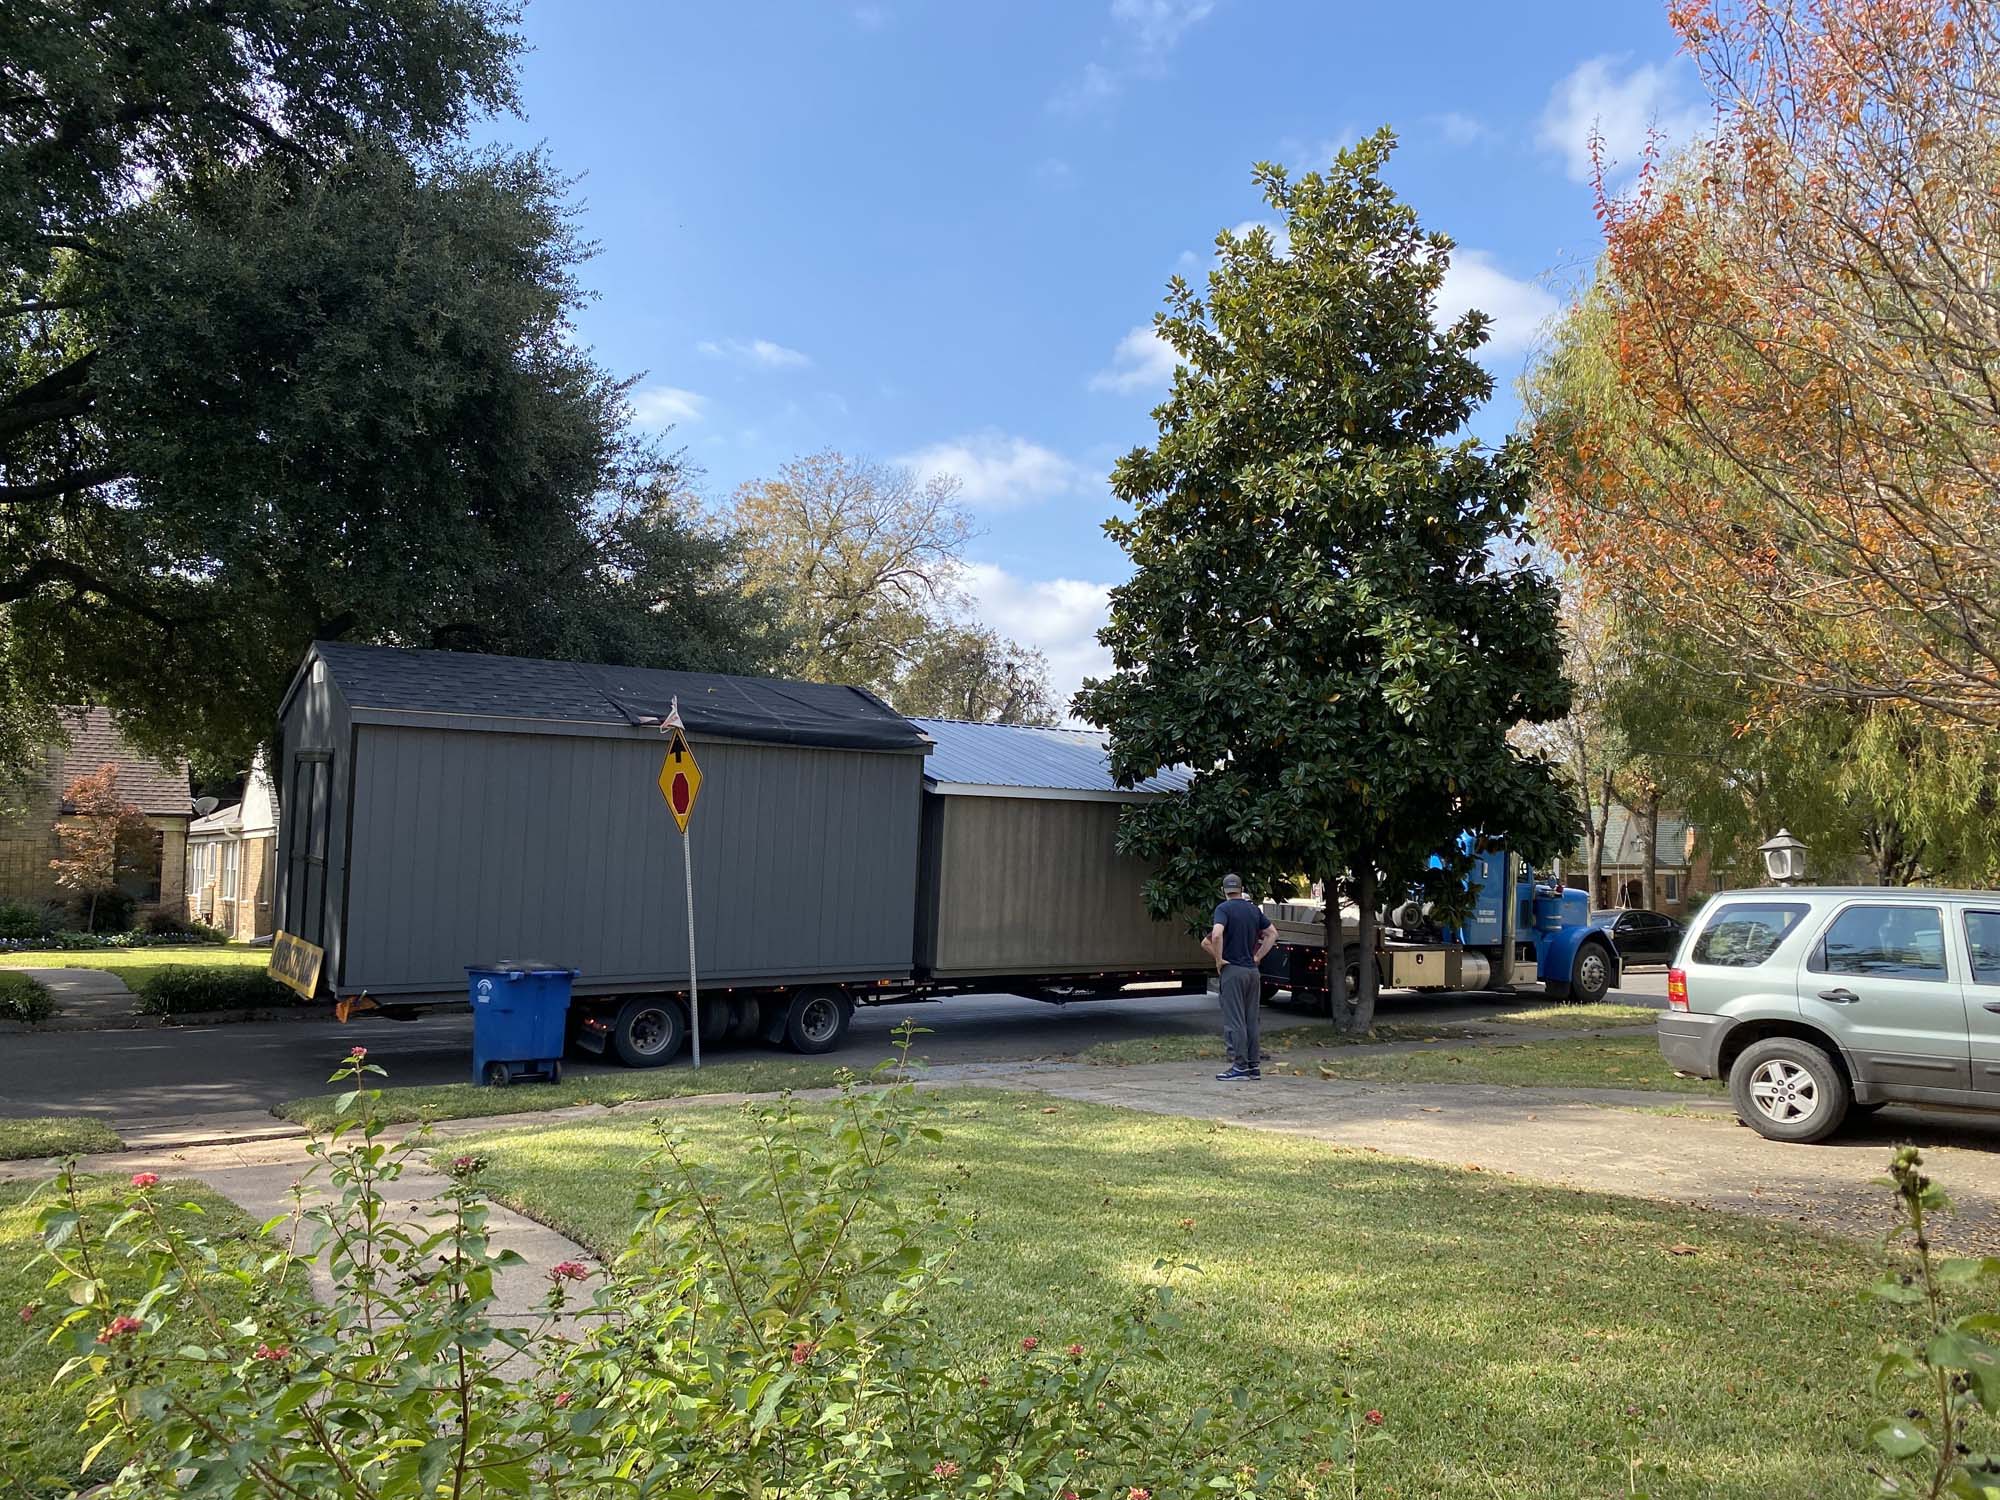
As it turns out, the guy that does this for a living (not me) was less concerned than the average software developer (me), and apparently it was no big deal because he just tipped the magic trailer back and plopped it in the street like a boss.
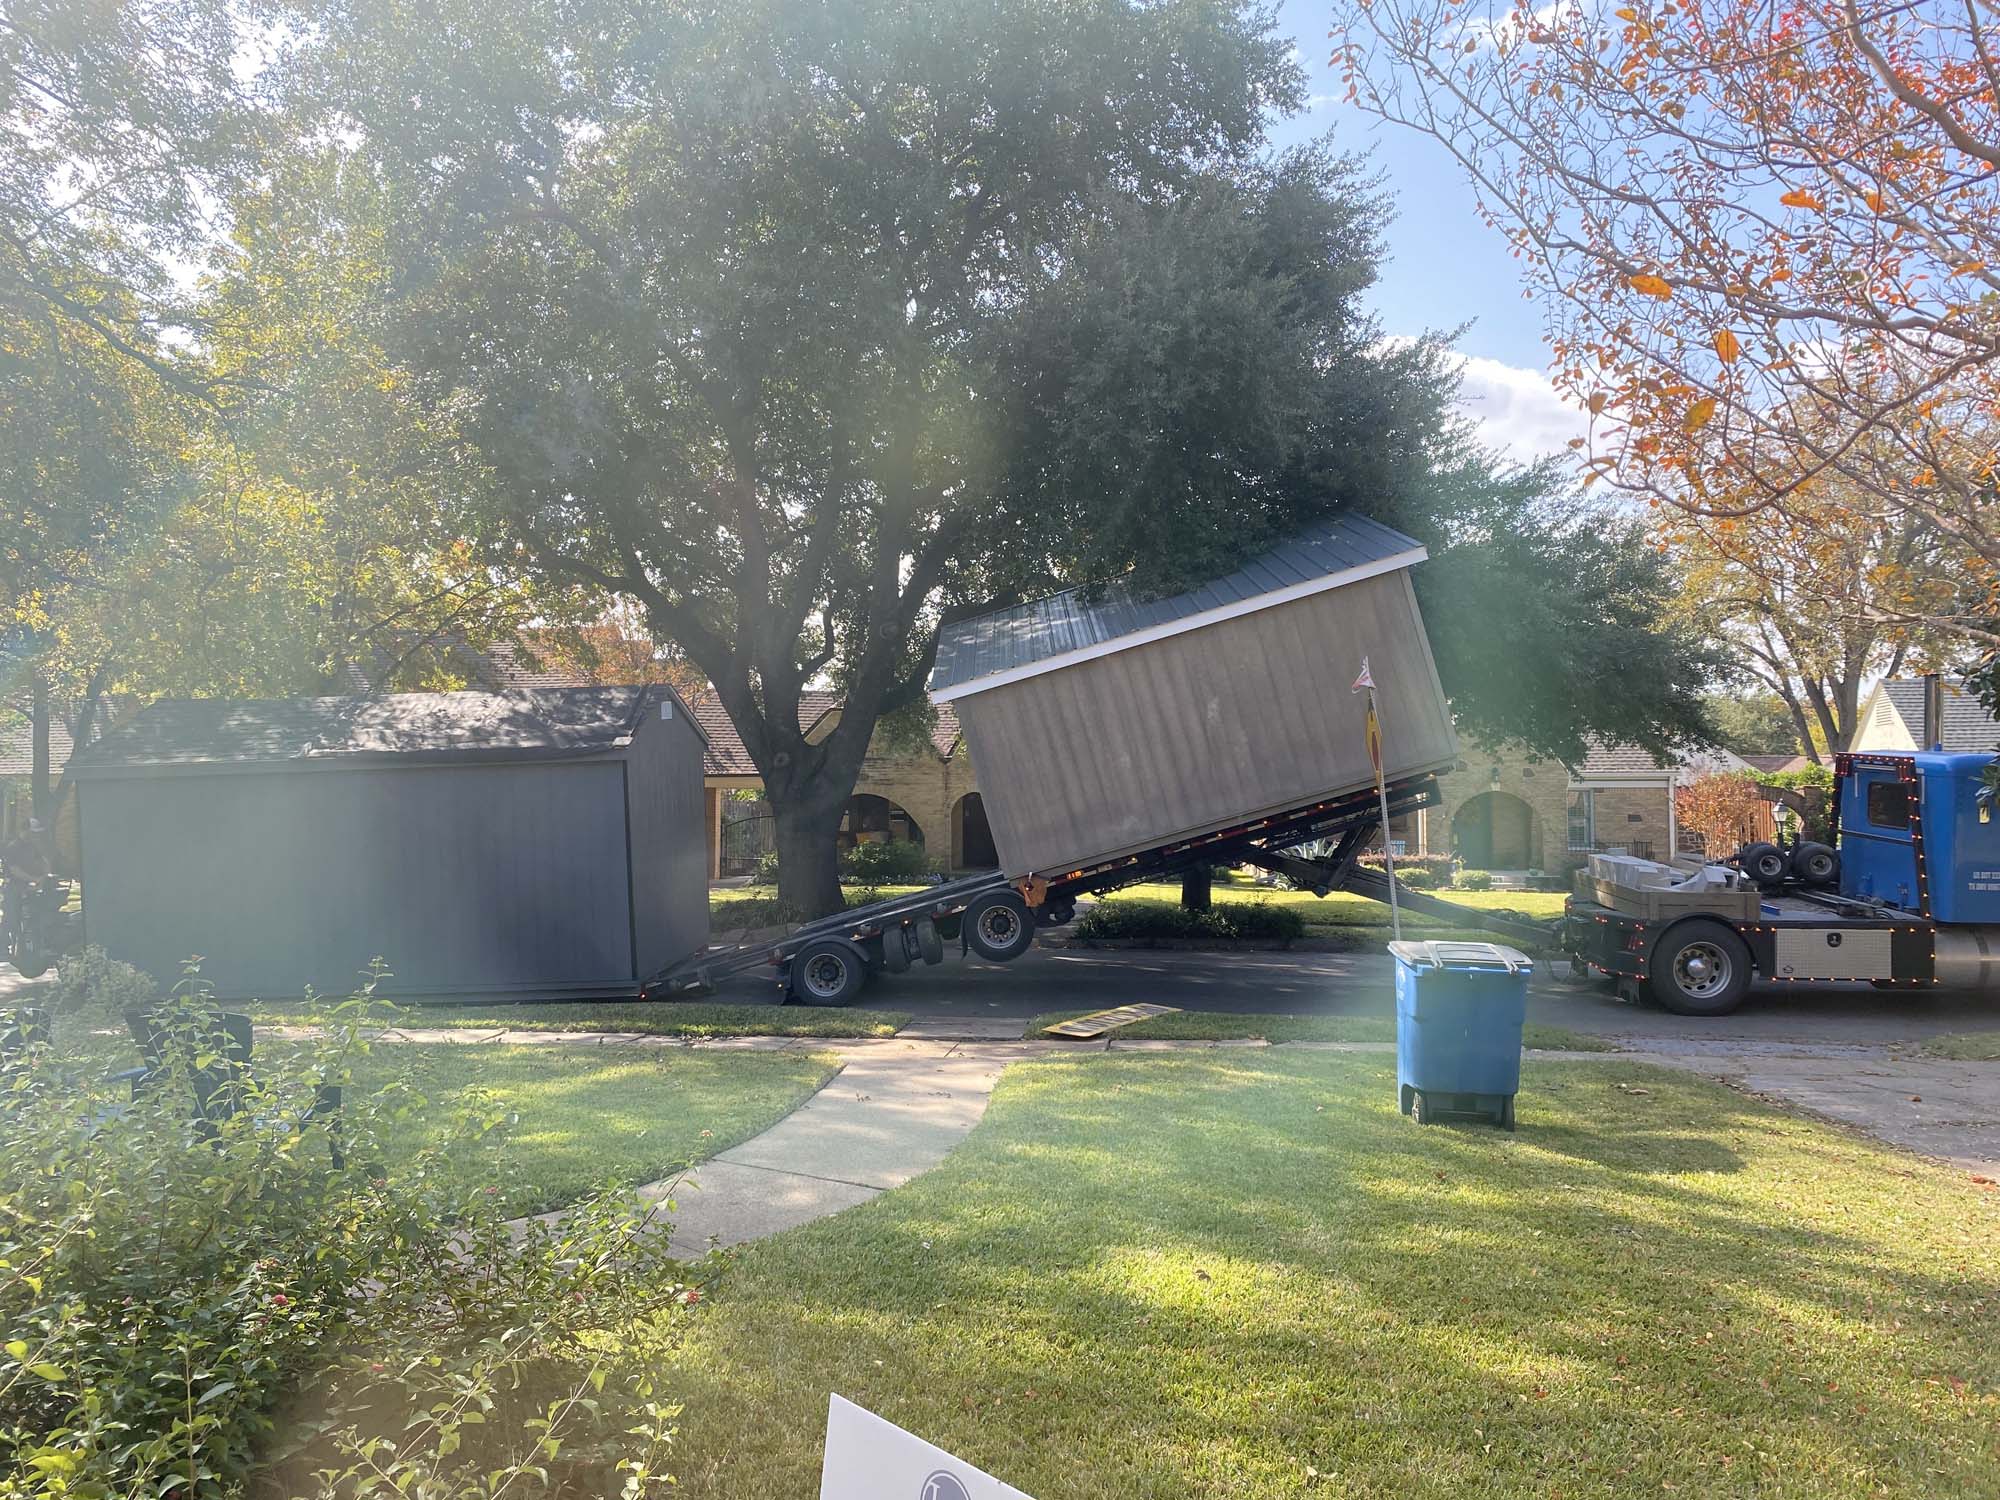
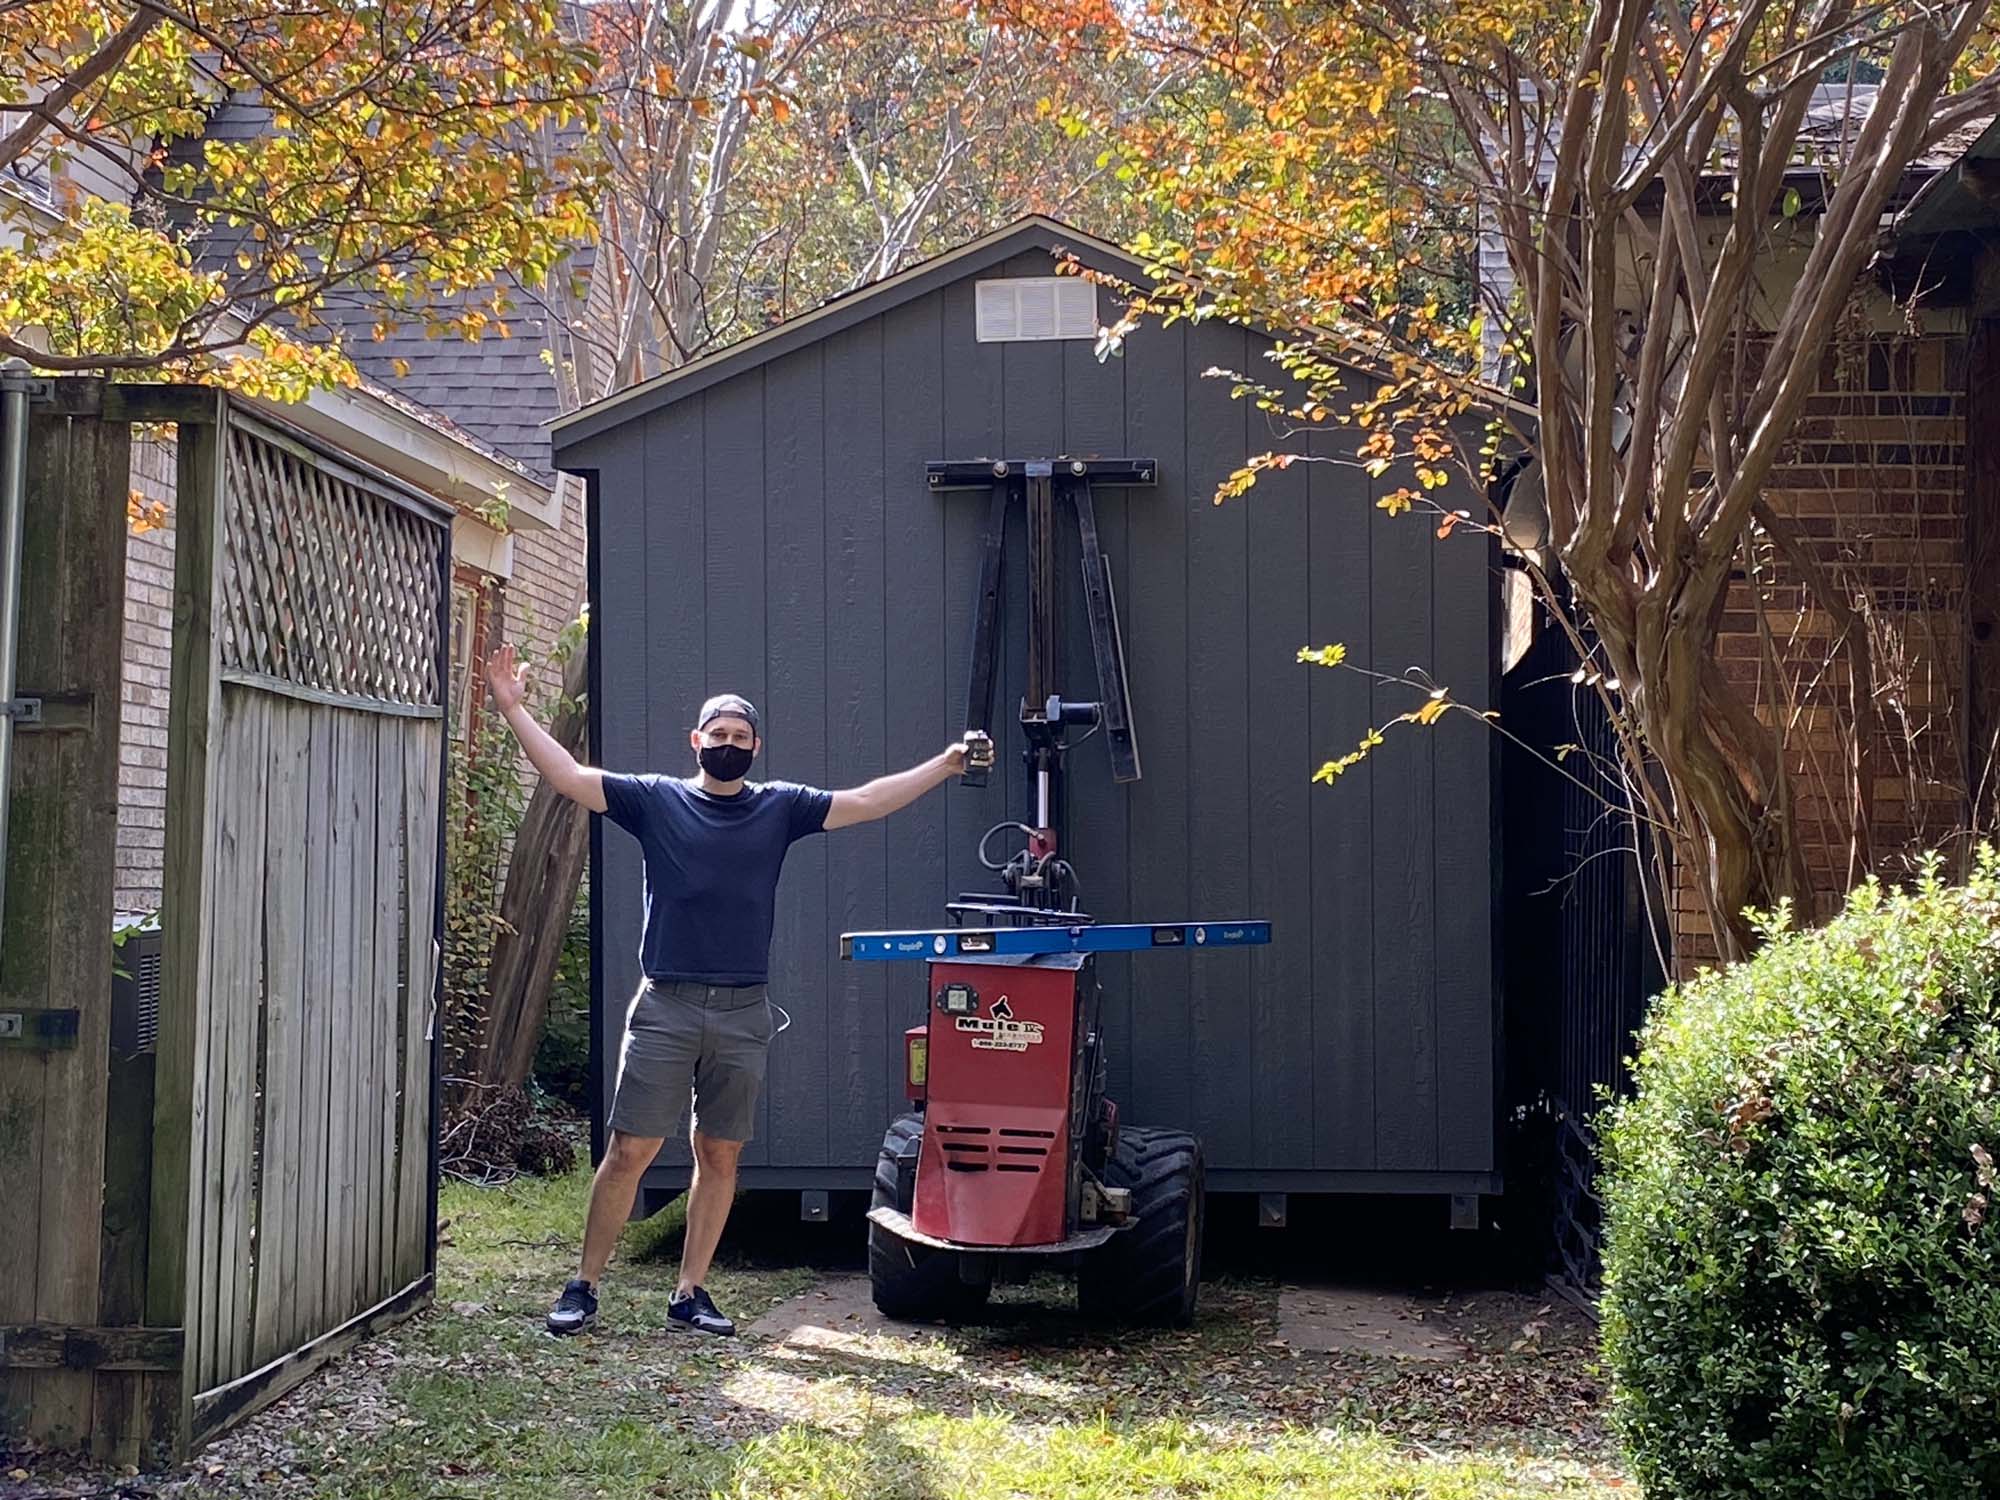
The guy (Joe) that drove the shed down the driveway and positioned in place was a wizard with his tiny little forklift. I have no idea how he did it, because we had only inches to spare. I'm so pumped for my new shed that I pre-emptively celebrate with a Diet Coke while Joe is toiling away somewhere actually getting stuff done.
I did have to cut trees back in a few places on both sides of the driveway, so I wasn't totally useless.
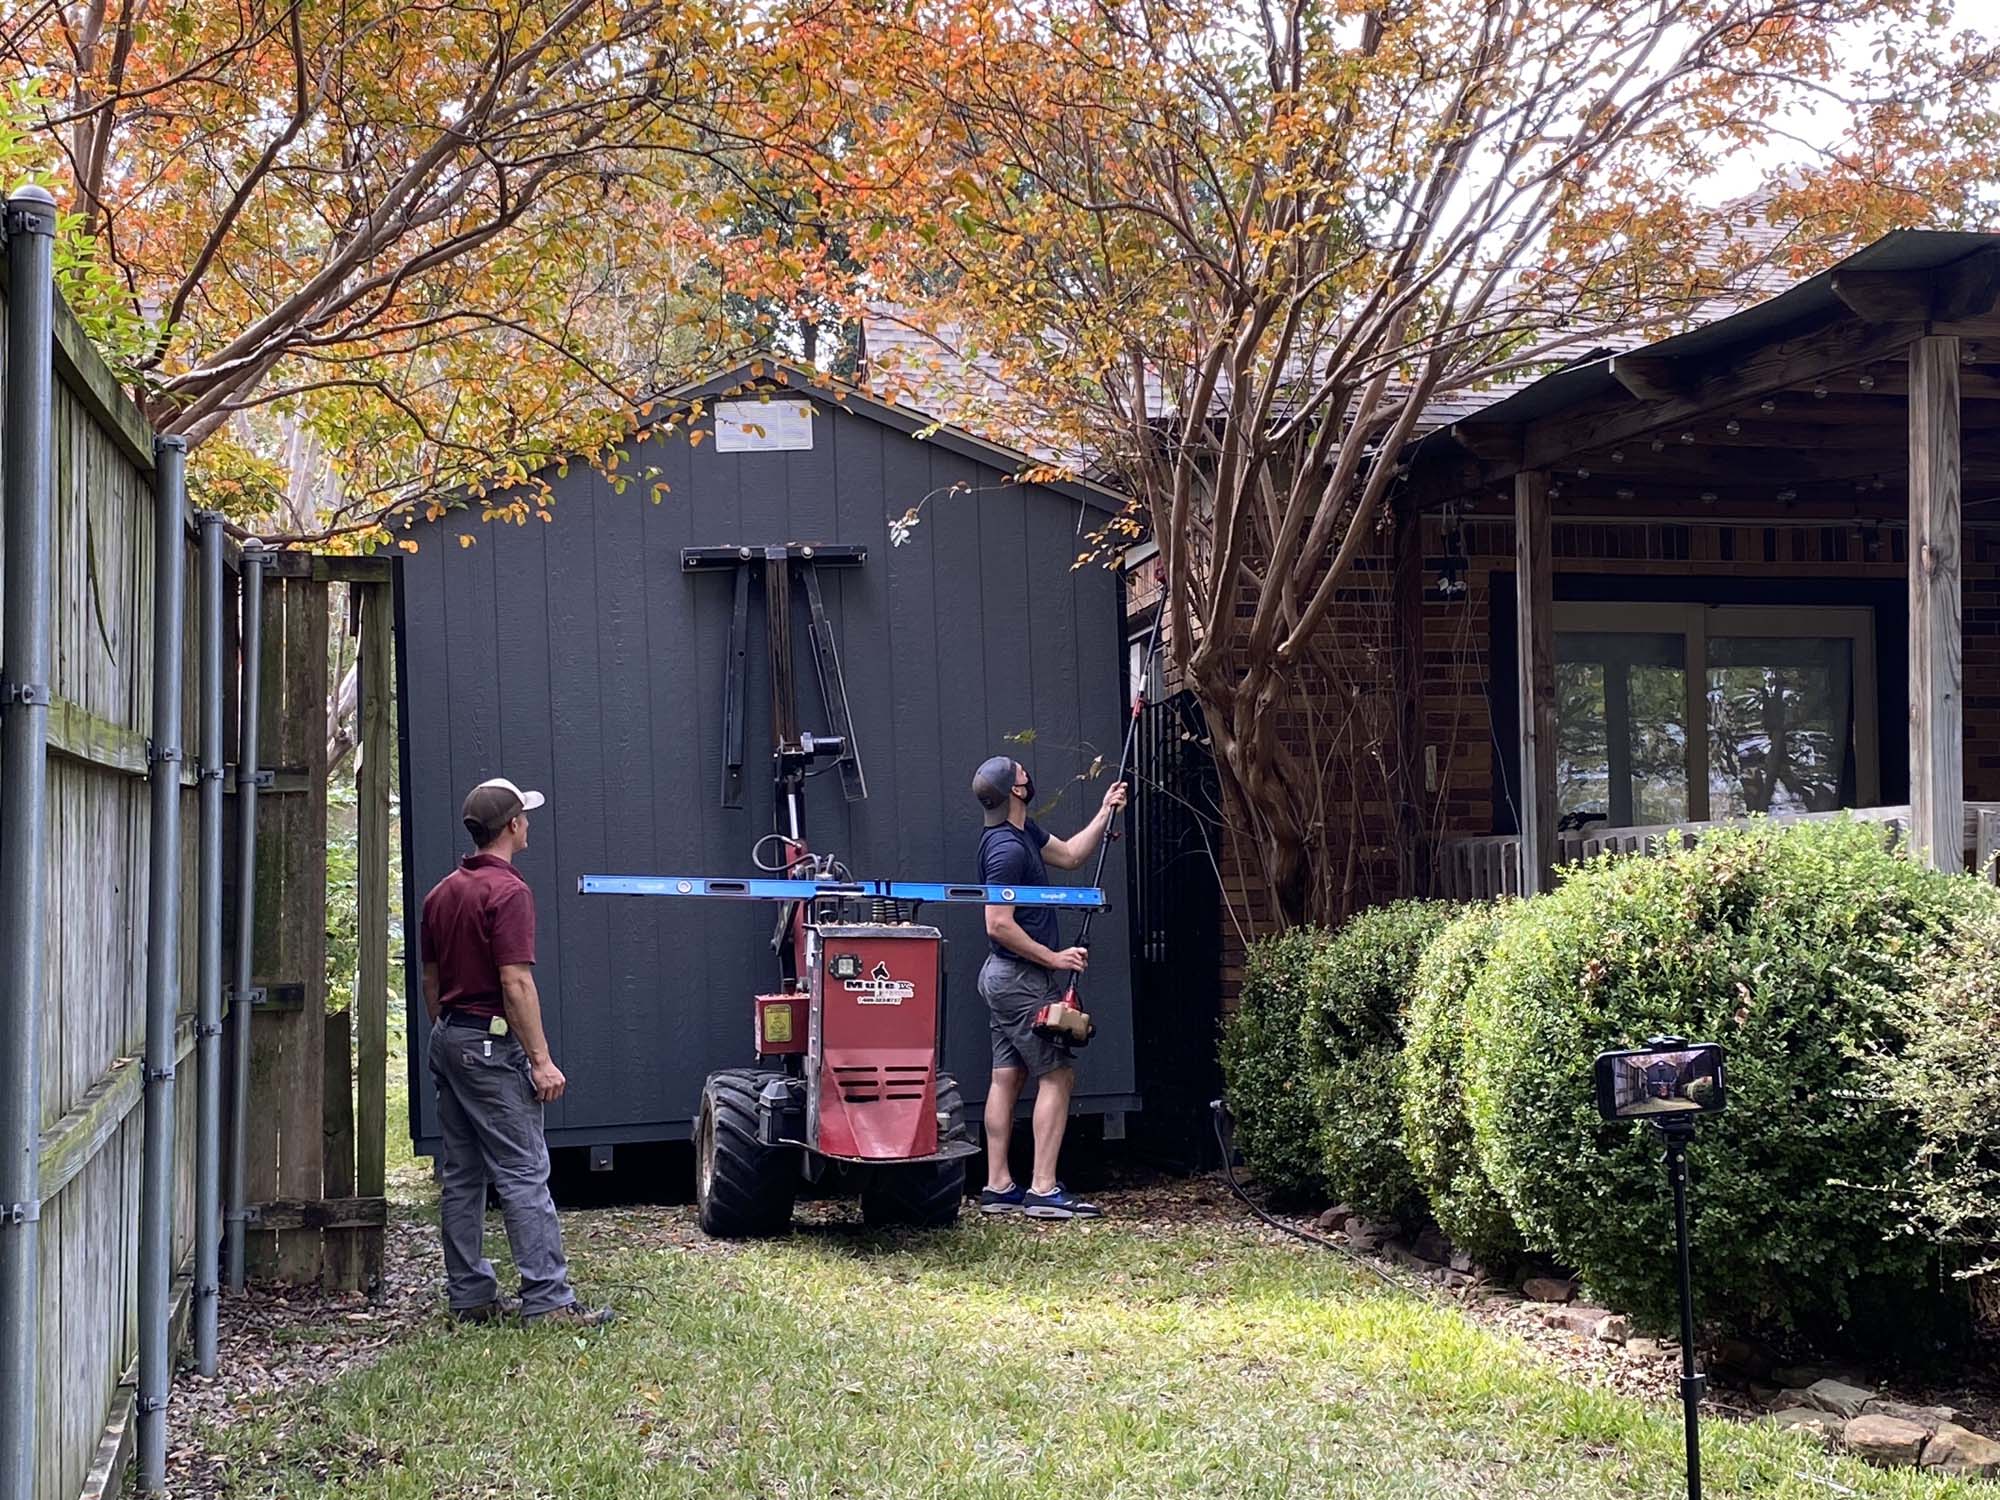
Here's the whole 1-2 hour process nice and sped up.
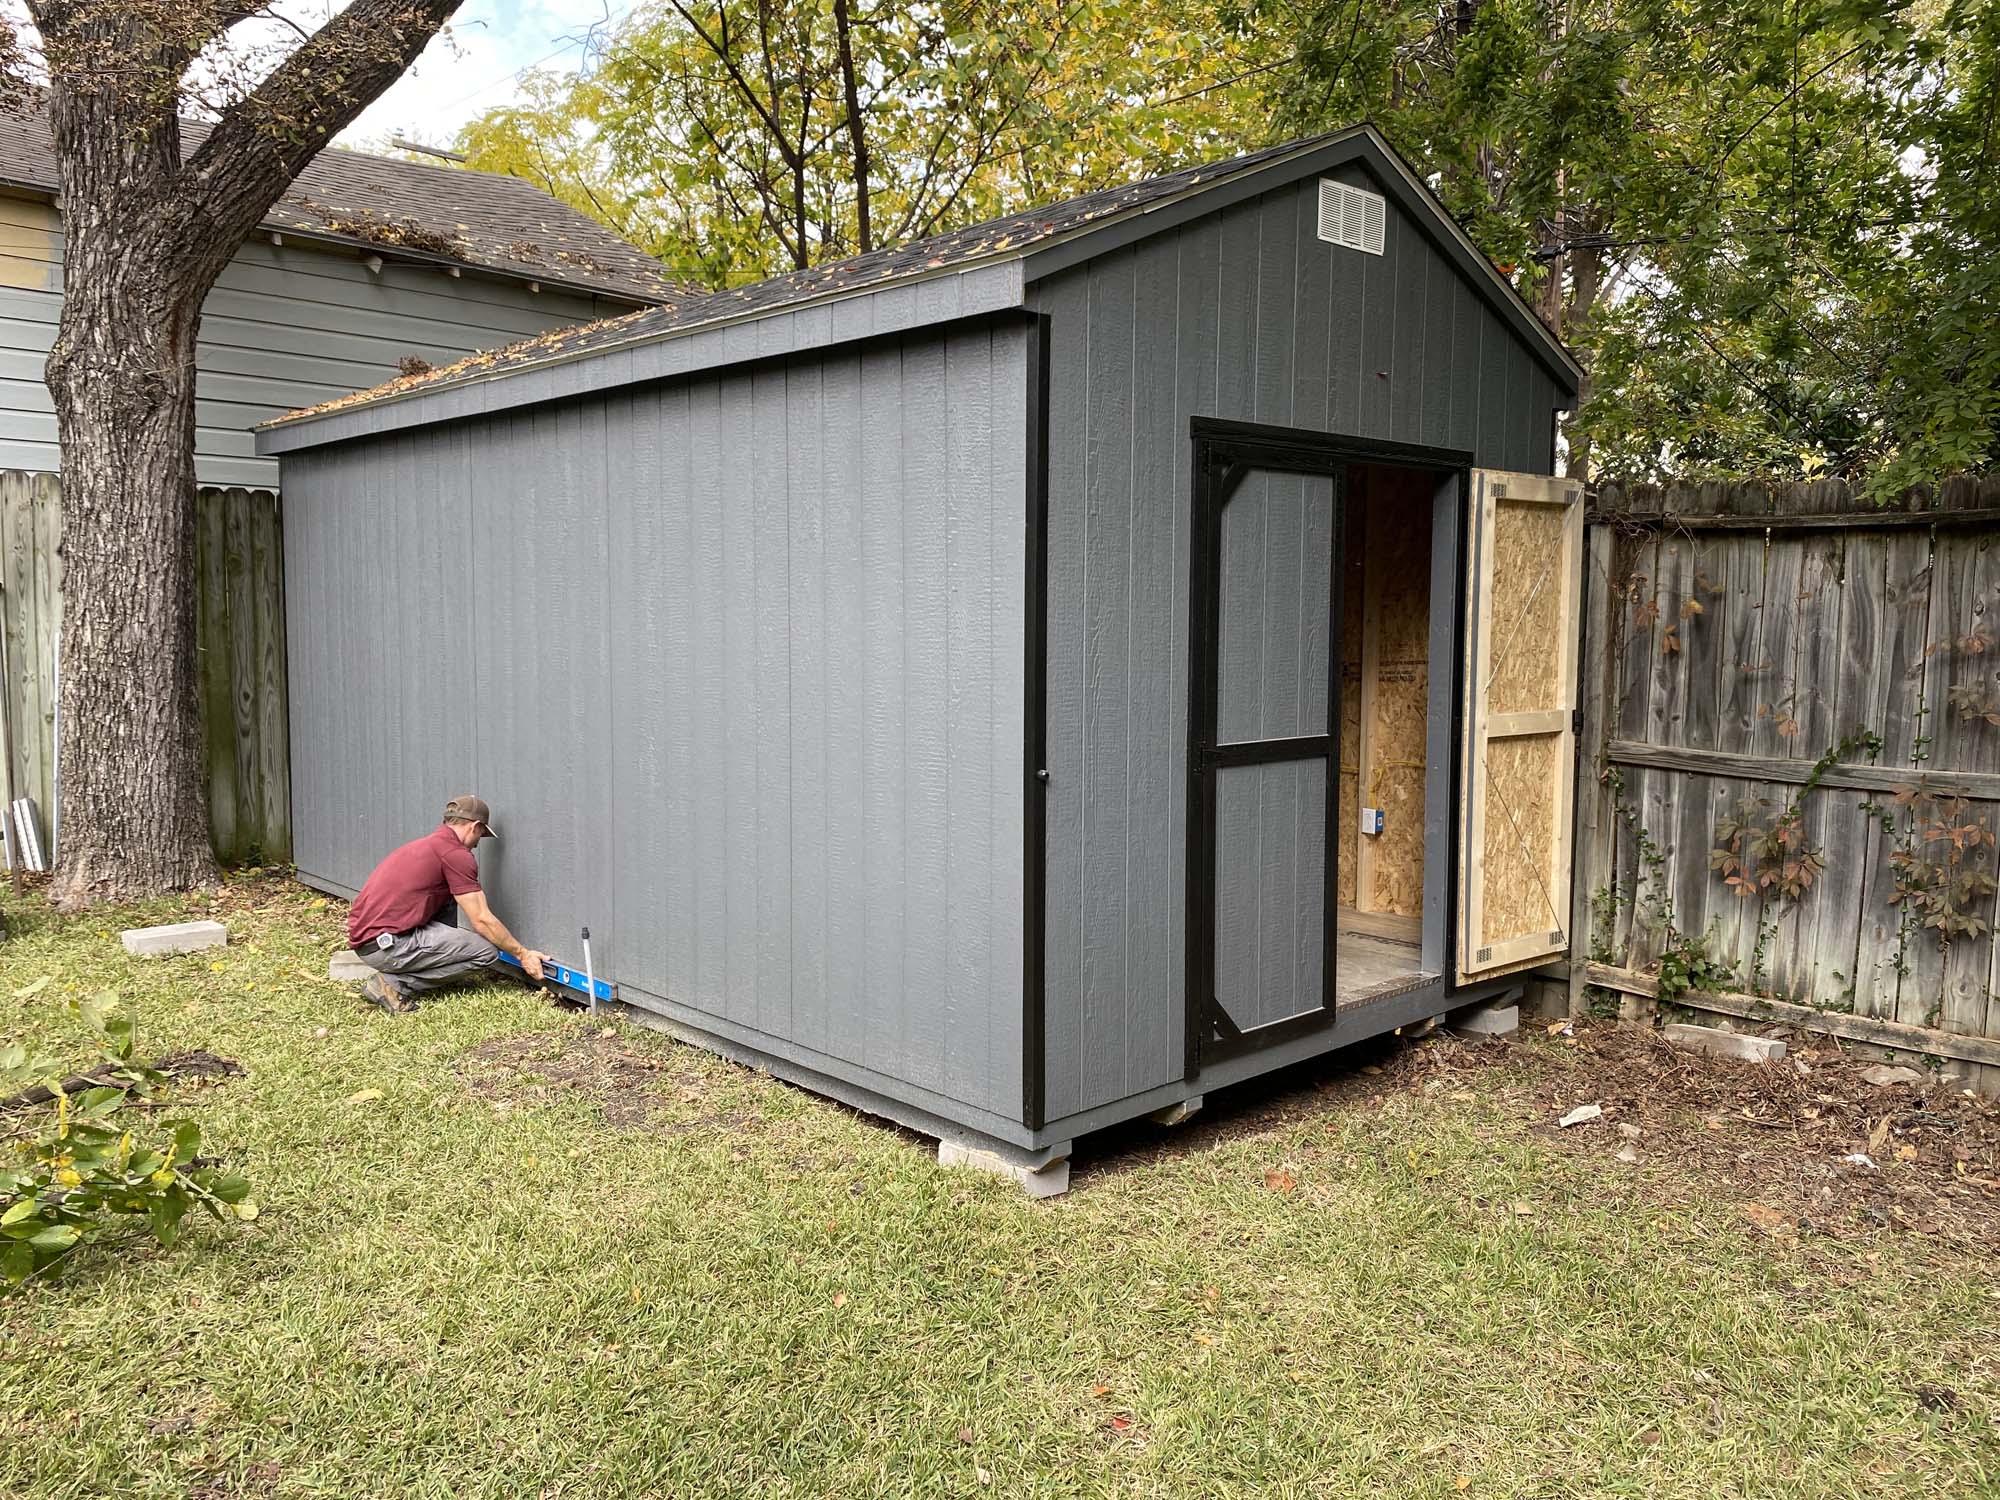
Once it was in place, Joe spent another 30 or 45 minutes getting it all level.
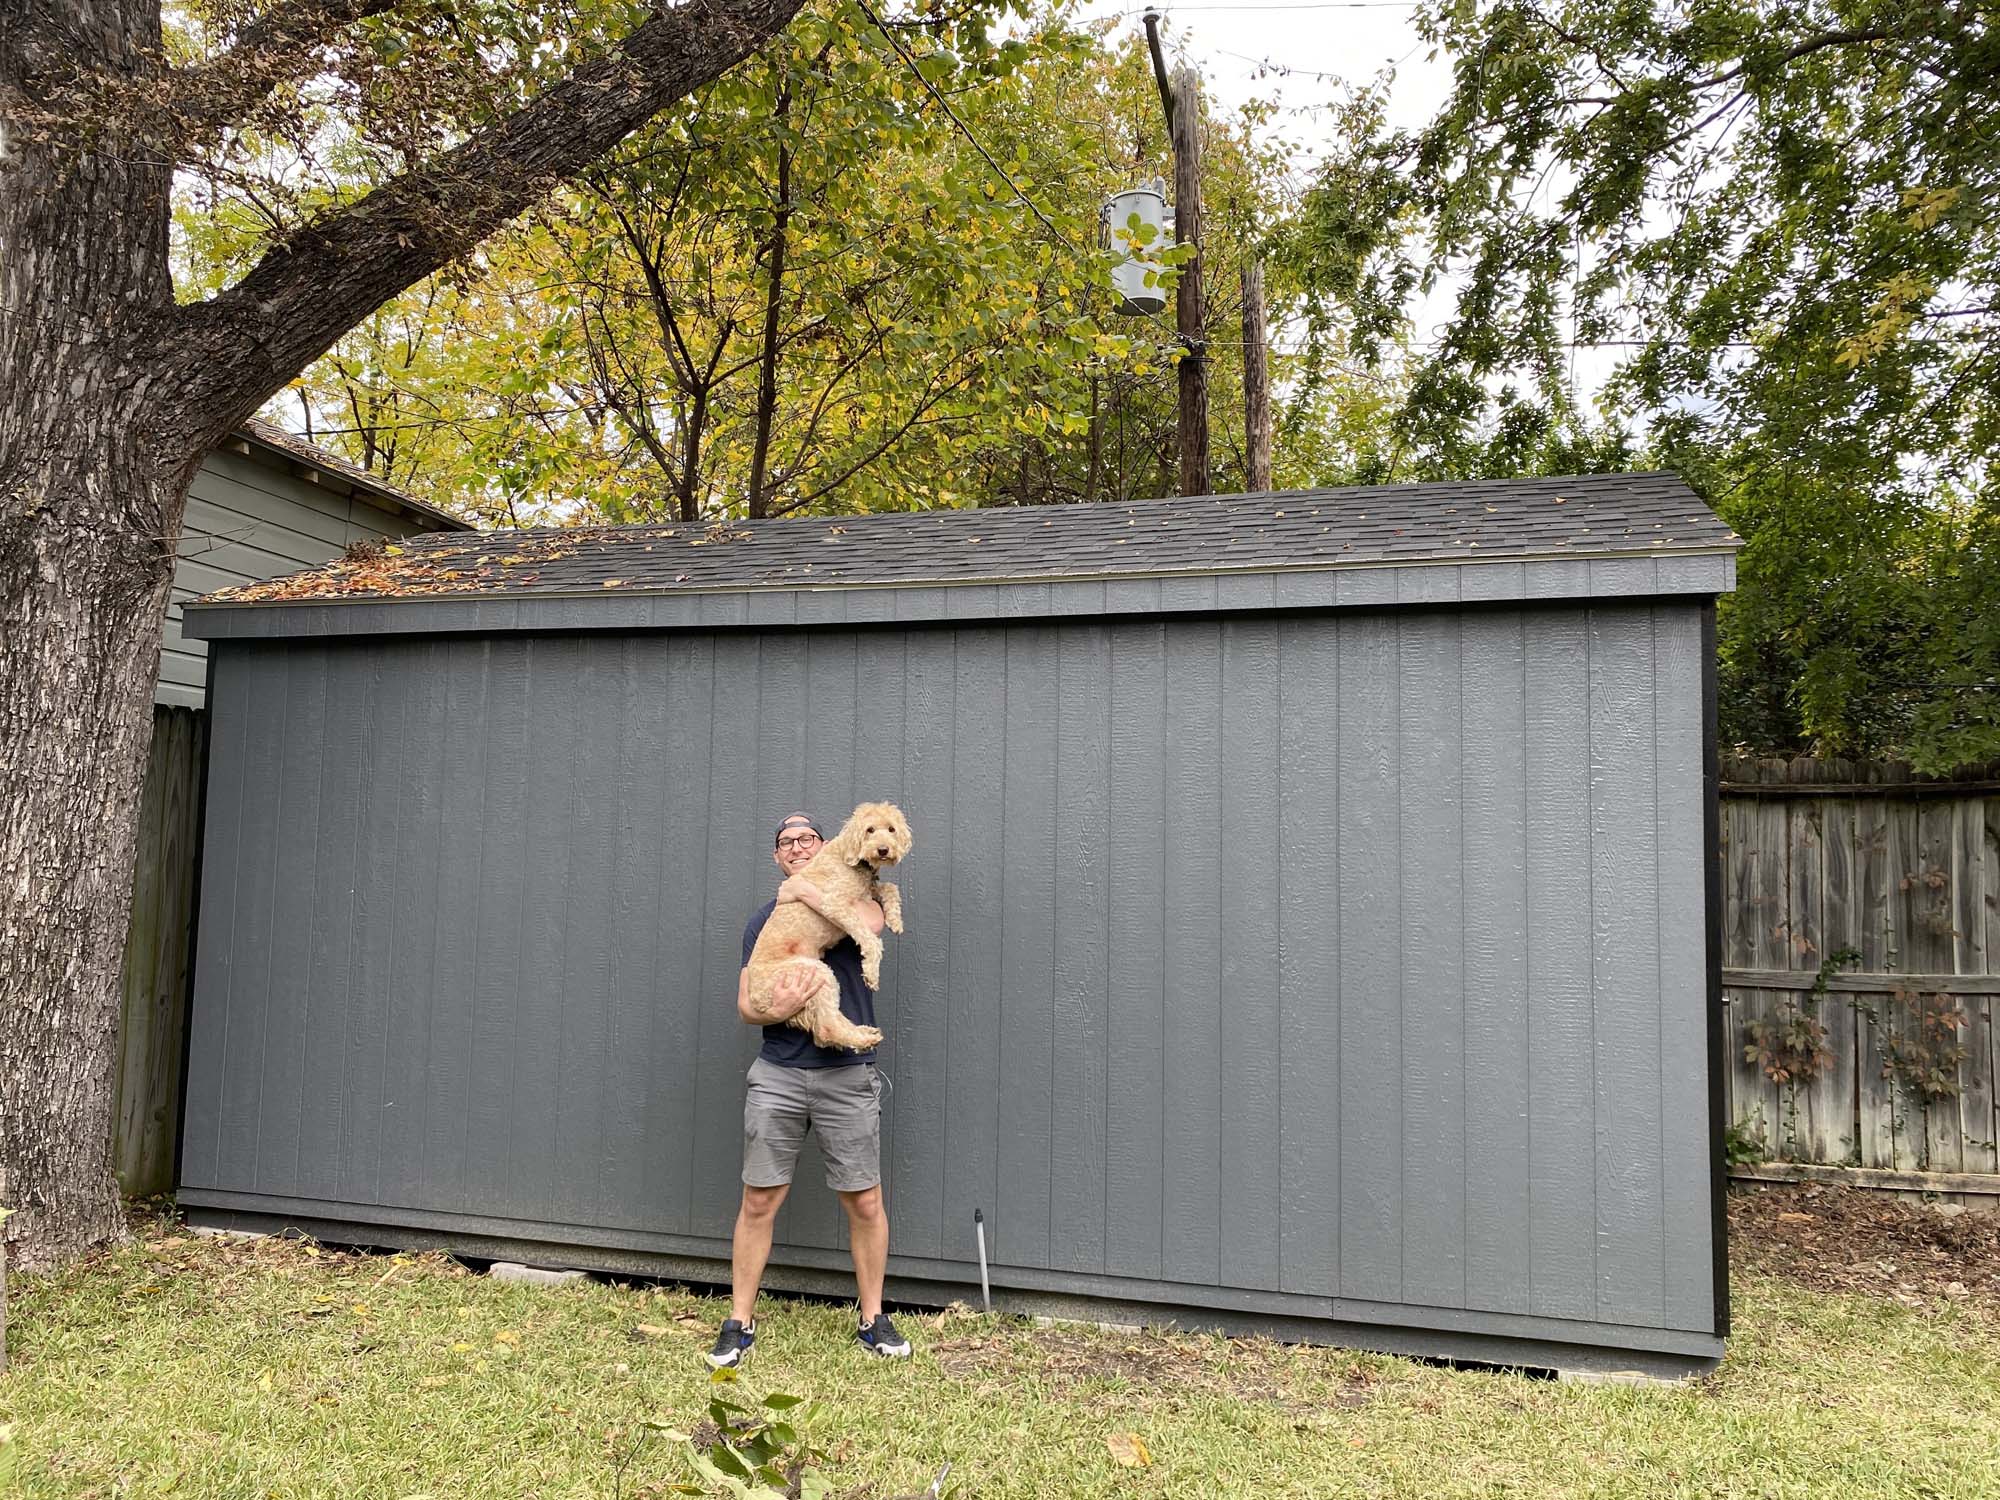
And now I have a shed! Monster is concerned that it may be too much house for him to handle, I haven't broken the news that it's not actually for him.
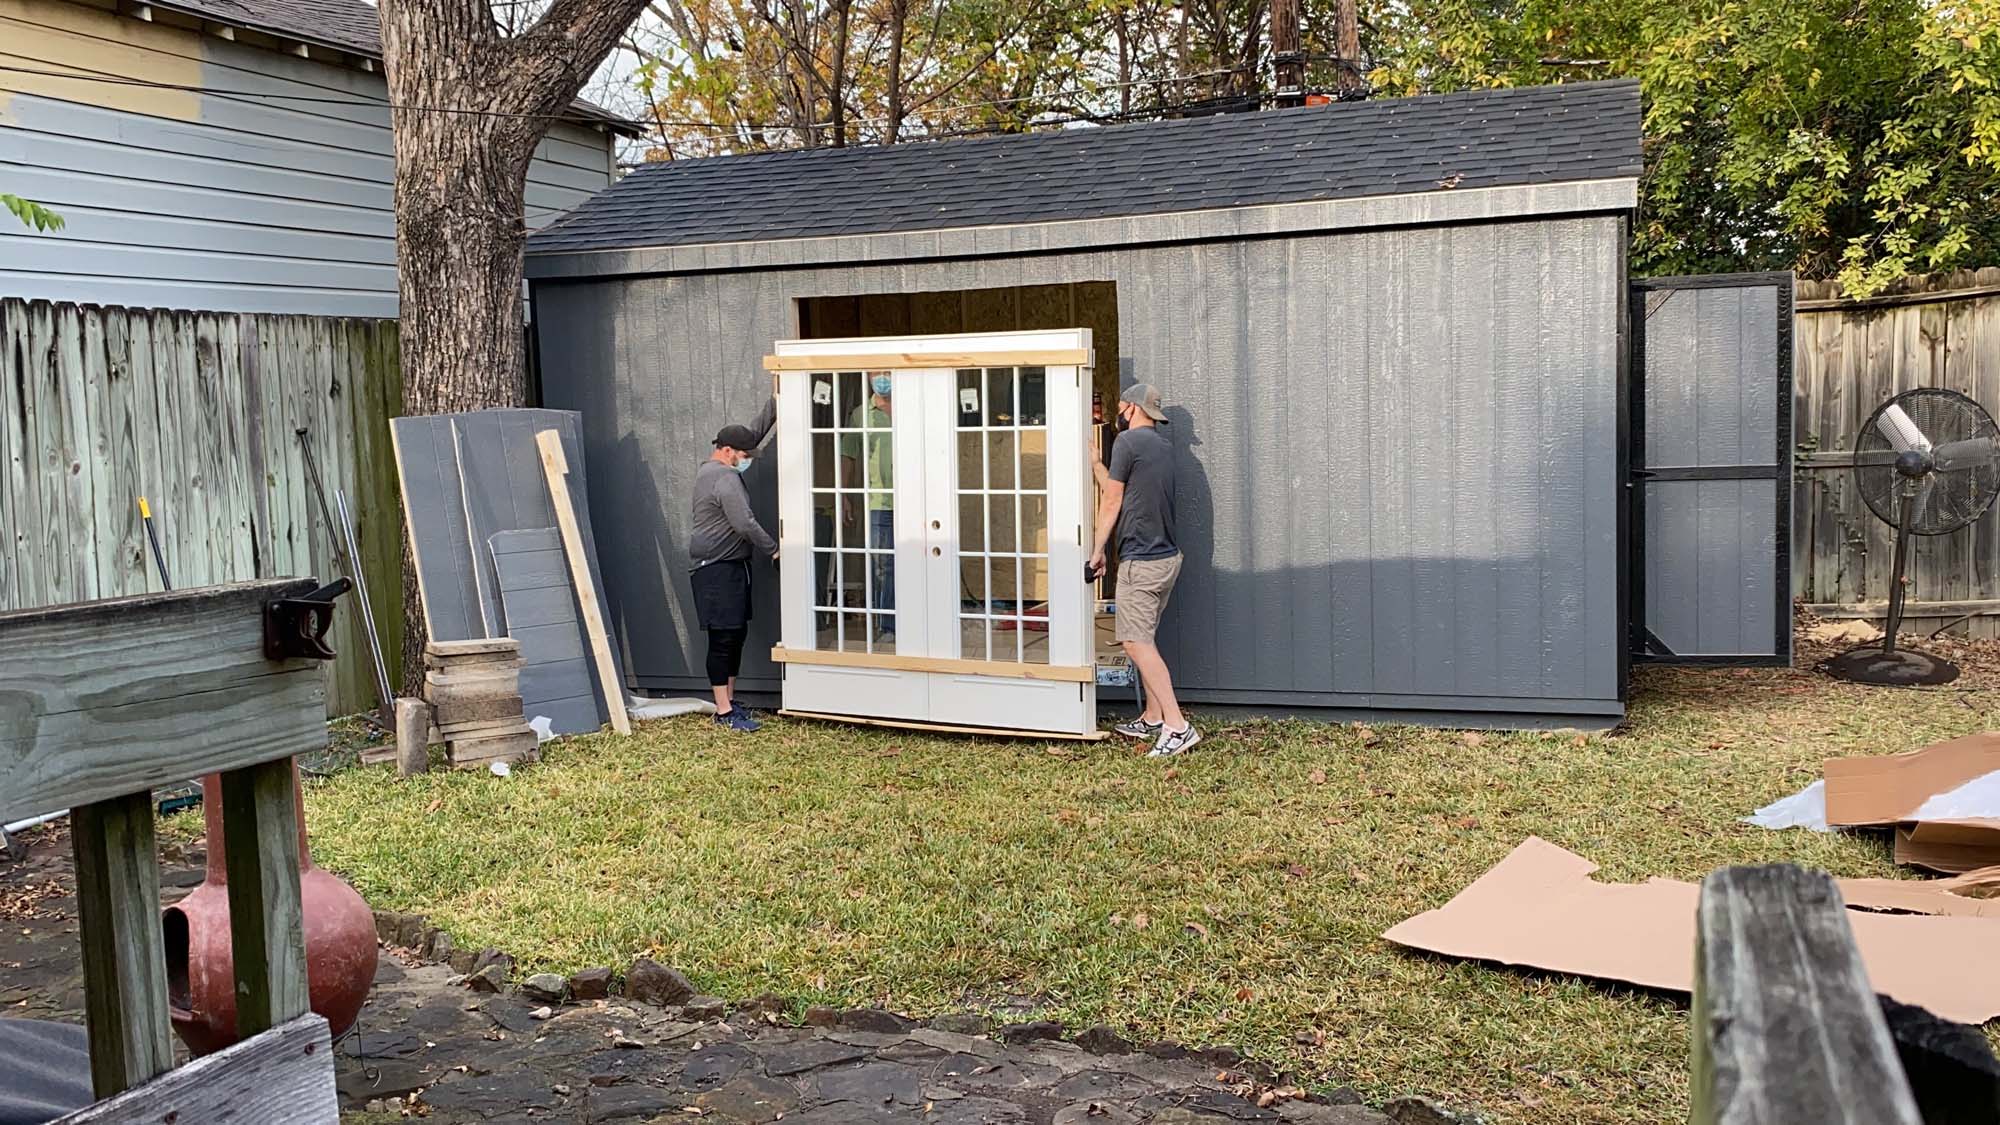
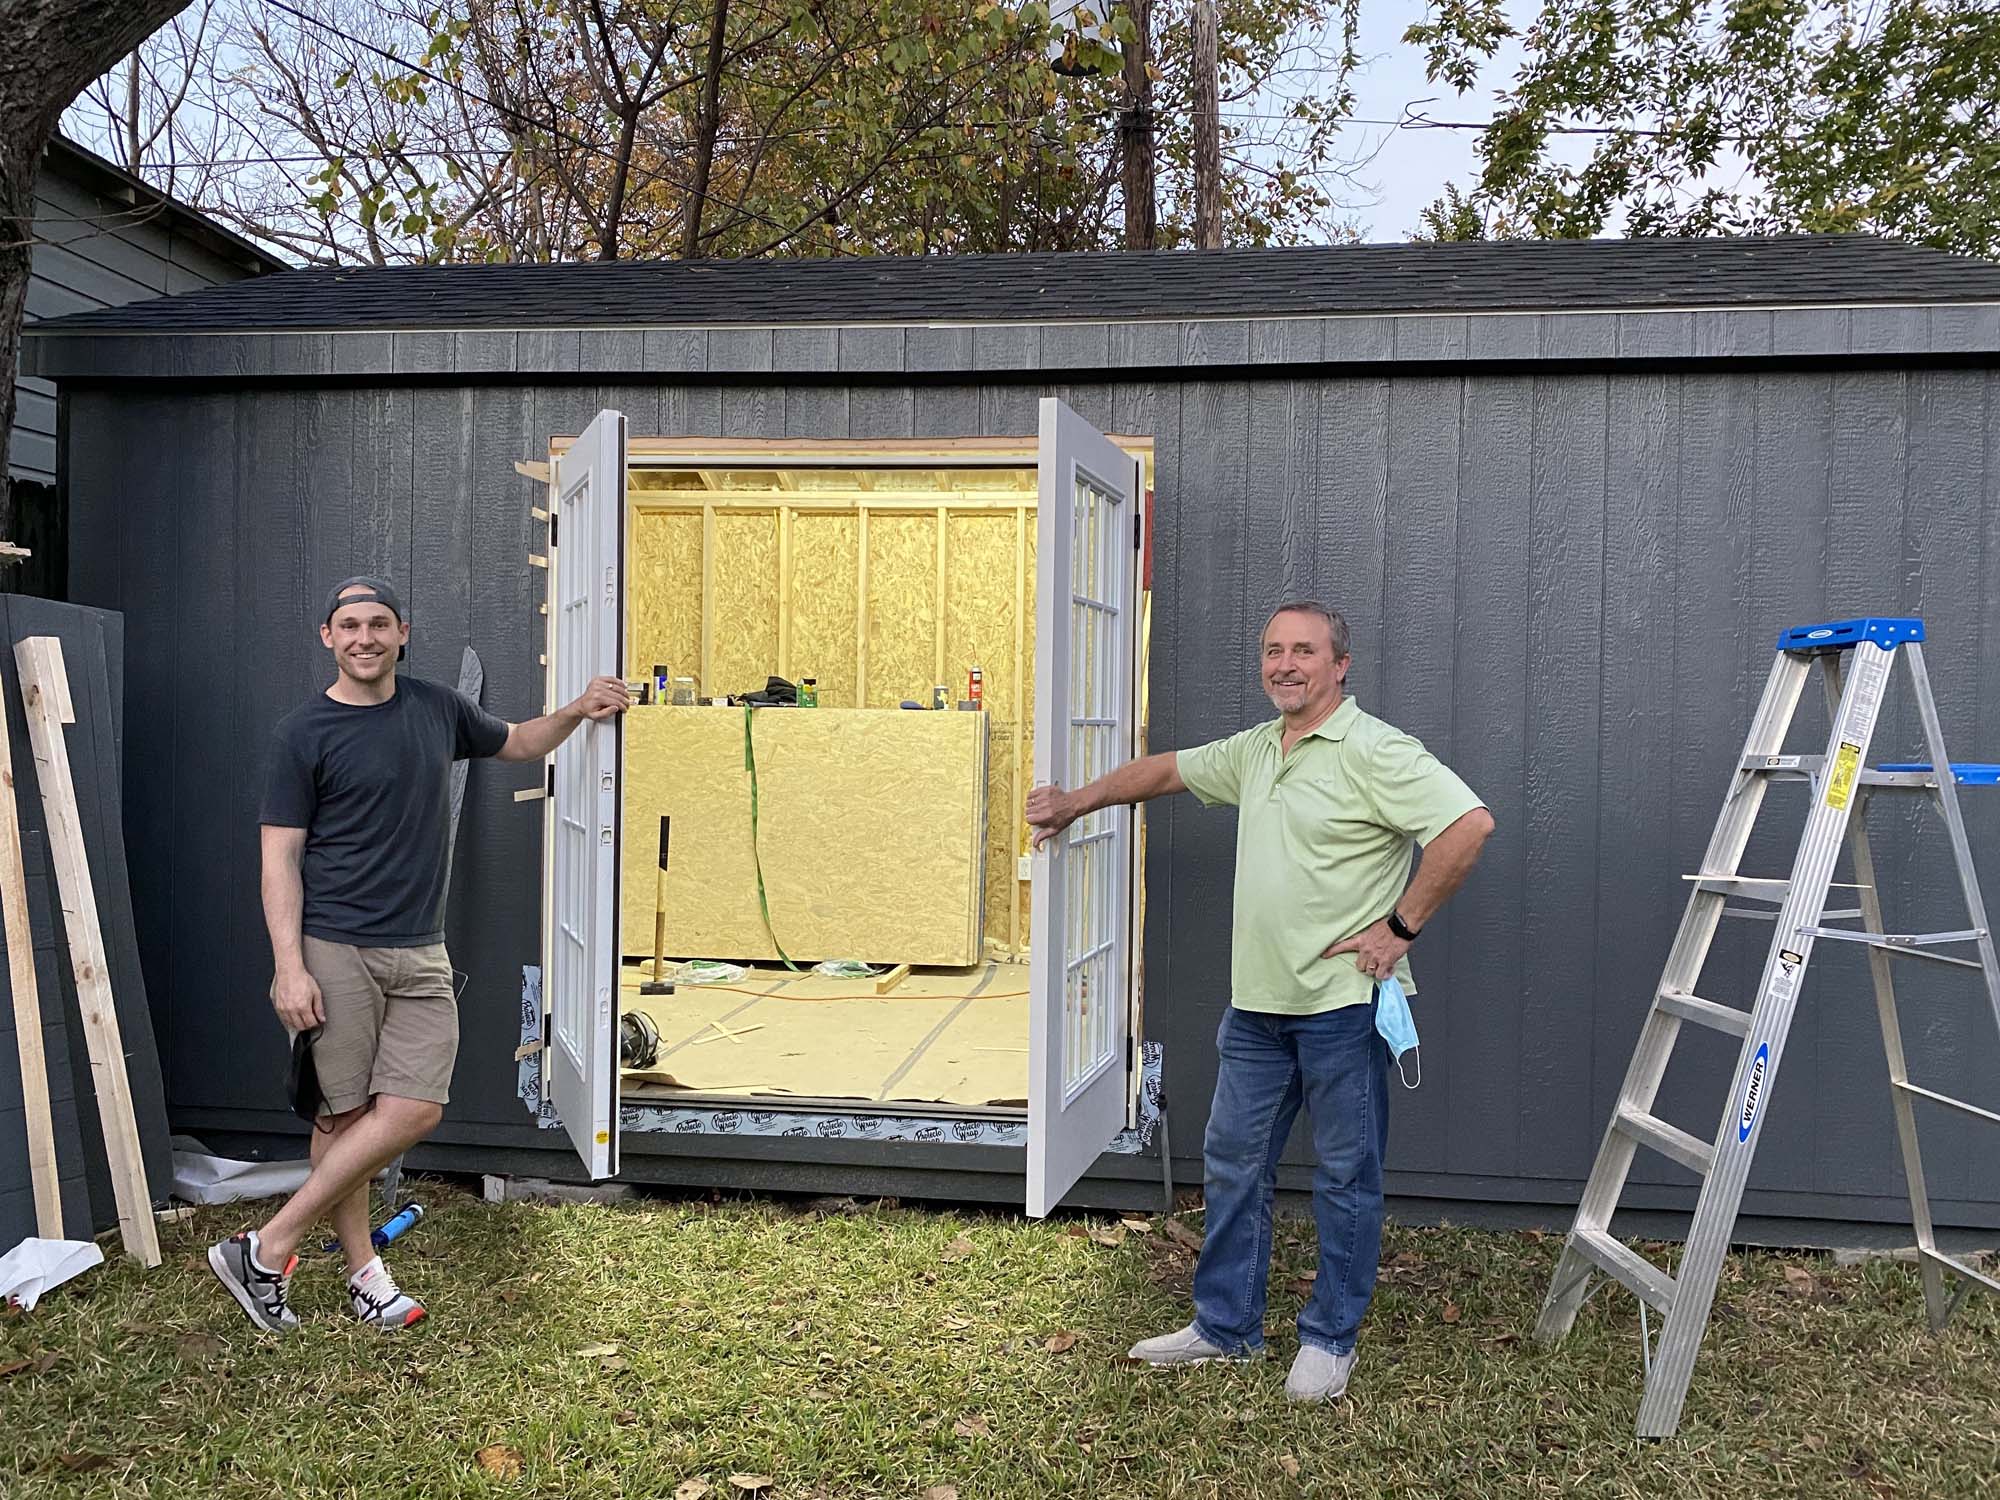
Adding a French Door Because I'm going to be having two
separate partitions in the building with a wall in between, I'll need a way to access the office. The doors that are already present on the shed access the tool/yard storage area. When I was designing the shed I had the option to add a door and some windows using their online design tool, but everything they offer is geared towards sheds because... they build sheds. I wanted something that looked a little nicer since this is going to be my office and take up a large portion of our yard. One of my friends recommended that I put in french doors that can serve both as an access point and let in a ton of light. I found a good local lumber company that I bought the door from. I was able to customize it so that it swings out instead of in, because there isn't a ton of room for an in-swinging door in the office. They also delivered it for me. Turns out it's very very heavy. And beautiful!
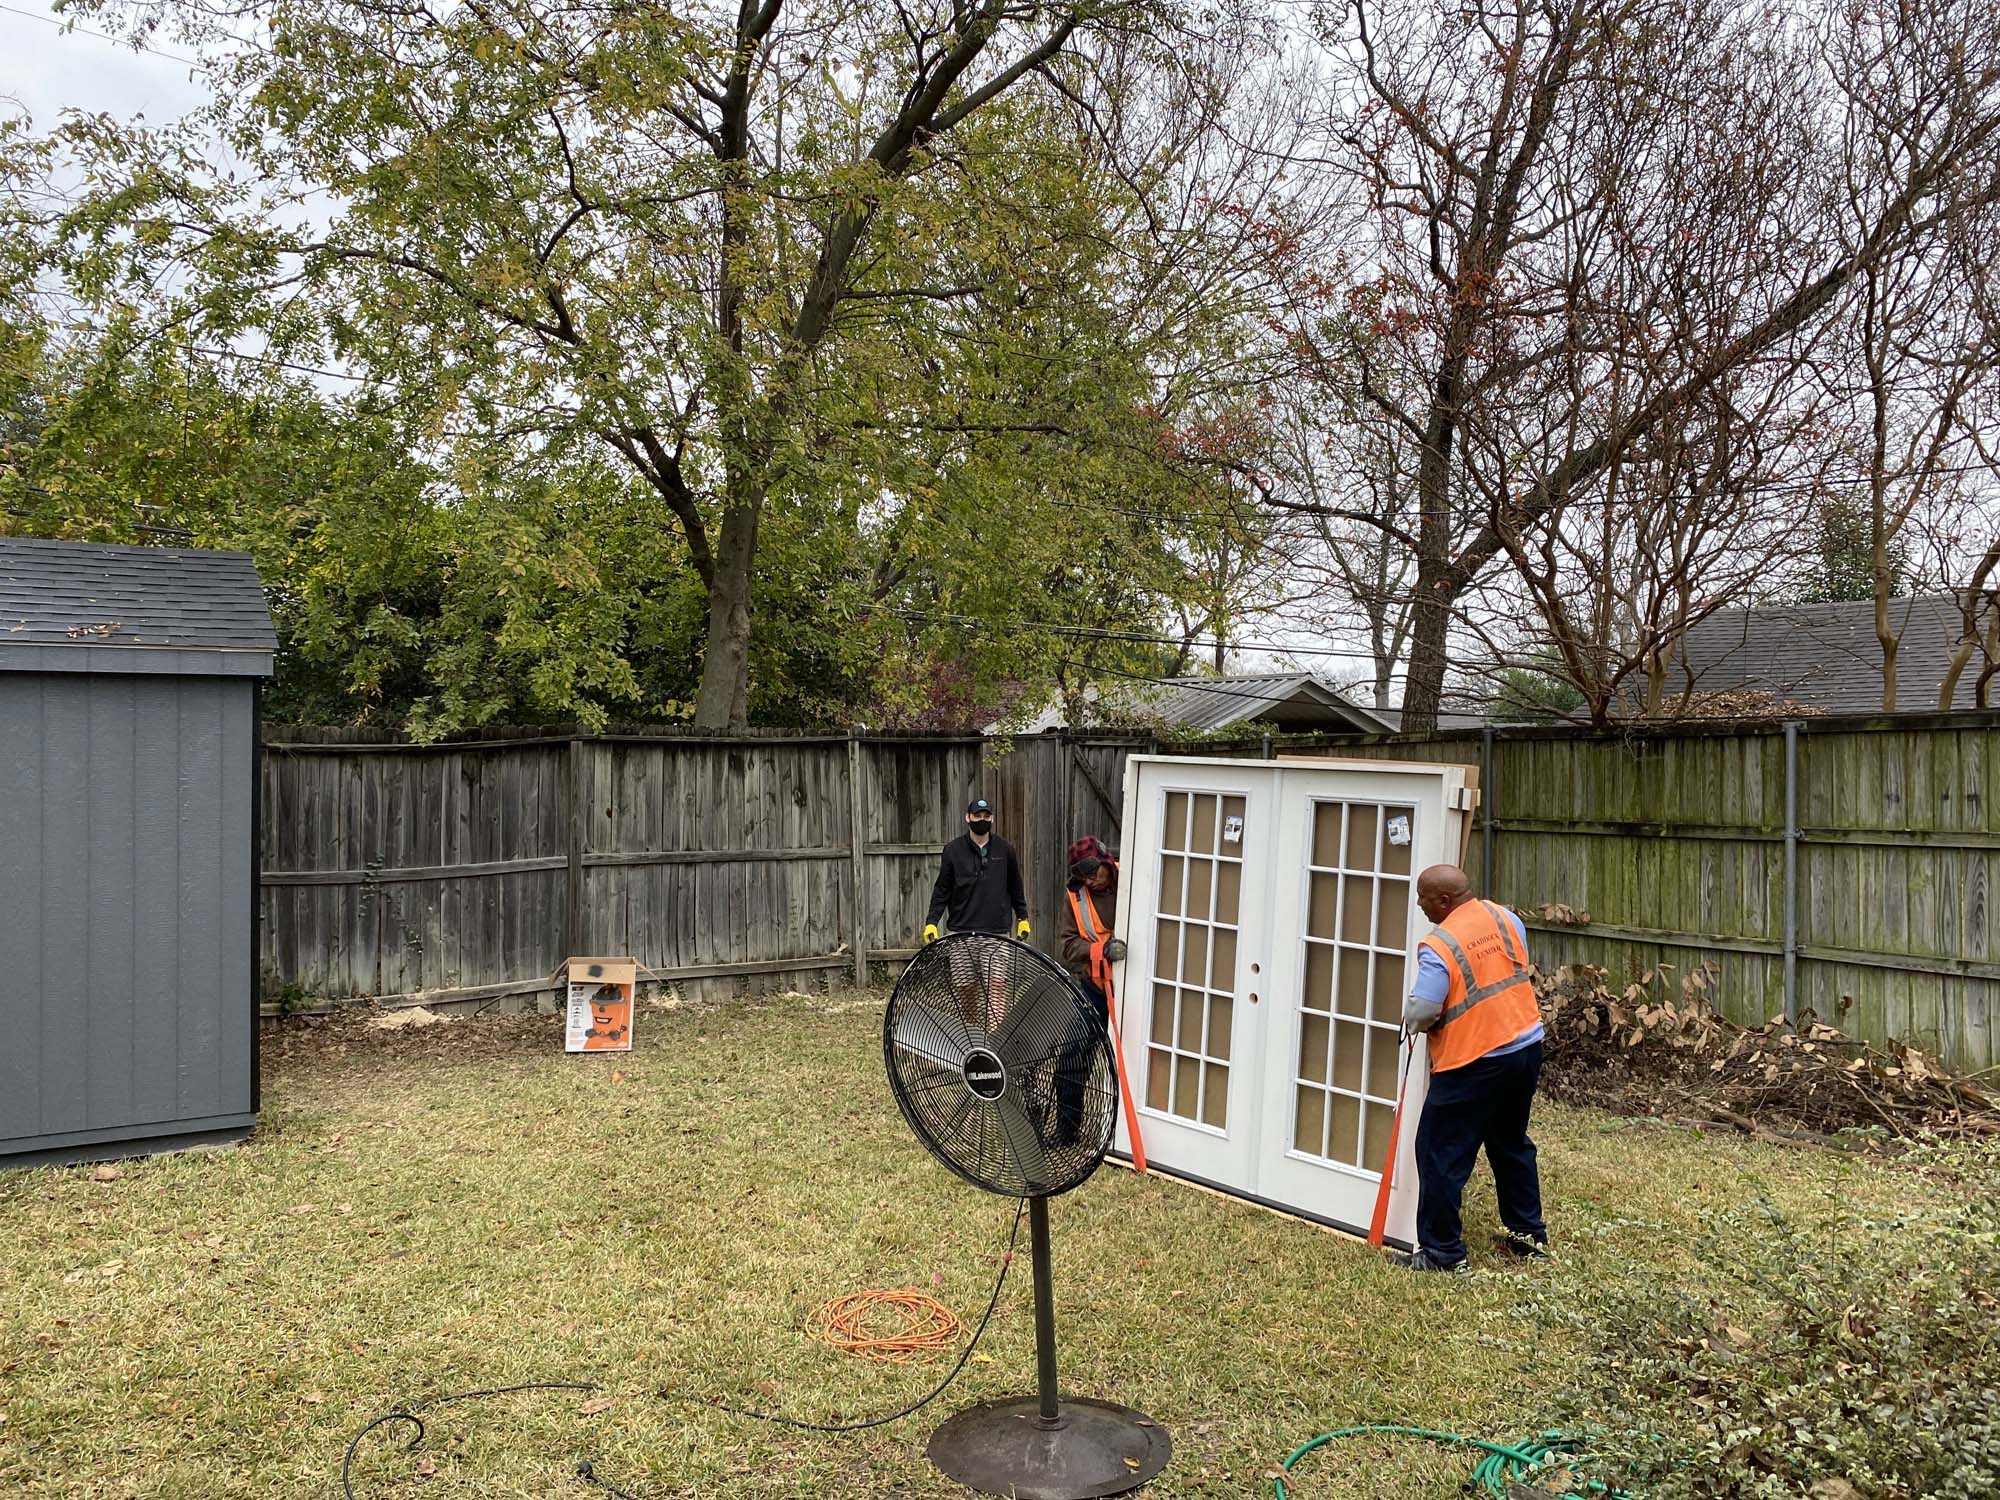
For this part of the project I recruited my Dad and my brother-in-law because I knew it was going to be a tough one to do solo.
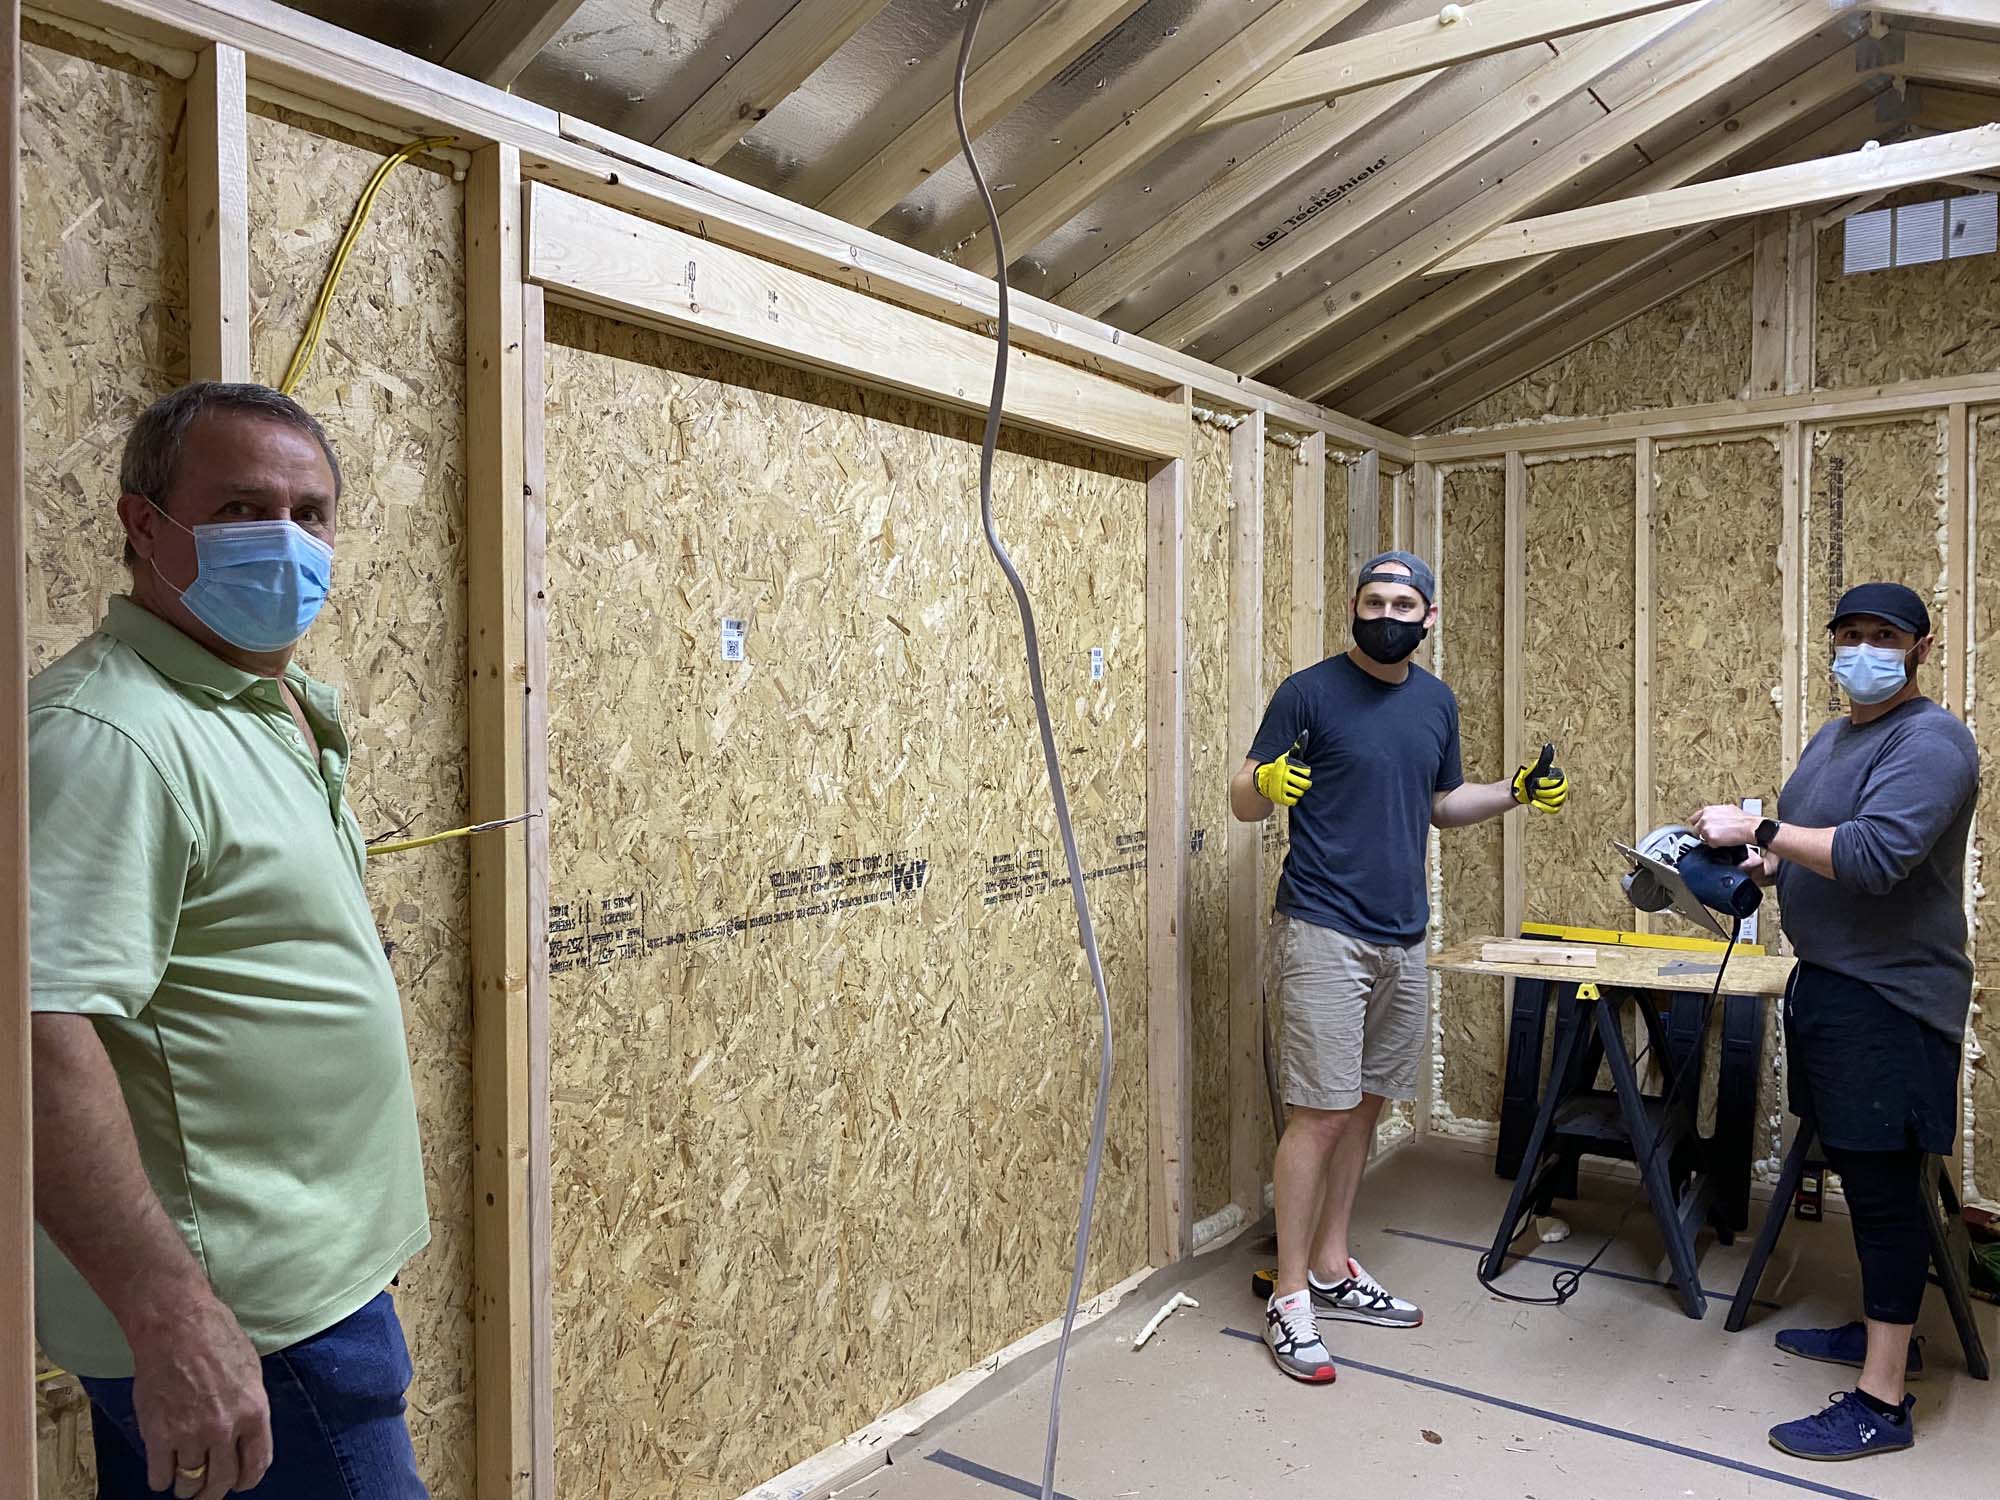
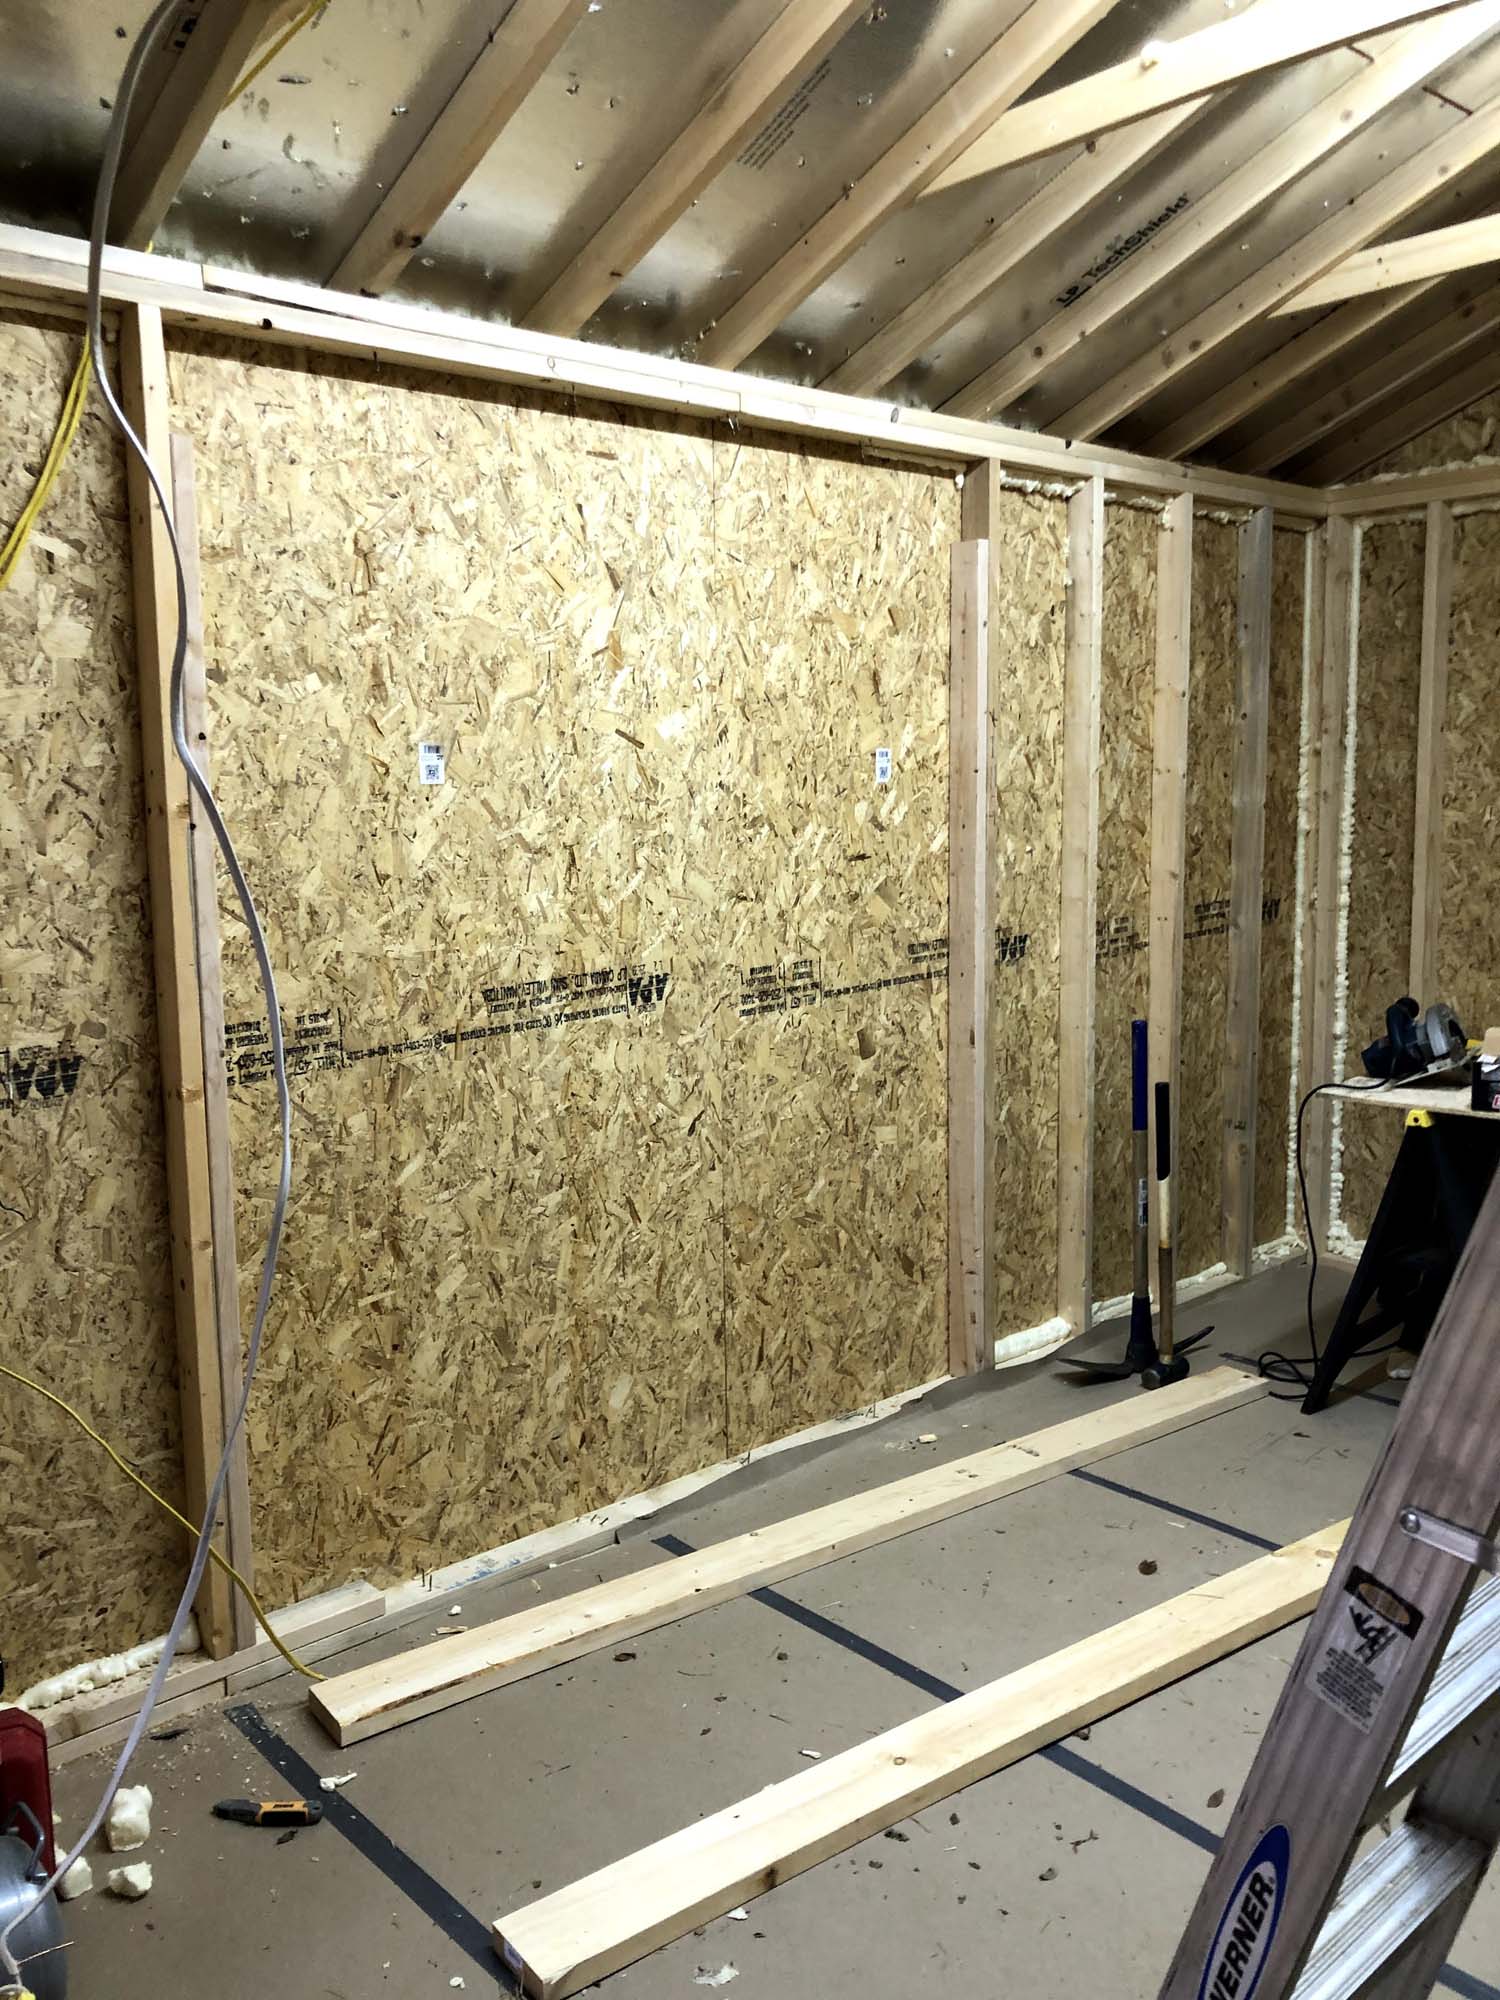
We started by clearing the studs out of the section that the door was going to fit in. The placement was figured so that I have enough room to put my desk in one corner without it overlapping into the door. We used a combo of sledgehammer + prybar to get the studs out. Note that this shed is so small (and has the loft wall), that there is basically no load carried by this wall, so we could just knock the studs out without worrying. We did of course frame the door in, but there's just so little to worry about in this regard because of the size of the building. If you do something like this, don't listen to some guy on the internet, ask someone who actually knows what they're doing.
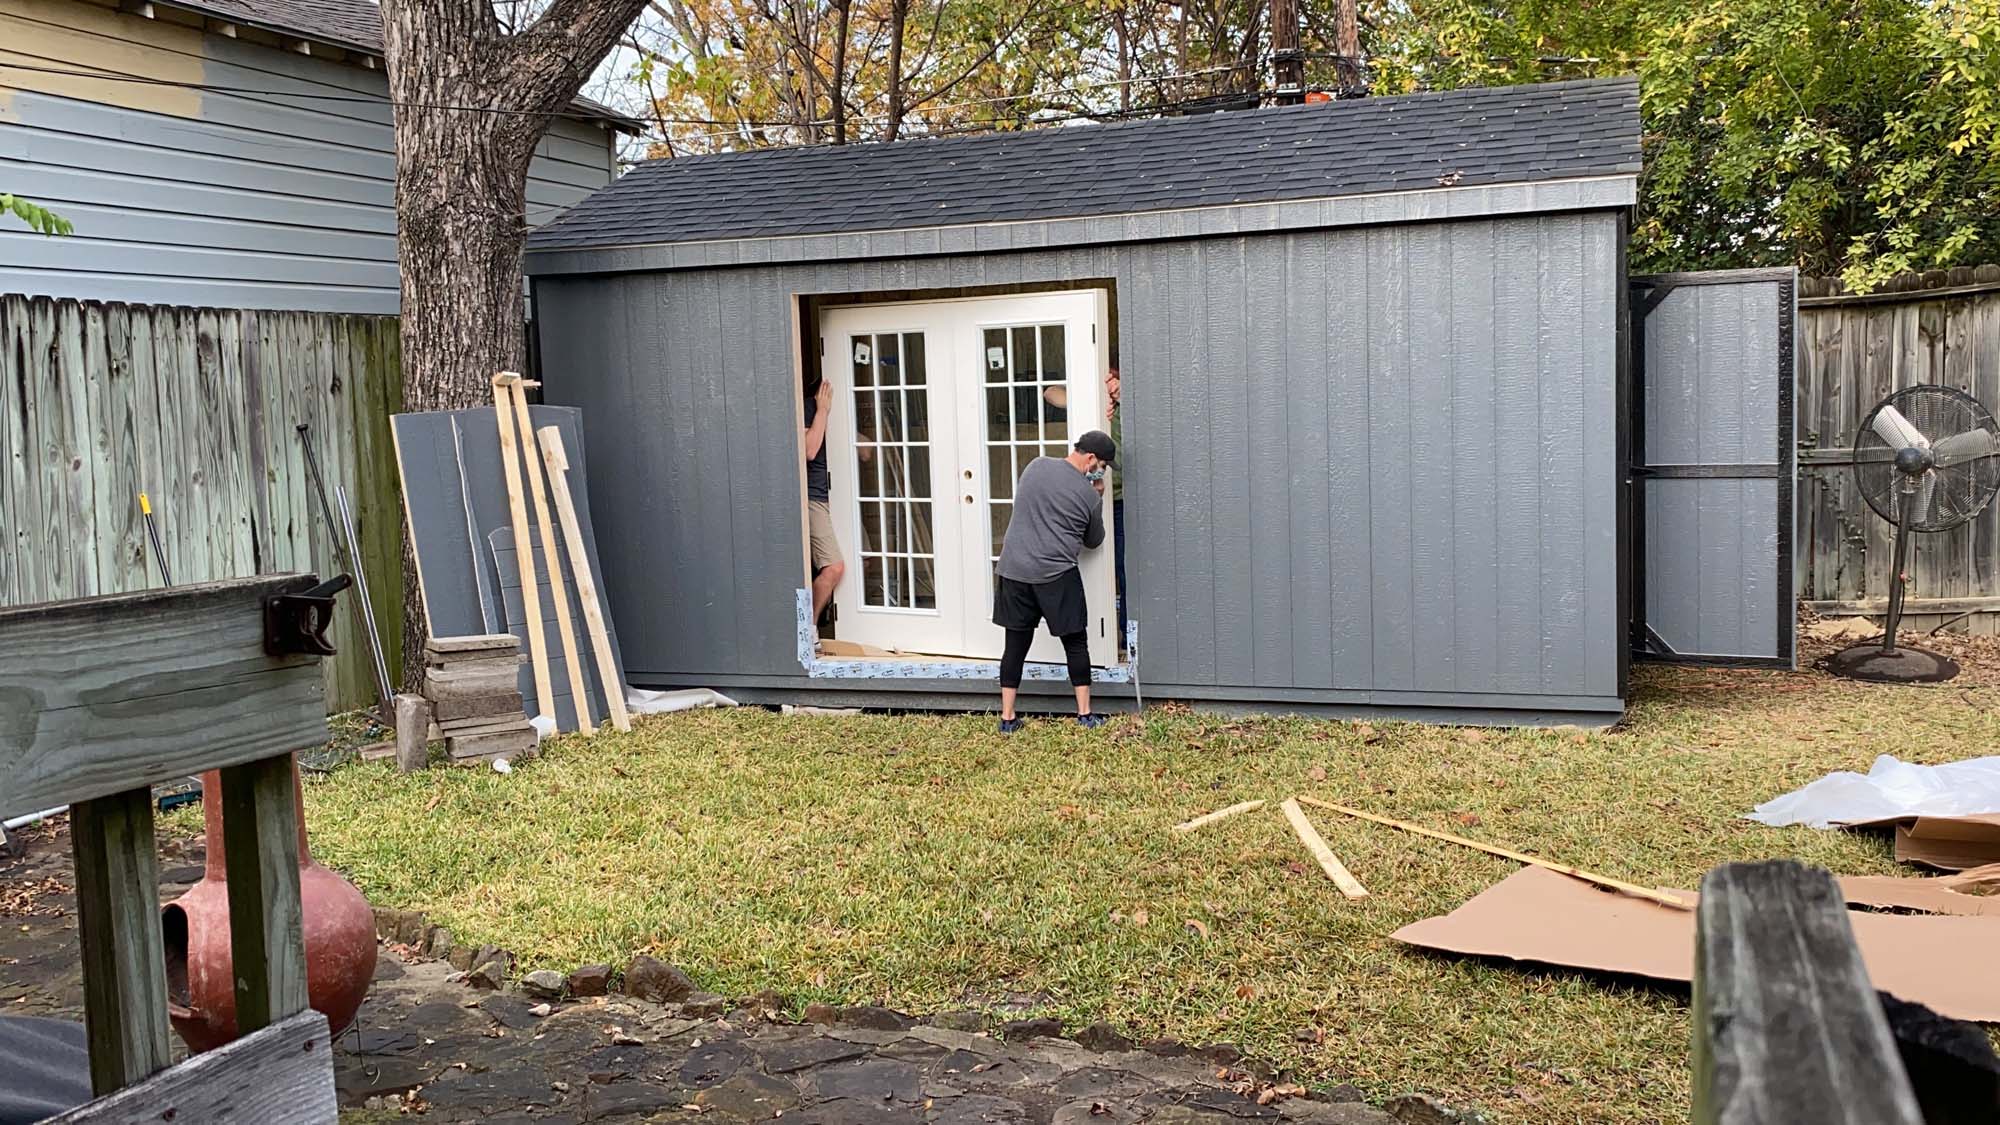
Once we got it framed up, we took a sawzall and just started cutting it out! There's no going back from this point, which was very scary.
With the wall gone, it was time to dry fit the door and start
getting it installed. This was the first time any of us had ever
installed a french door, so I was pleased that we got it pretty
close! I think the rough opening was bigger than it needed to
be, but we added an extra 2x4 and lots of shims and that seemed
to make it fit well enough. ¯\_(ツ)_/¯ Before we did this part
I watched a lot of videos on YouTube, and my neighbor (who is a
proper woodworker) drew out a
diagram of what
the framing should look like when it was done. Super grateful he
did.
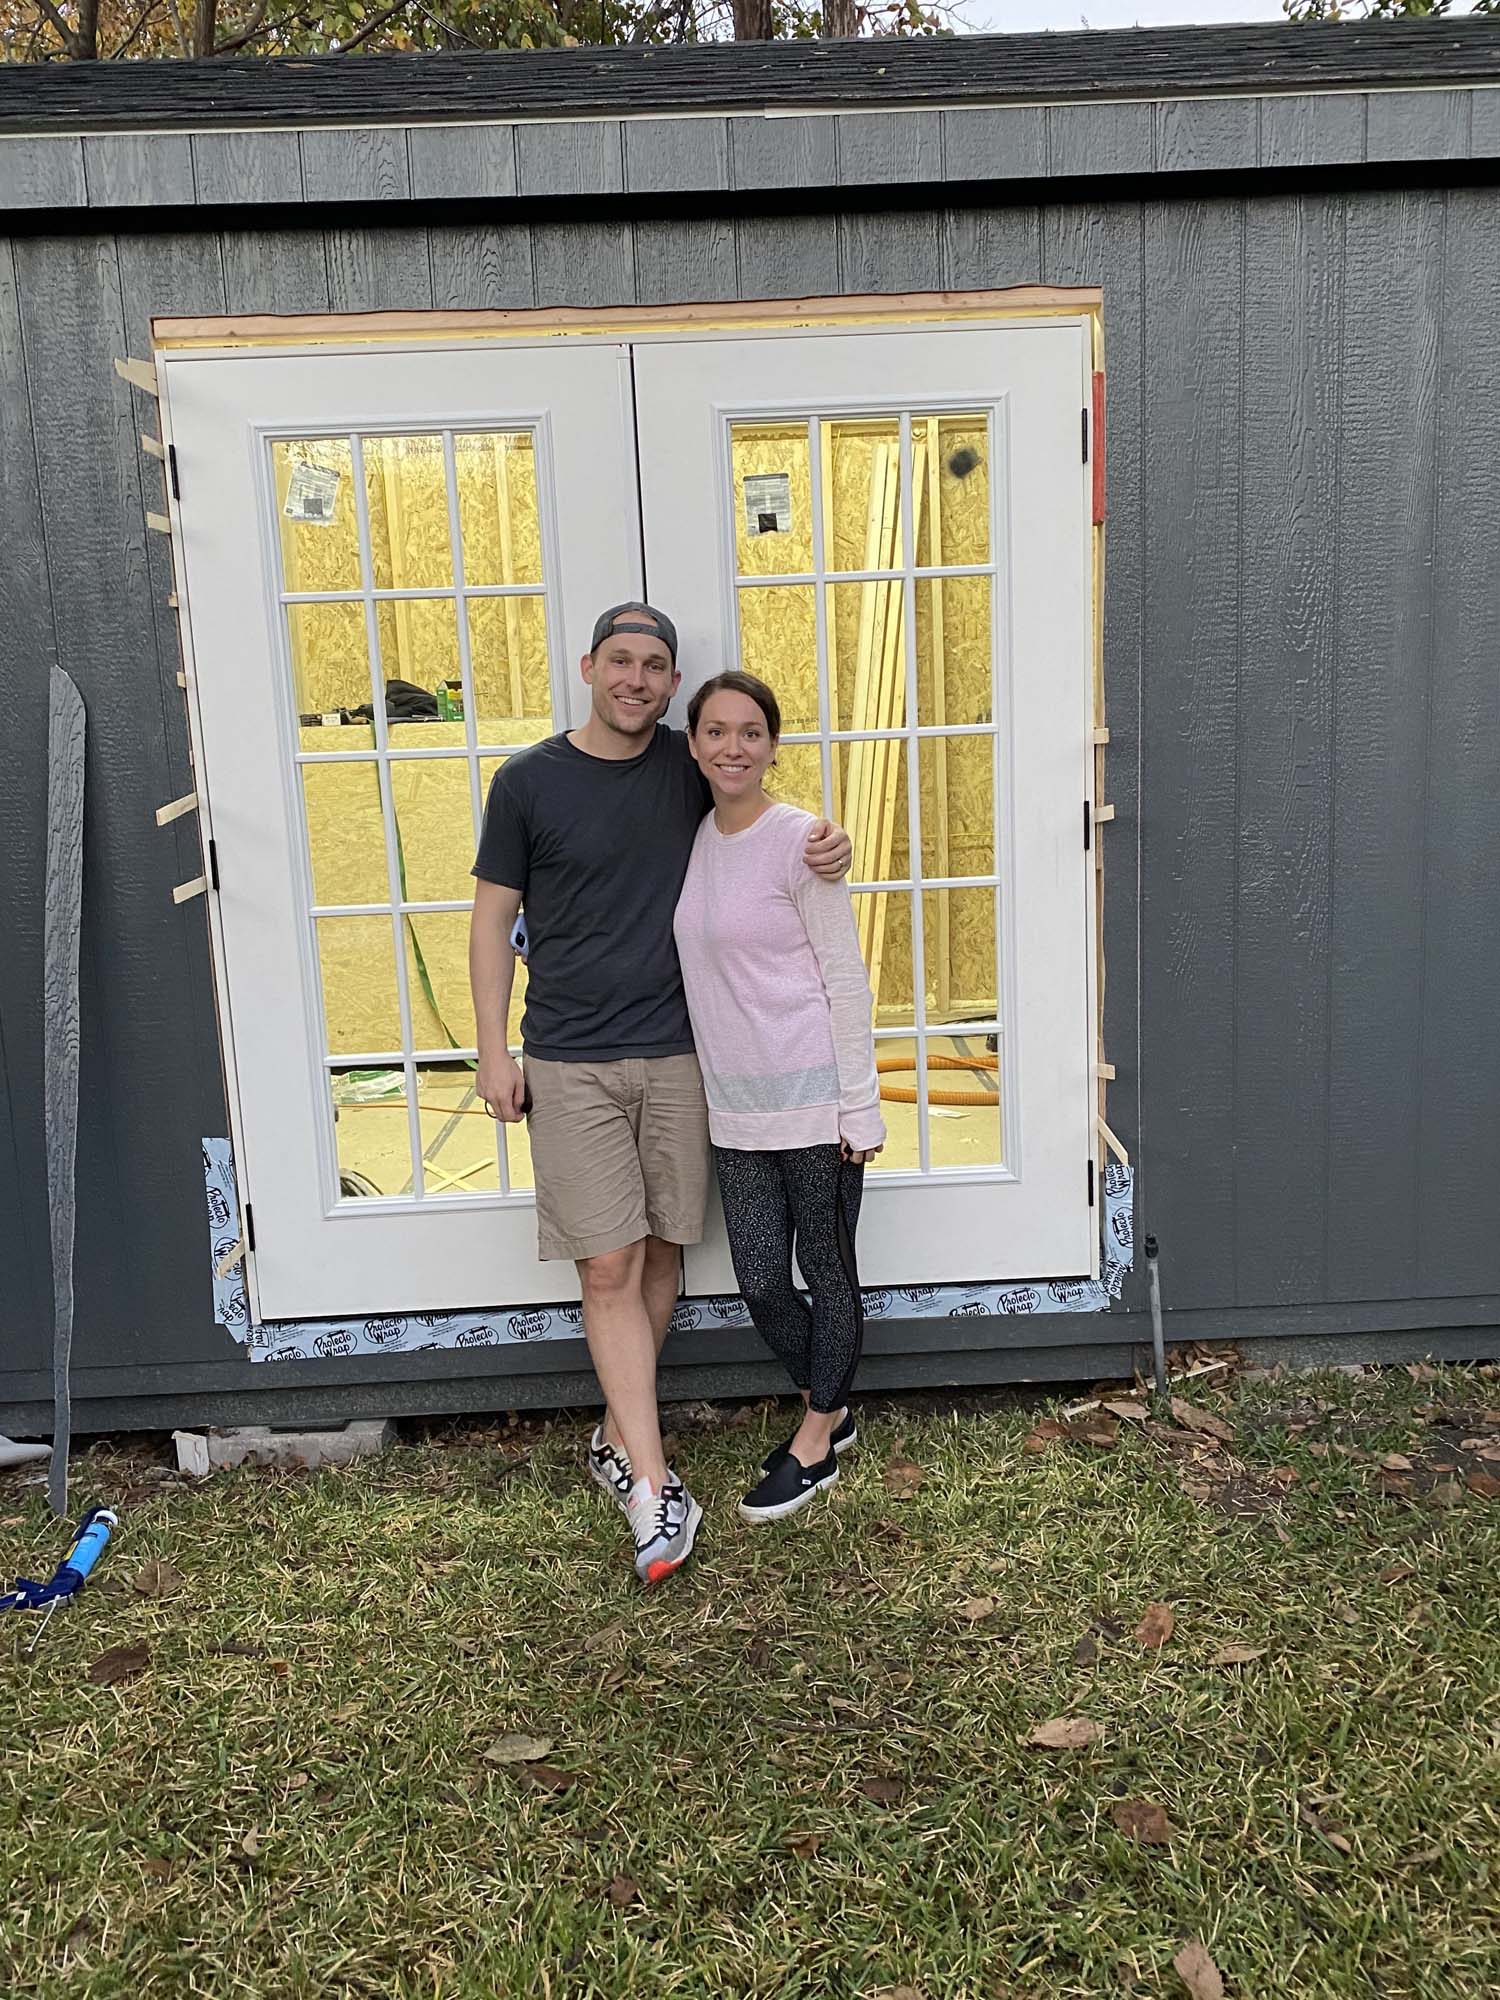
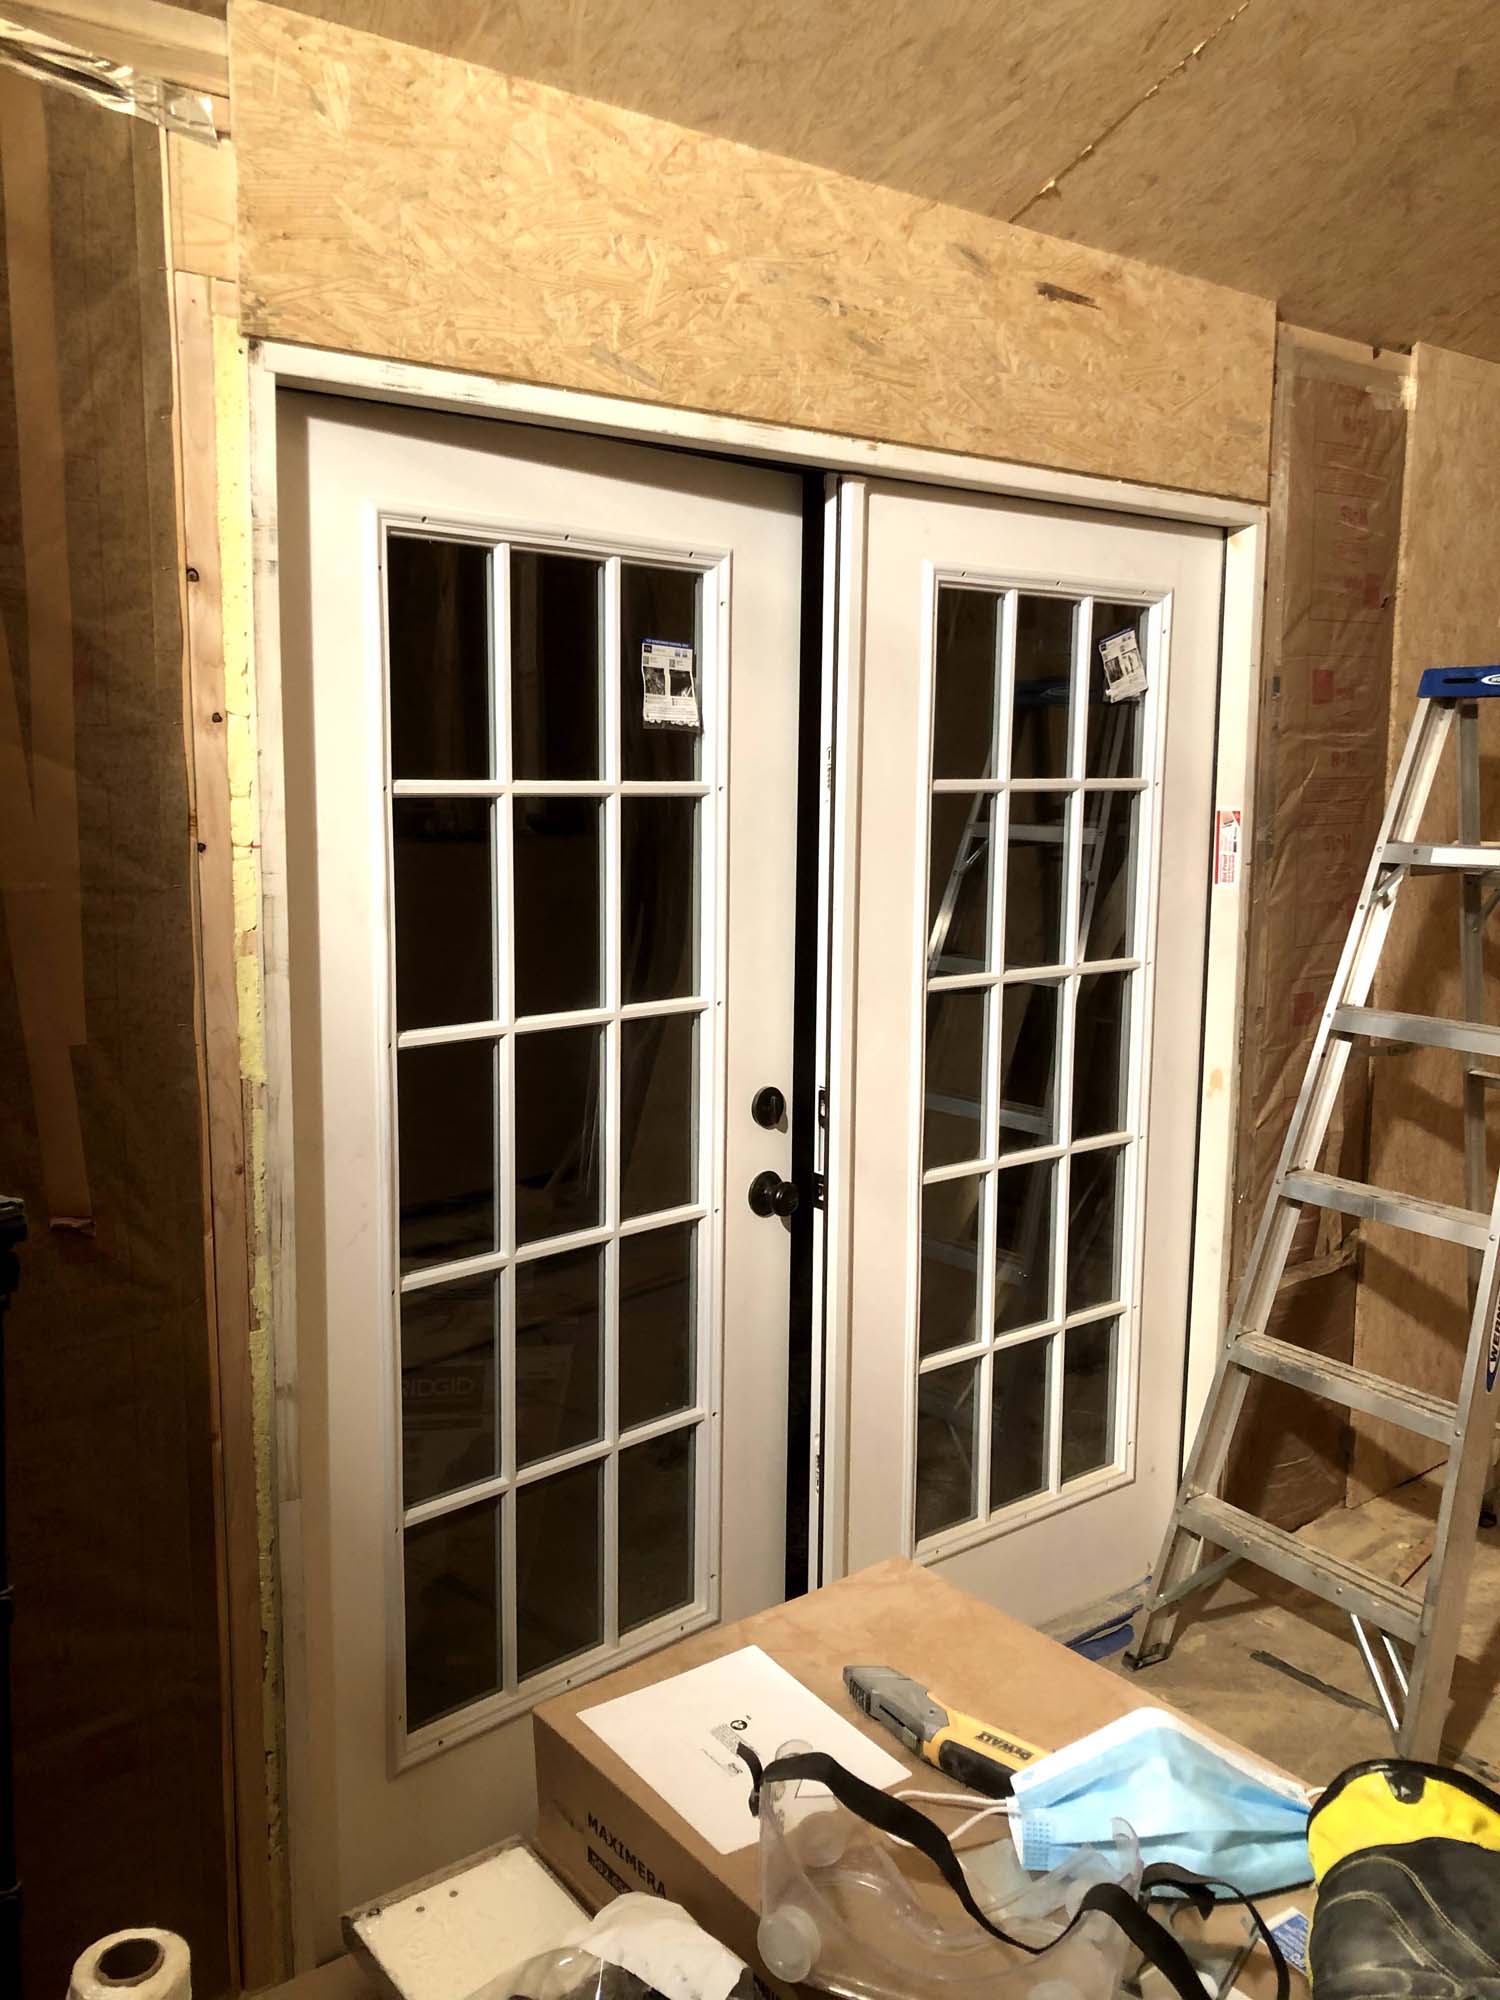
After a lot of shuffling, shimming, and screwing, we have a working door!
A picture with my Dad and the finished product
And a picture with the real boss, the project supervisor: my wife.
And of course, a timelapse!
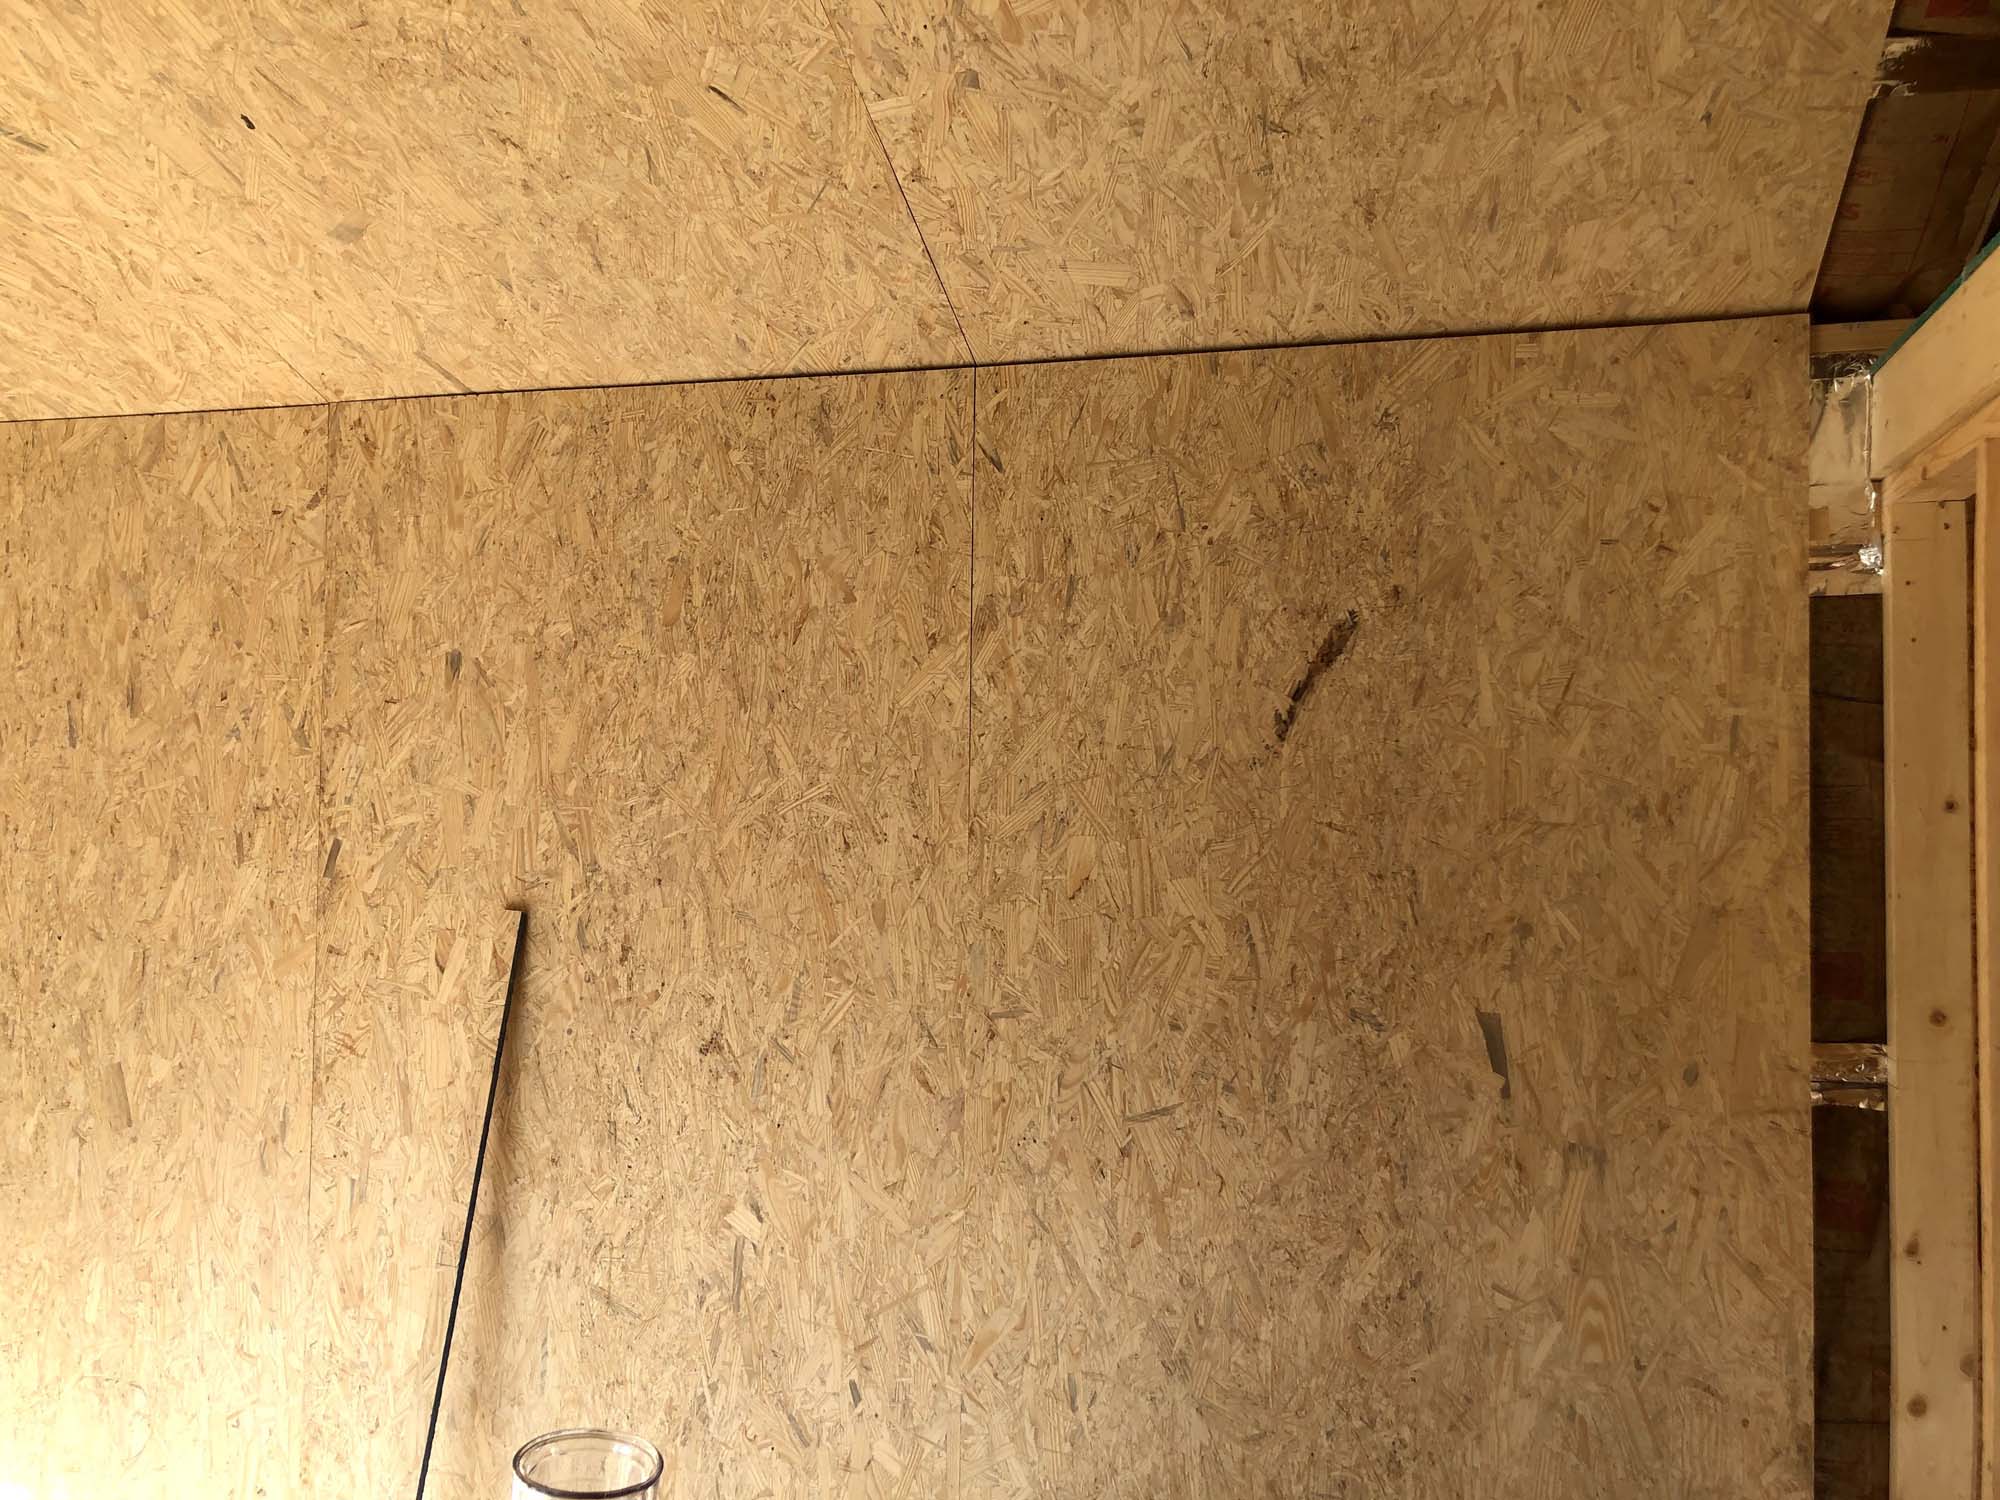
Preparing OSB for Sheathing the Walls The shed came with just
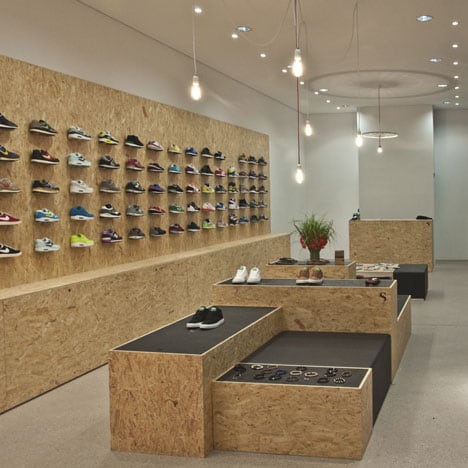
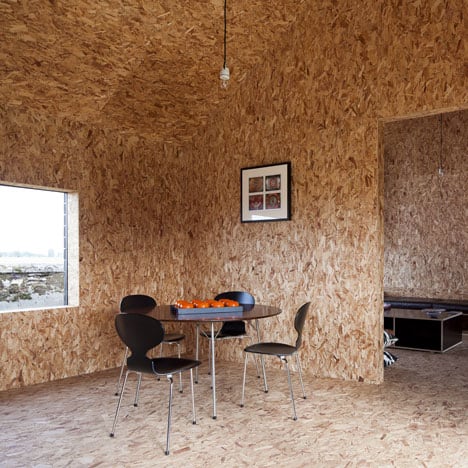
stud walls, so to turn it into a proper shedquarters I'm going to have to cover the studs with something. The most standard choice would be drywall, but I decided to go with something called oriented strand board, or OSB instead. OSB is like plywood, but instead of sheets of wood all pressed together, it's little bits of wood that is compressed. Here's a closeup:

I went with OSB for a couple of reasons - it is way stronger than sheetrock, so once it's up I can mount / hang anything anywhere - I think it's going to look cool - I don't know how to do drywall, and don't want to learn right now OSB isn't usually used as a finished surface, so it's a bit out of the ordinary. This is what I'm going for:
I pulled the trigger on 22 sheets and got it delivered from my local Lowe's.
OSB by its nature is a very rough, unfinished product. It's not supposed to be used a visible finish material after all! To take it from a rough, splintery construction material to a (hopefully) smooth, finished product it was going to take a massive amount of sanding that I was not going to do by hand. I had a weekend to do all the sanding, so I decided to rent a floor sander from The Home Depot and attack it that way.
By far the biggest pain here was sanding the paint markings off. If I were to do it again I would either 1) not get OSB or 2) find OSB that's unmarked. I can't emphasize what a massive pain it was. I would sand the whole thing with the floor sander, and then have to go back down the middle with a belt sander to hit the paint a bit harder, and then redo it with the floor sander to smooth it all out. It took probably 18 - 20 hours? I think it's going to look amazing, but I'm not sure it was worth the time or effort.

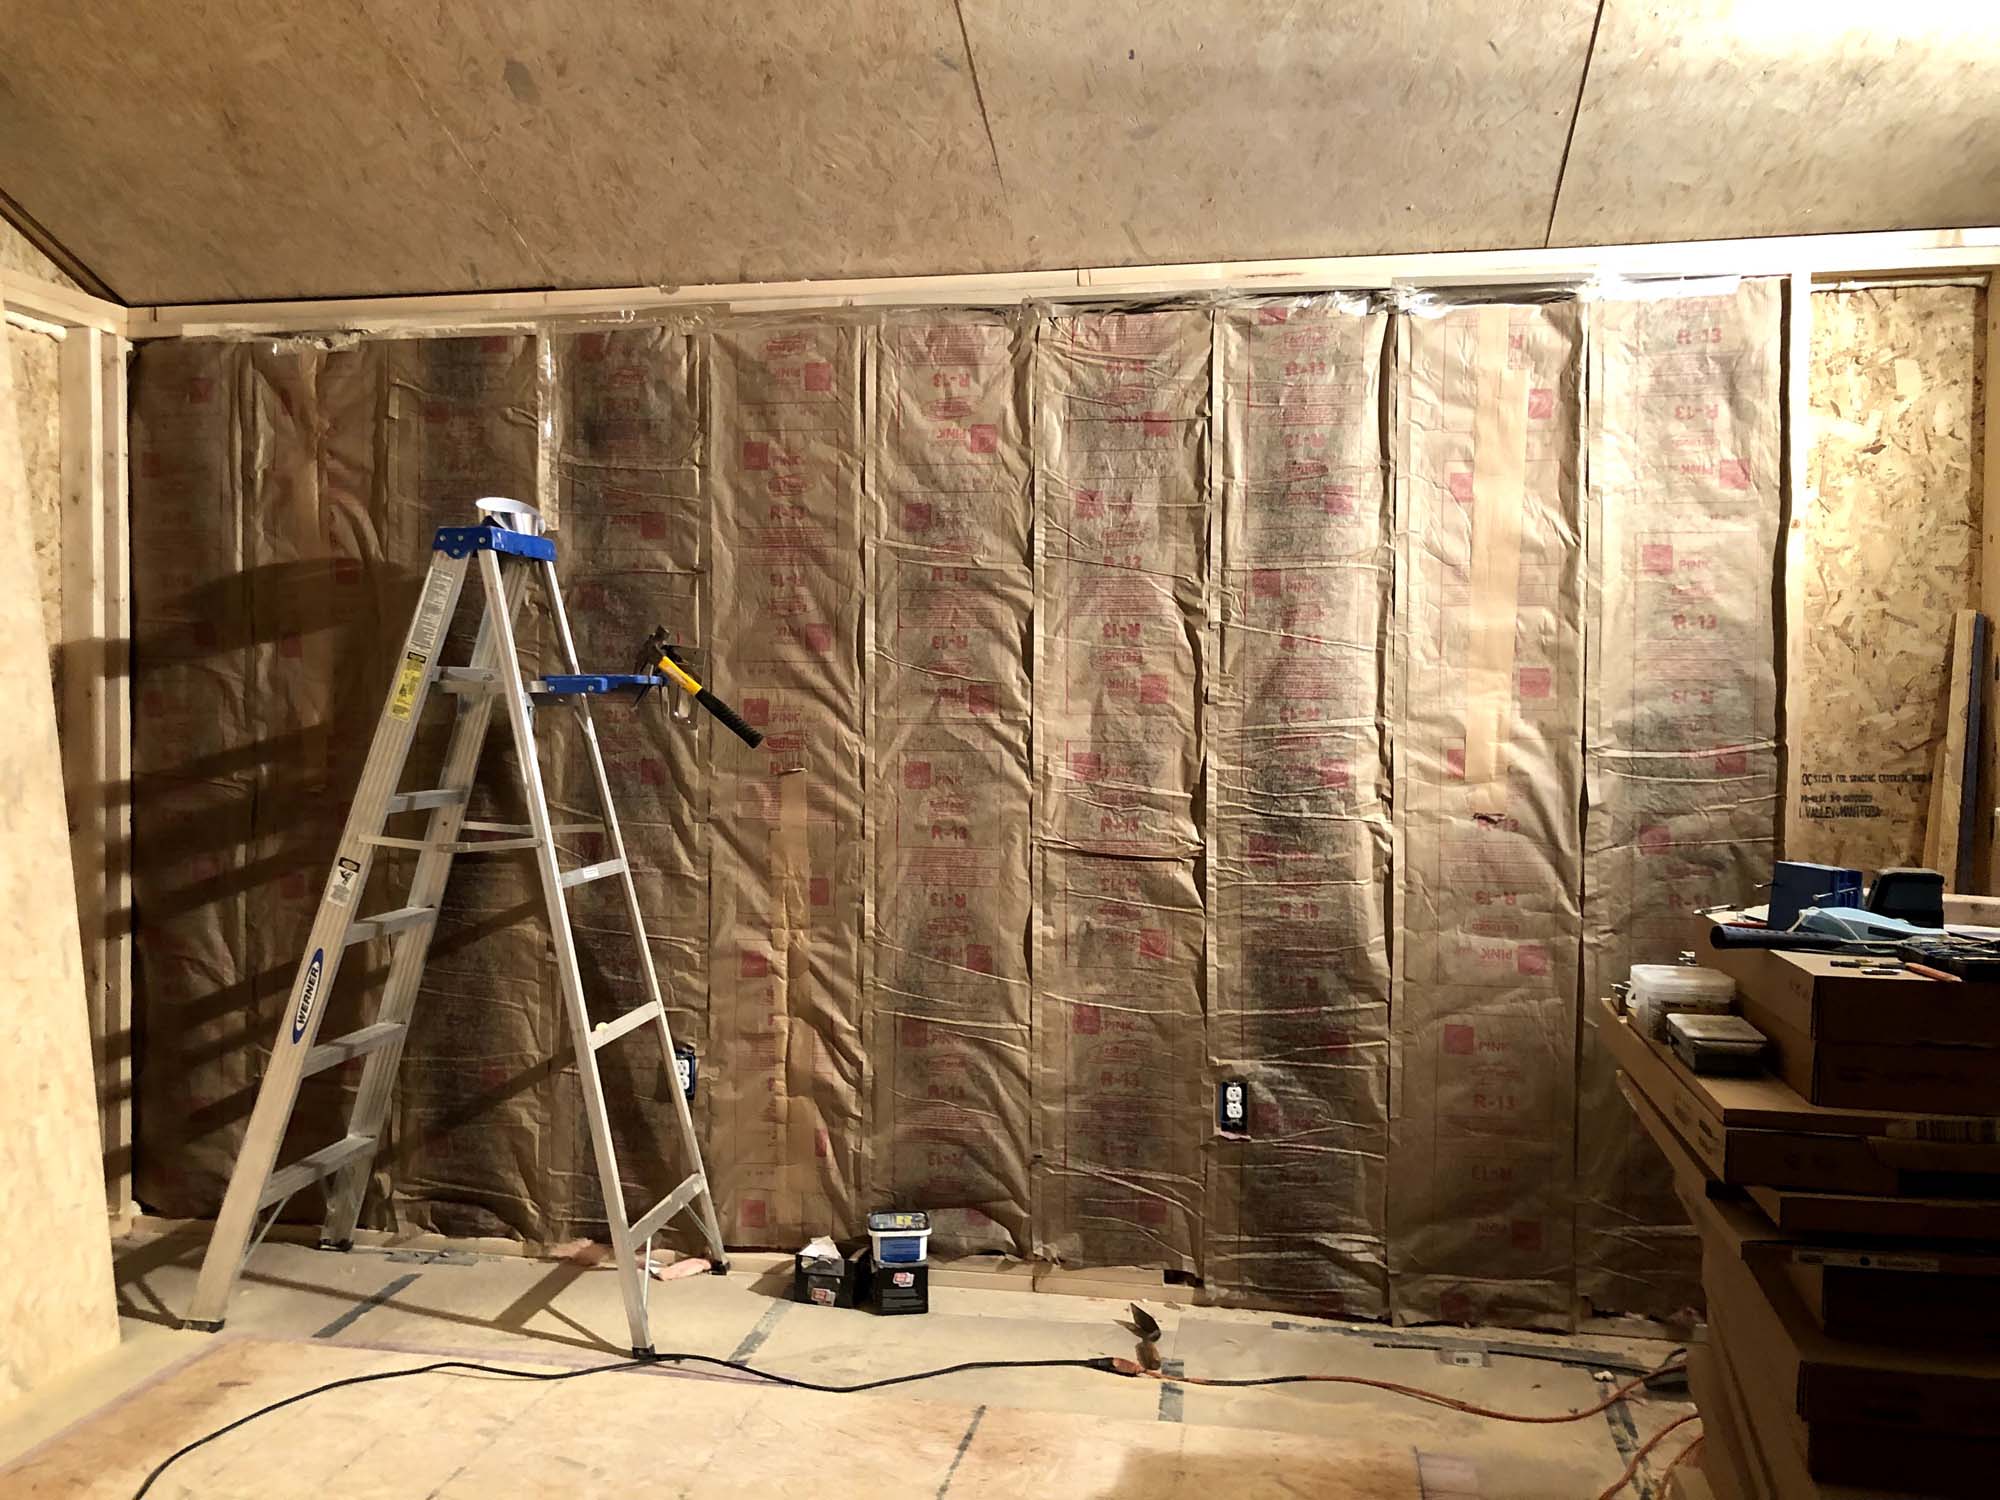
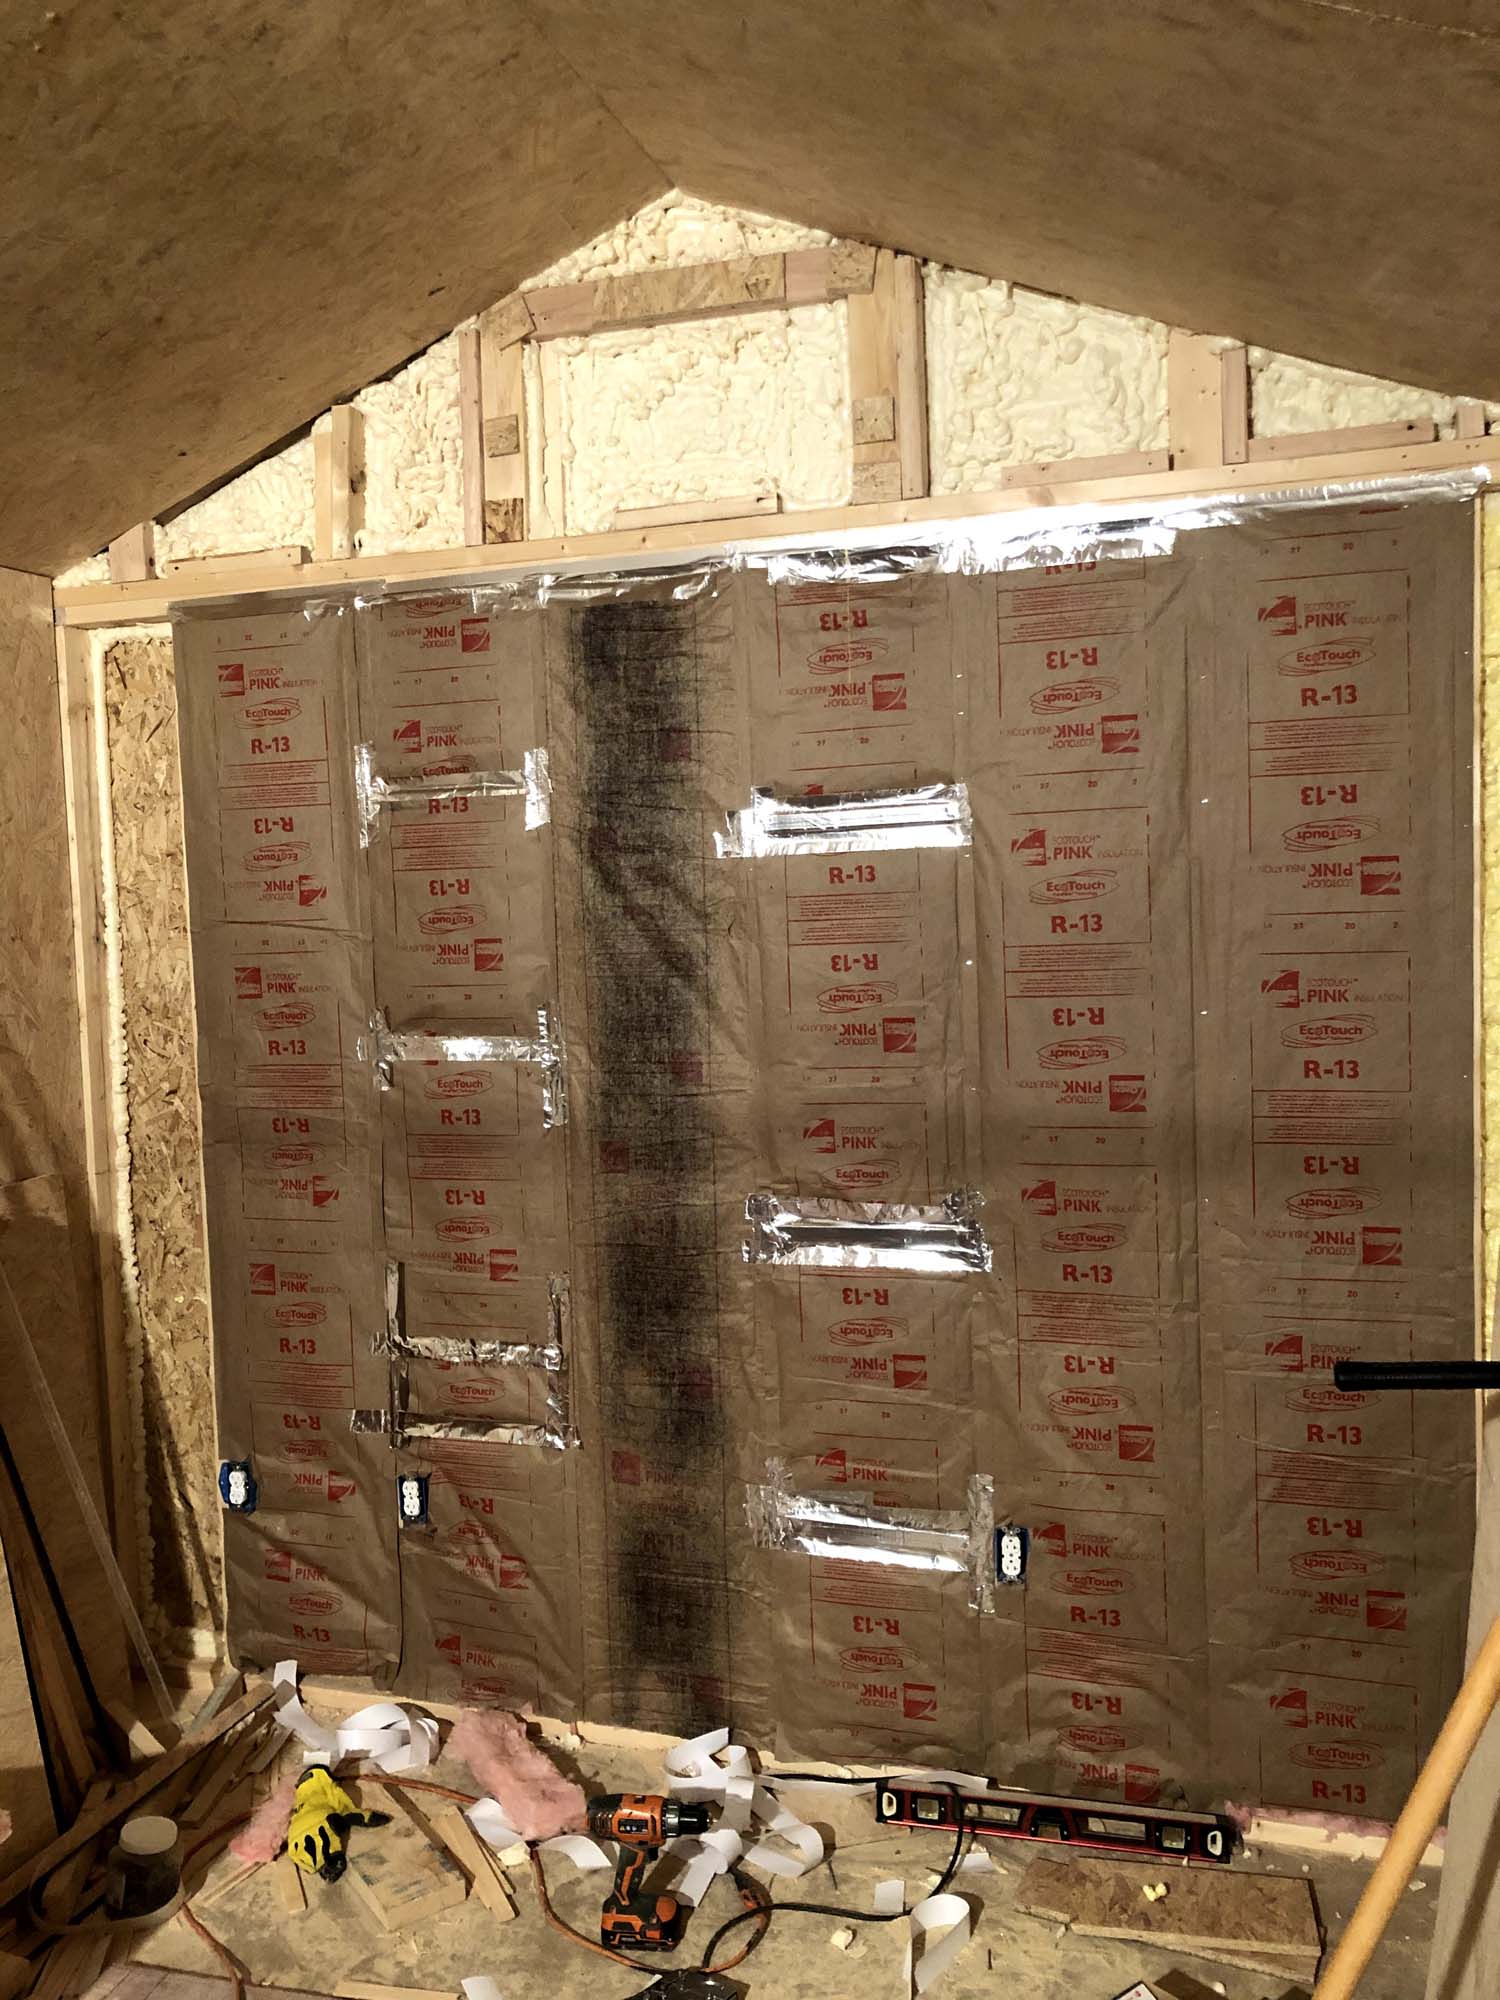
Adding Insulation Since we live in Texas, and Texas gets
quite hot (and sometimes cold!), insulation was an absolute must. I decided to go with super common, run-of-the-mill pink batt insulation for between the studs and joists. It's super easy to install and comes in exactly the right size. The shed doesn't have a vapor barrier, since it's a shed, so I opted for the insulation that has a paper face on it, which serves as a vapor barrier. It also makes it easy to install because you can staple it to the 2x4. Here you can see some of it installed in the wall and on the ceiling.
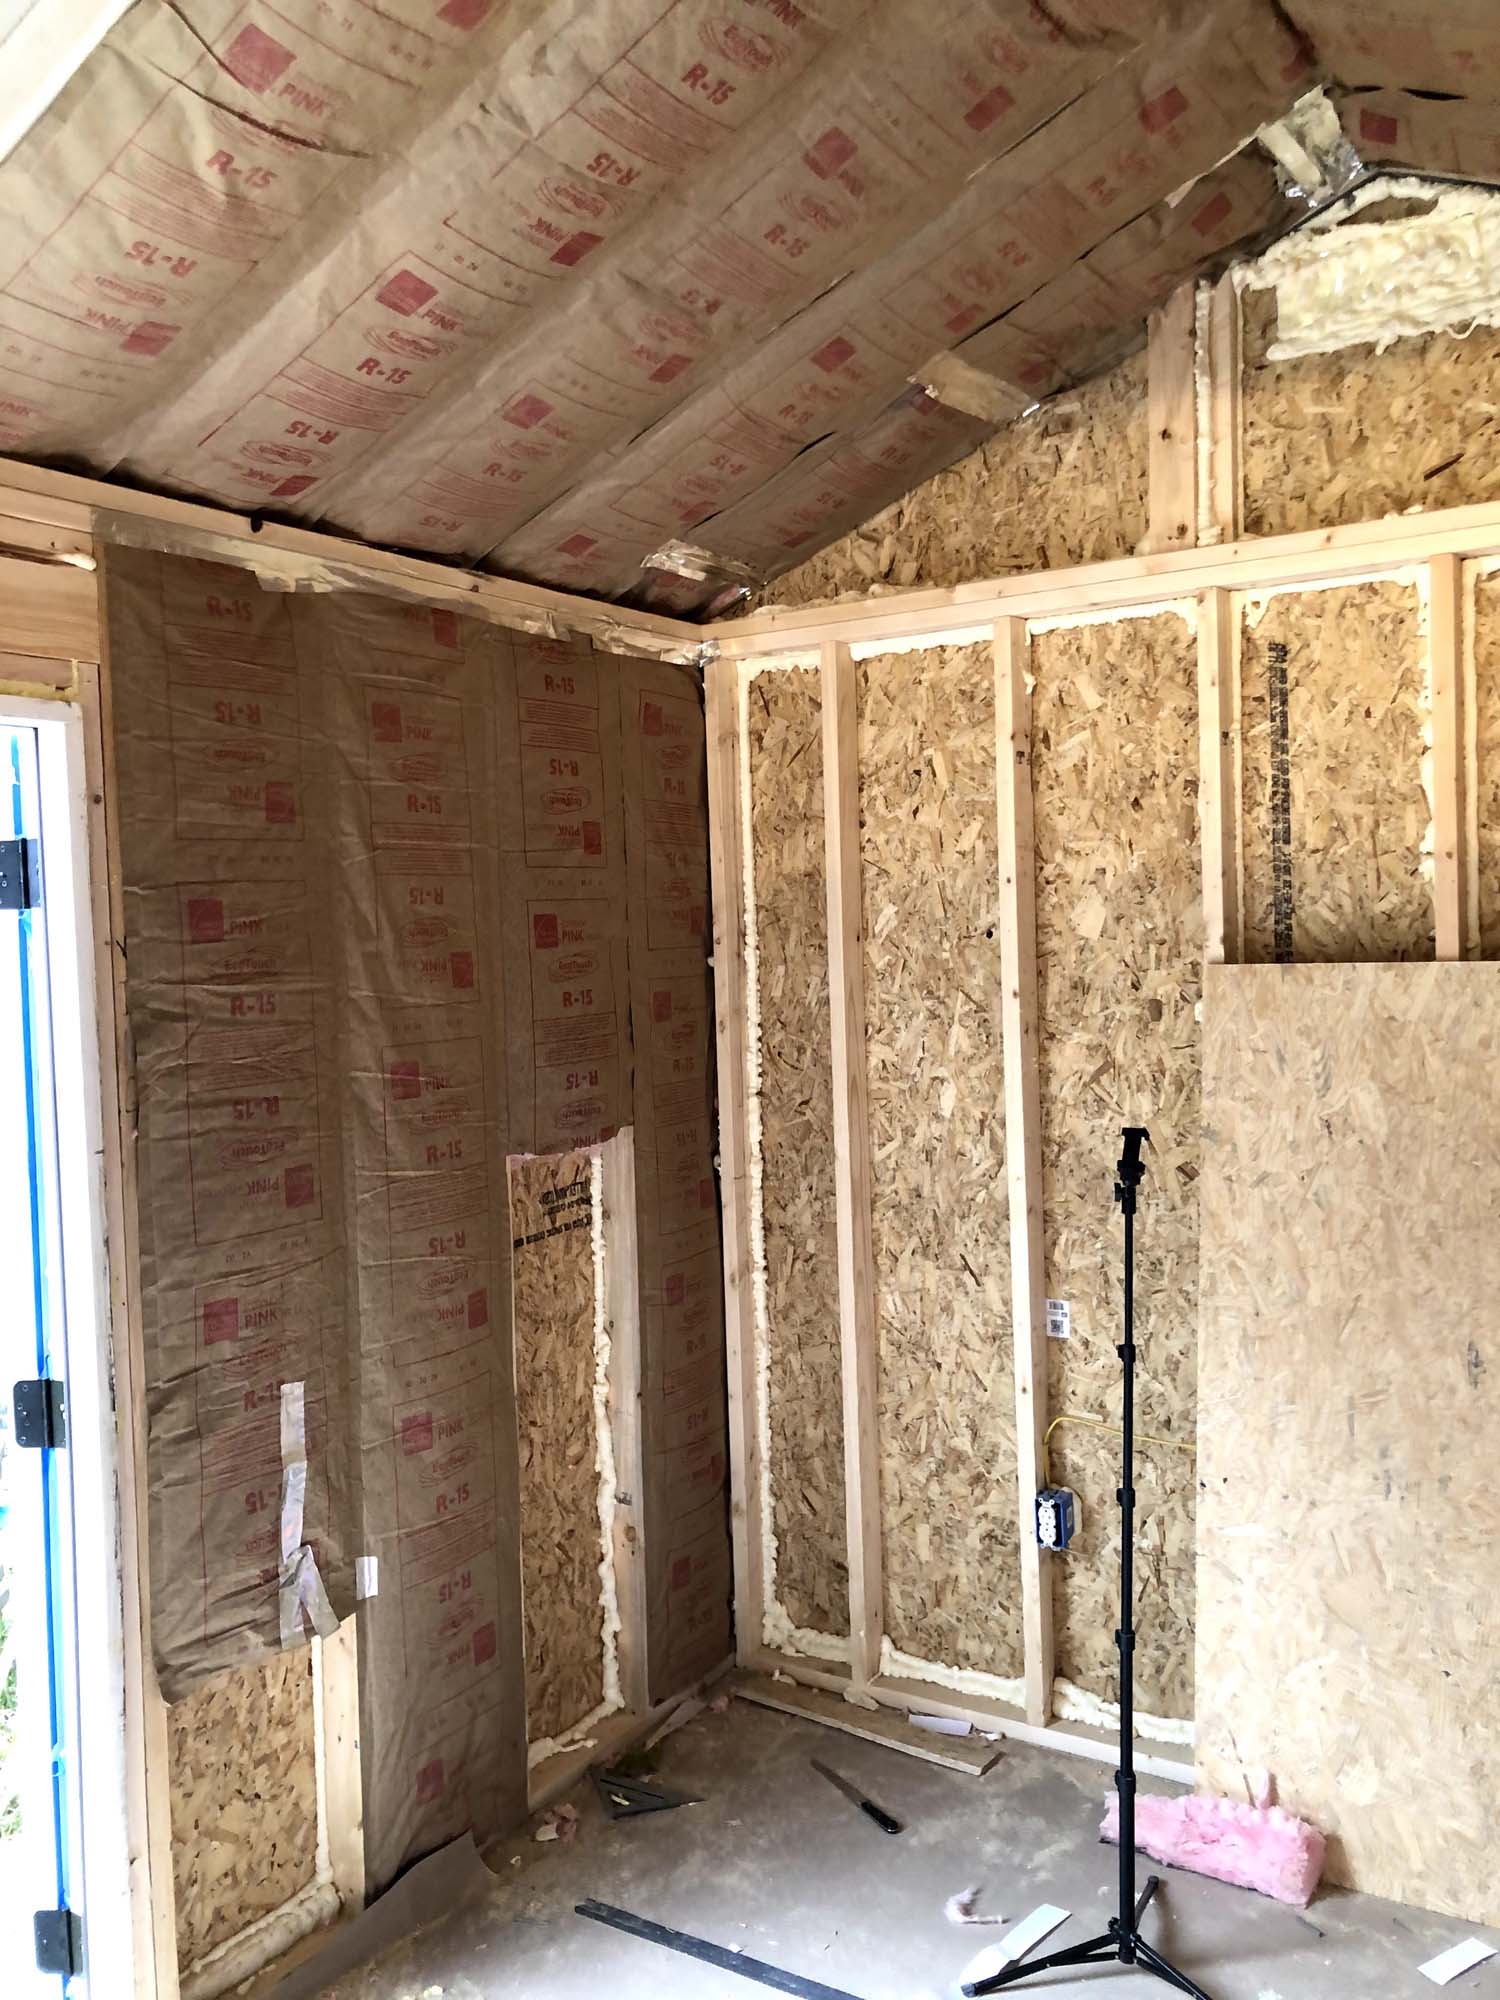
Whenever I had to join two sections I used a special kind aluminum HVAC tape that's specifically made for taping insulation together. That helps keep the moisture barrier solid and in tact. You may notice some spray foam stuff in some of the corners and along the floor:
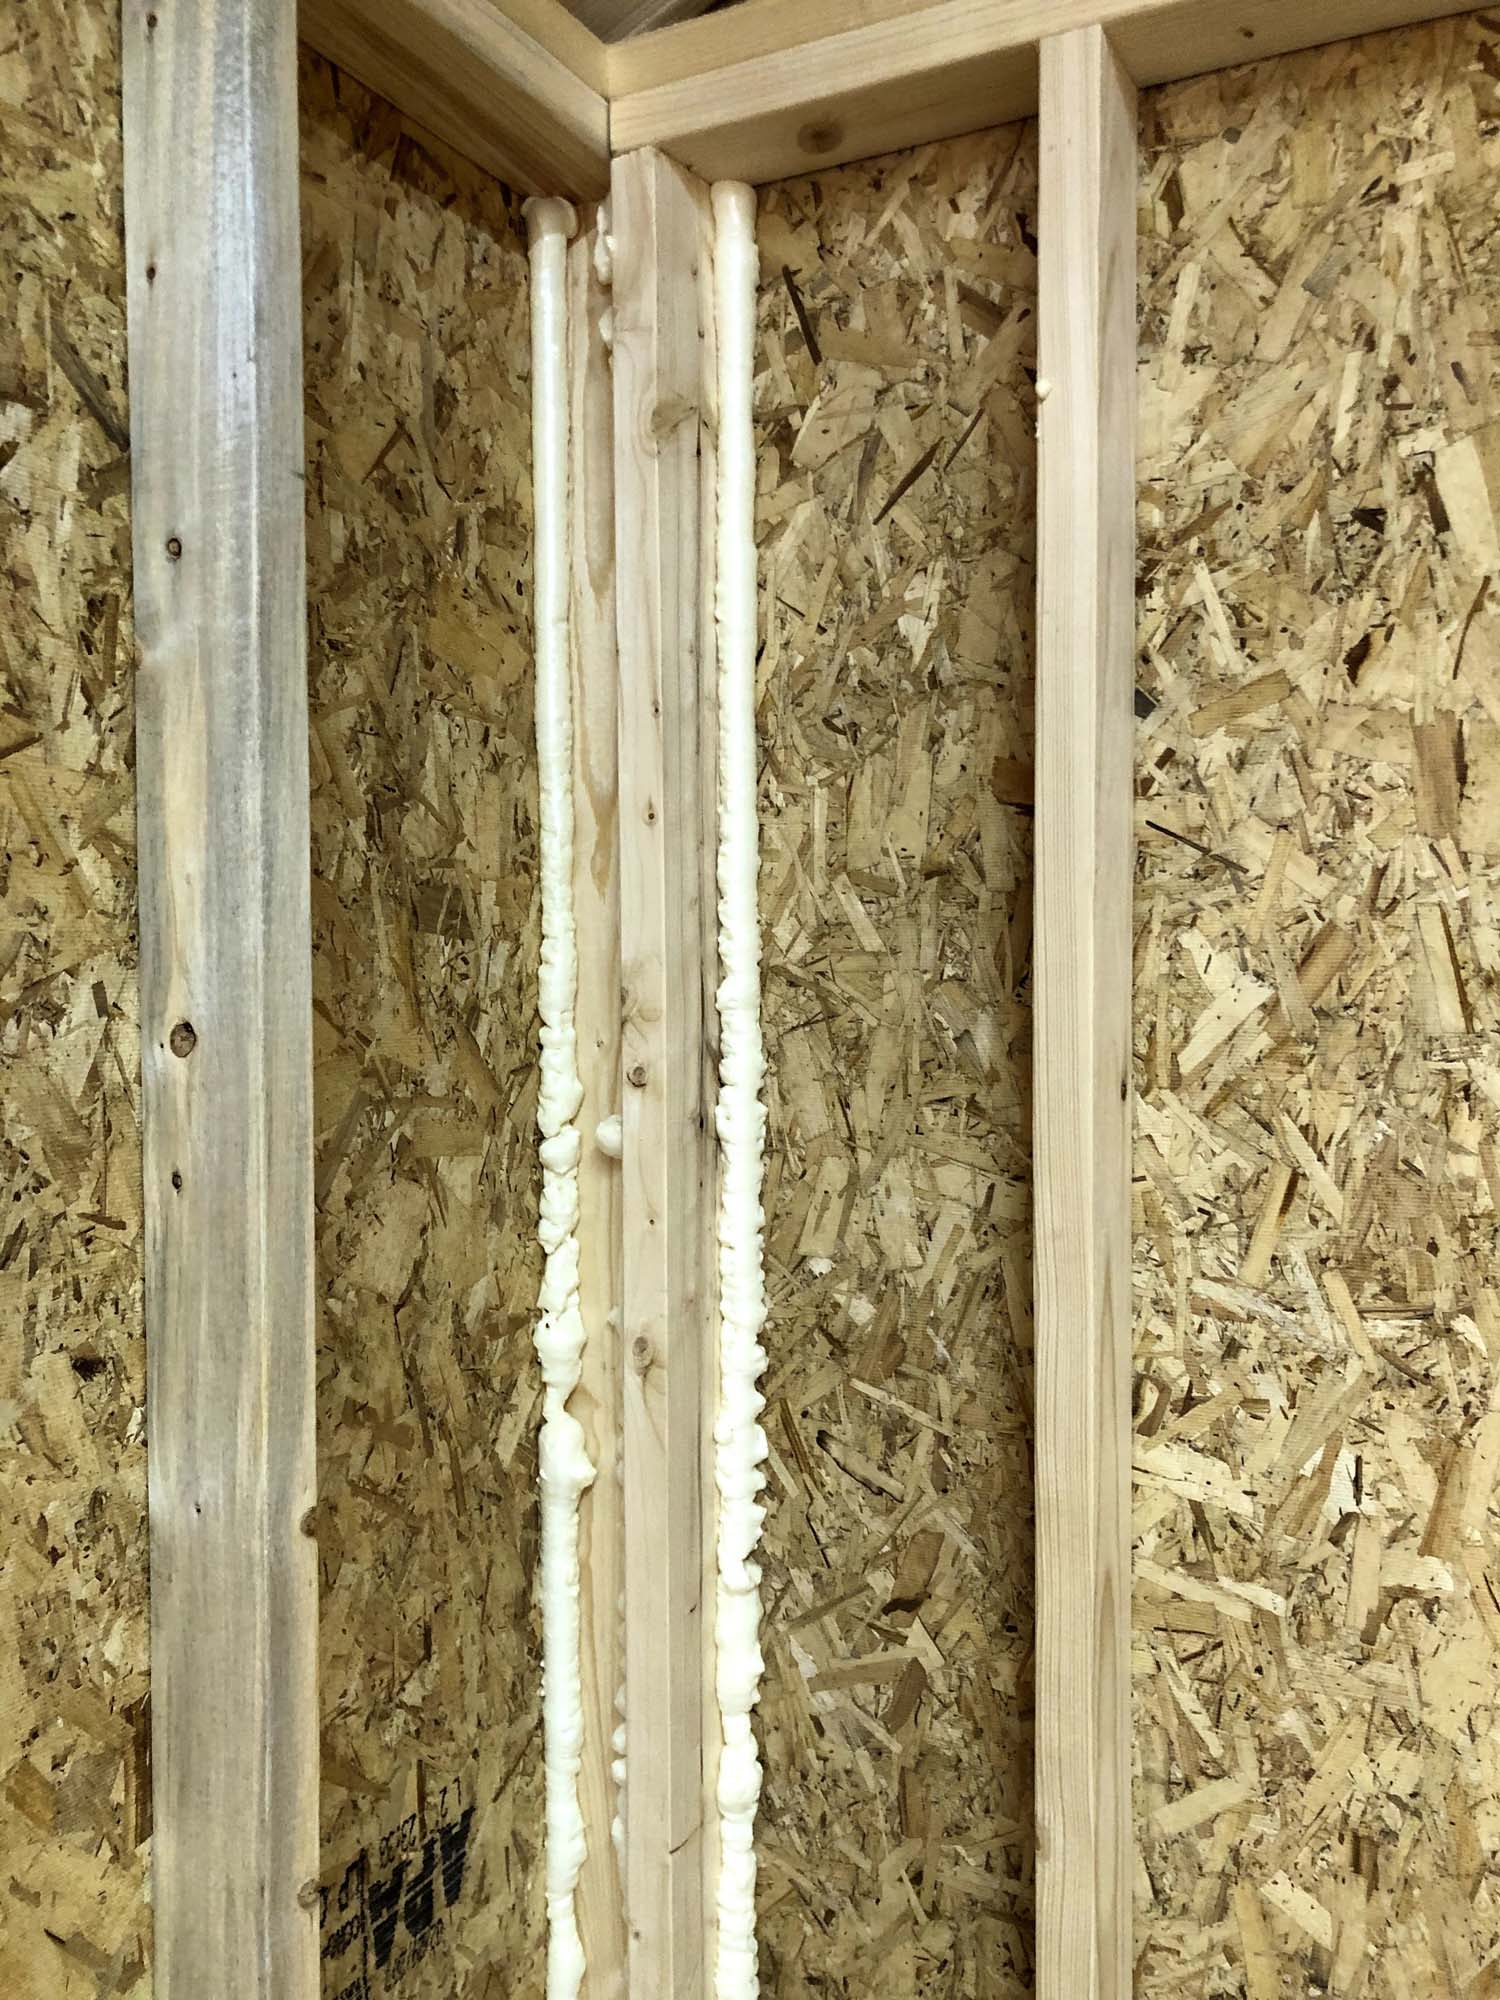
This is a product called Great Stuff that is basically just spray foam in a can. I wanted an especially good seal around all the spaces that air, water, or bugs may come in from the outside, so I sprayed Great Stuff along the floor and ceiling, and anywhere that two panels of siding joined up. This will help ensure that the building is air- and water-tight. I also put it behind any electrical boxes or switches, since I wouldn't be able to stuff insulation back there very easily.

It really did go up pretty quickly and easily.
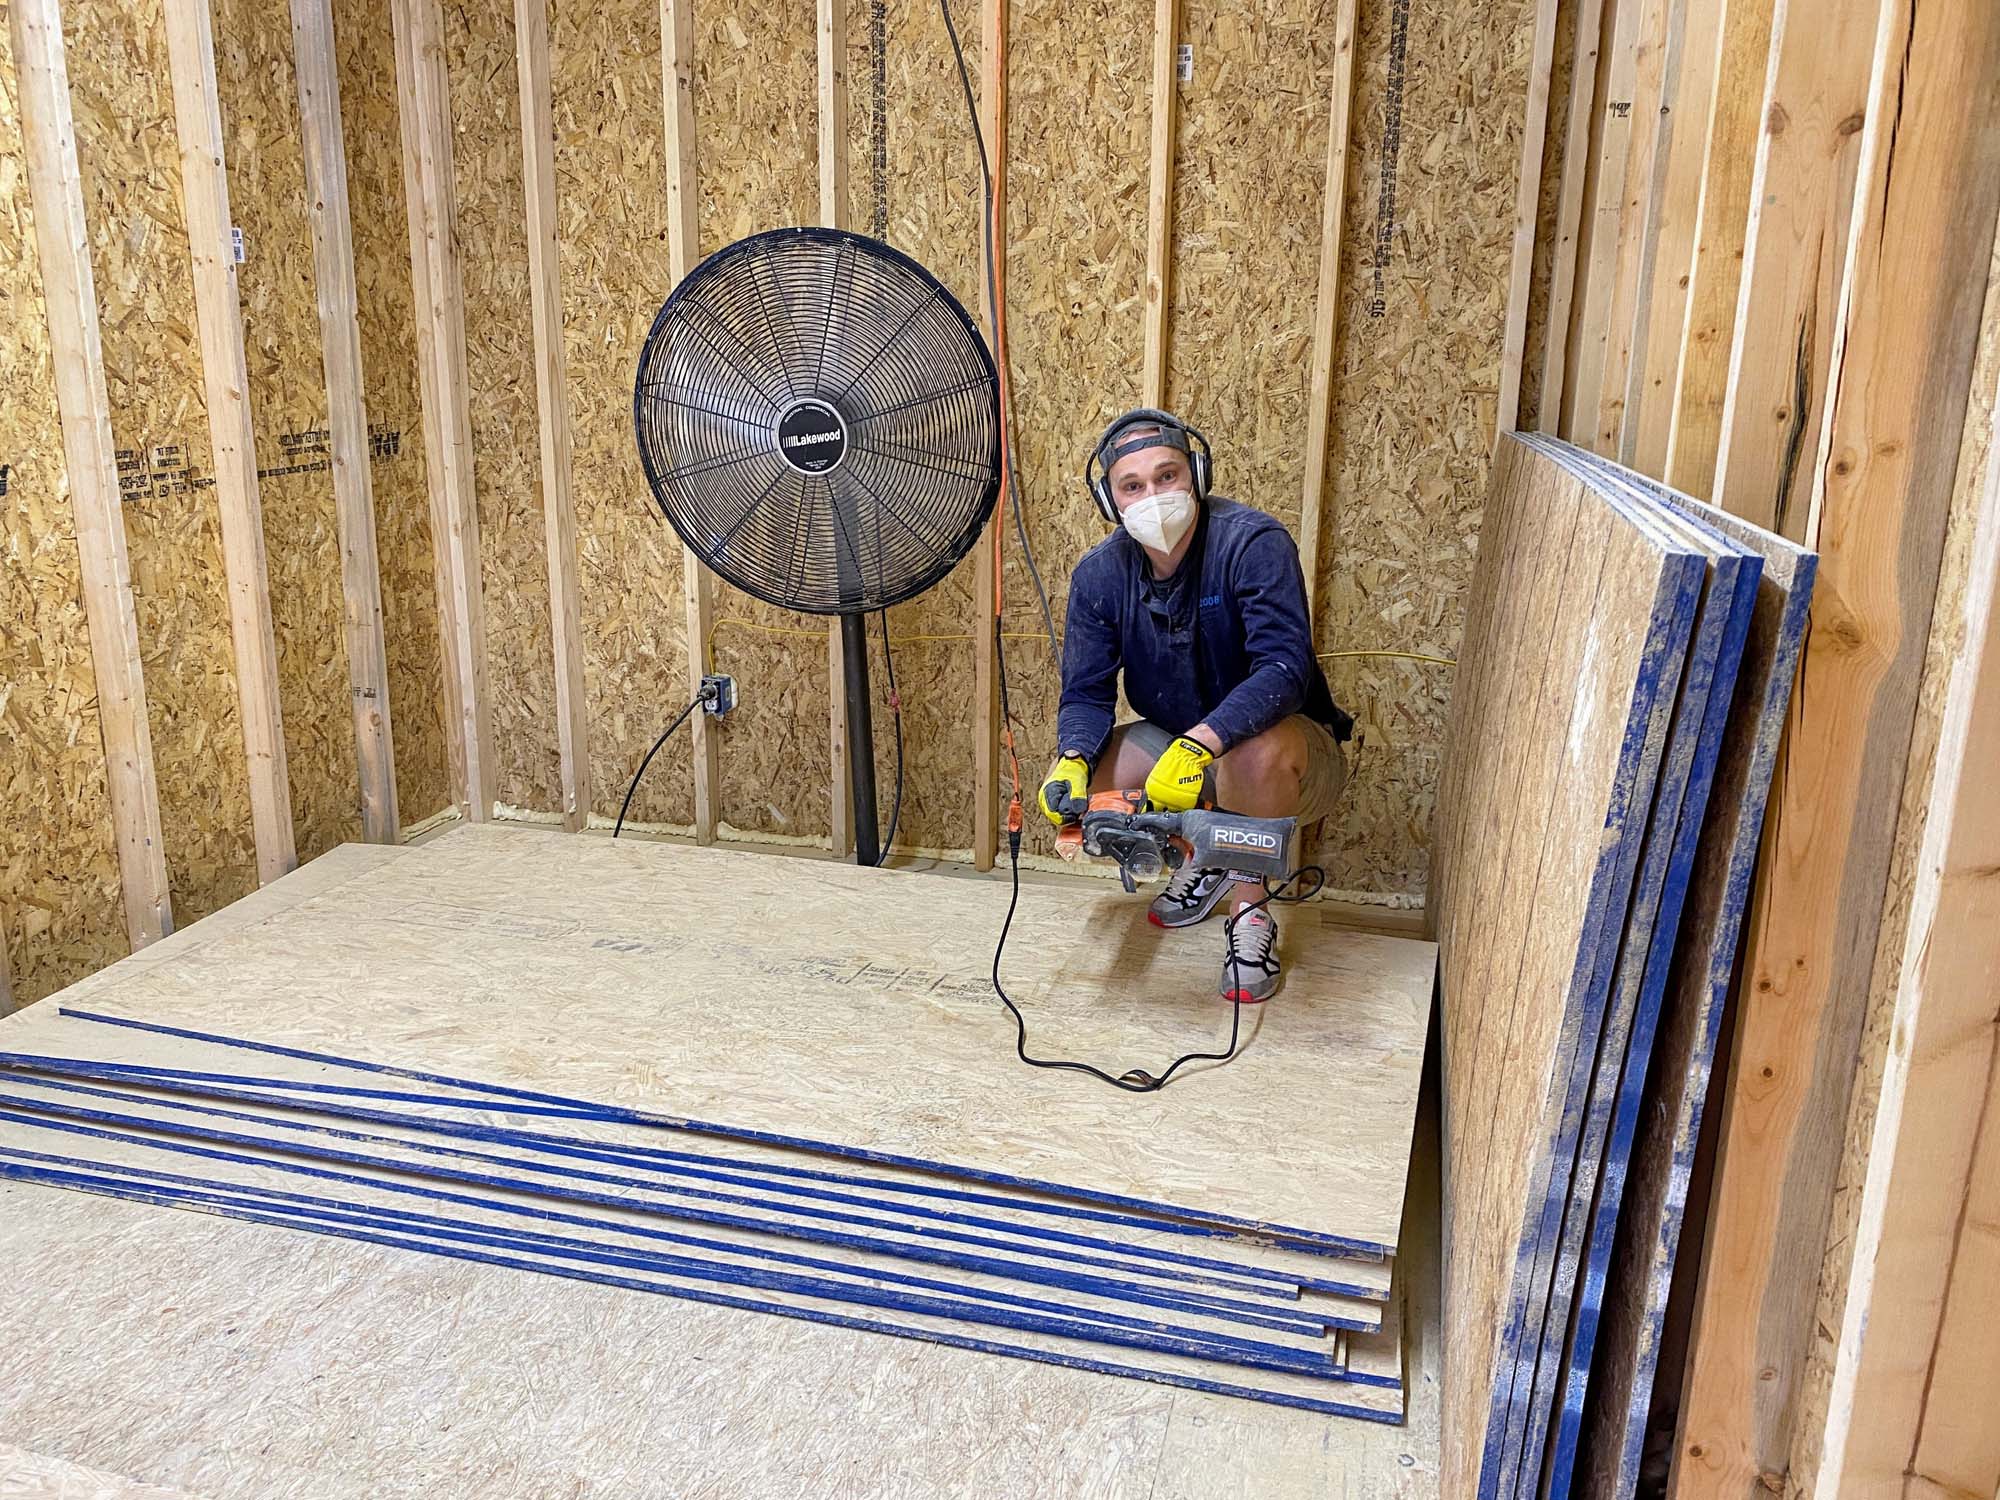
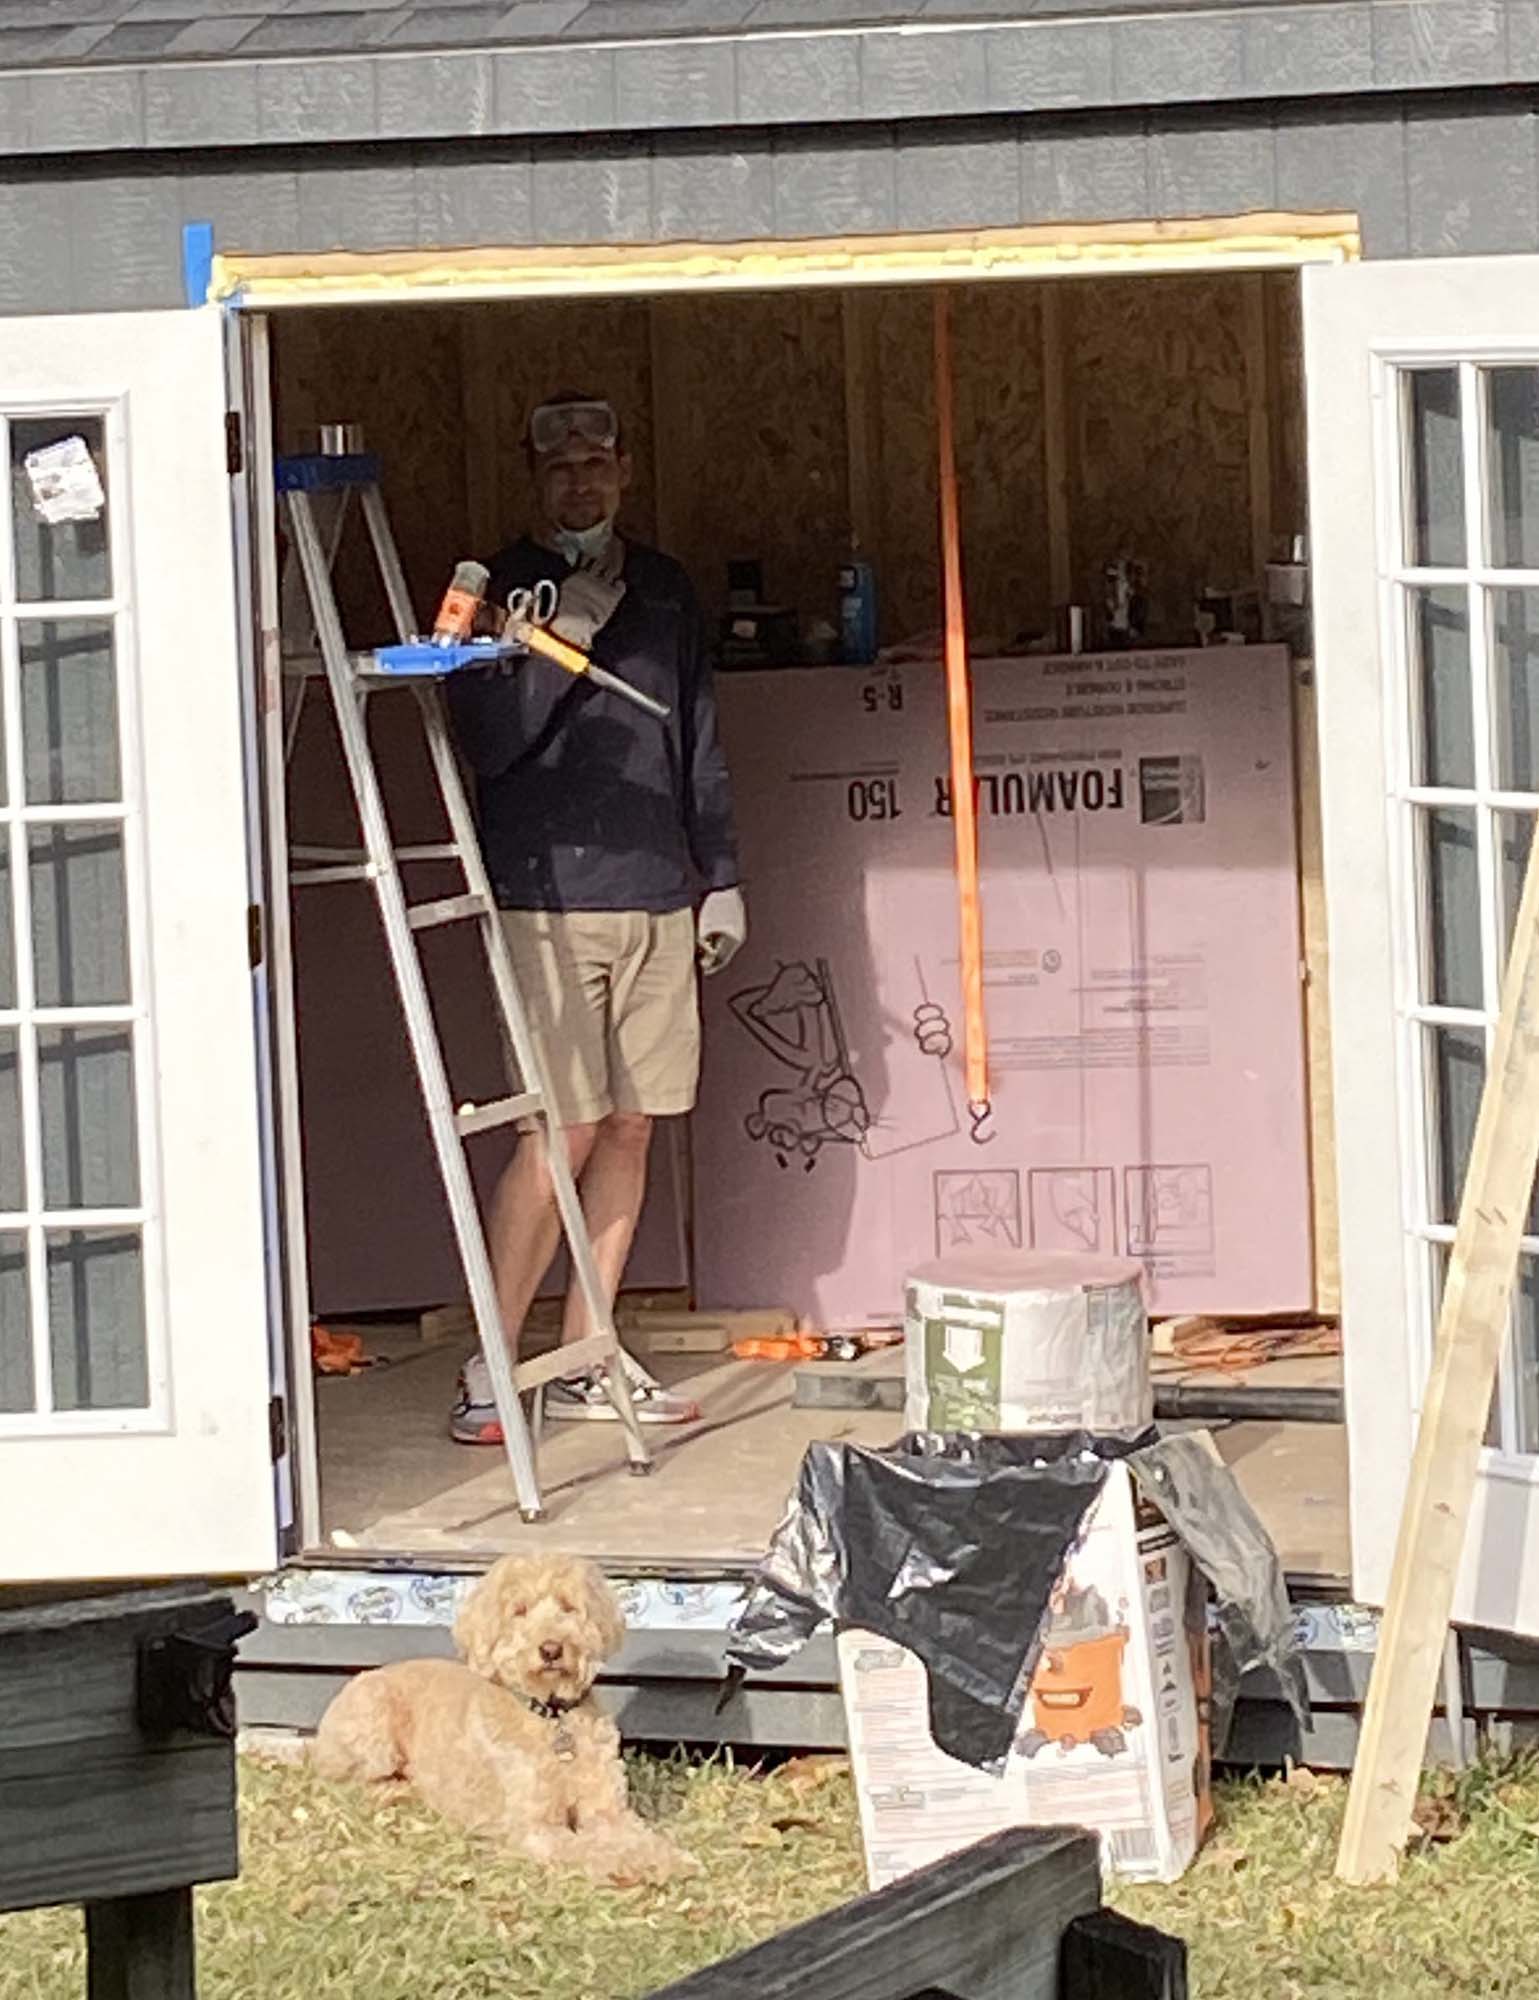
One thing I'll mention here that you'll read everywhere insulation is talked about: wear long sleeves, a mask, gloves, and goggles. This stuff is full of fiberglass and incredibly itchy, you'll definitely want to be covered while you're installing it.
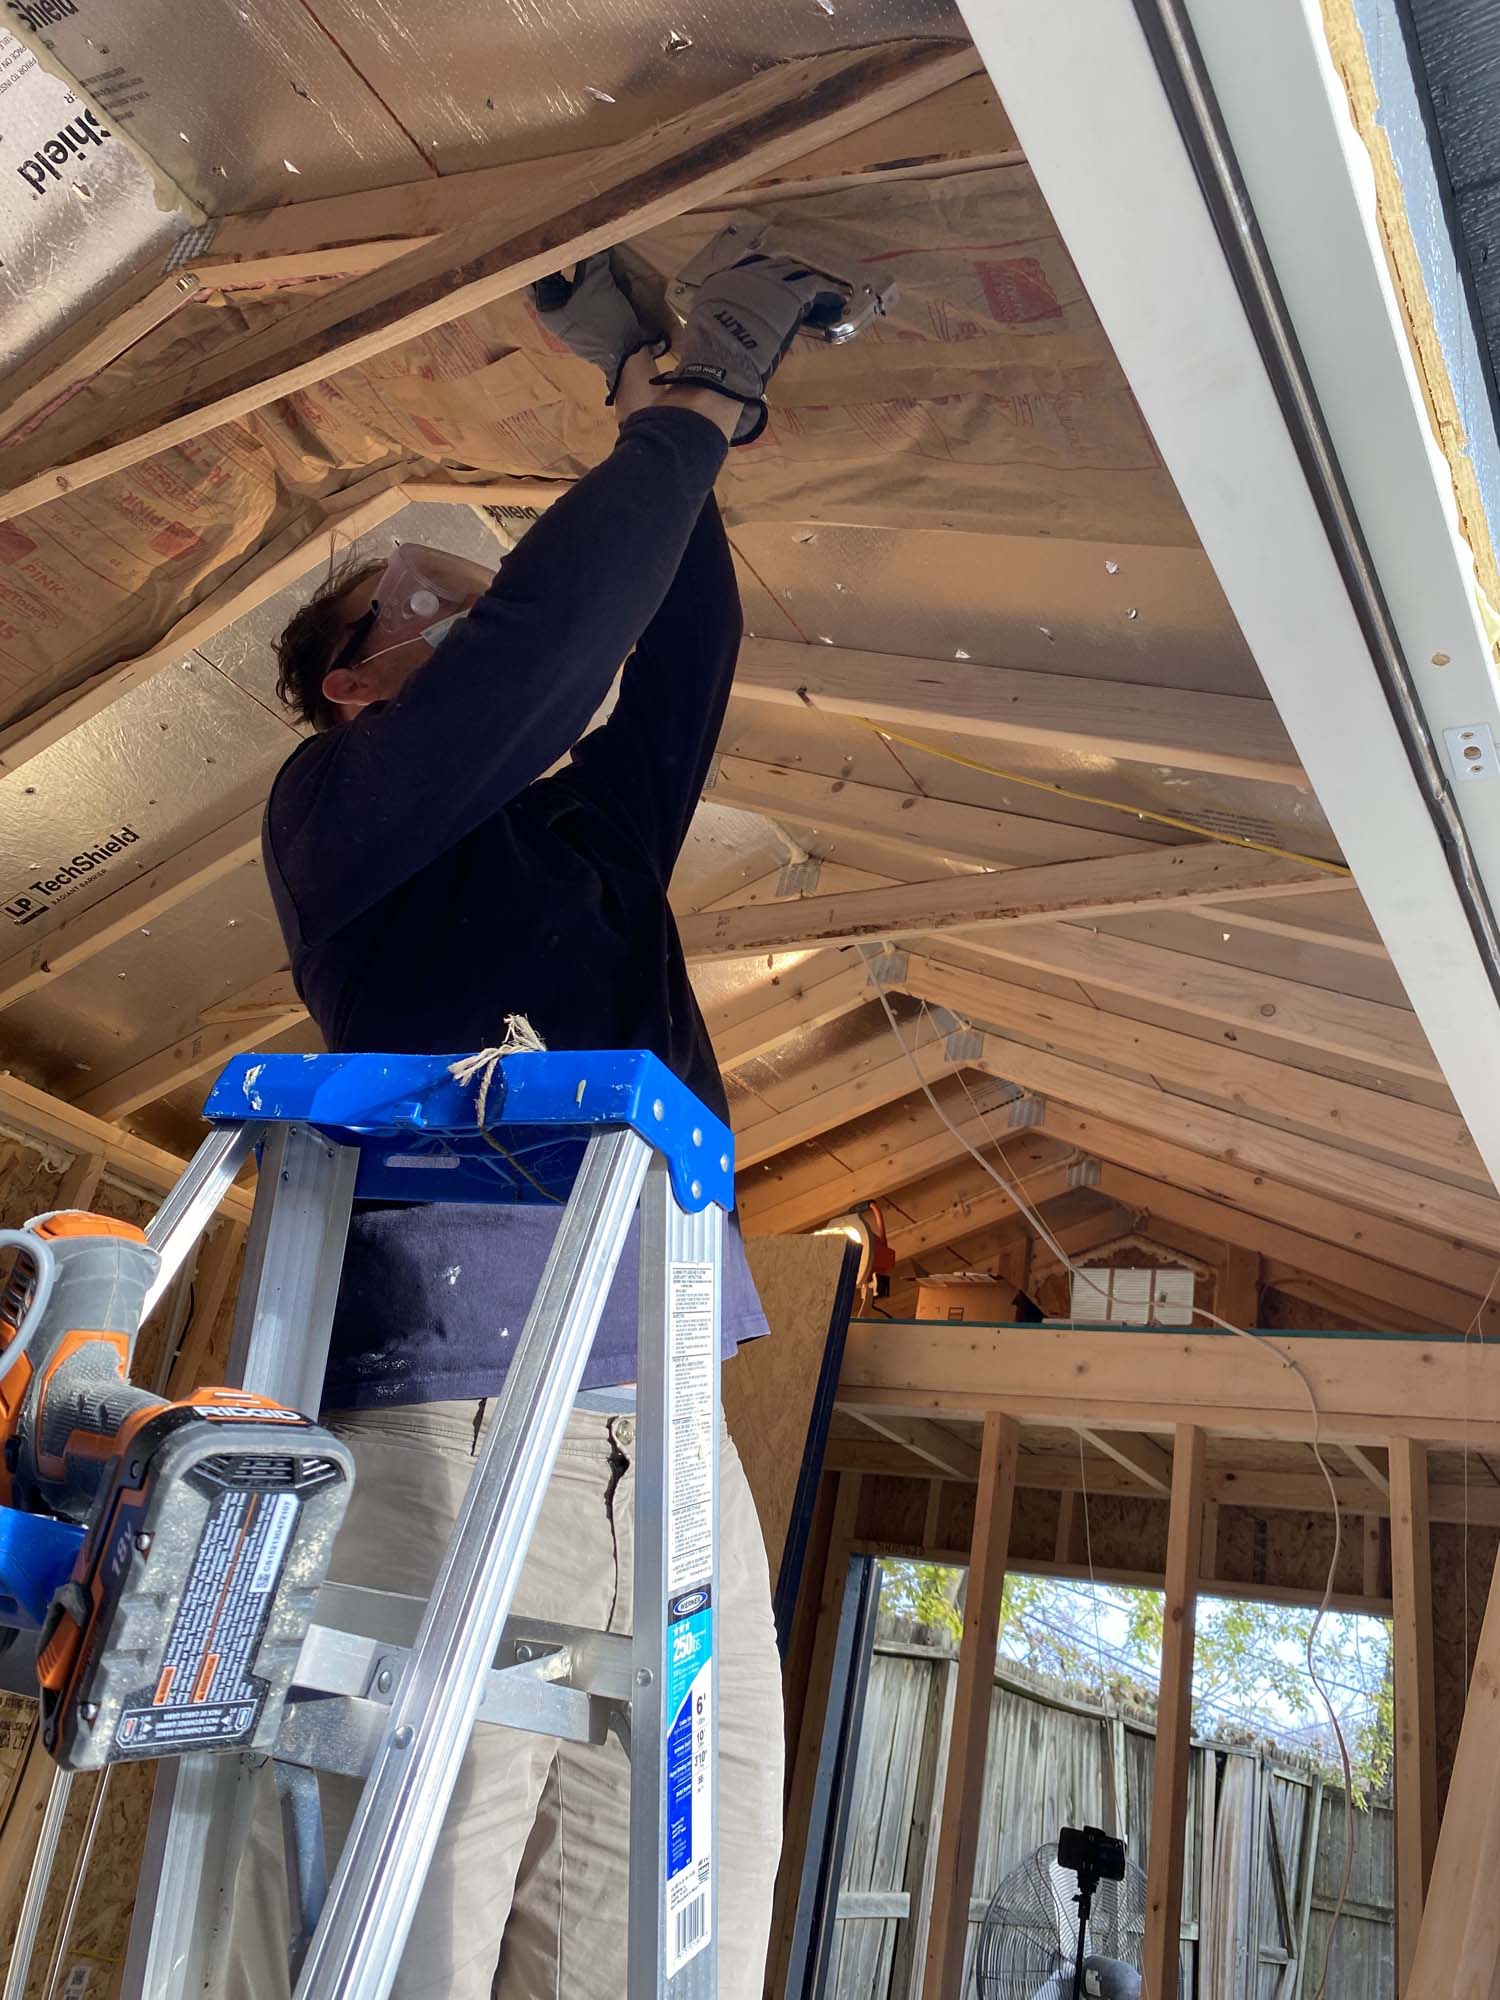
Also have your buddy nearby in case you need a break.
Here's a video taken over several days as I installed the insulation in different spots of the shed.
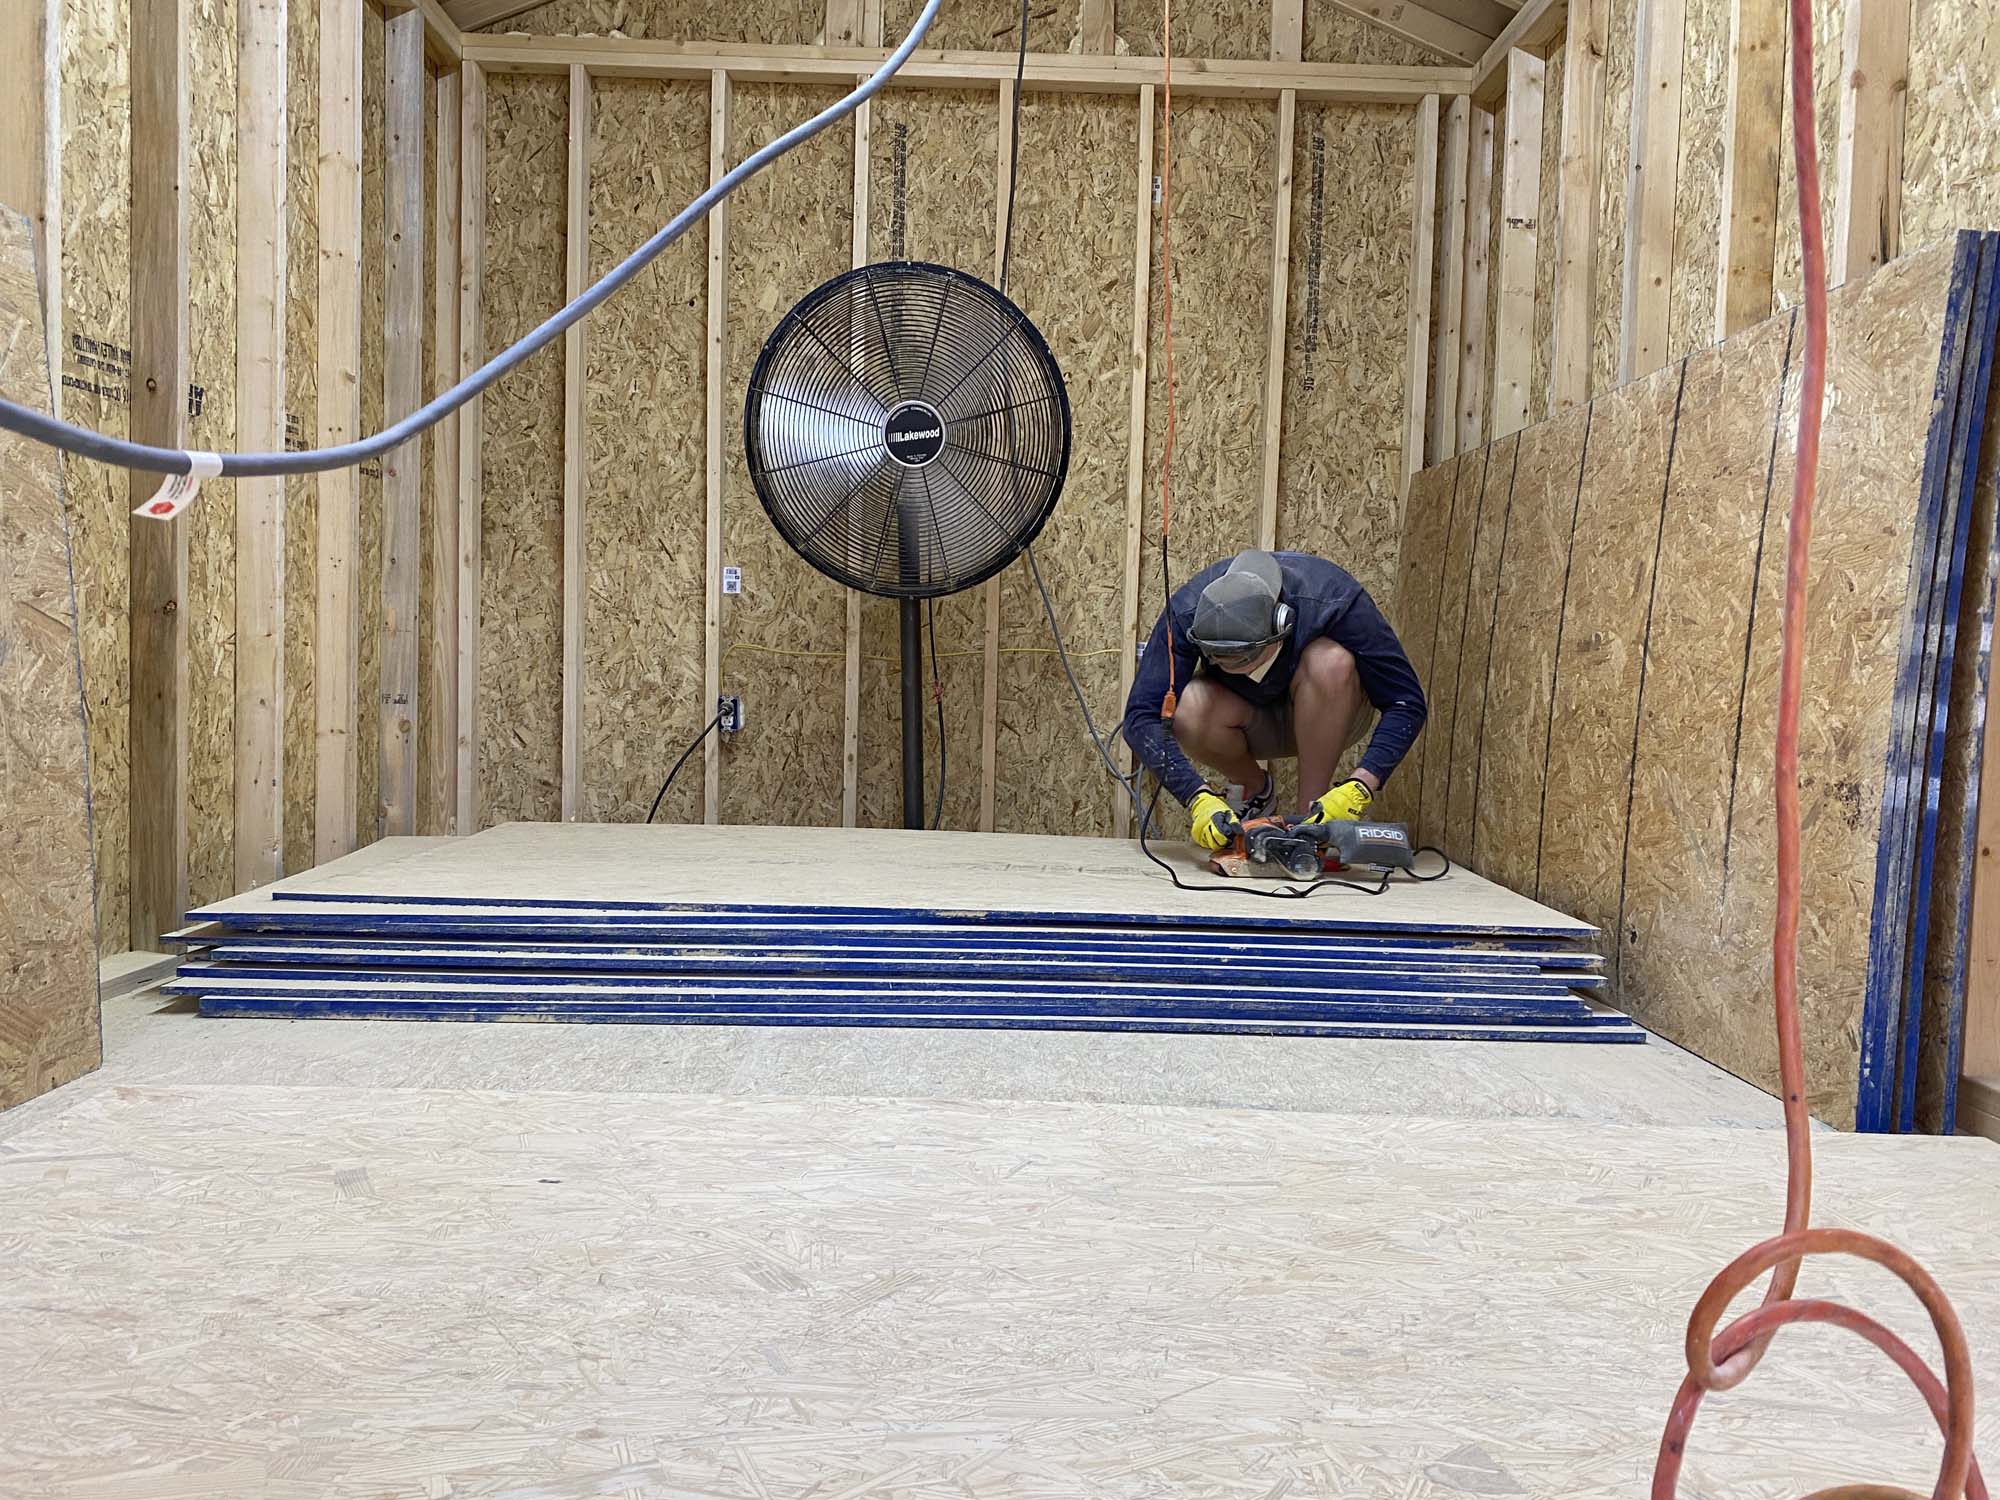
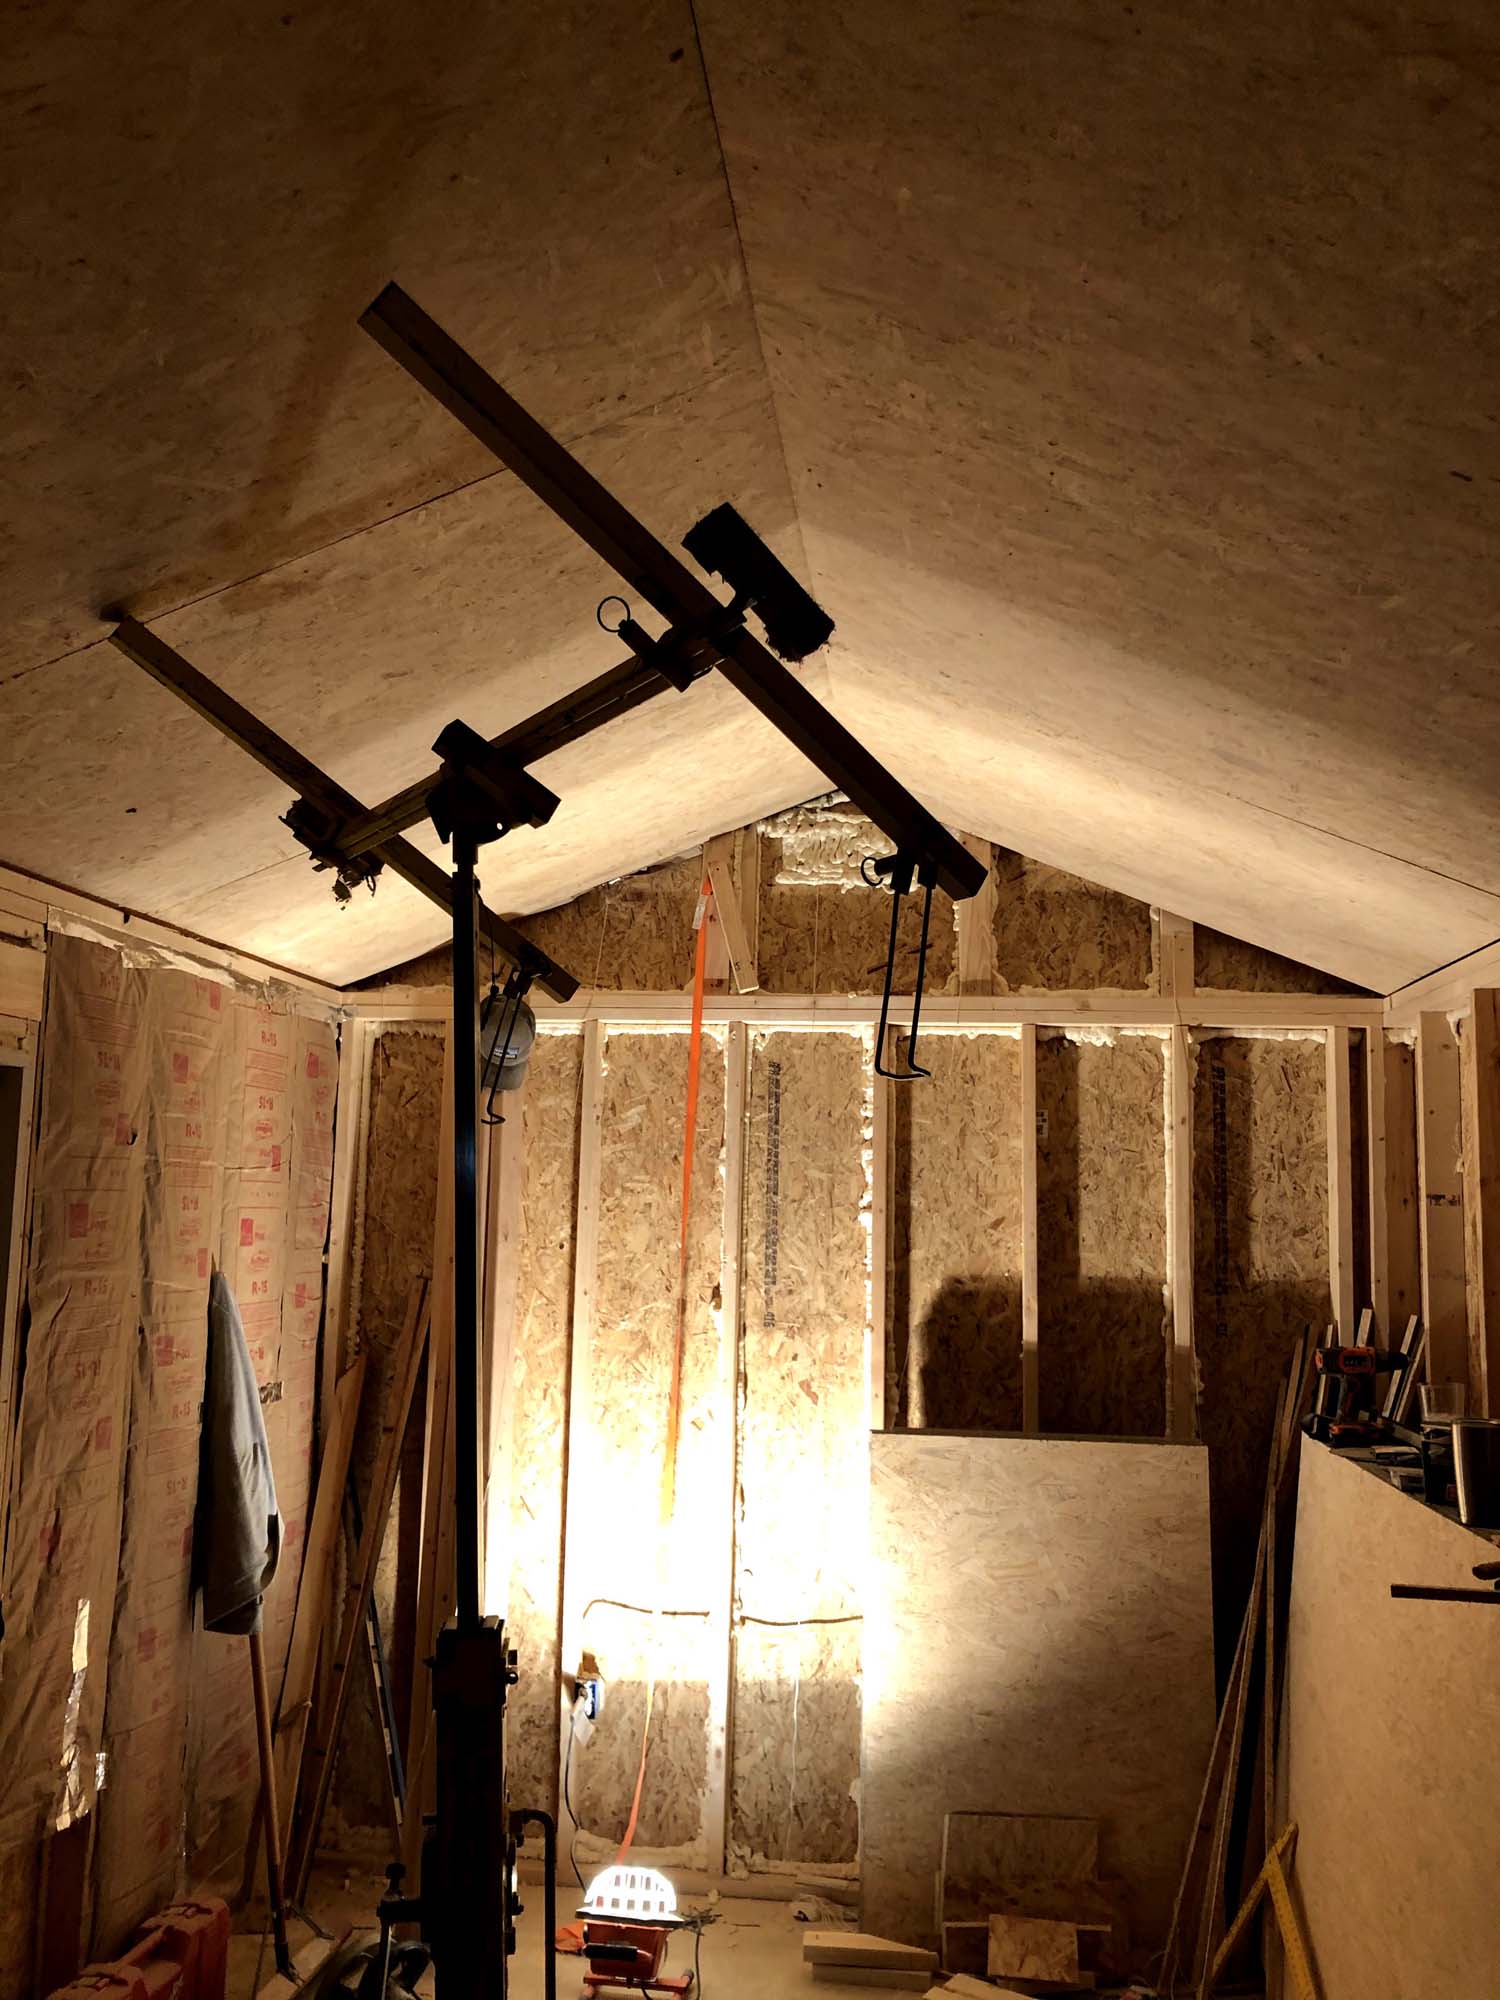
Installing the OSB Ceiling For the ceiling, I needed to cut
down the OSB into about 5' x 4' foot sections to reach from the top of the wall to the ridge of the ceiling. I'm not worrying too much about a perfect ridgeline at the moment, because I'm going to cap it later when I install the light up there. Turns out, 5/8in OSB is very heavy. I originally thought I'd just climb up the ladder with a panel for the ceiling and then screw it in, but that was a hysterical miscalculation altogether. I rented a drywall hoist from Home Depot and used that to get the panels up to the ceiling, and then screwed them in from there.
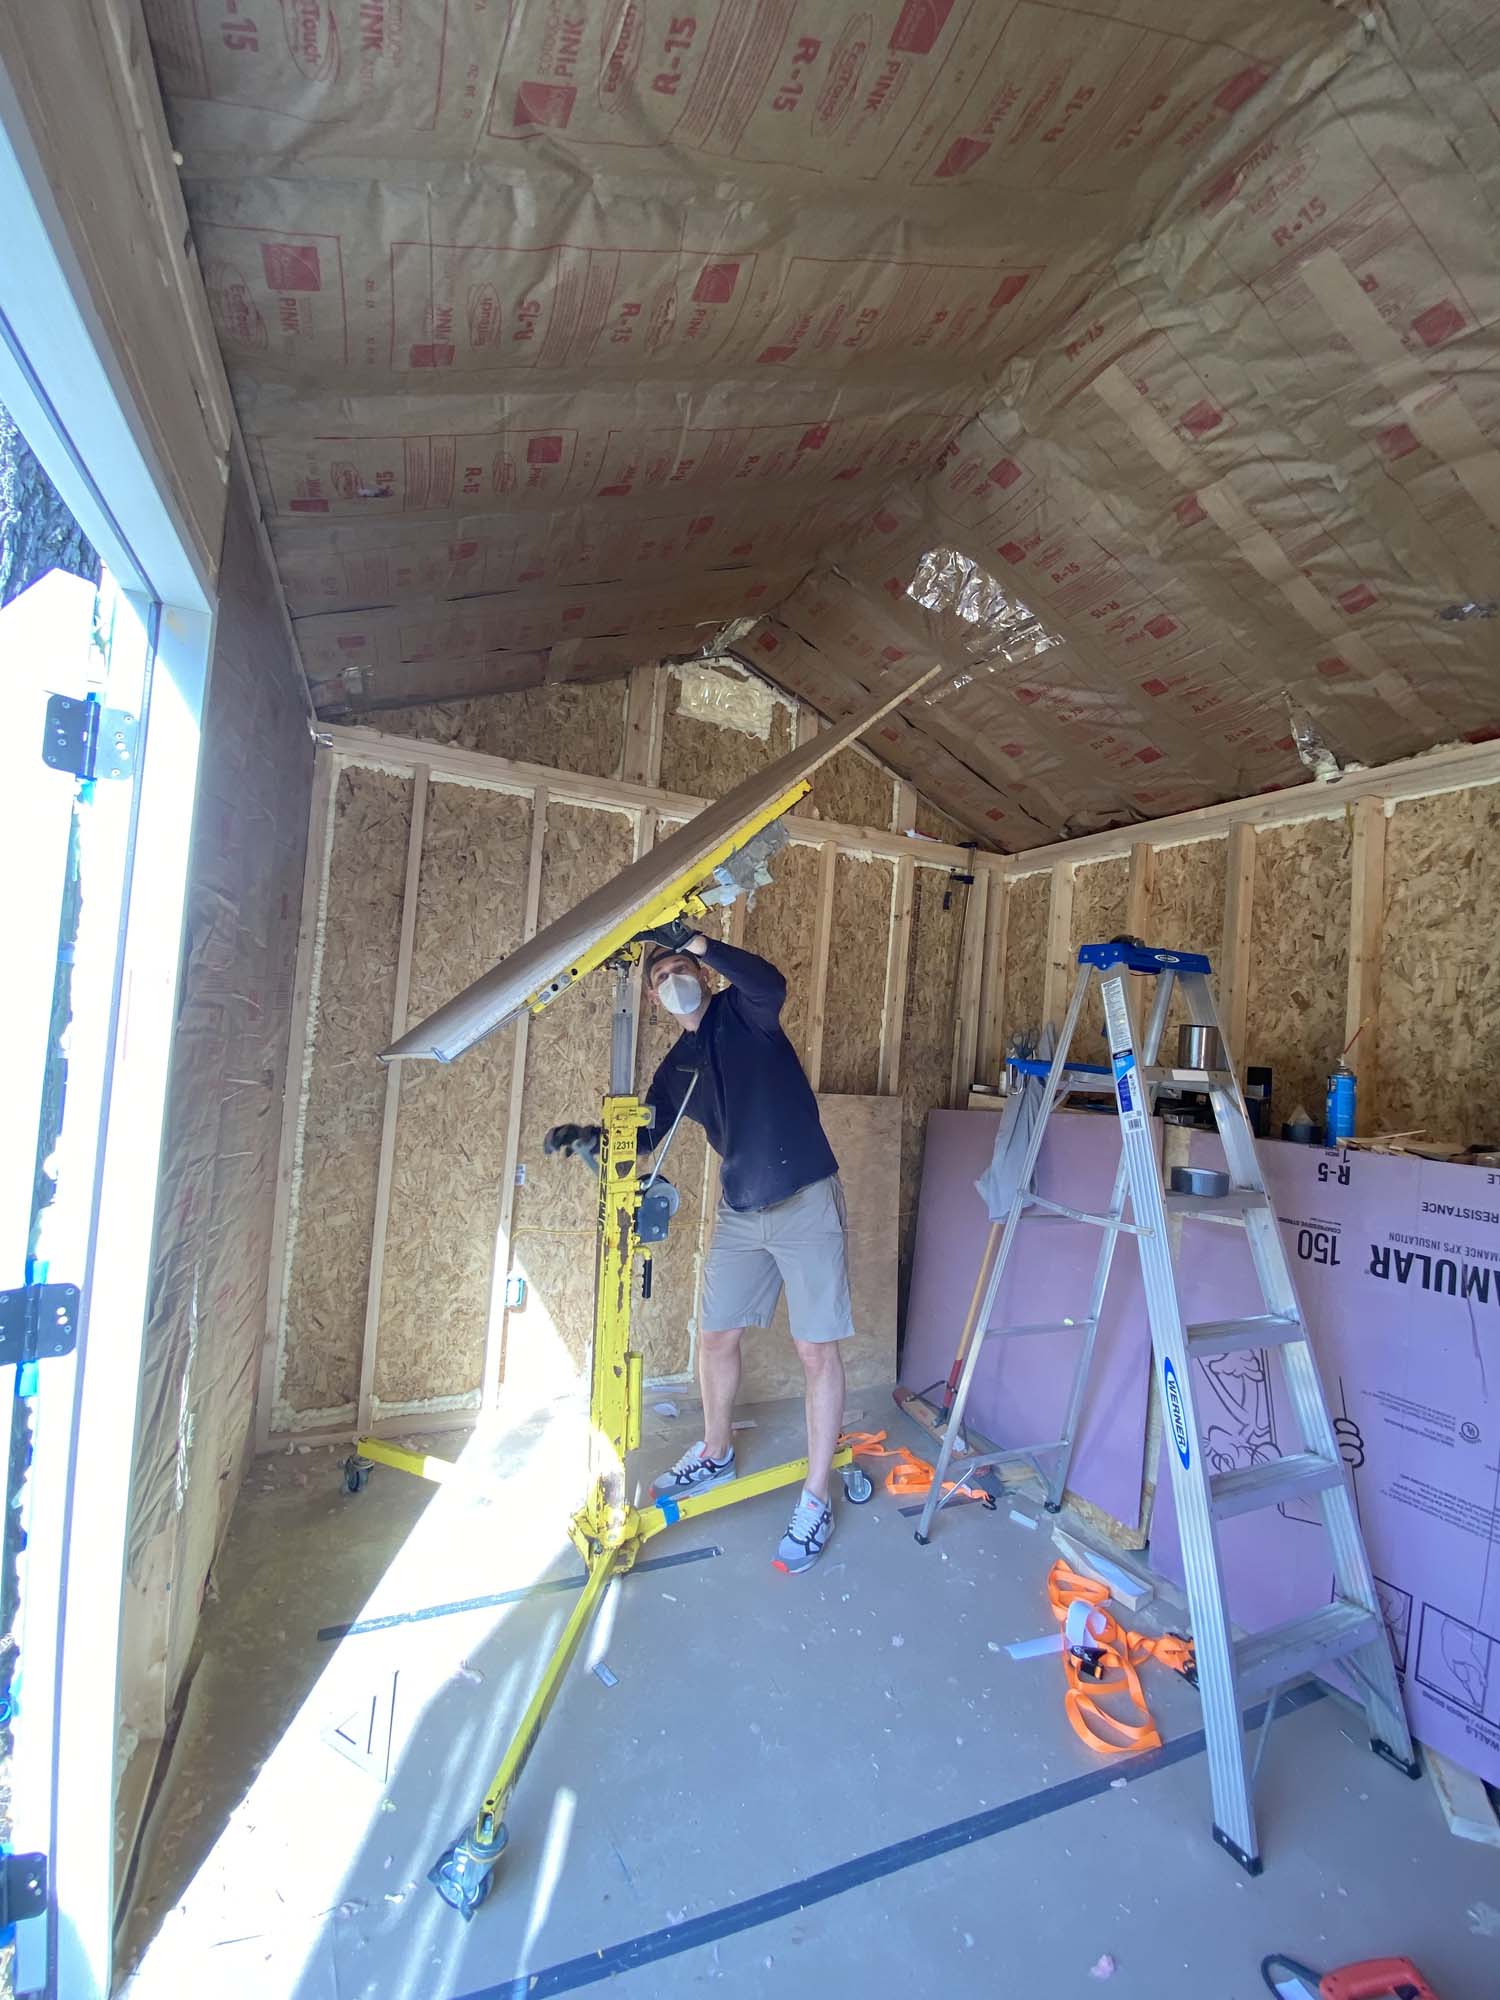
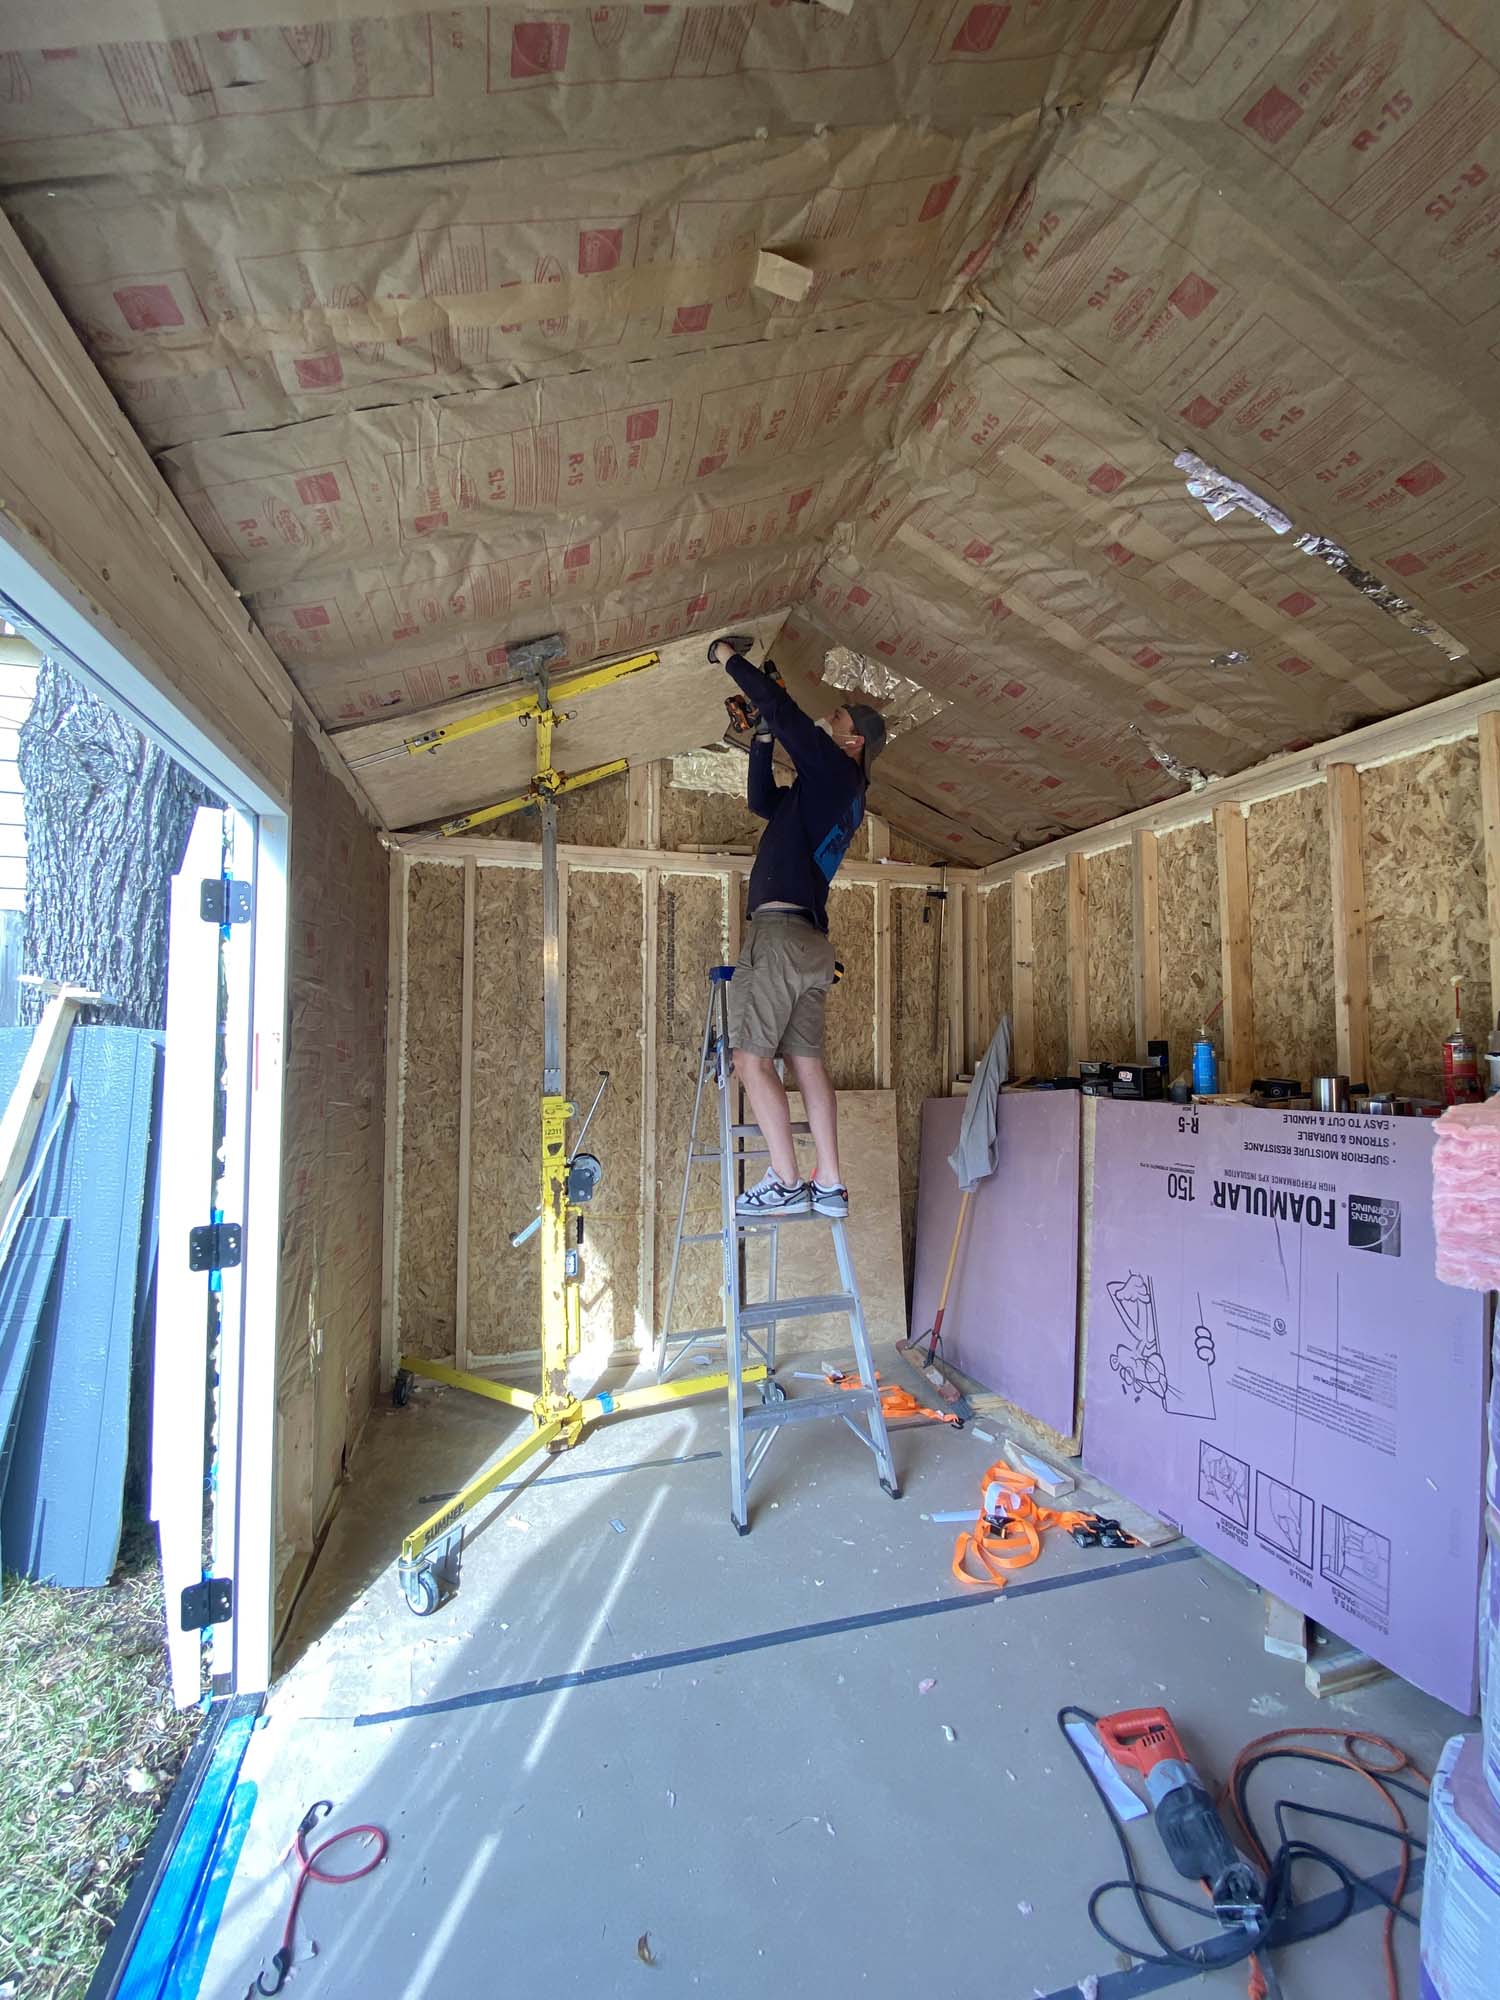
At this point I was very relieved that that whole plan wasn't foiled.

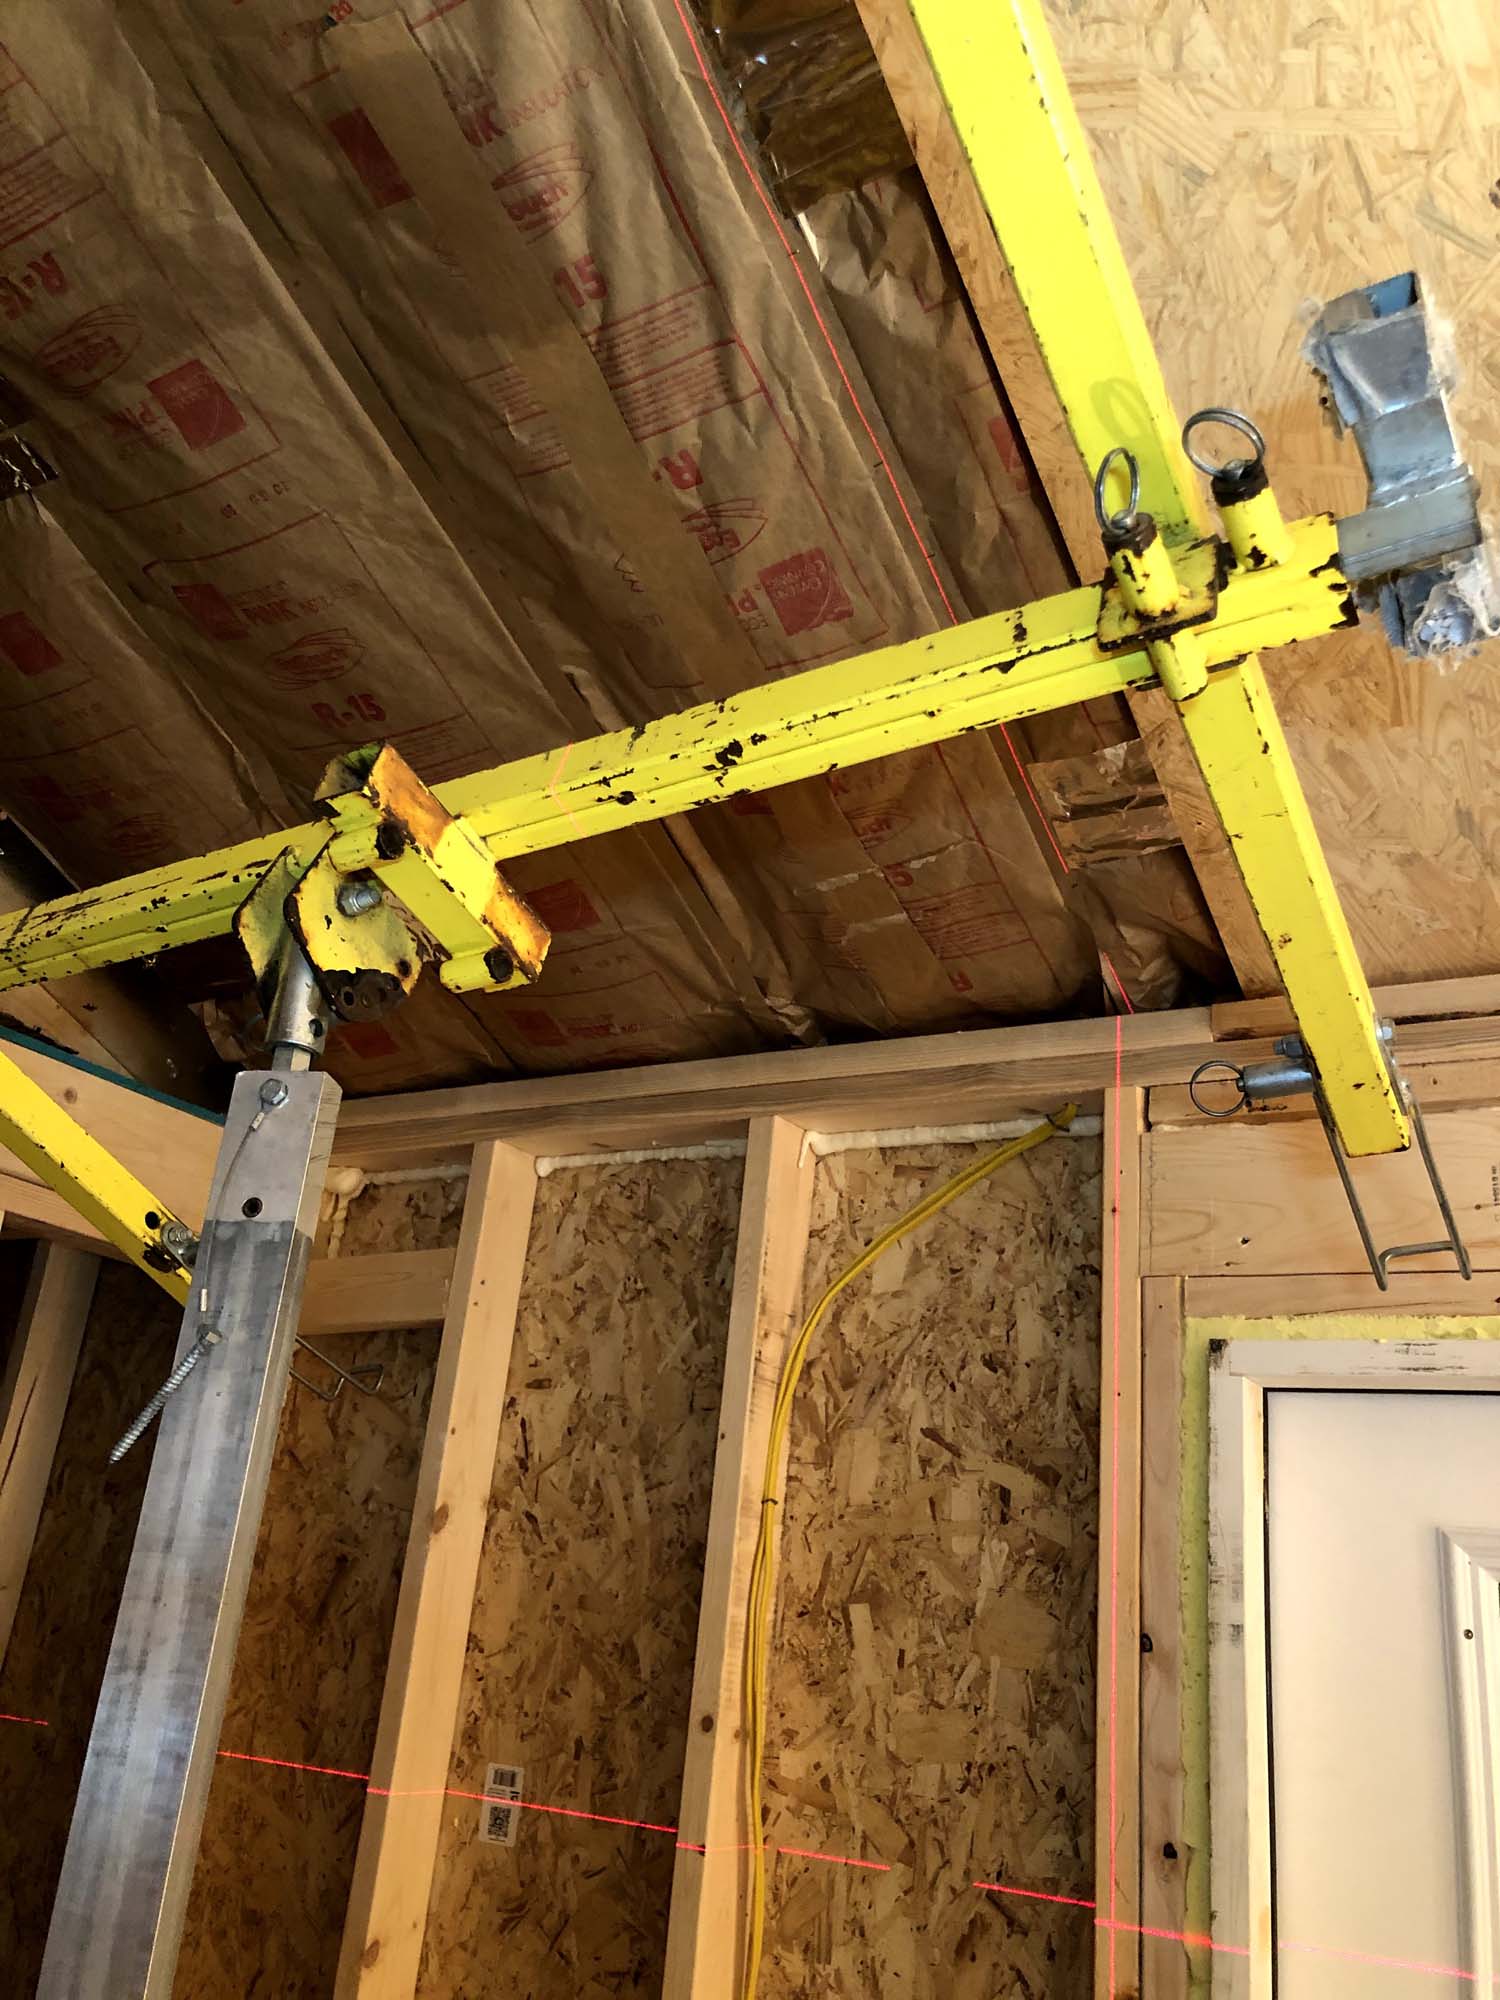
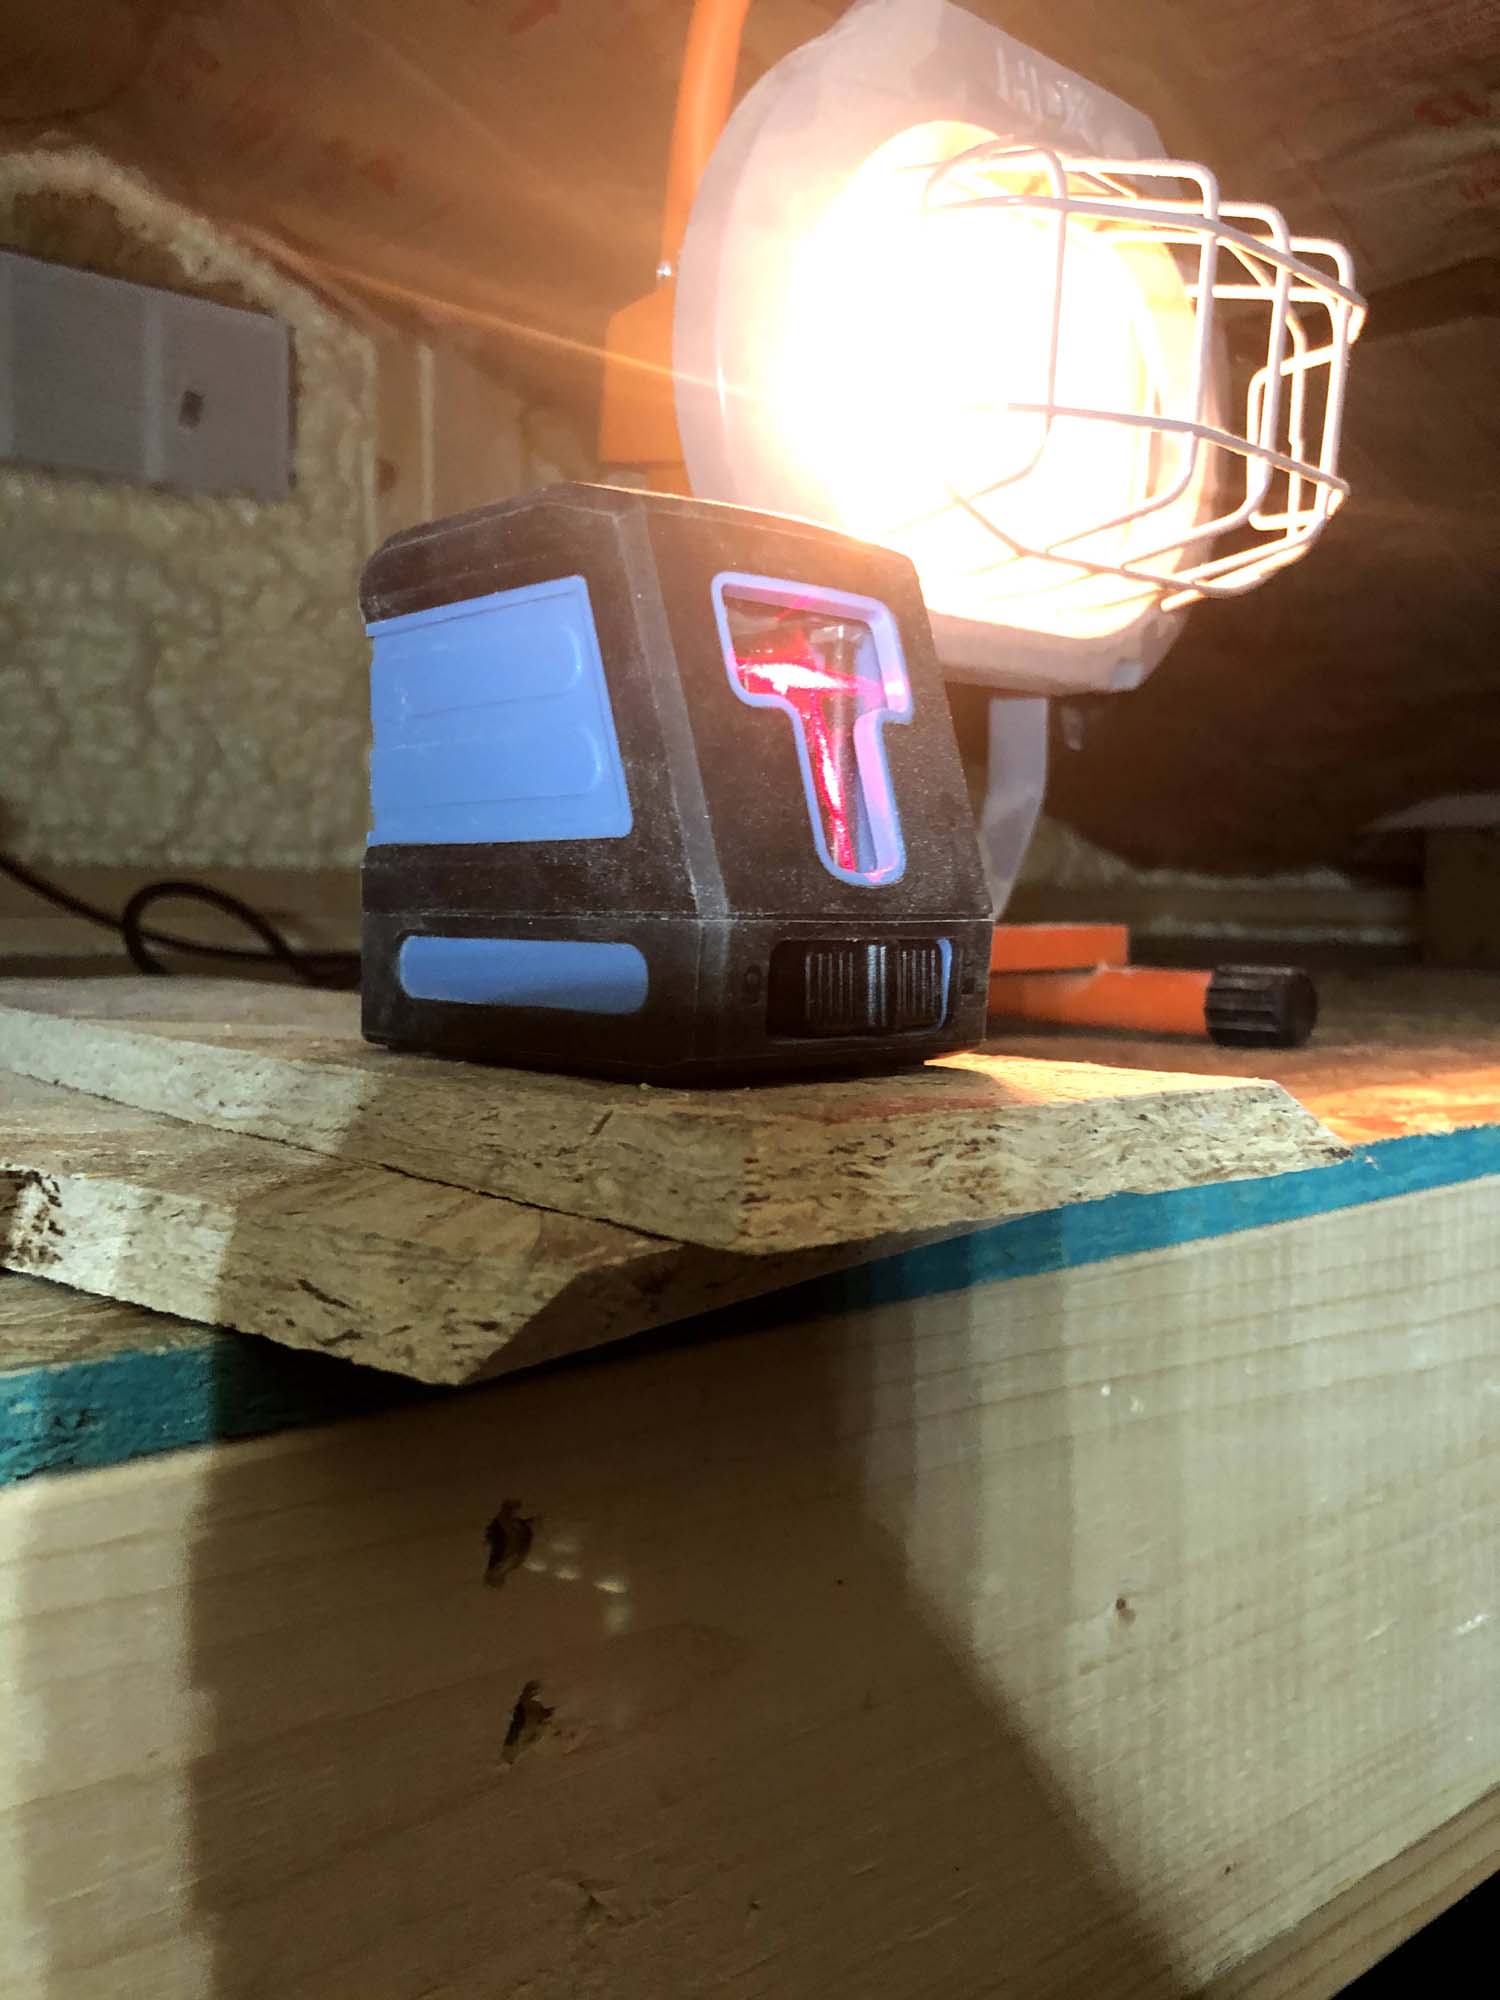
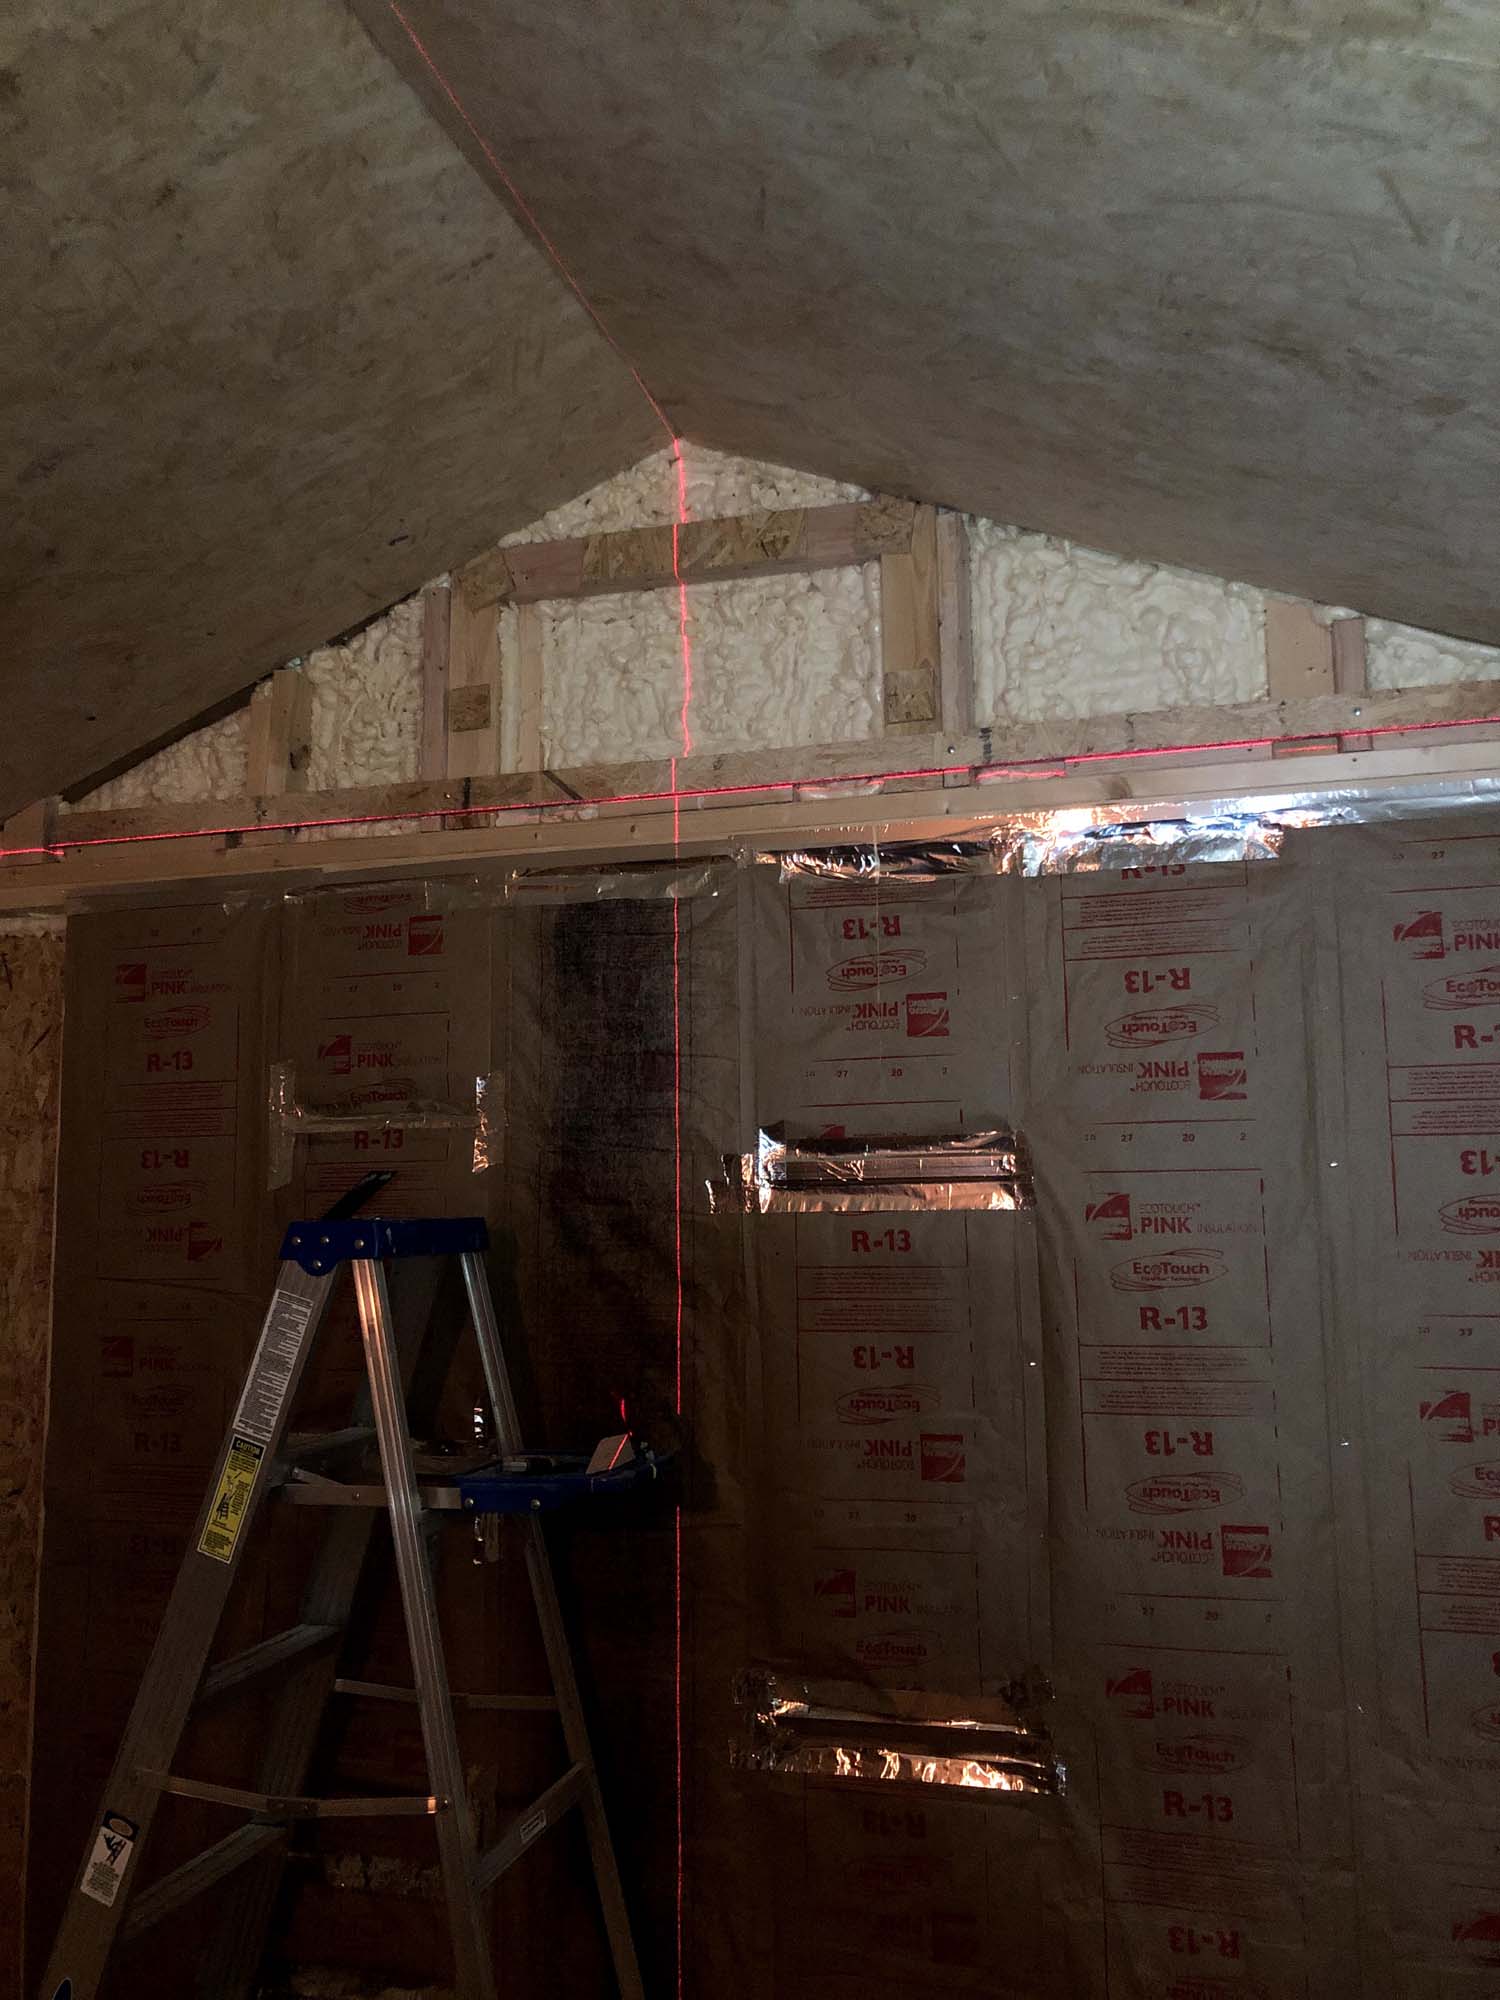
Unfortunately, for every single sheet of OSB I had to trim about 1/4in to 1/2in off of each side to get rid of the bright blue manufacturer's spray paint. This turned out to be a massive pain, because 1) it meant I had to trim every freaking sheet, and 2) the sheet edges no longer landed on the 16in spaced studs. The width of the sheets as they come is 48 inches, which lines up perfectly with 16 inch studs. So in an ideal world I'd just throw them up and screw them on. But because I had to trim off the edges, I had to add blocking so I'd have something to screw the edge of the sheet into. I think if I had known this up front I wouldn't have gone with OSB honestly. You can see where I added blocking in between the rafters because I covered with that silver HVAC tape afterwards. In the picture below you'll see three blocks sticking out. I also used a laser to know exactly where the first rafter was, so I could know where to put my first screws. That was really helpful.
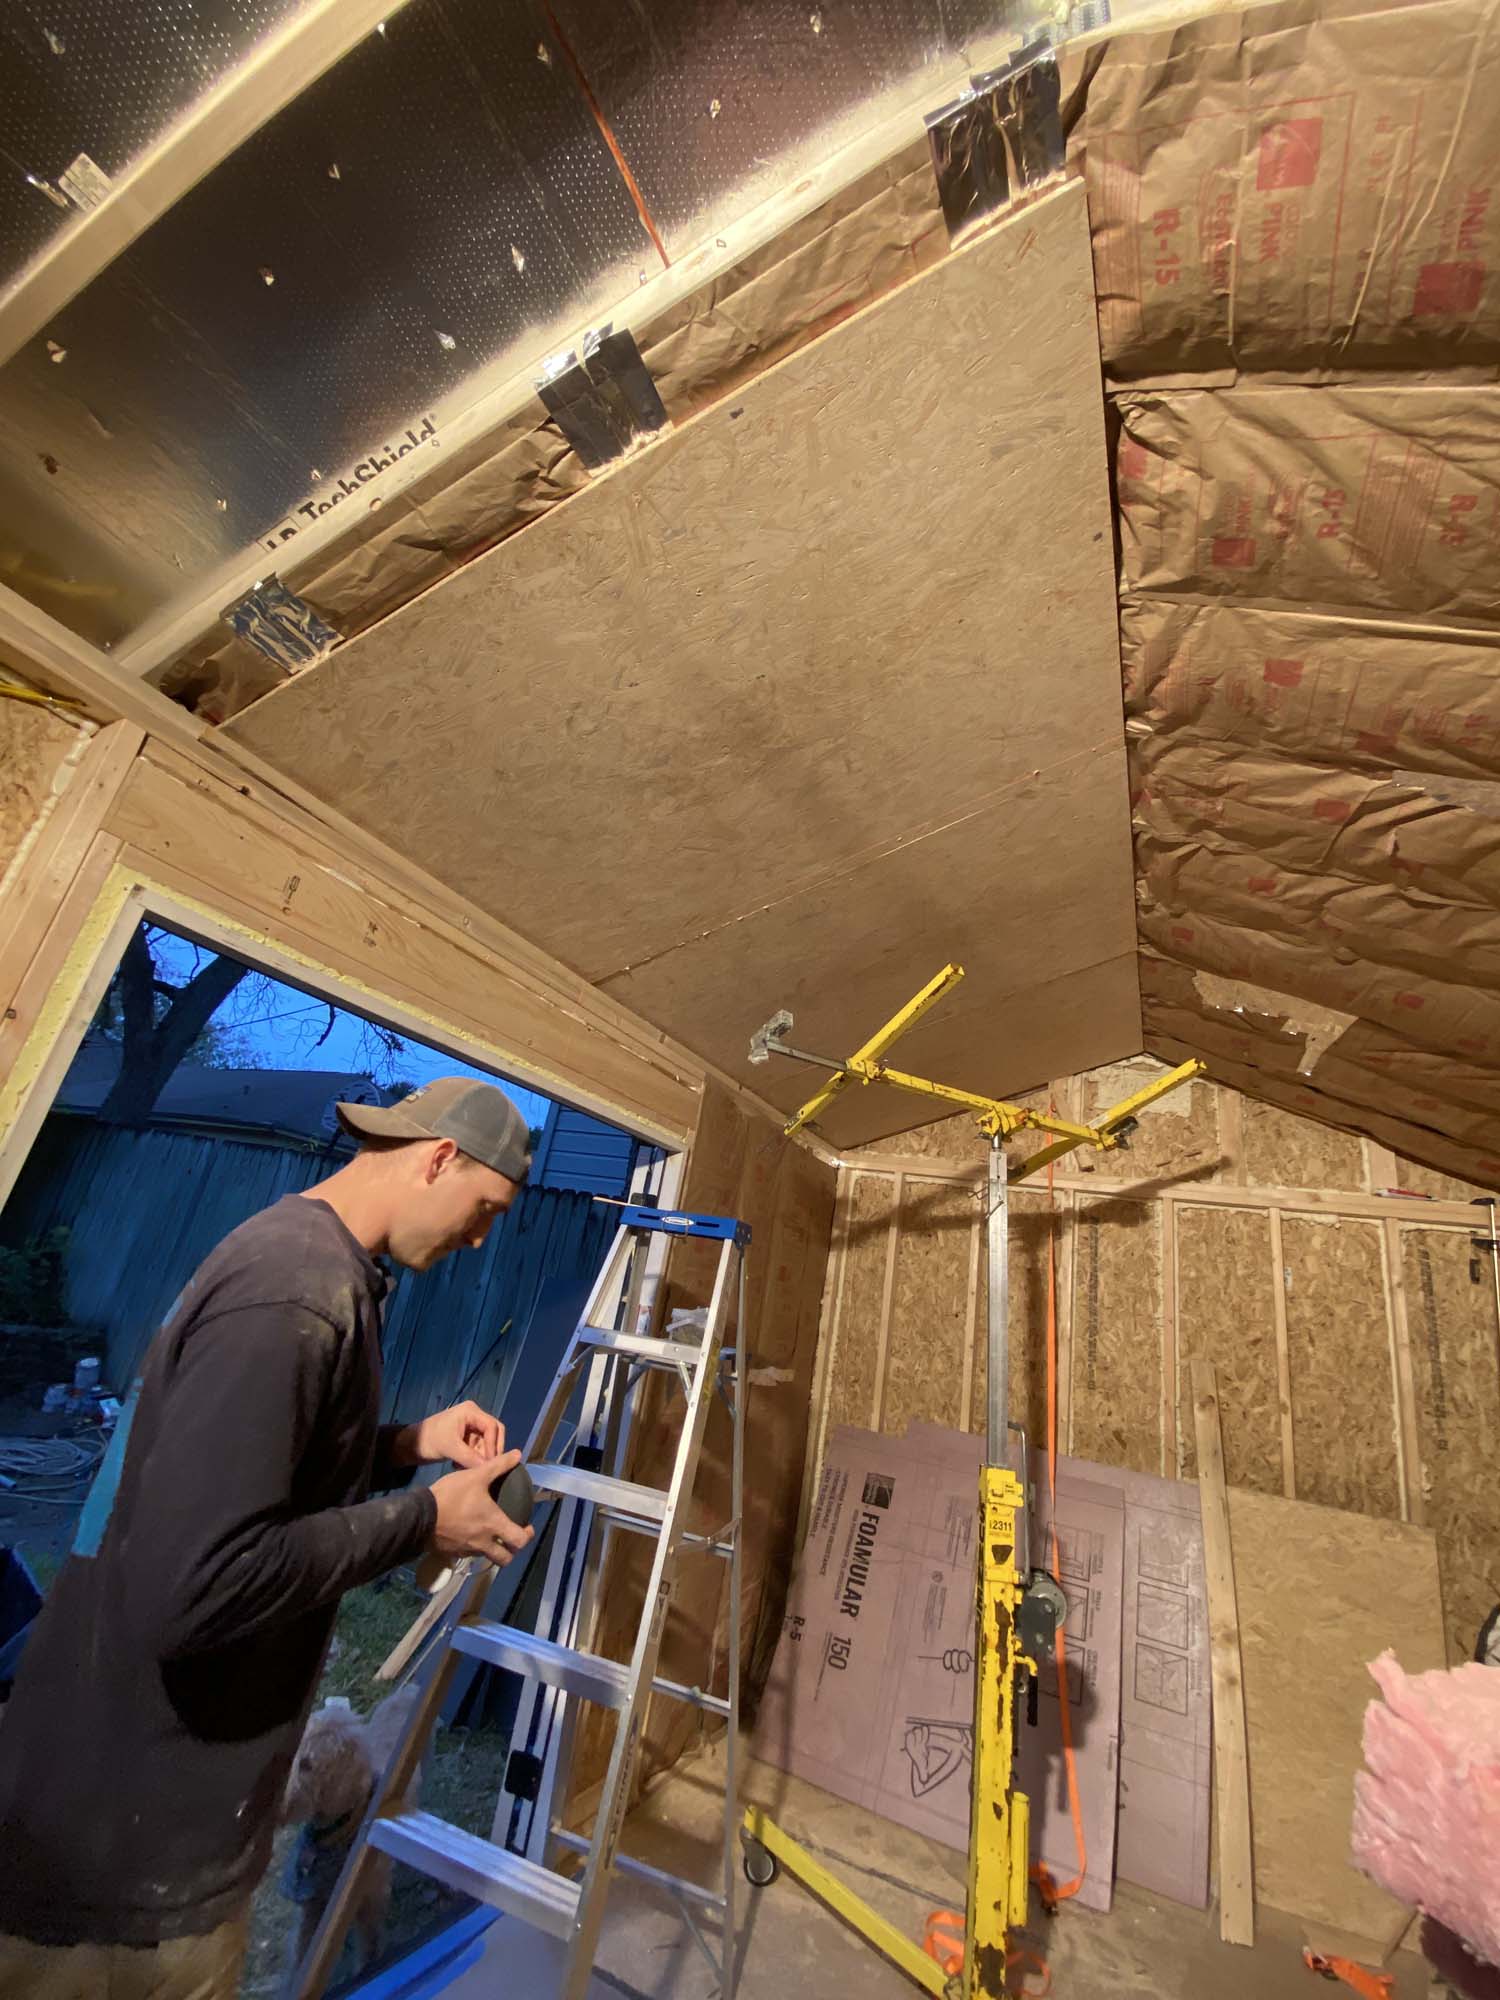
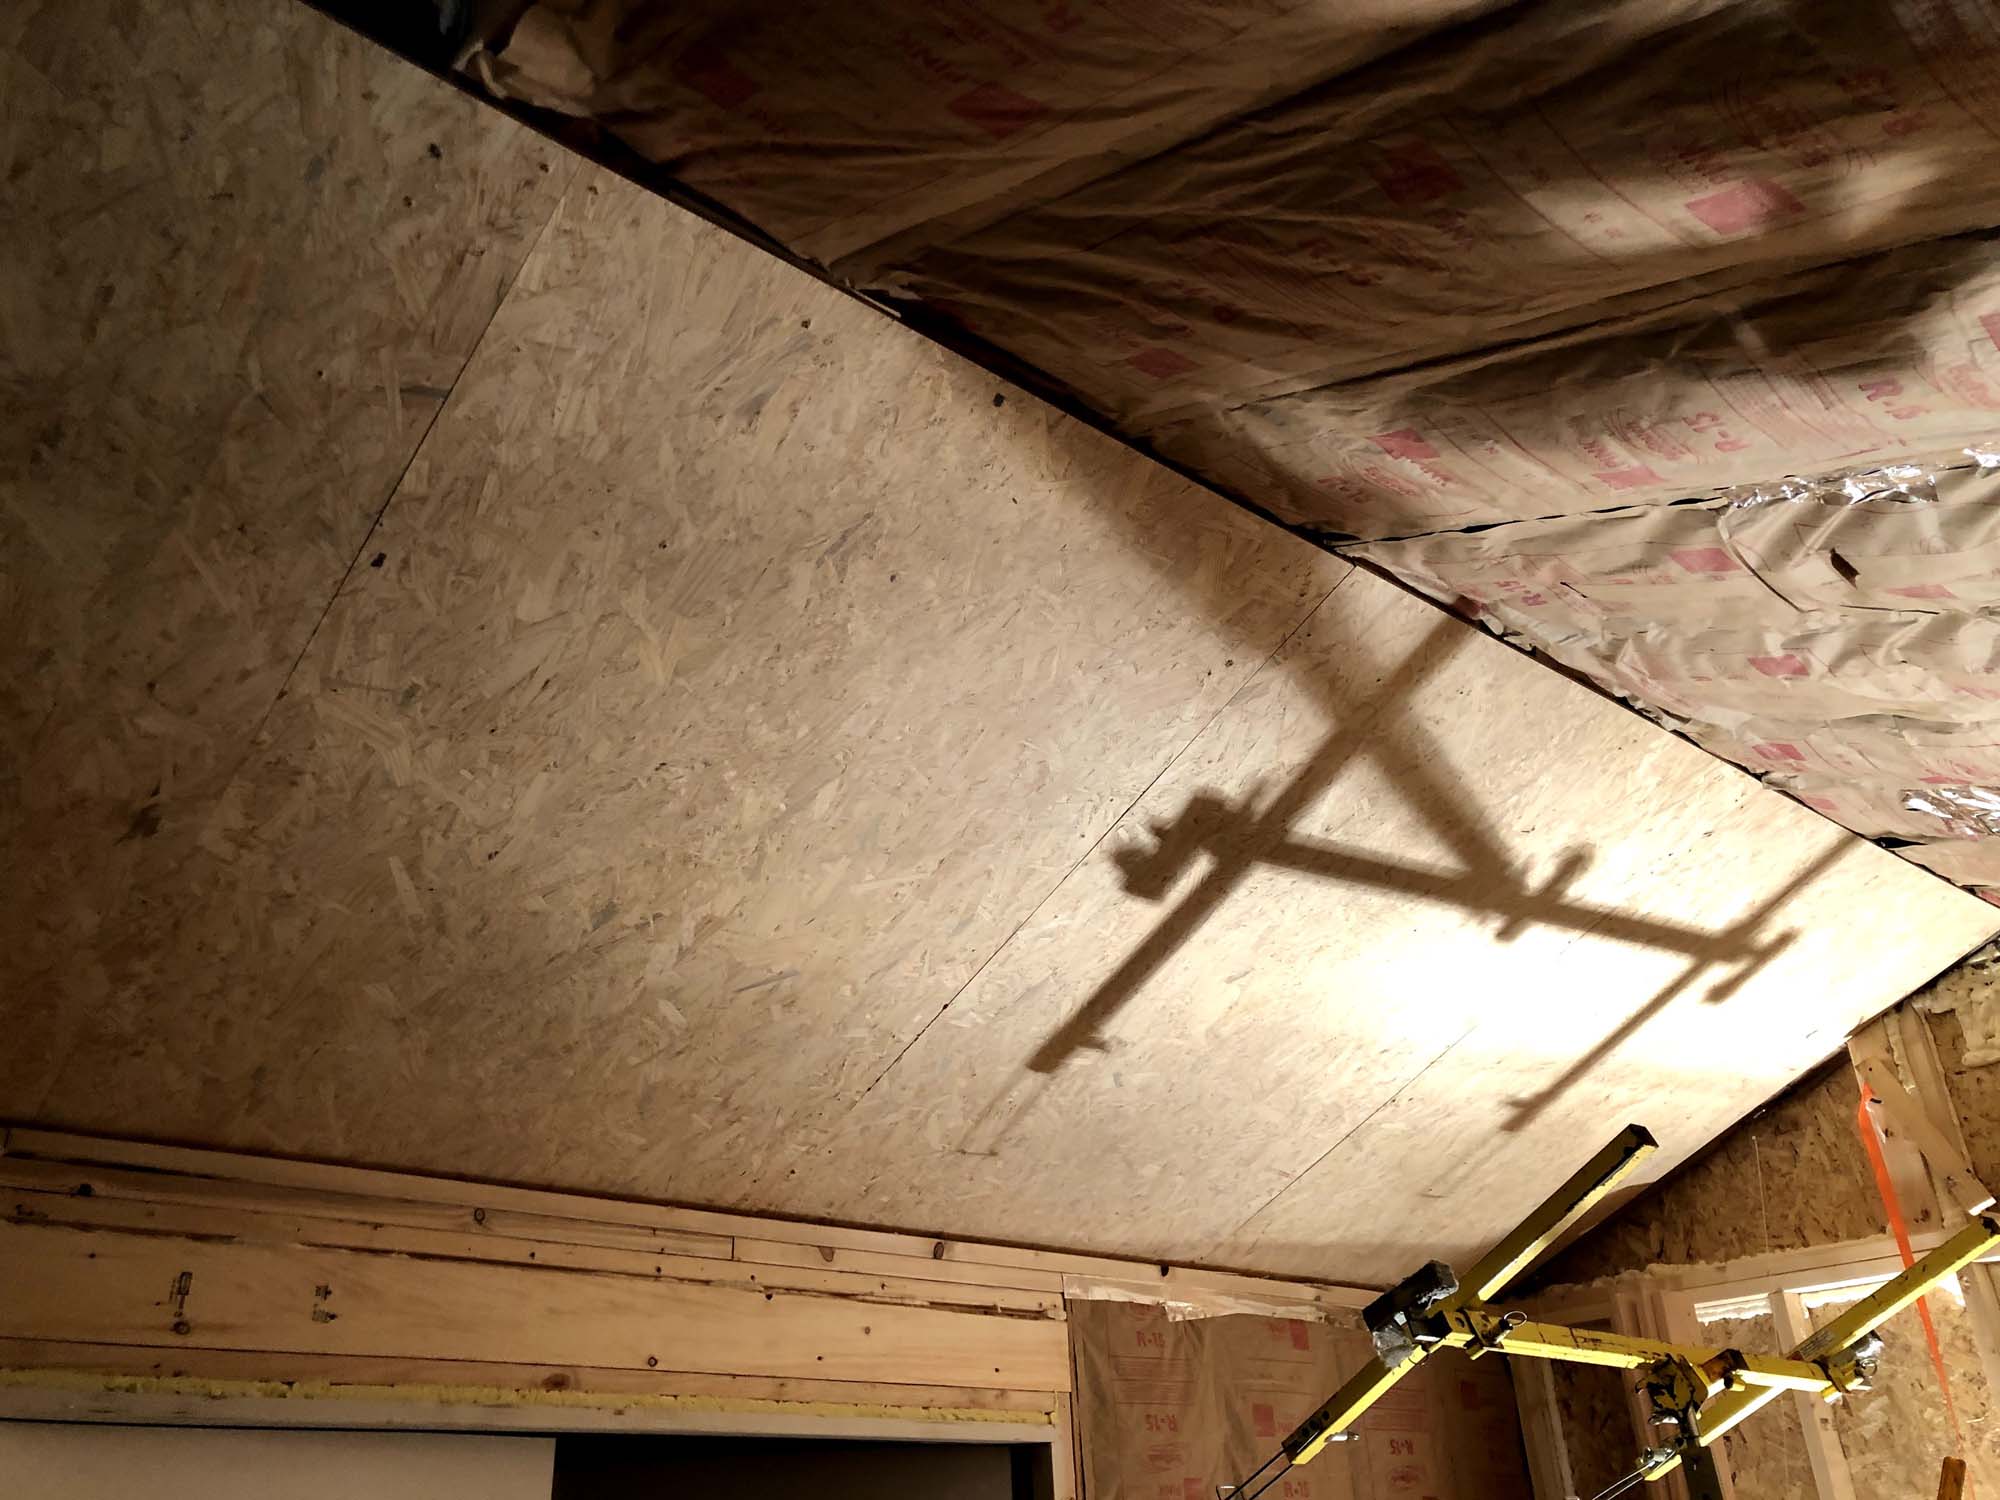
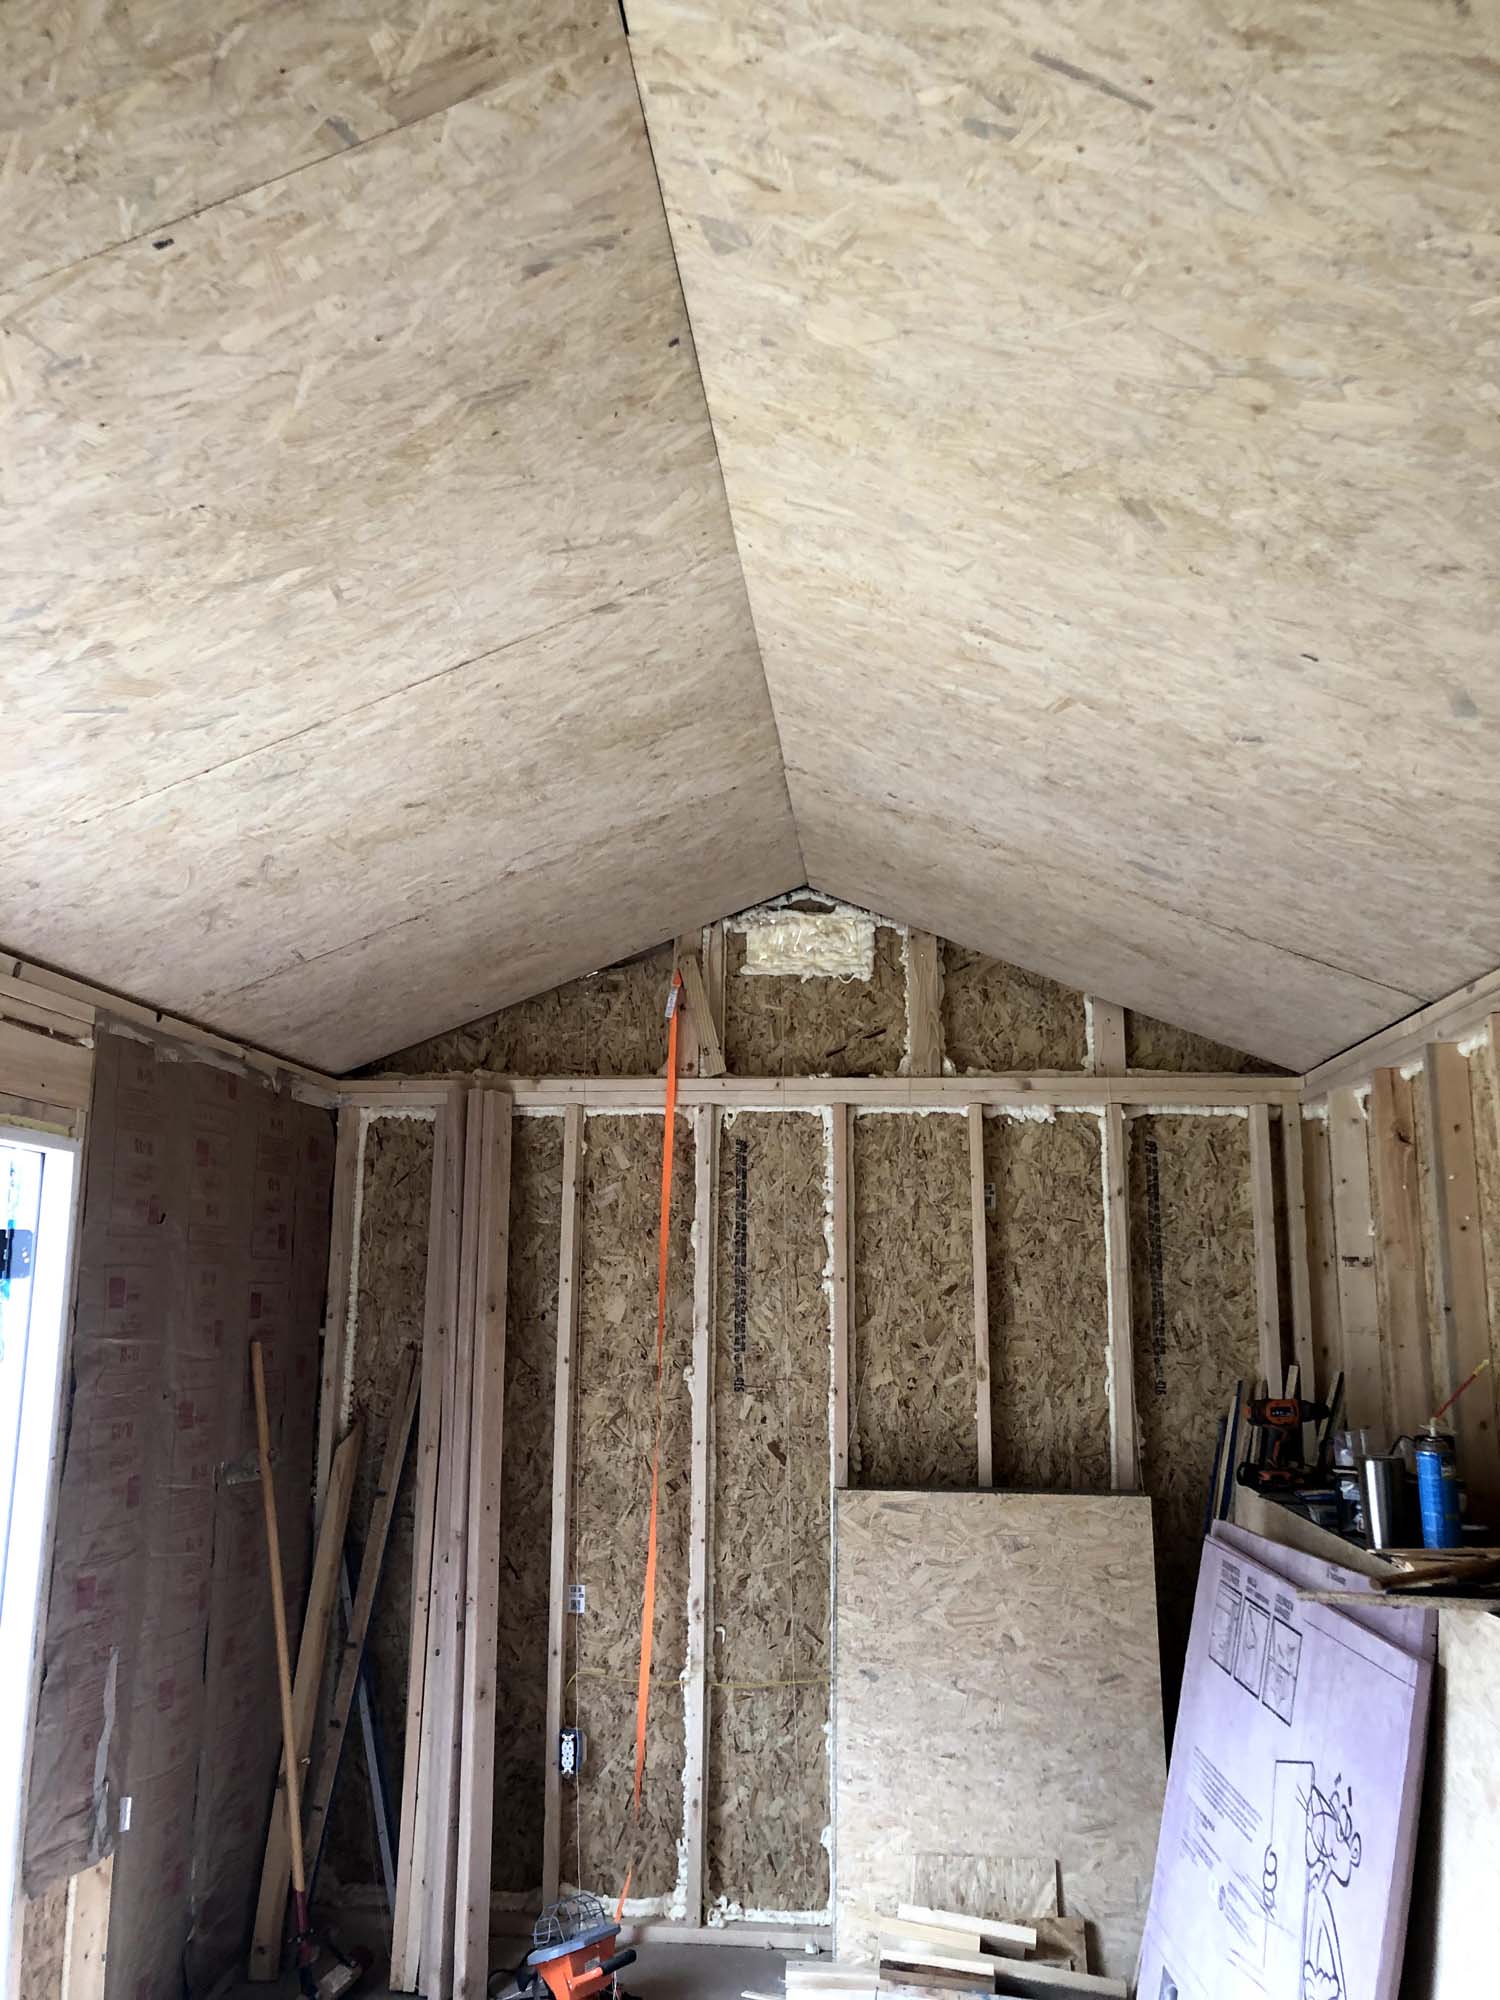
I'm starting to notice a theme here: This took way longer than I anticipated. It's possible I'm bad at anticipating. Fortunately it was over the Thanksgiving holiday, so I really got into the zone and stayed up until about 4am and got all the panels lifted and installed. Here it is the night I finished with the lift still in view, and in the daylight.
I recorded some of the process of getting this installed. You'll see me cutting the insulation to add the blocking and trimming the boards on the floor with a circular saw.
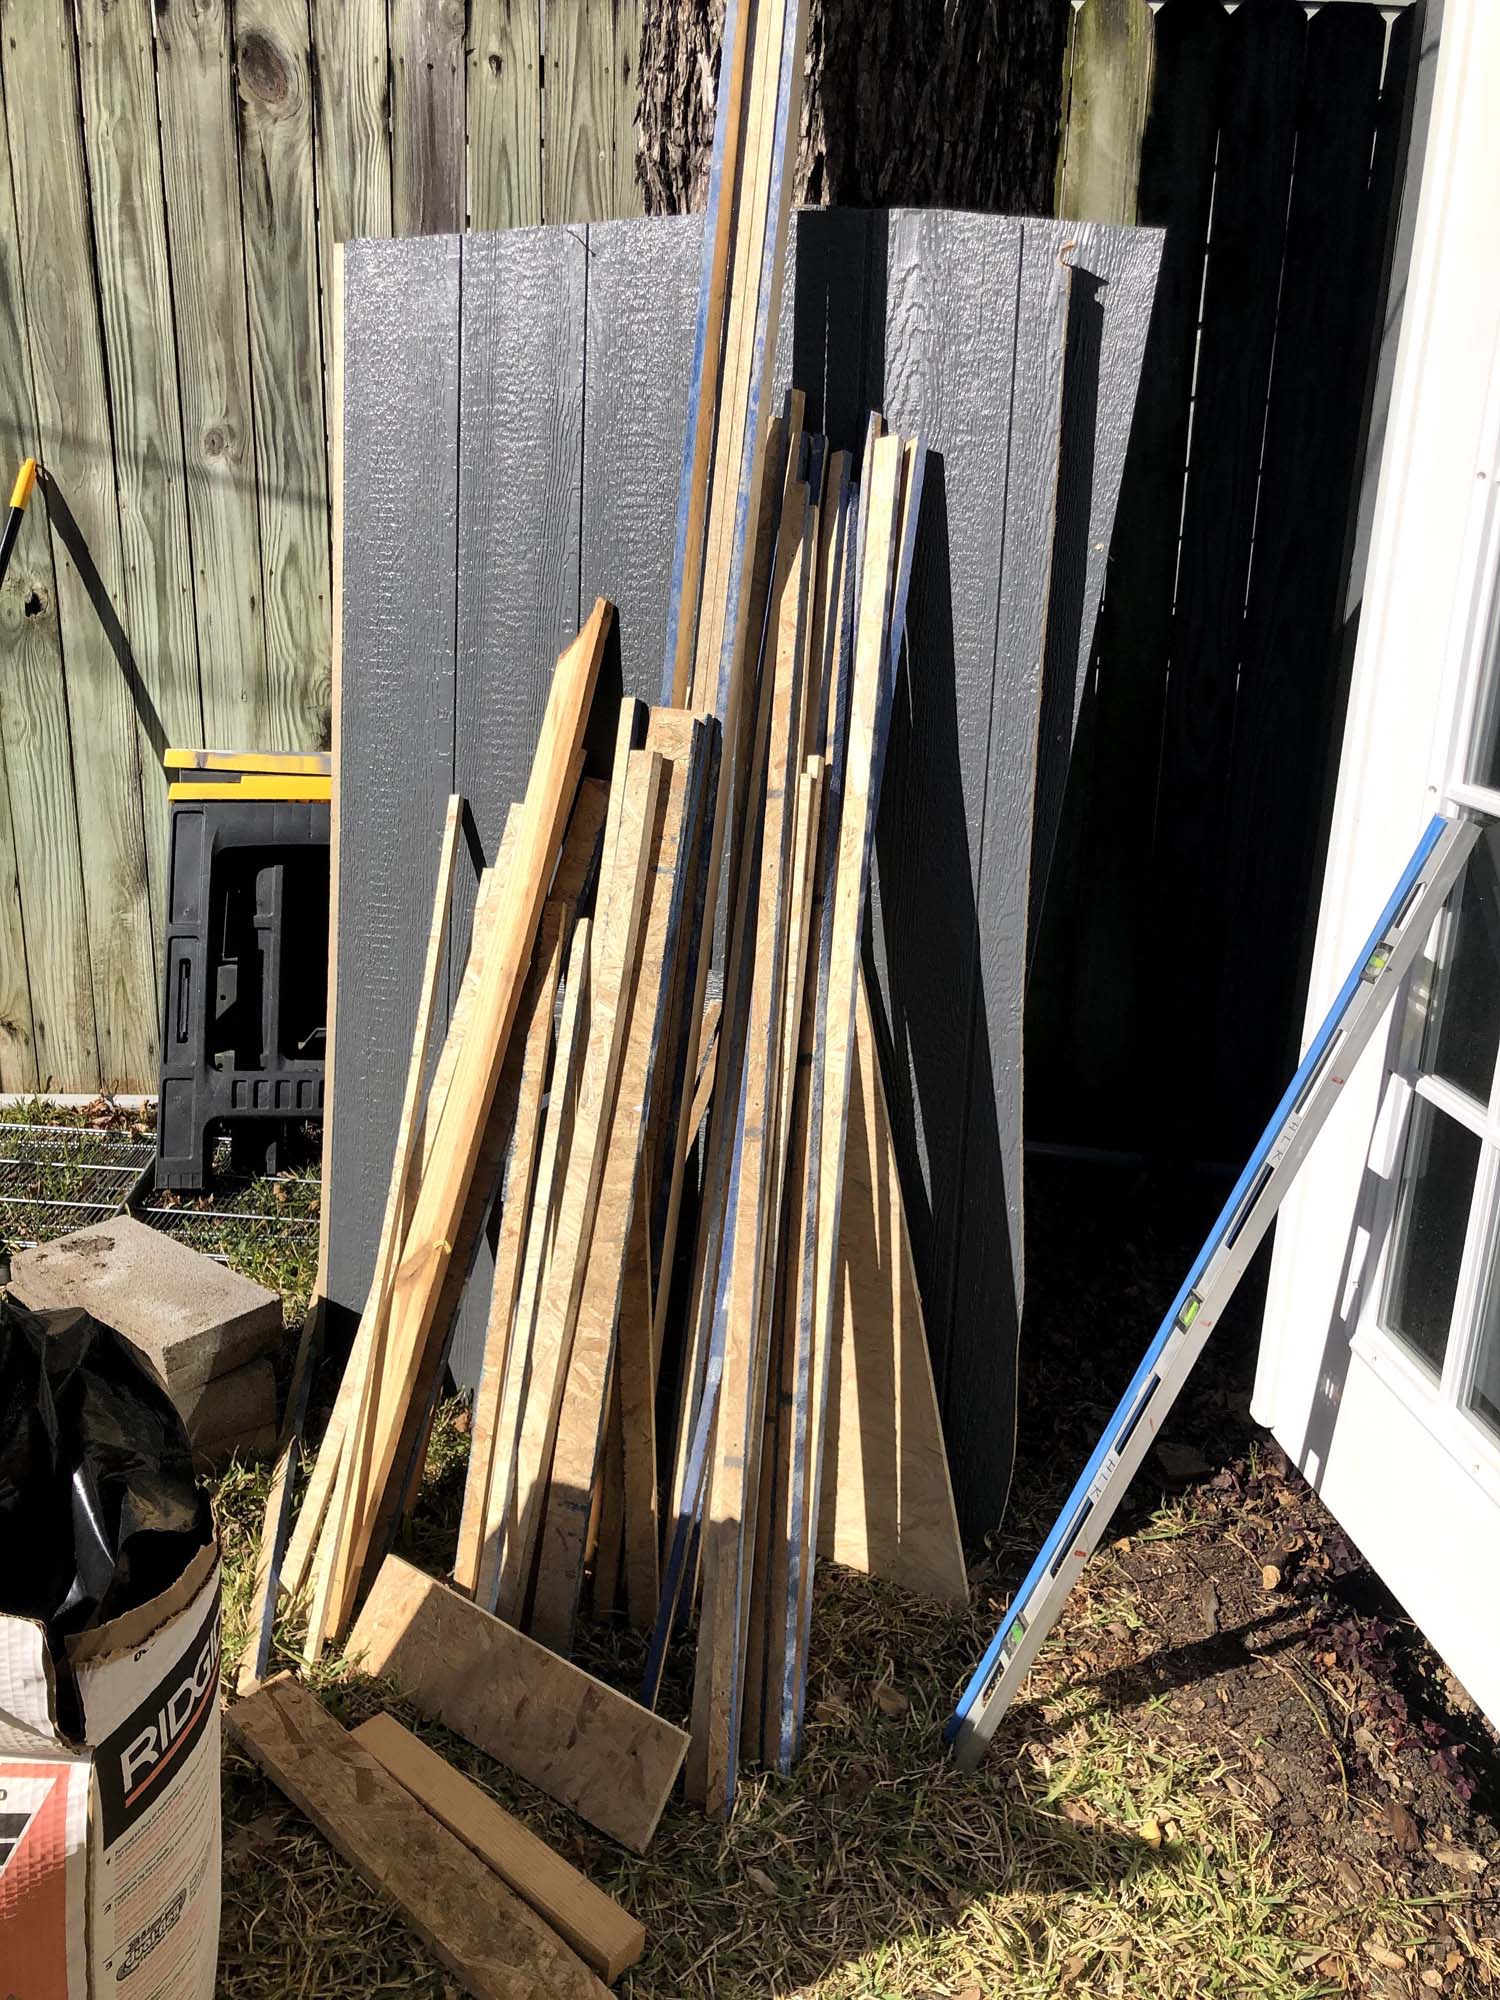
When I say I had to trim every edge... I mean I had to trim. every. edge. This is only a portion of the off-cuts!
OSB Walls Once the ceiling was up it was time for the walls.
The process here is basically the same, except the resulting sheets are much bigger (almost the full 8 feet) and I don't have to lift them overhead (praise the Lord).
I cut a bevel into the tops of the wall panels so that they would meet up nicer with the ceiling. I didn't want to have huge gaps between the ceiling and the wall. I did end up with some gaps, but mostly those were fixable. I originally tried to cut an L shaped panel to fit around the door but kept getting it wrong, so after becoming furious I opted to just cut a board for the top and one for the side. Much easier!
Cutting around the outlets was a real hit-or-miss affair for me.
I never felt totally confident as to where they were going to
end up, regardless of how much I measured. If I was a pro
everything would always line up and I could just measure where
the outlet or switch should be and voila, there it would be.
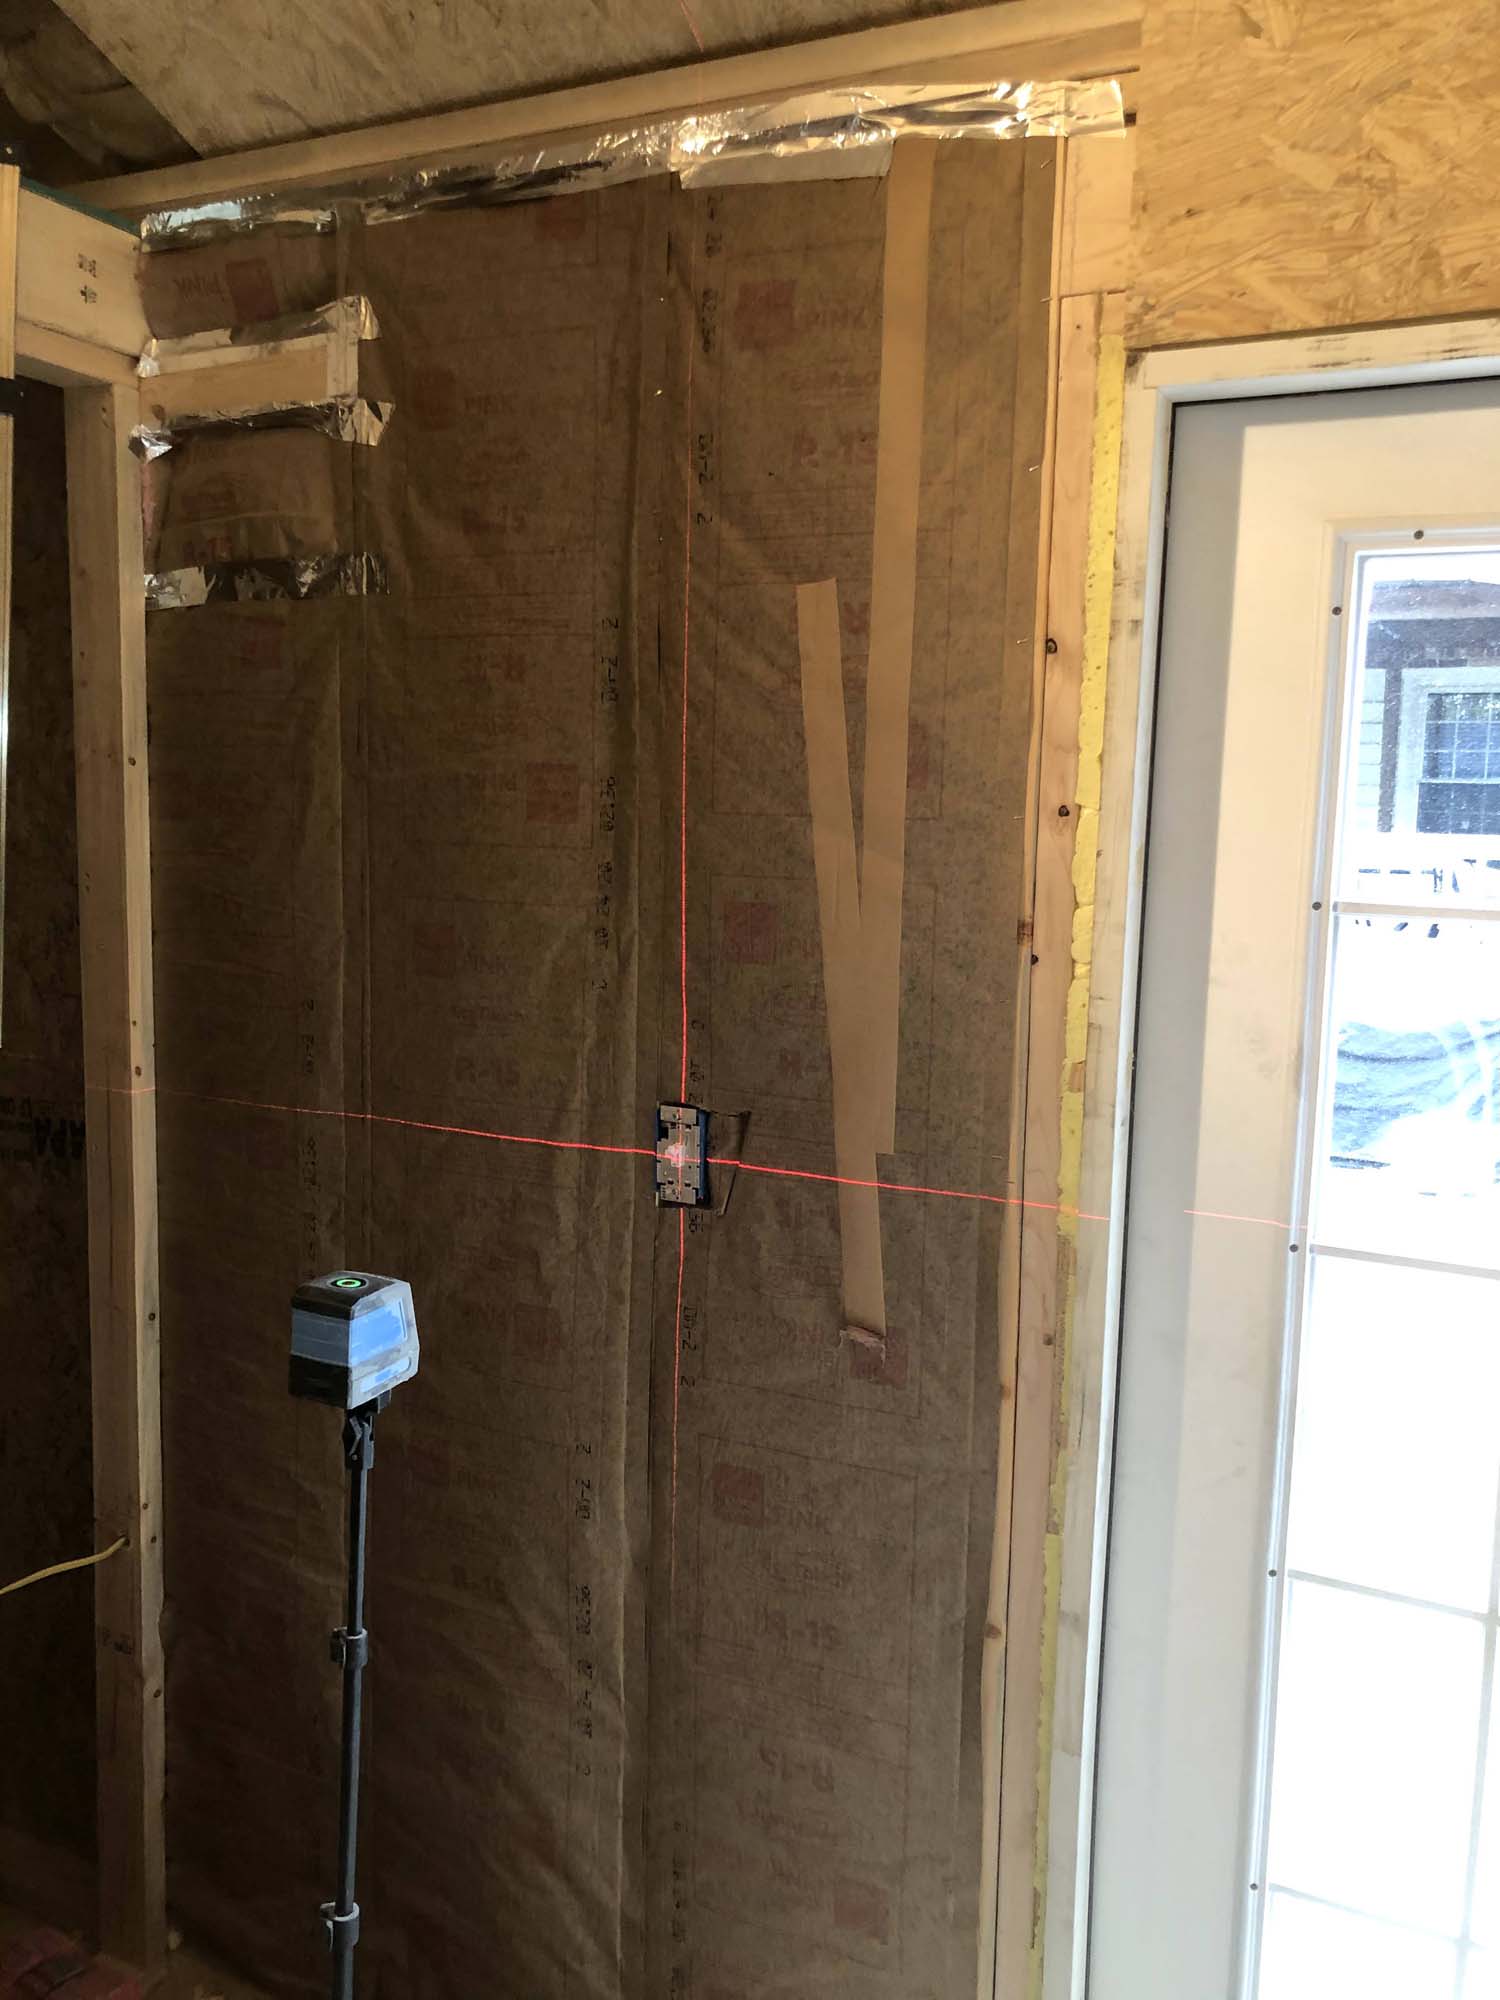
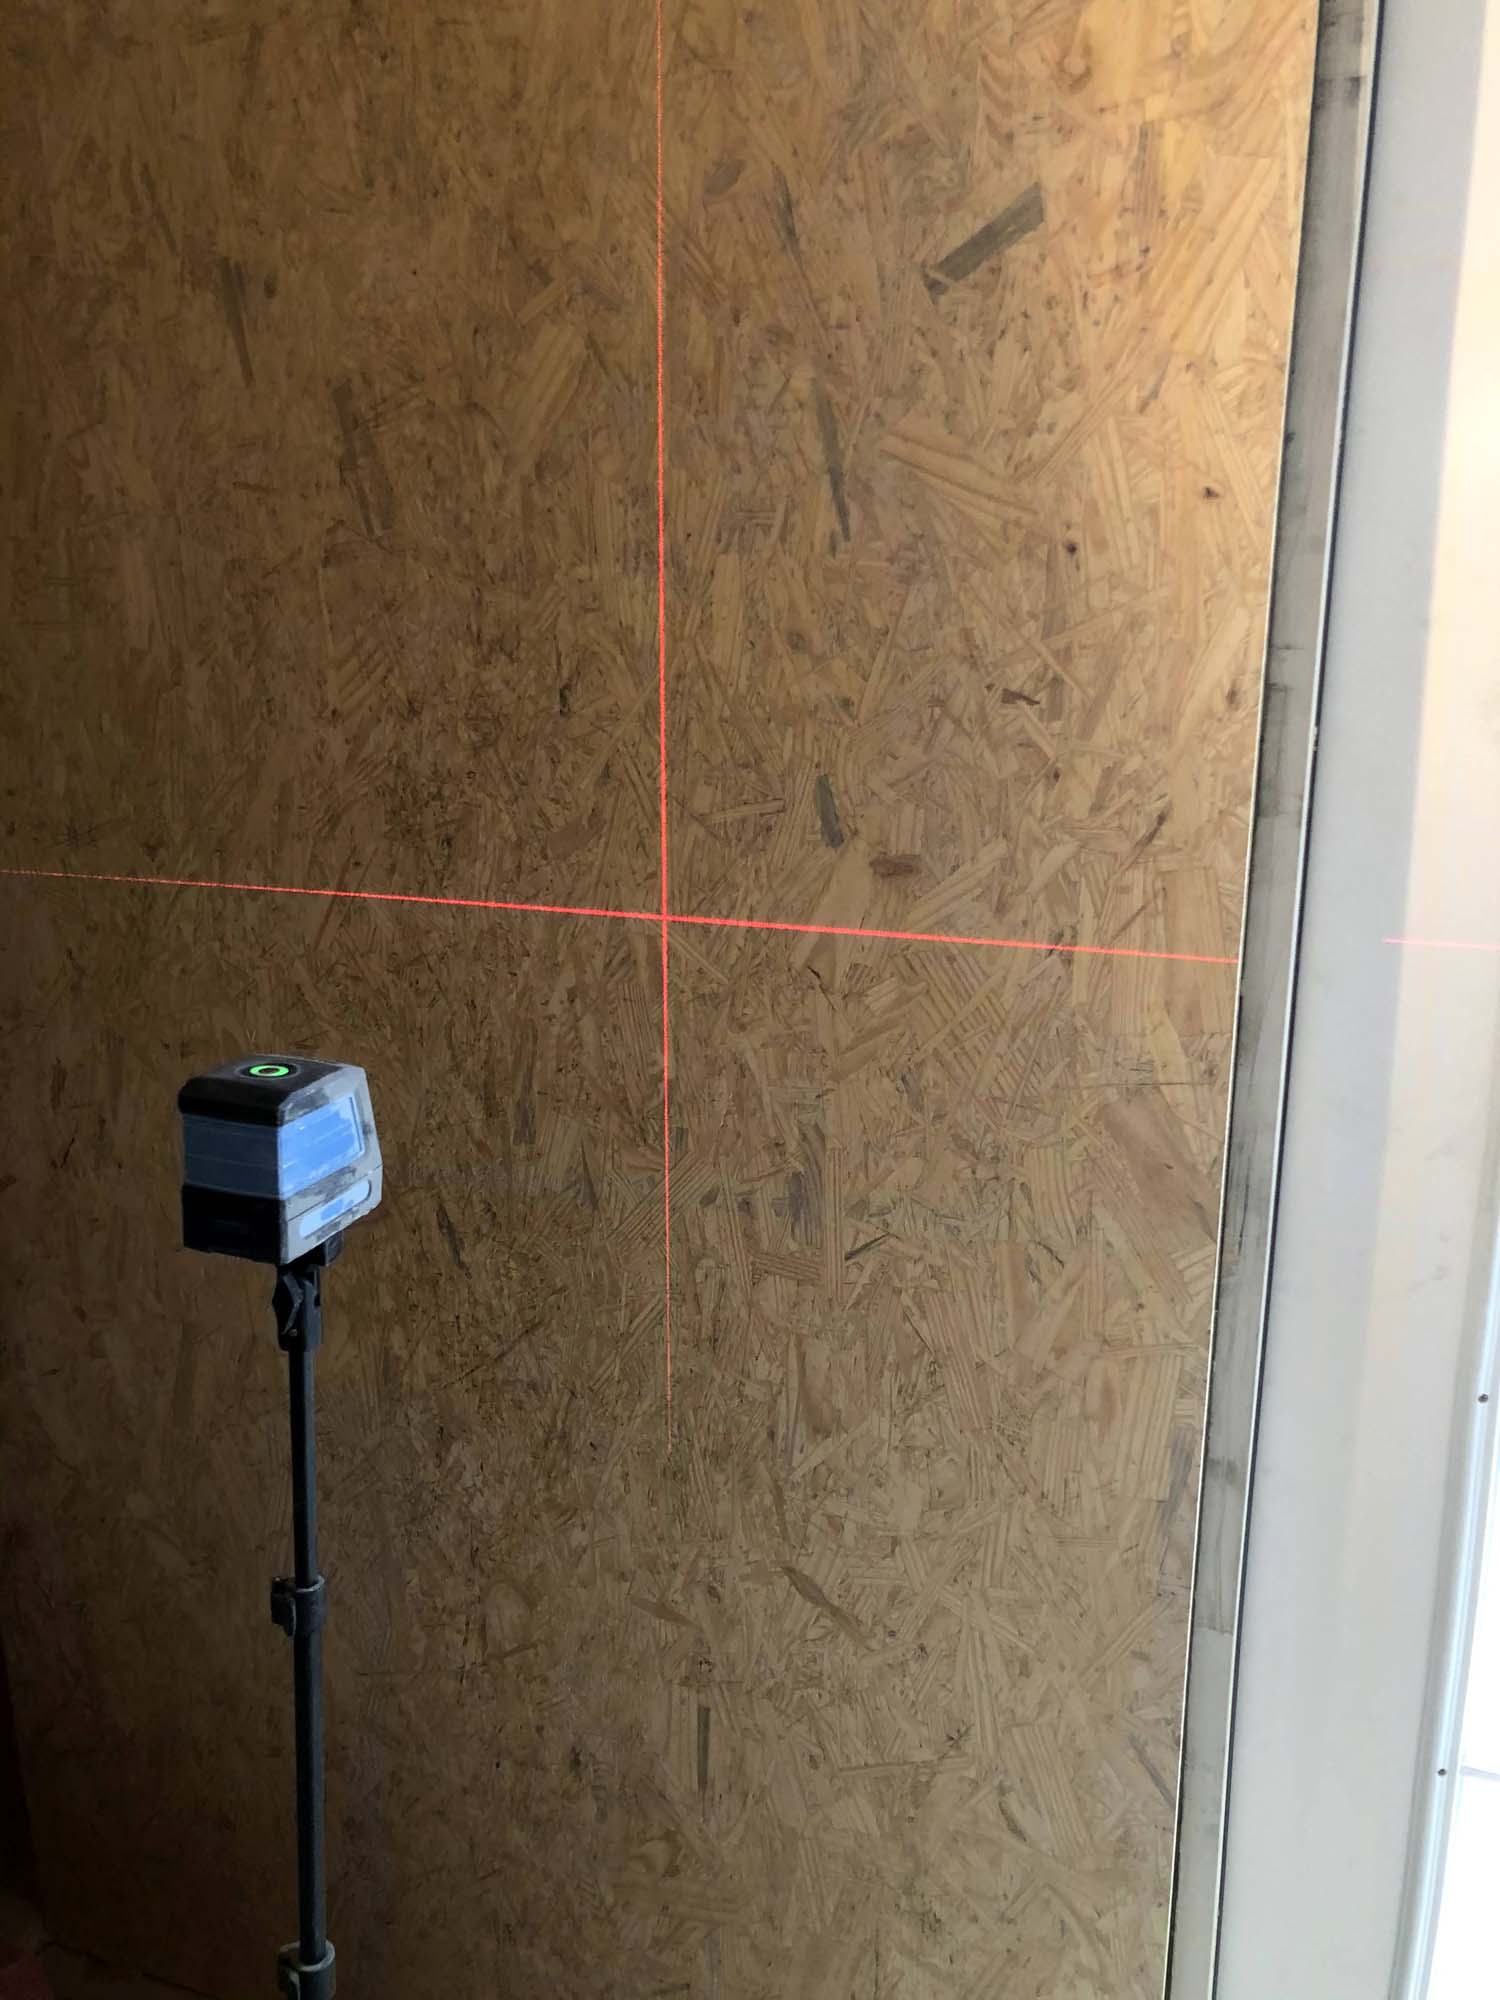
Instead I used a laser and then cut it out once I pinned the top
of the sheet to the wall ¯\_(ツ)_/¯ What I lack in skill I
make up for in gadgets!

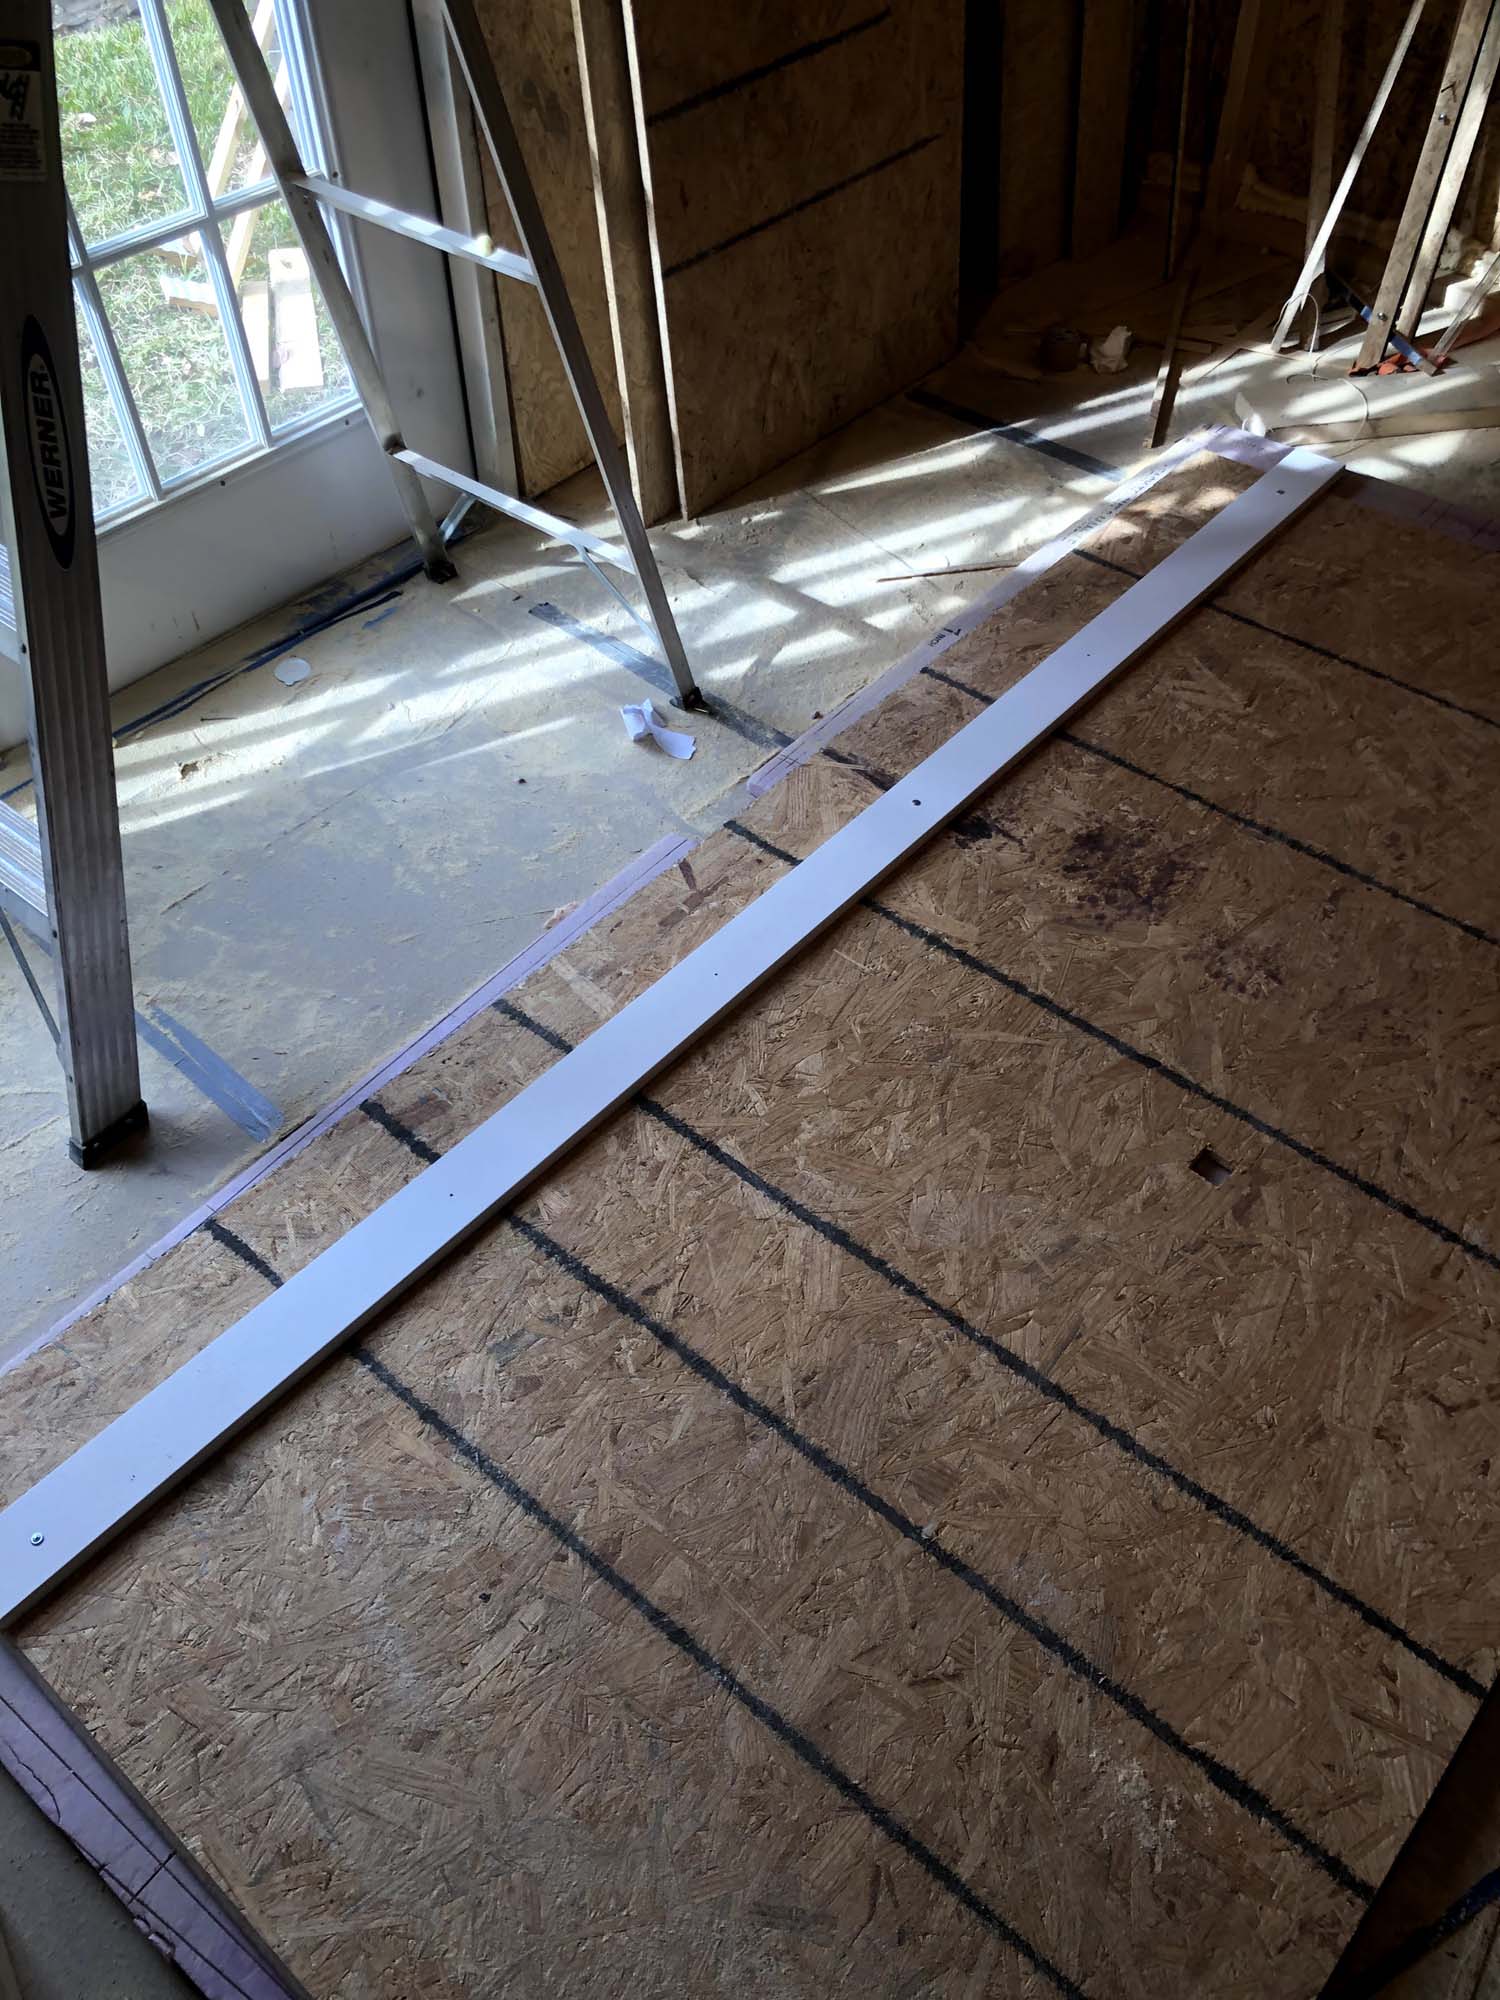
From there, it's a lot like golf: straightforward, but not strictly easy. Measure (twice), cut (once), hoist, screw into the studs, repeat forever (seemingly).

Since I don't have a track-saw, I bought a piece of MDF to use as my straight edge. I'd measure a couple of spots and screw it in to the back of the sheet and use that as my saw guide. My ever-gracious neighbor offered use of his table saw, but hauling these sheets around is a pain, so in the end it was easier to do it all in place.
If I had to do it again (which I hope I won't), I'd get a little drywall foot-lift which would make lifting it to the ceiling much easier. They're like 15 bucks, not sure why I didn't get one to start with? Who can say for sure.
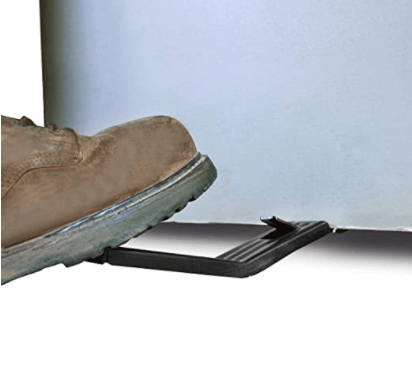
Who knows, maybe in the future I'll get a drywall foot-lift and work boots like that guy has, instead of <a href="https://twitter.com/aarondfrancis/status/1334571176371294209" target="_blank"
old Nikes. Some of the gaps are bigger than I would've liked (top right), and I think the little lifter would've helped with that.
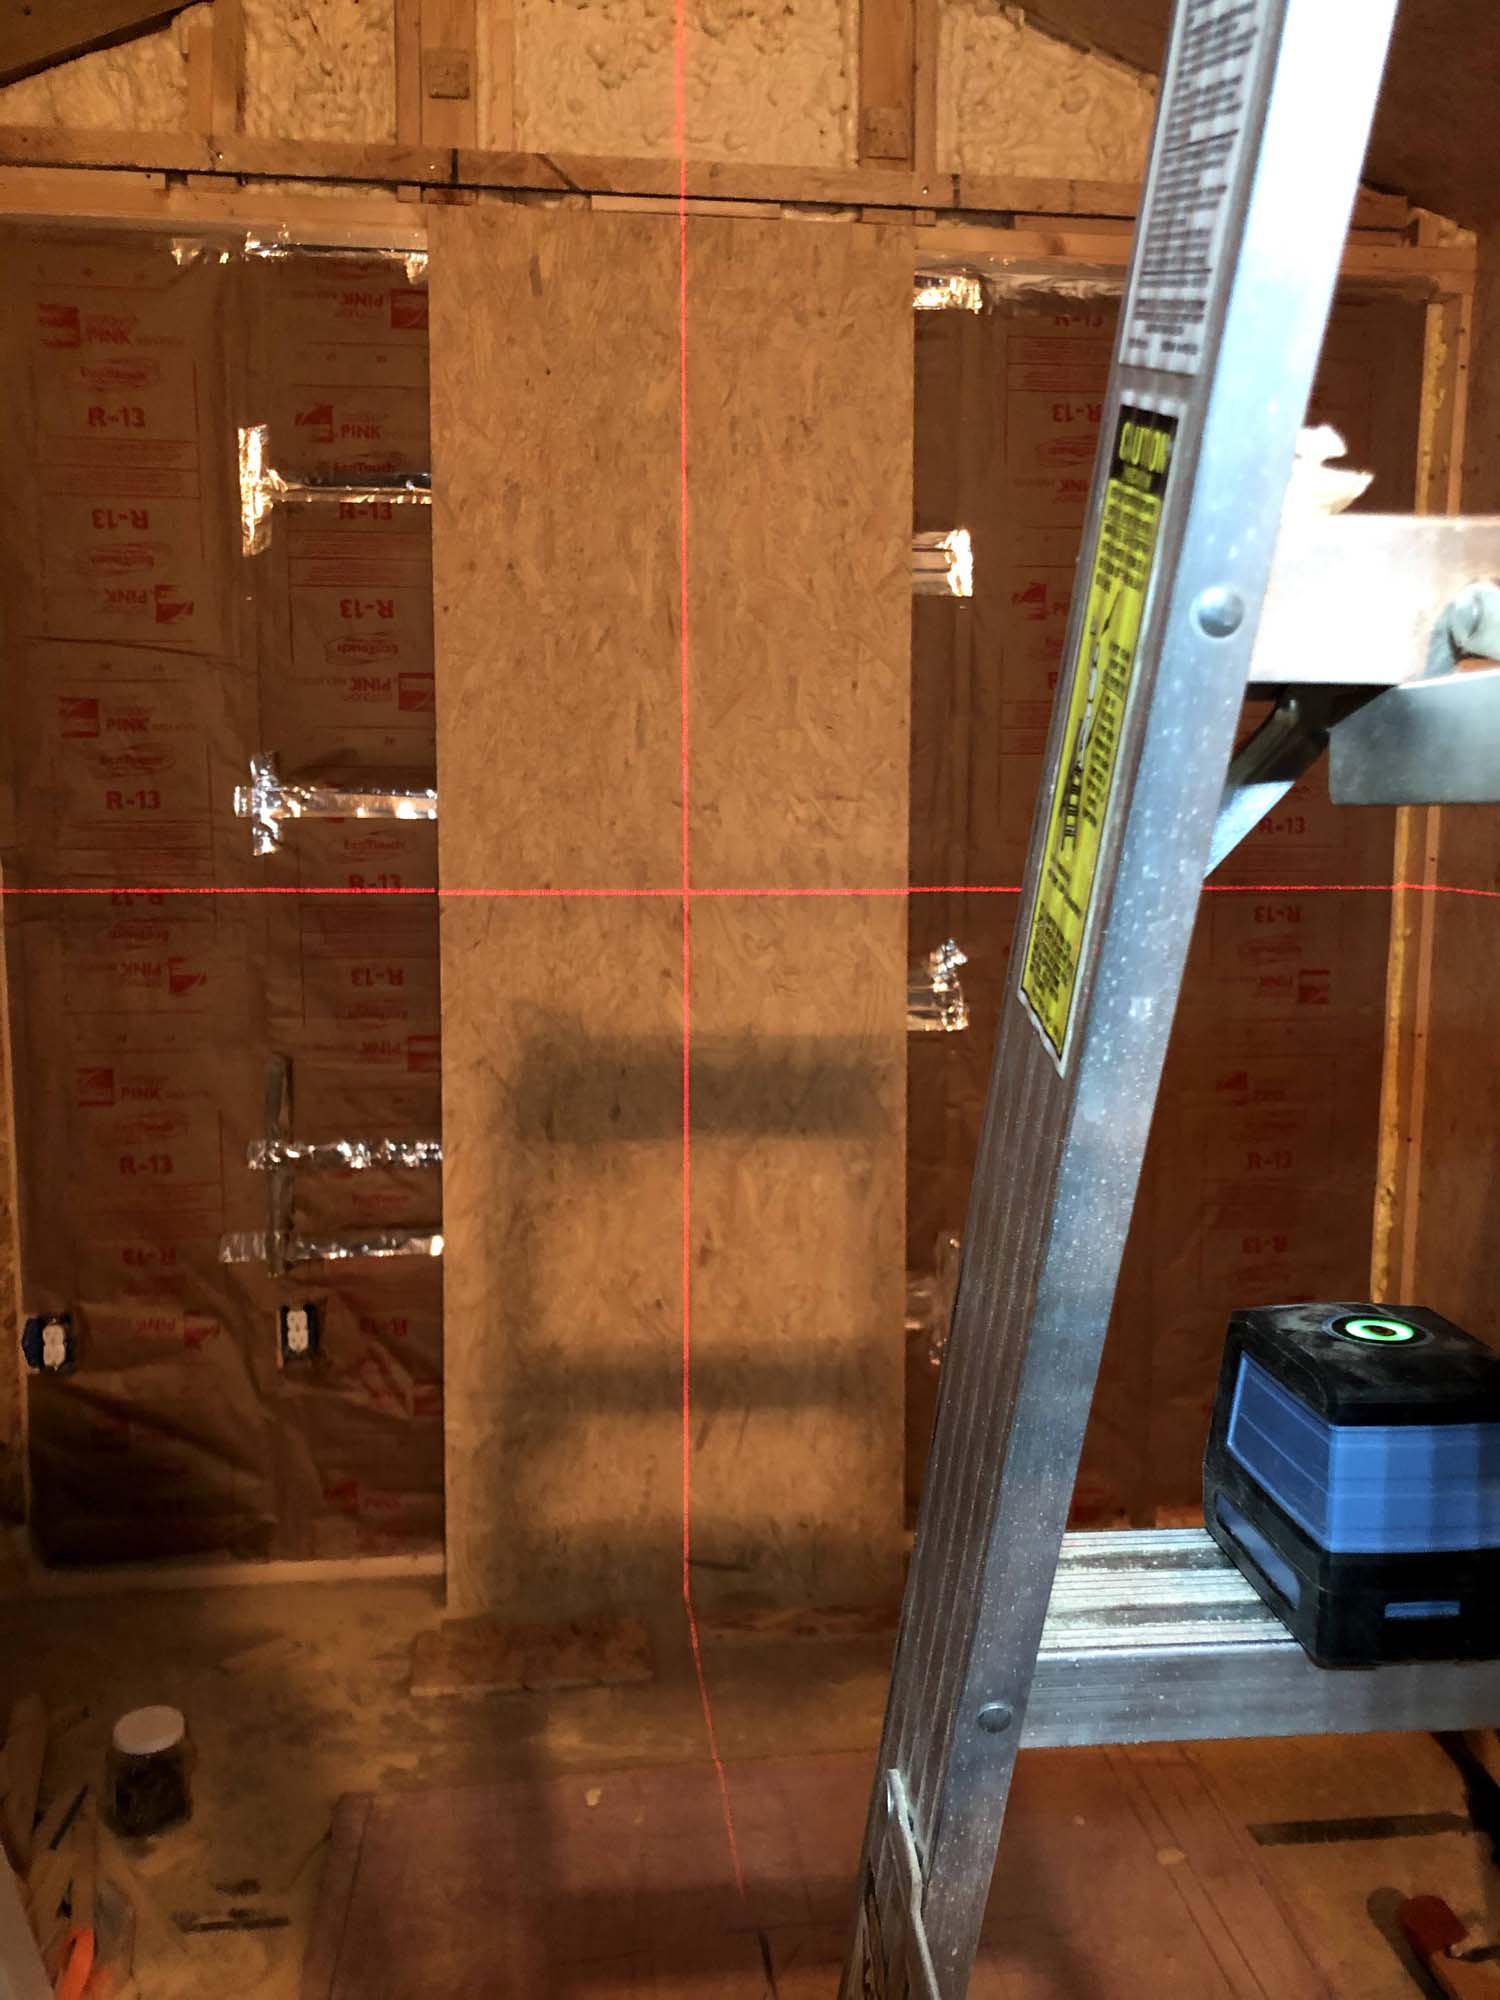
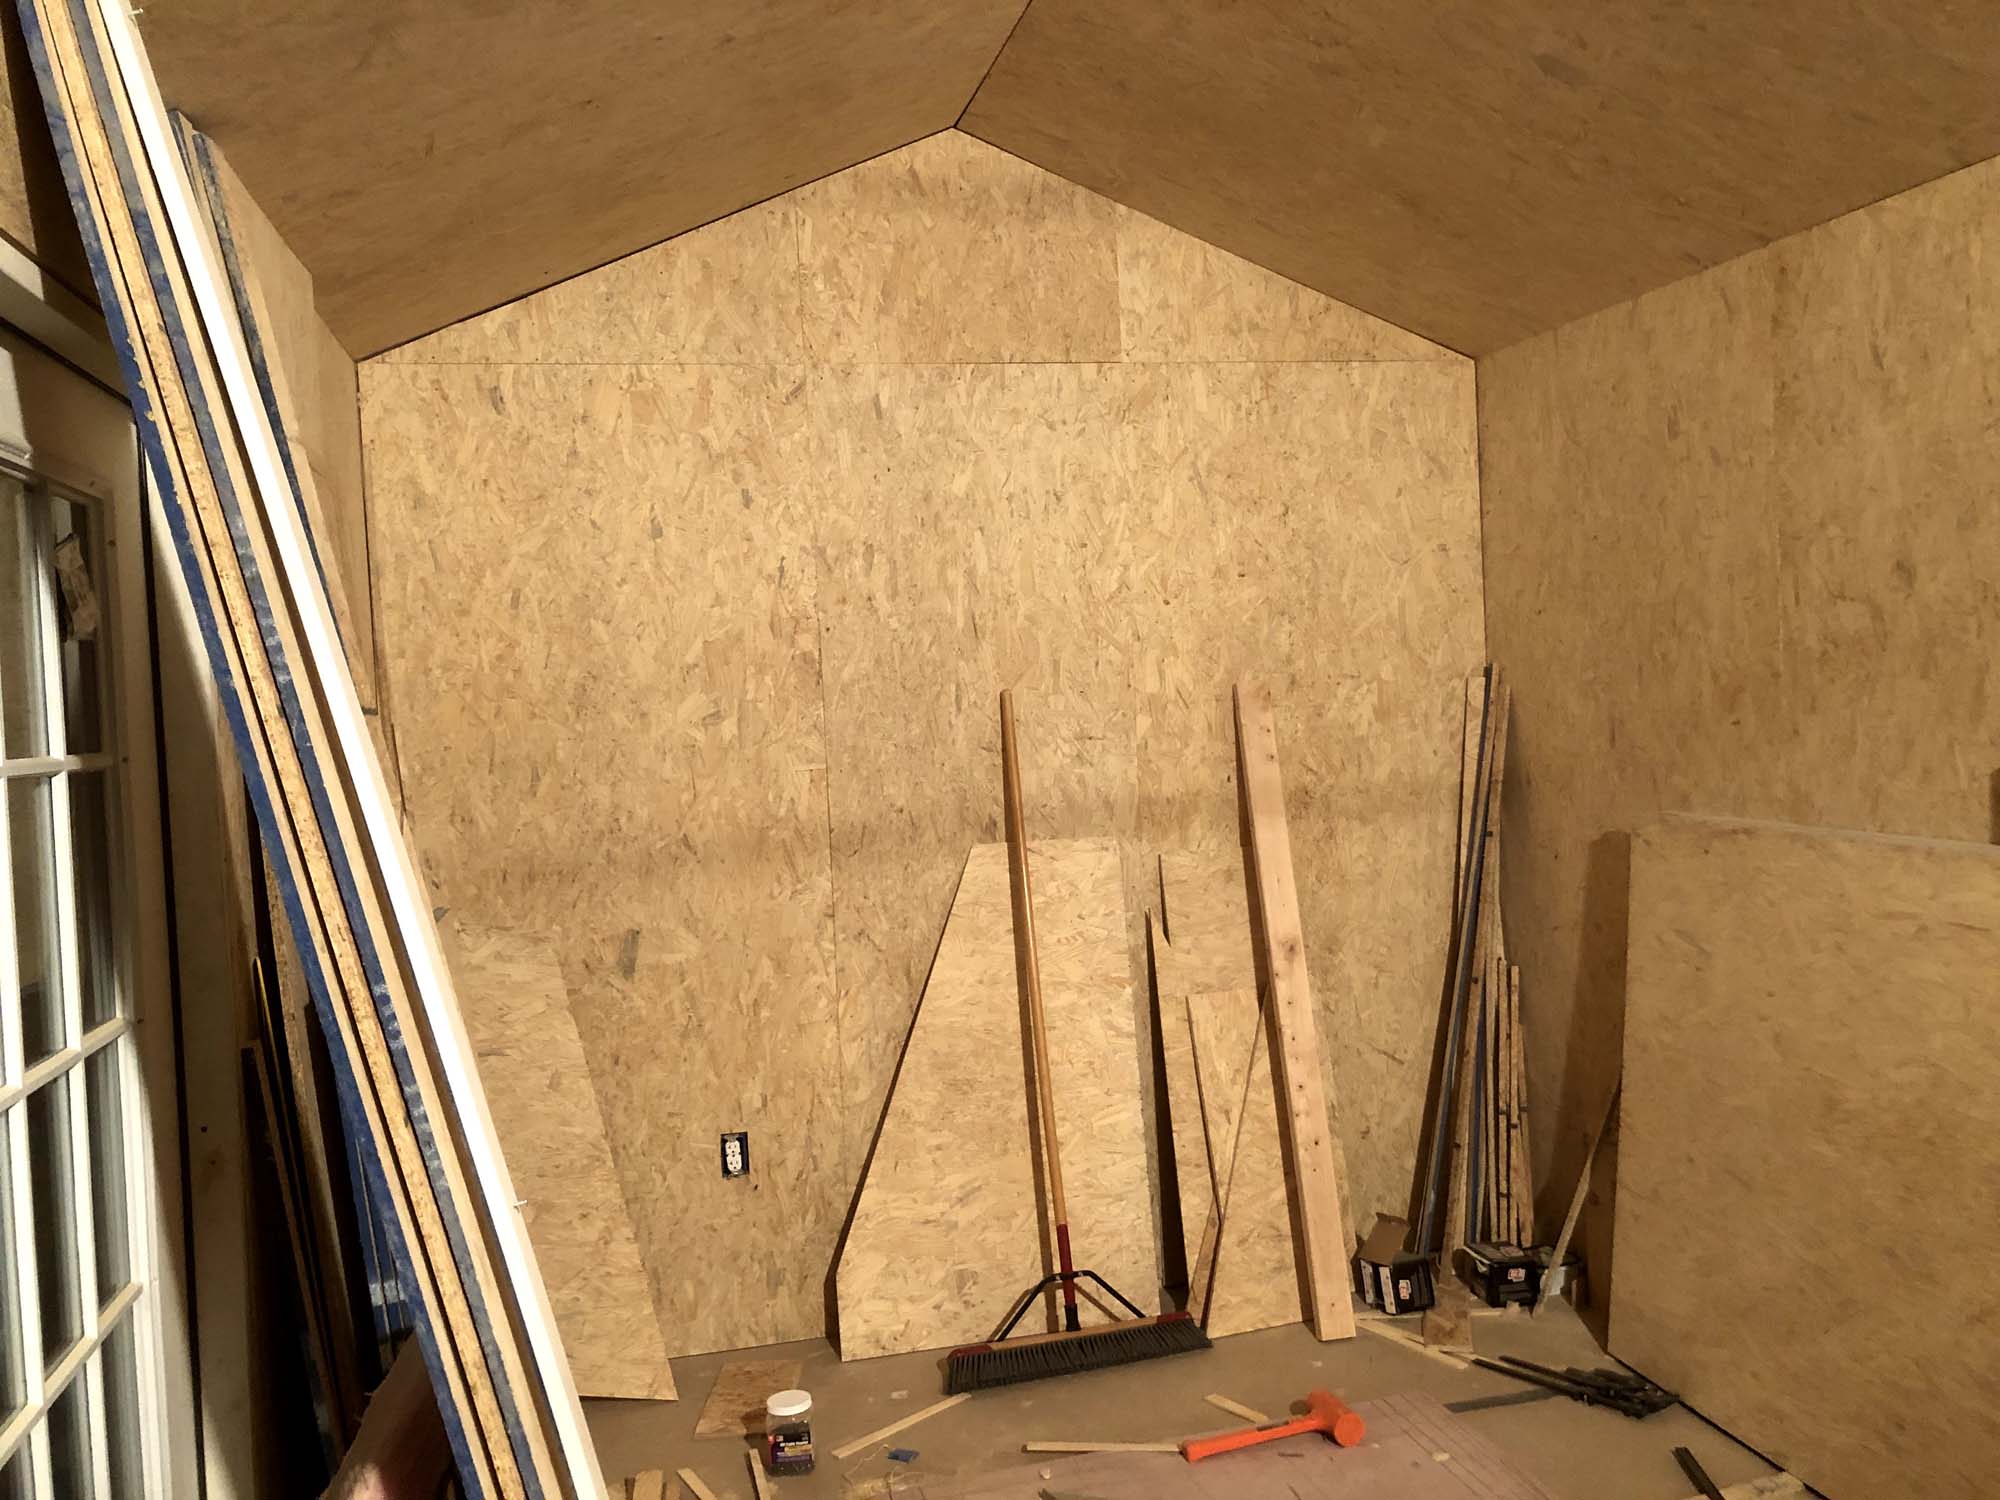
The gable-ends required a bit more finessing since they're not the same as the other walls. I wanted a single panel in the middle and then two equally sized panels on either side. I used the handy laser level again to find center and put the first board up with that as my guide.
At the top I filled in all the open space with Great Stuff, added a lot of blocking, and then completed the puzzle! Surprisingly, I only dorked up one piece in the process.
On the other end, the stud wall was about 1/2 back from the 2x6 loft header, so I had to bring that forward a bit so it would be flush. Fortunately I had some old 1/2in OSB lying around so I used that to bring it out.


I'm going to leave the loft accessible-but-hidden, so I'll need to figure out a solution for a removeable top triangle up there, but that's a problem for future Aaron. ## Prettifying the Walls With the walls and ceiling finally installed, it's time to see if I can make this look like a cool, thoughtful office instead of a goofy, unfinished shed. Here's to hoping. The first thing I did was generously apply wood filler to the seams, the screw holes, and just anywhere the panels were a bit rougher than I'd like. The stuff I used was for wood floors, but it worked amazingly well. I was going to use "Plastic Wood", but this wood filler was much less viscous and was way easer to just spread all over the place. It also sanded easily and looked good after putting the finish on it. This is my neighbor's red oak, I ended up using white oak.
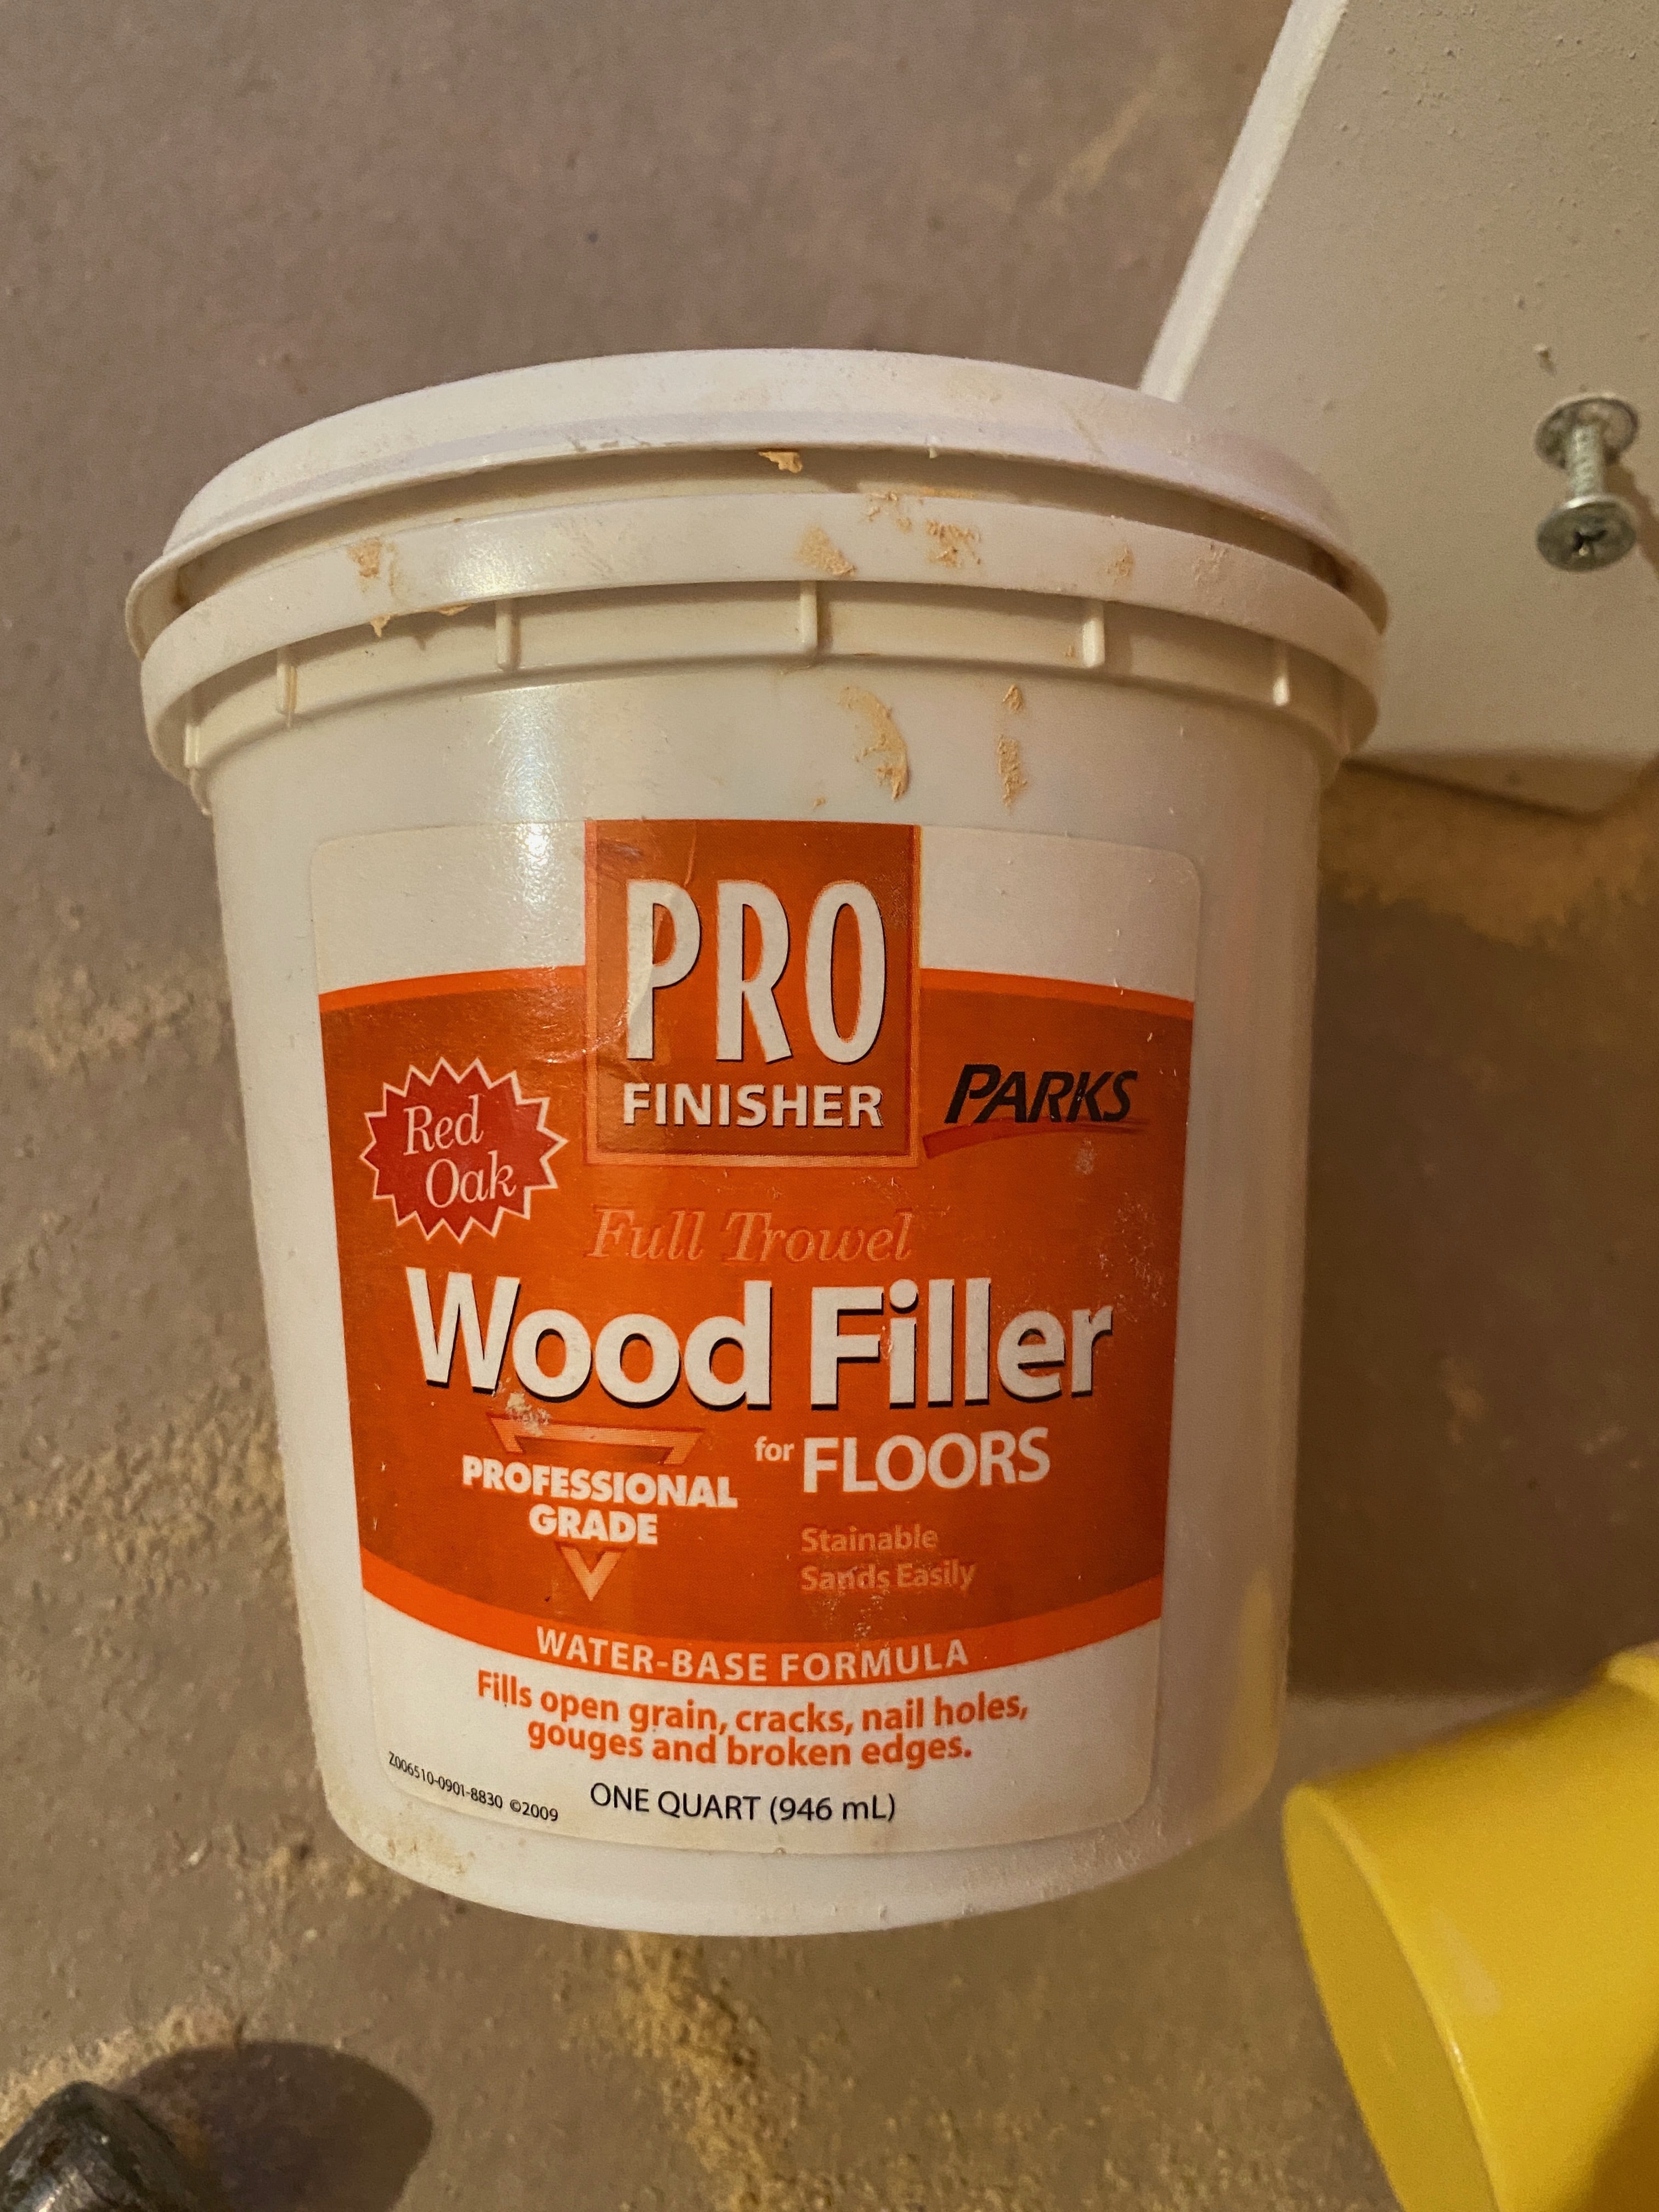
It was pretty quick to do, but there were a lot of places I needed to patch up, so it ended up taking a while.
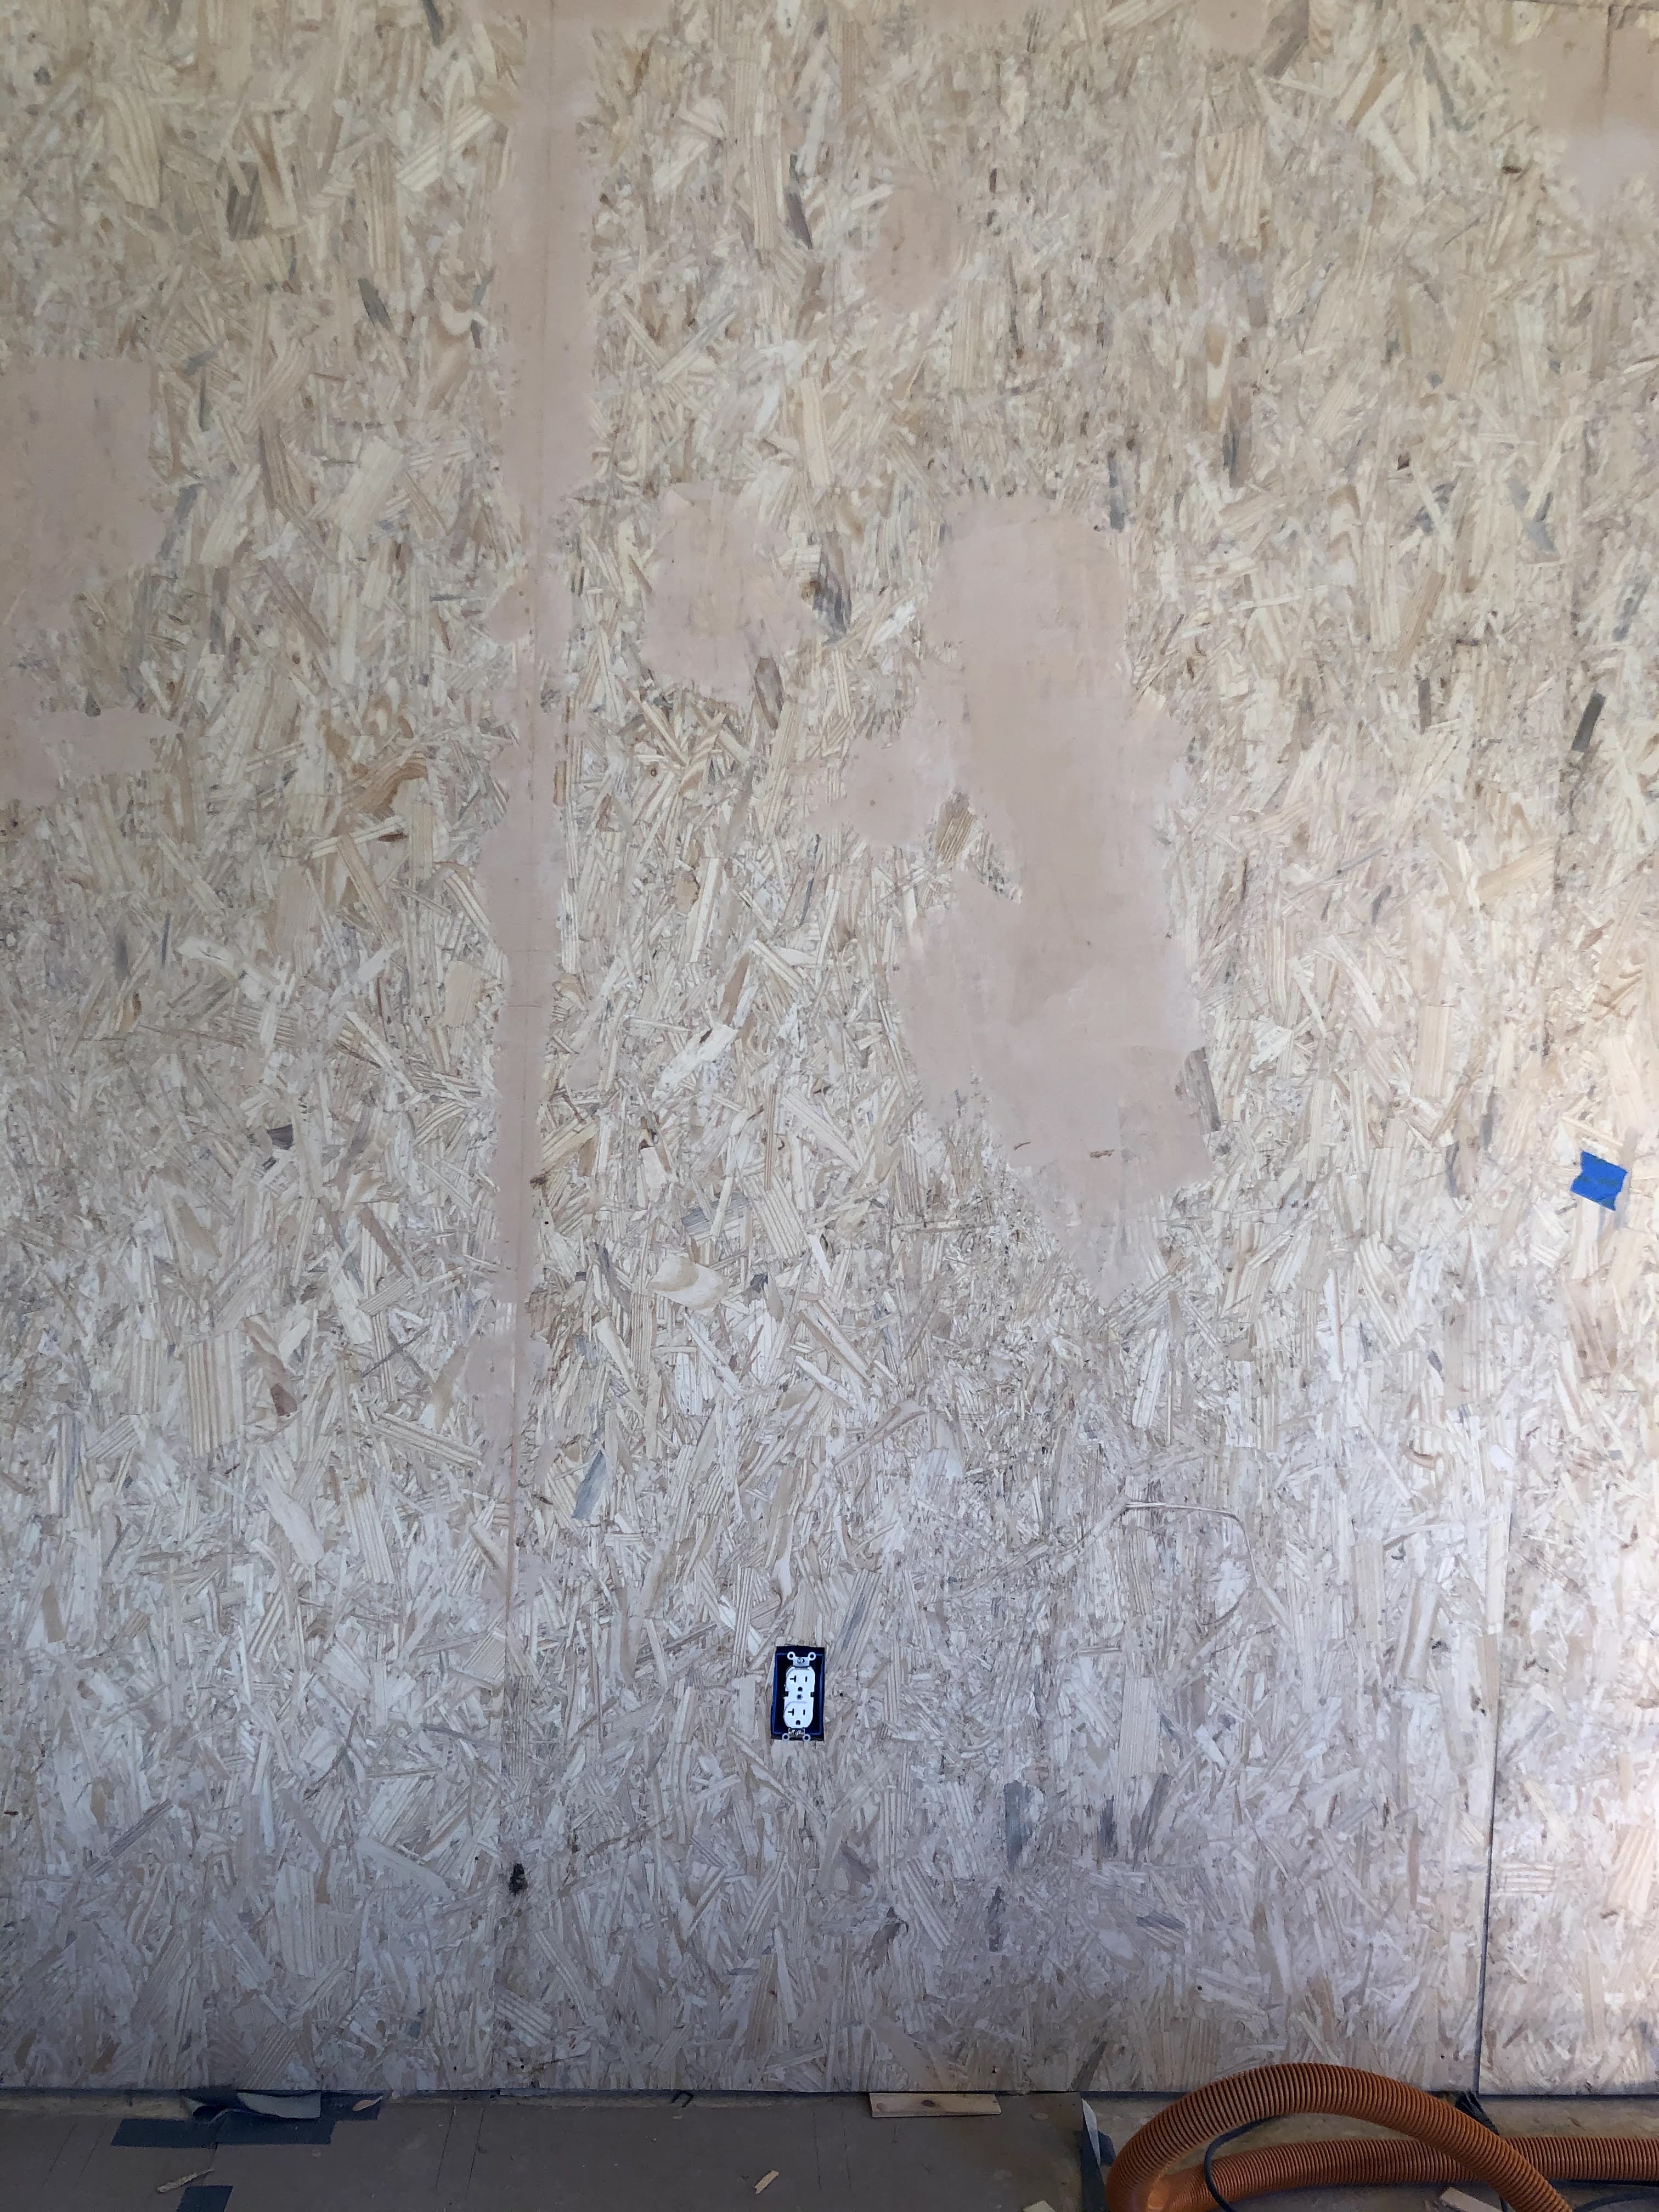
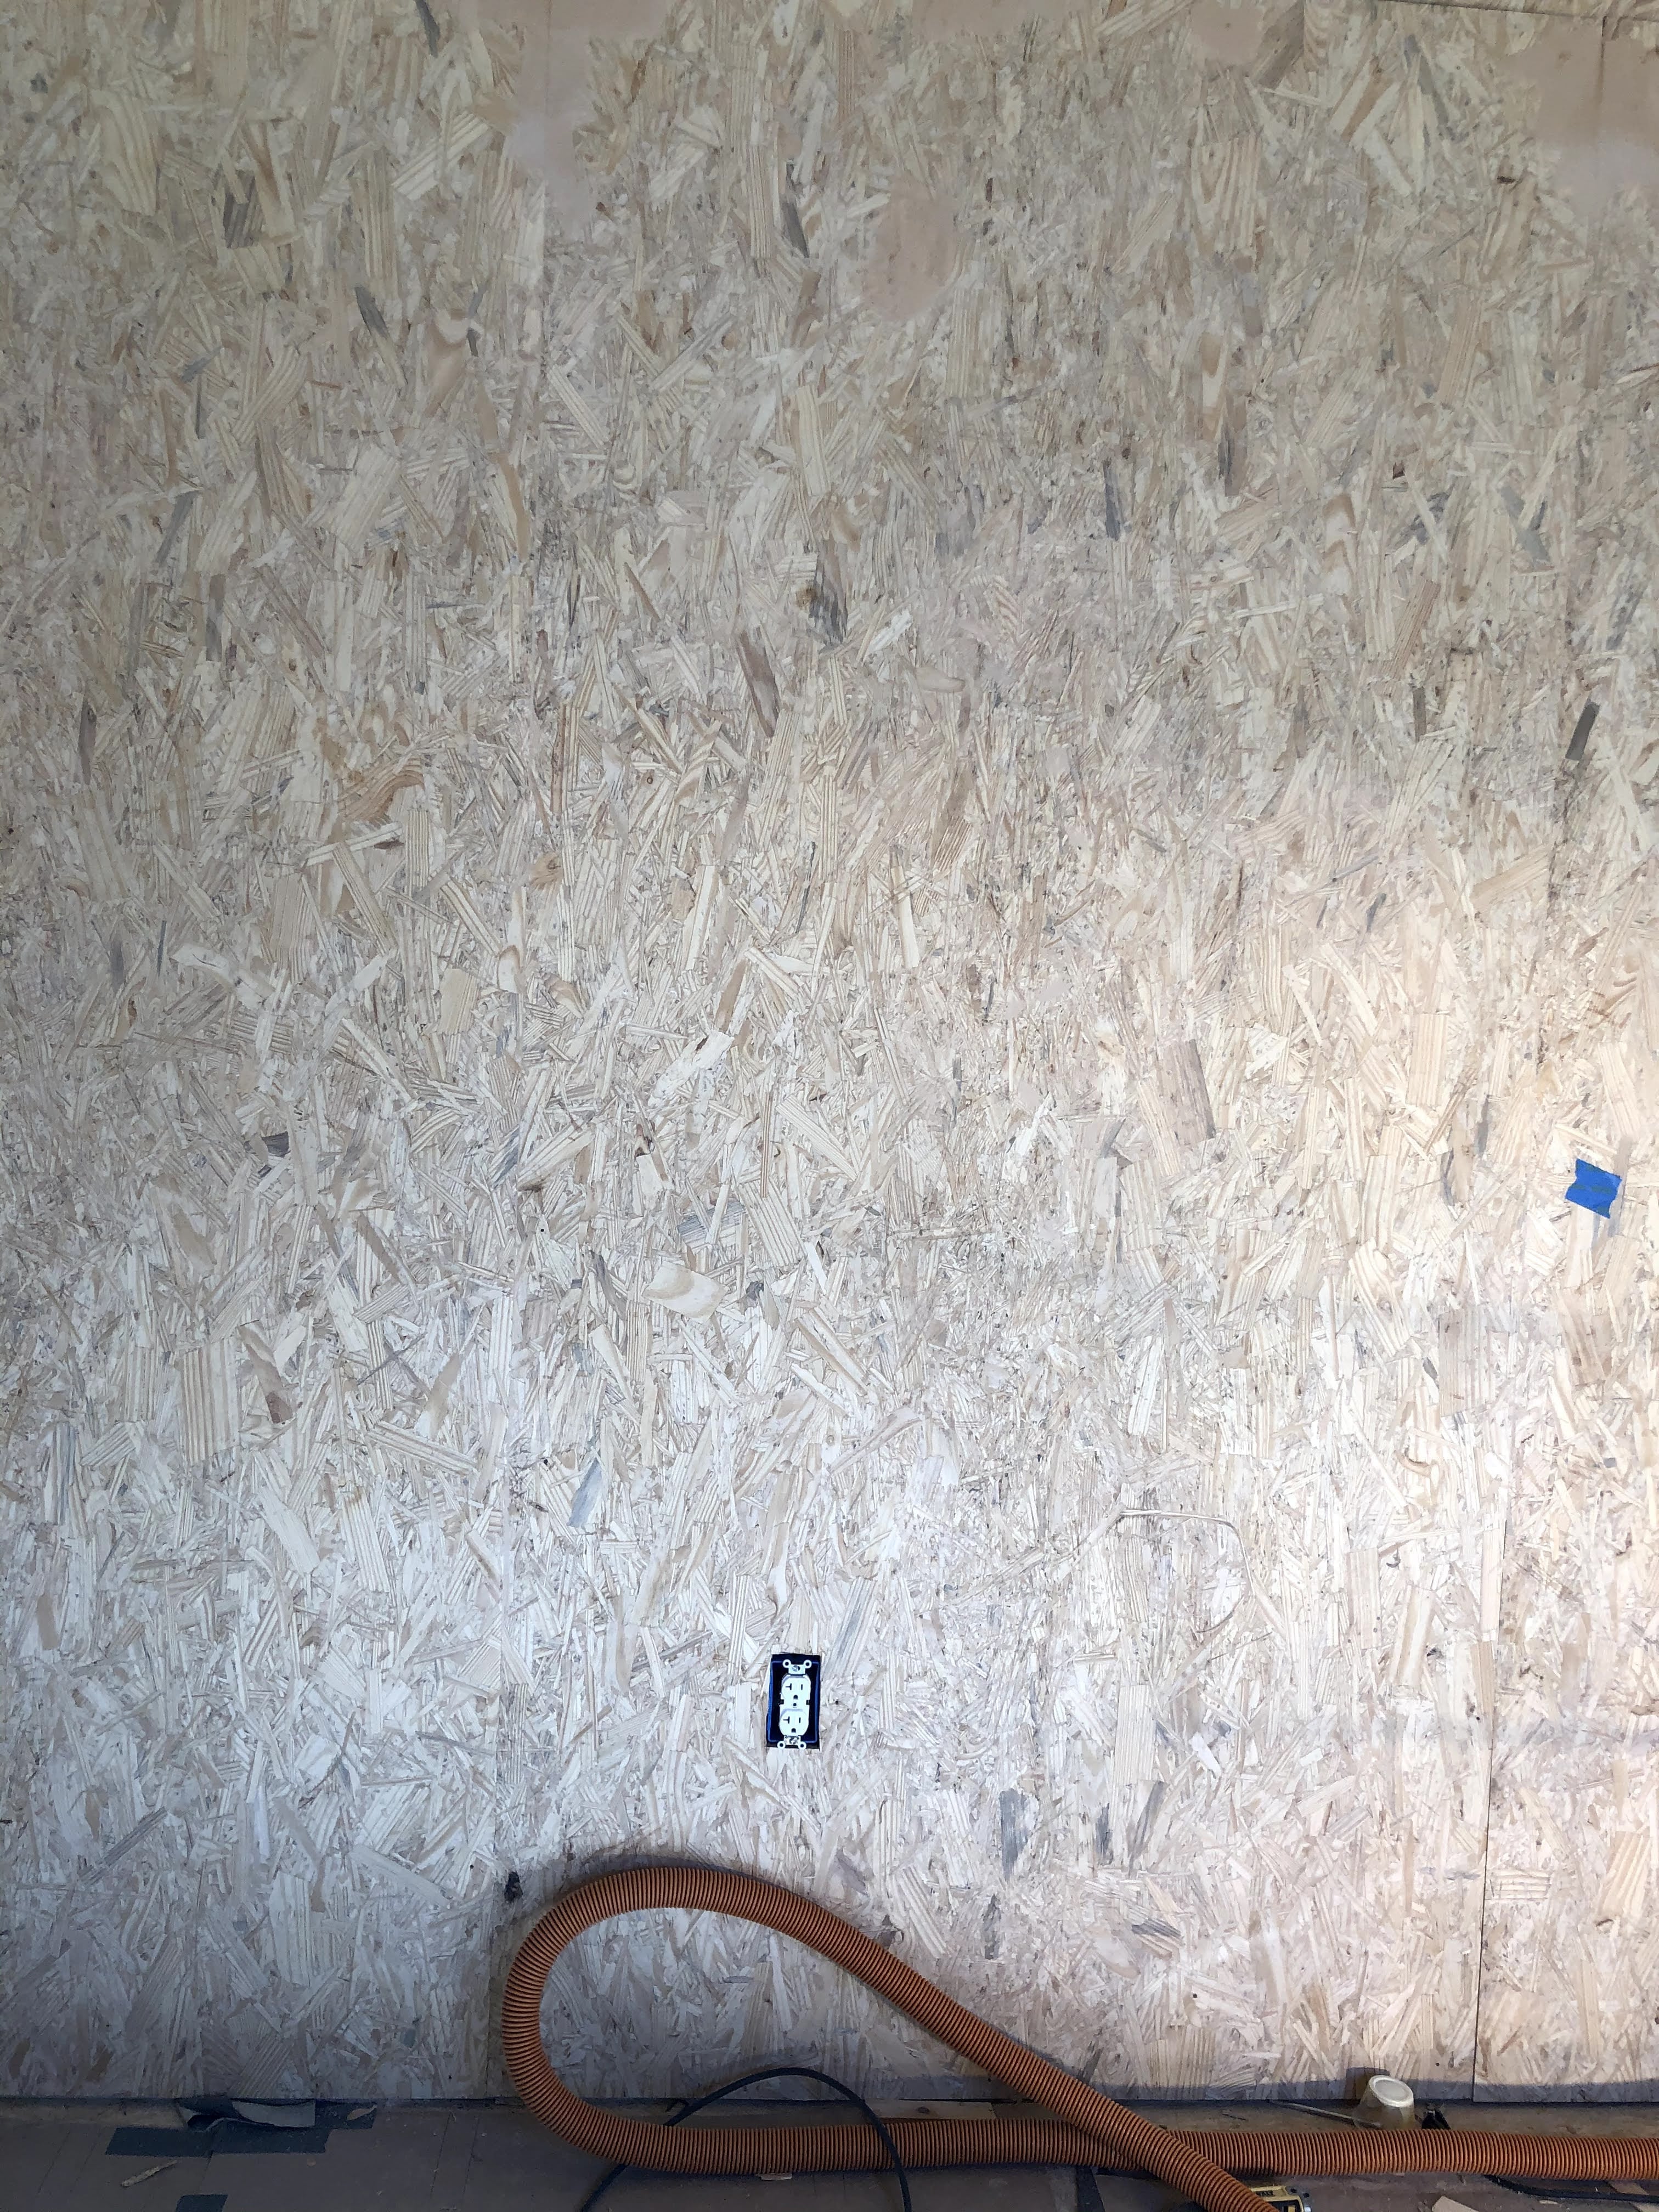
Once it was all patched and dried, I sanded it back down. This stuff sands super easily, thankfully.
I'm very pleased with how it came out. It really made a lot of the seams and imperfections disappear. On the left is a picture with the wood fill before I sanded, on the right is after.
The rather large gaps I did end up filling with "Plastic Wood", because it is less viscous and I needed something that would hold up better while it set. So for the seams between the walls and ceiling and the right-angle wall seams, I used the plastic wood. I tried a brown caulk there at first, but I wasn't pleased with how it looked, it was way too obvious. The plastic wood blends in a lot better. The next step in prettifying was to add some sort of urethane or oil to the walls. Because of the amount of area I needed to cover, I prioritized ease of application. I tried a urethane on a sample board, but ended going with teak oil. It's fast to apply and looks great. I also tried walnut oil but it was too dark for my taste. It felt a bit muddy. I sampled both in a spot that the cabinets are going to cover up. Walnut on the left, teak on the right.
This part was fun because it really made the walls come to life. It makes it feel more like an office and less like a shed.
By far the worst part of adding the teak oil was the ceiling. Good gosh, working overhead like that was miserable. My shoulders were destroyed the next day. Also you have to wear gloves and a mask, because the stuff is potent. Here I am cheesin' after having finished the walls and ceiling. You can see at the very bottom of the wall behind me the difference between old and new. And if you look really closely you can see my warmup jacket from my 2005 soccer club. Still awesome. Go Texans!
IKEA Cabinets One of the main things I wanted in my office
space was a ton of storage, since our house is quite small and about to be full of baby stuff. I decided to go with IKEA cabinets since they are relatively cheap and also pretty high quality. I used their online kitchen planner to lay out the space and figure out what I need to order. Here is a screenshot from their extremely helpful design tool.
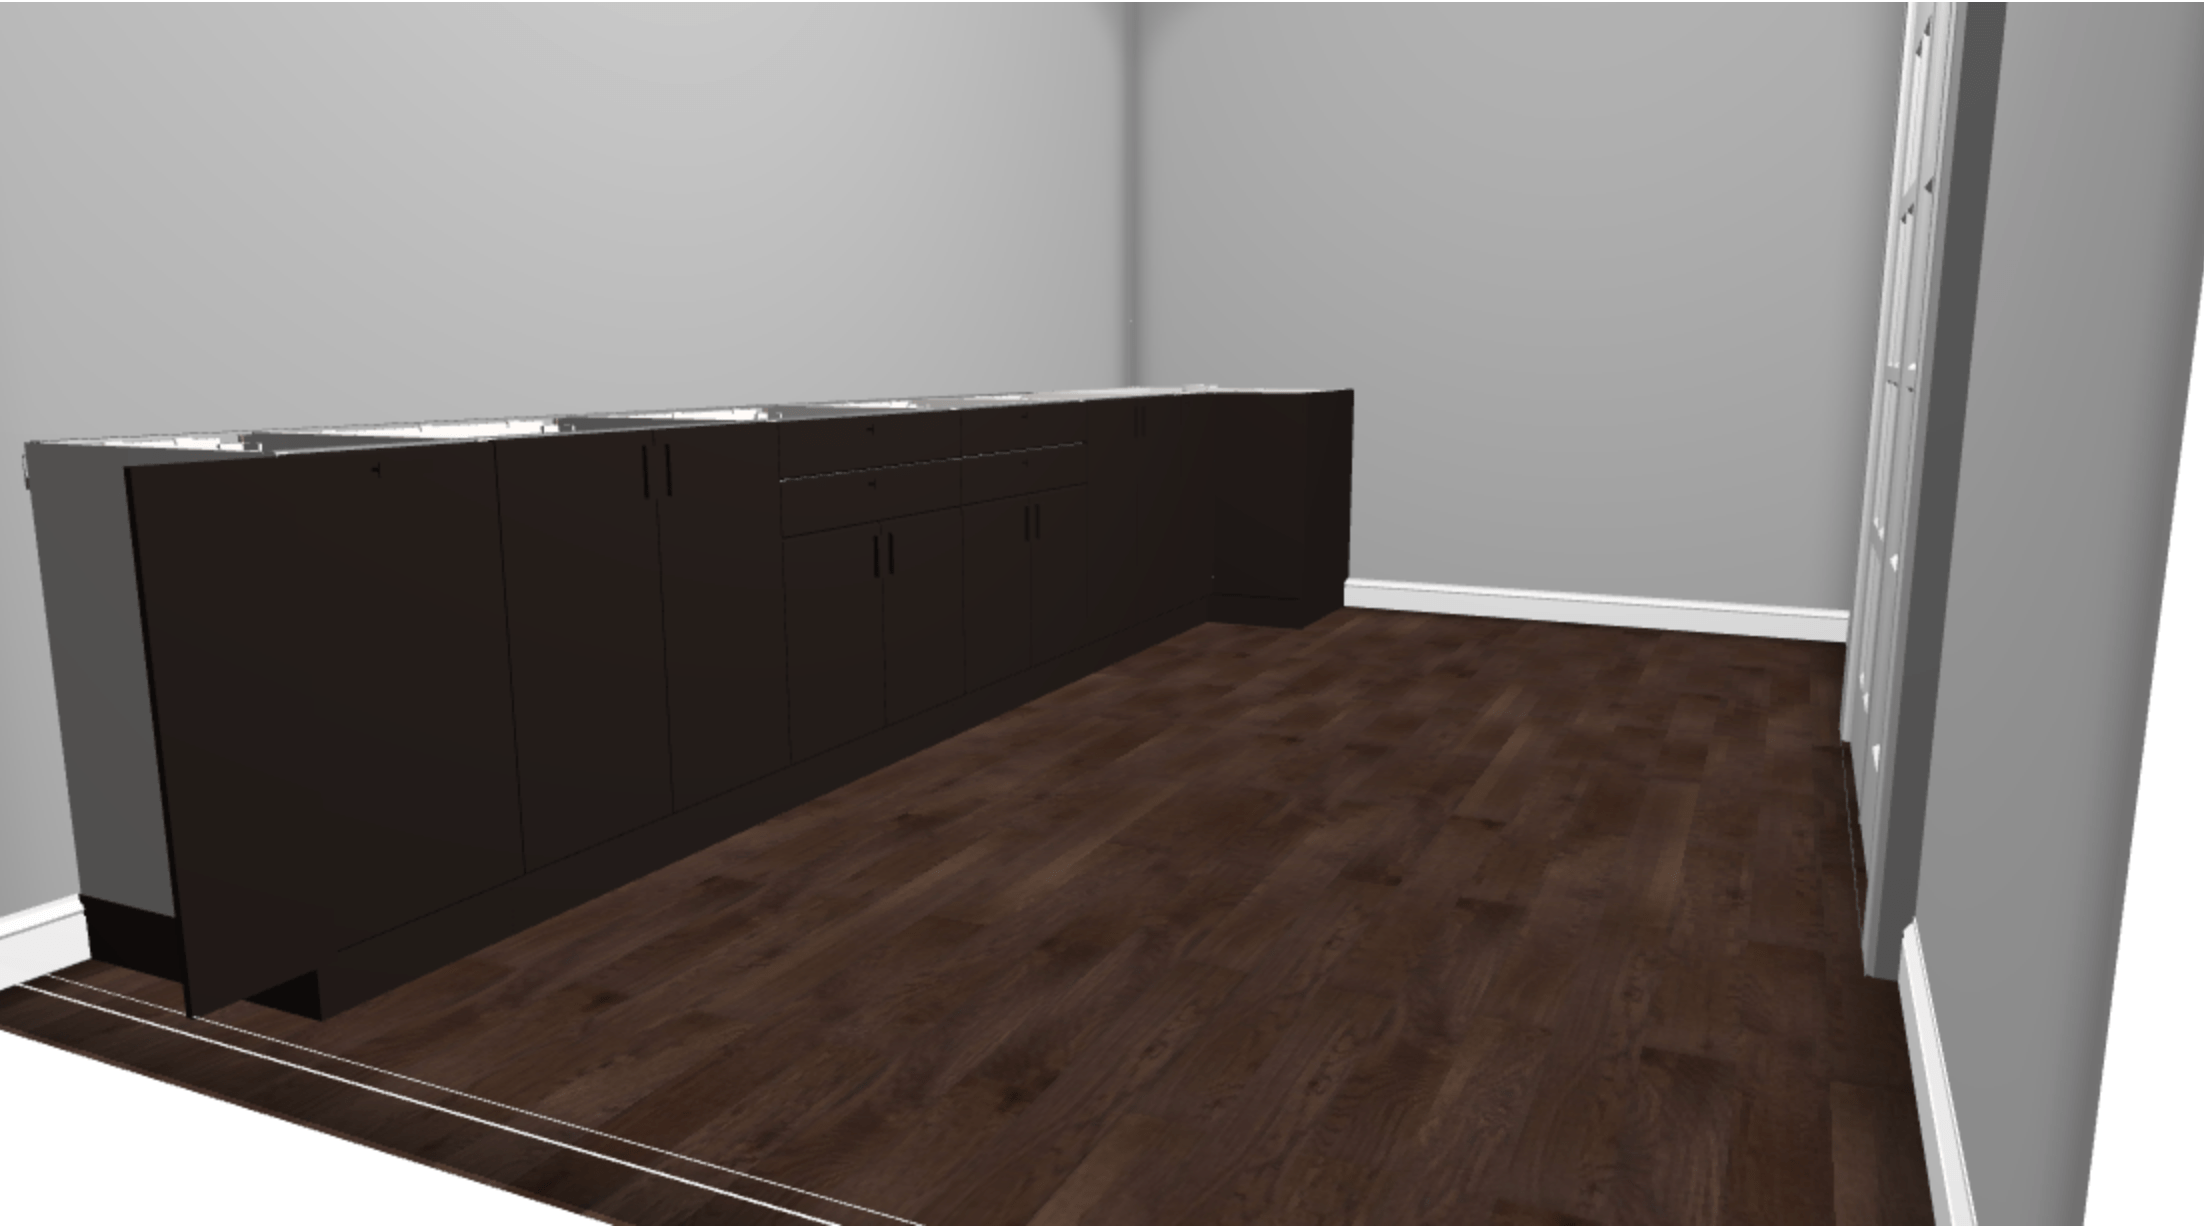
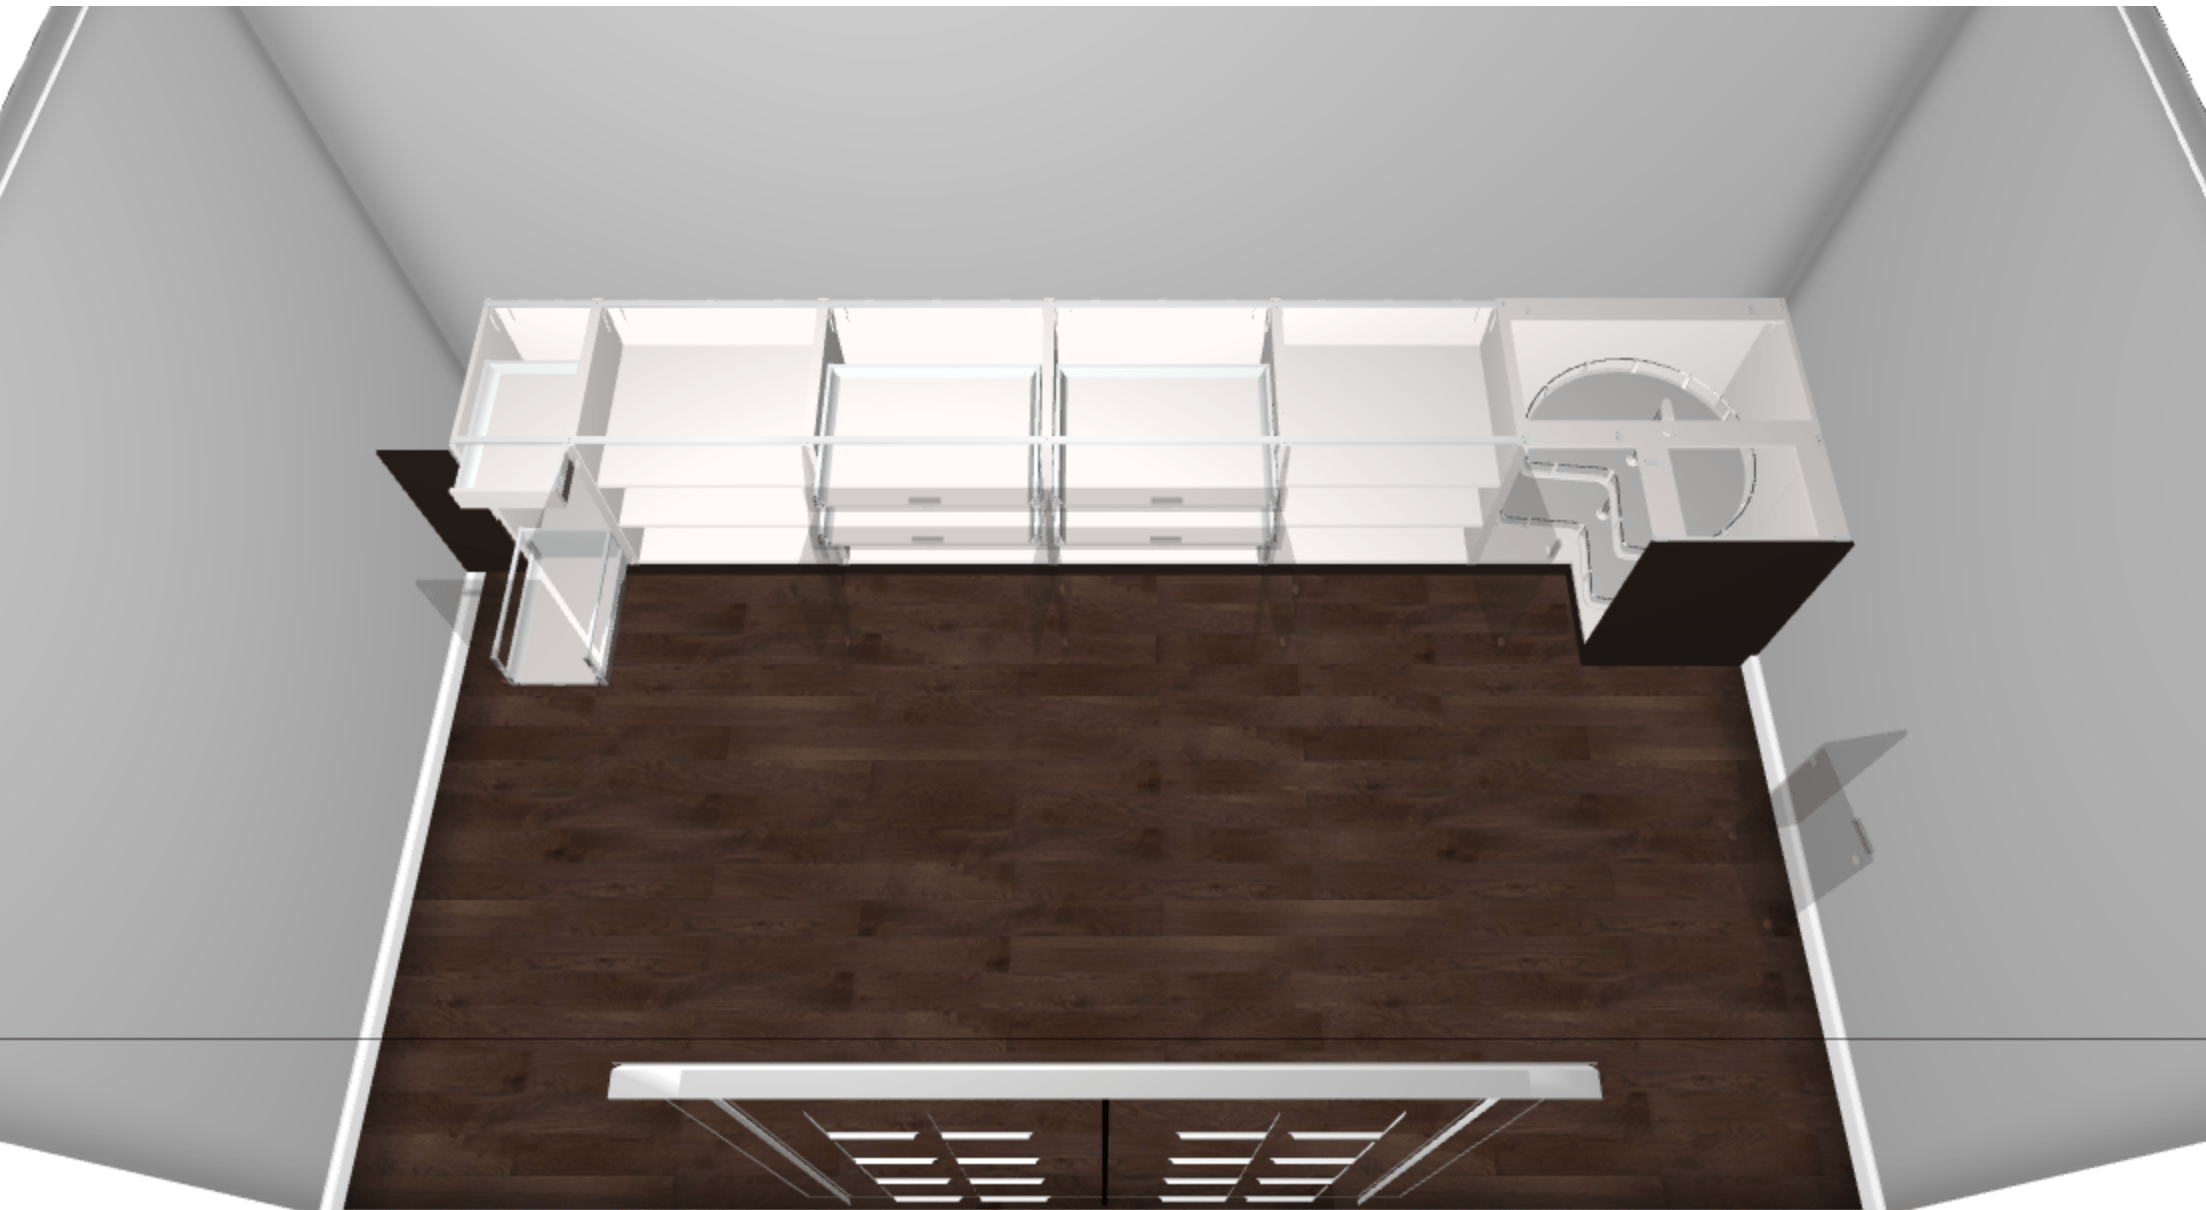
I went with an L-shaped layout. One wall will be full of cabinets, and then the short wall at the end will have a counter top with an open space underneath it. Here's a view from the top:
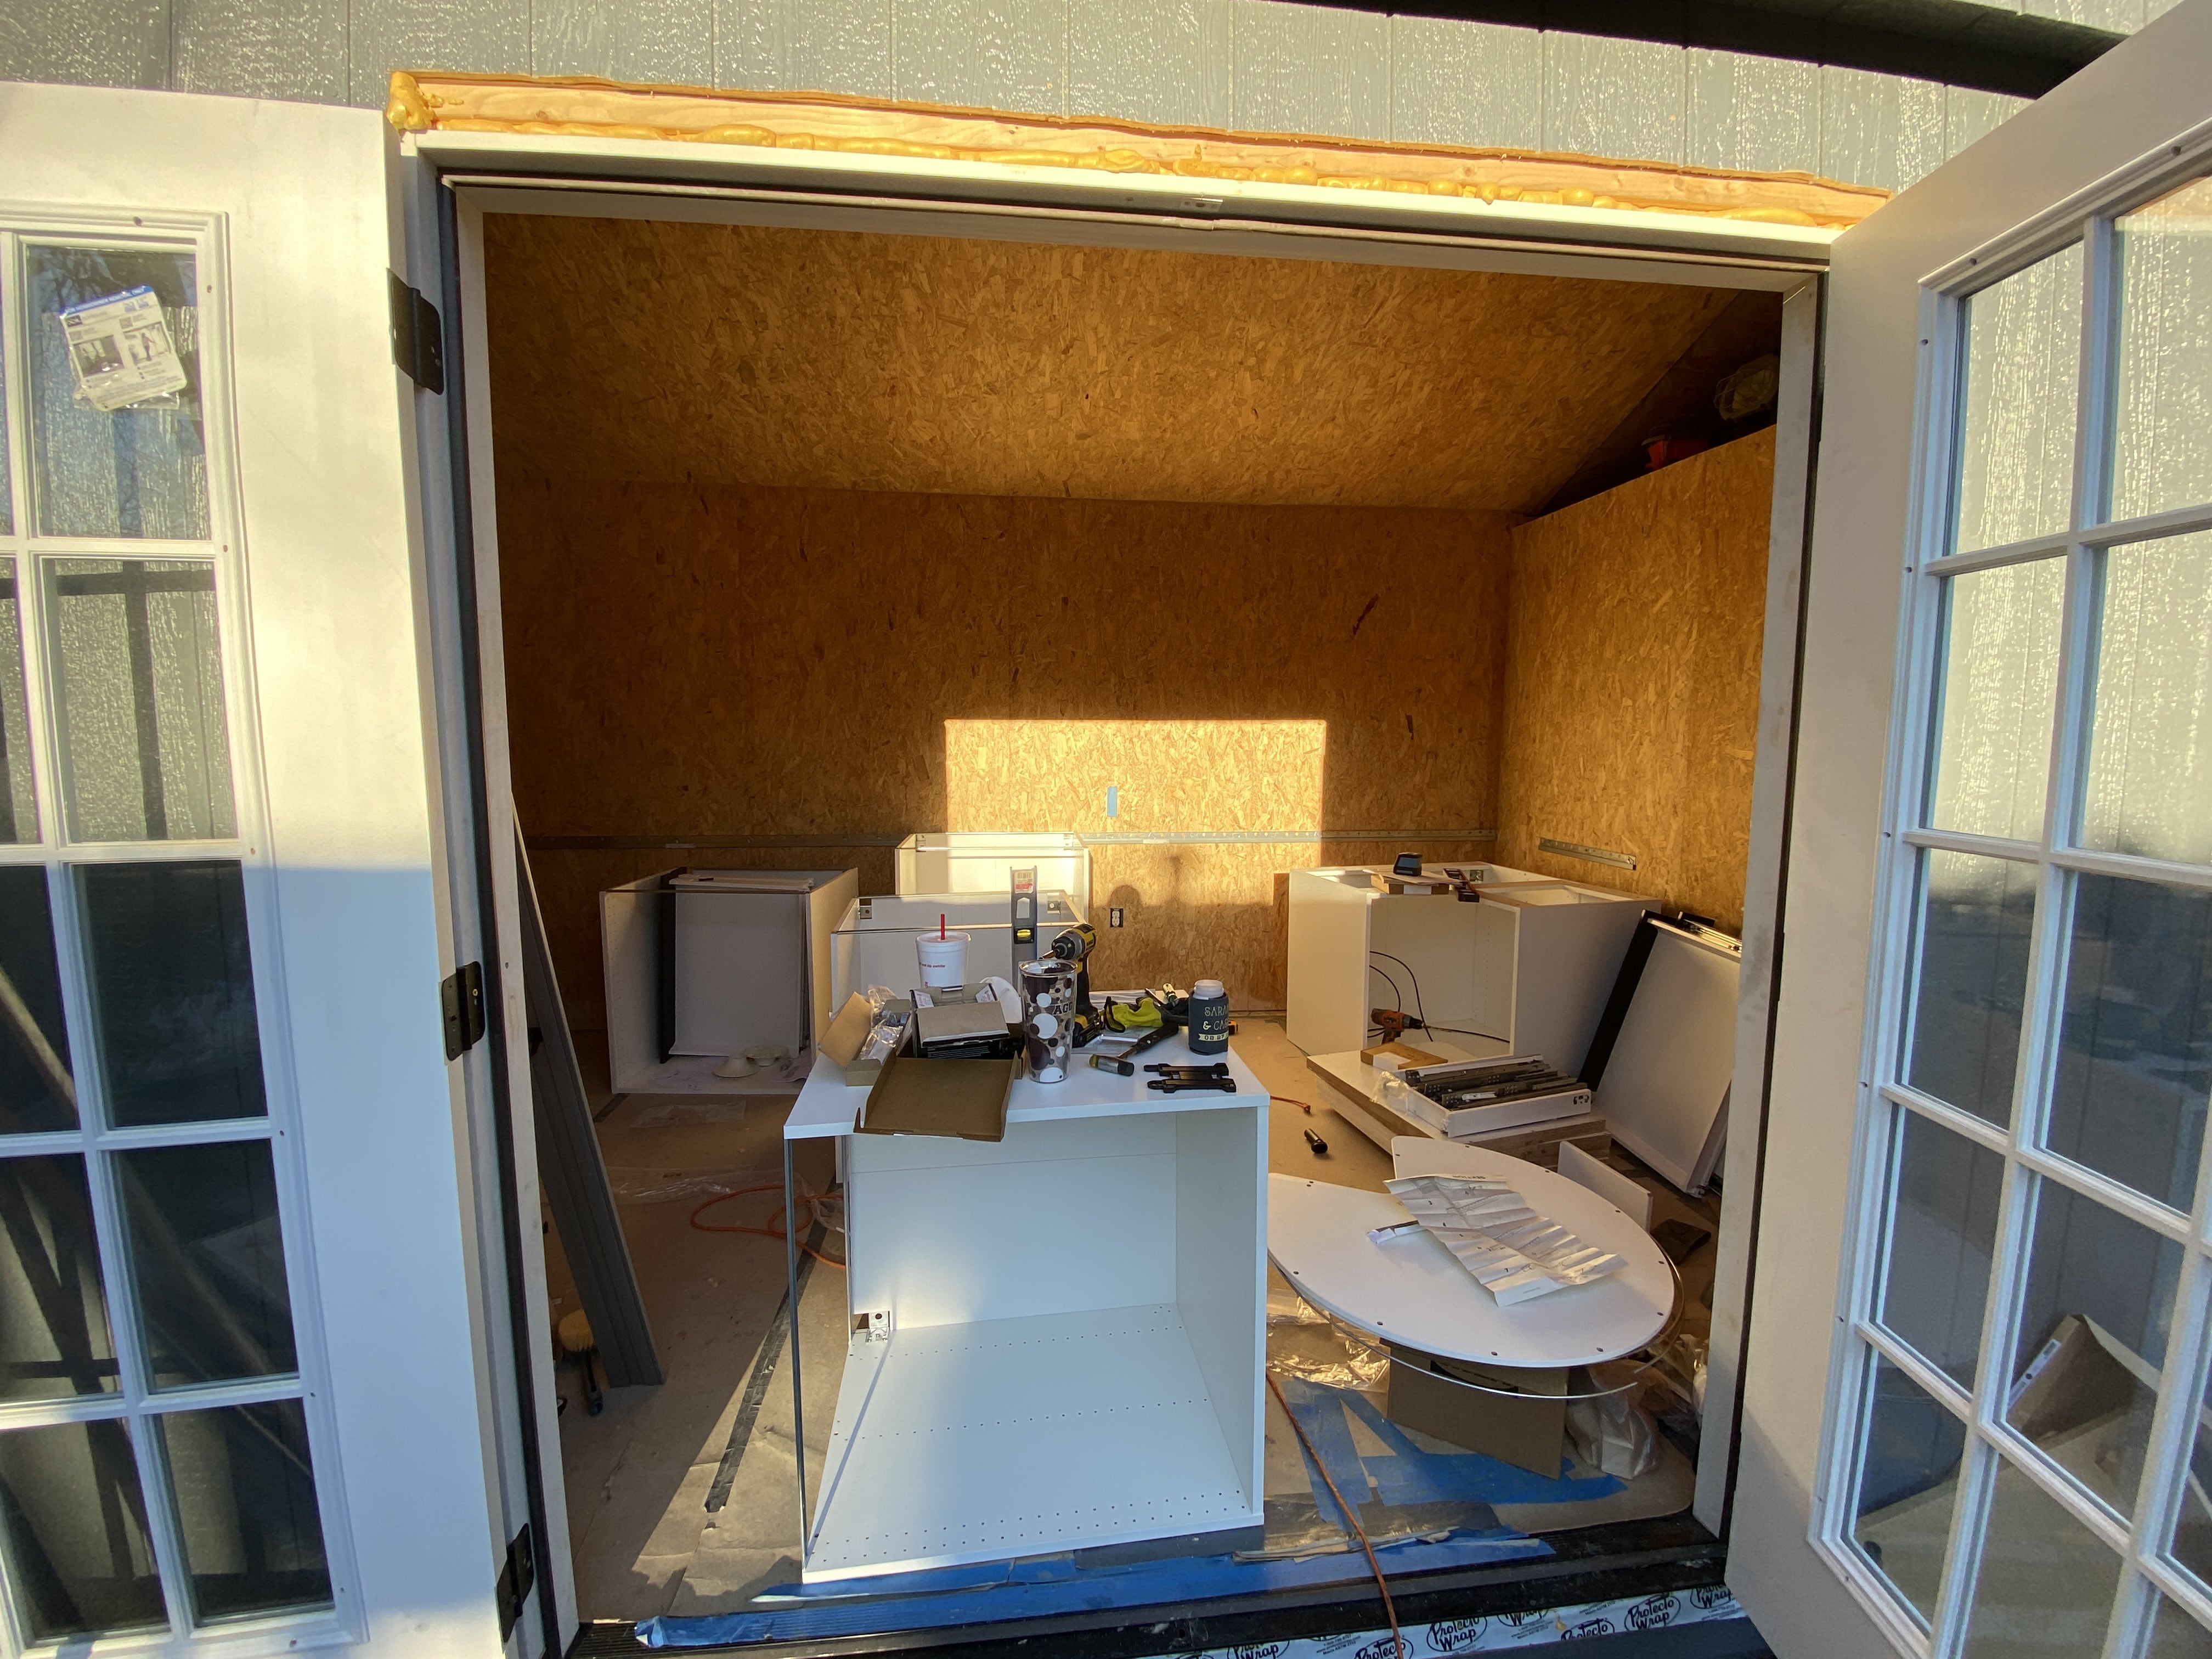
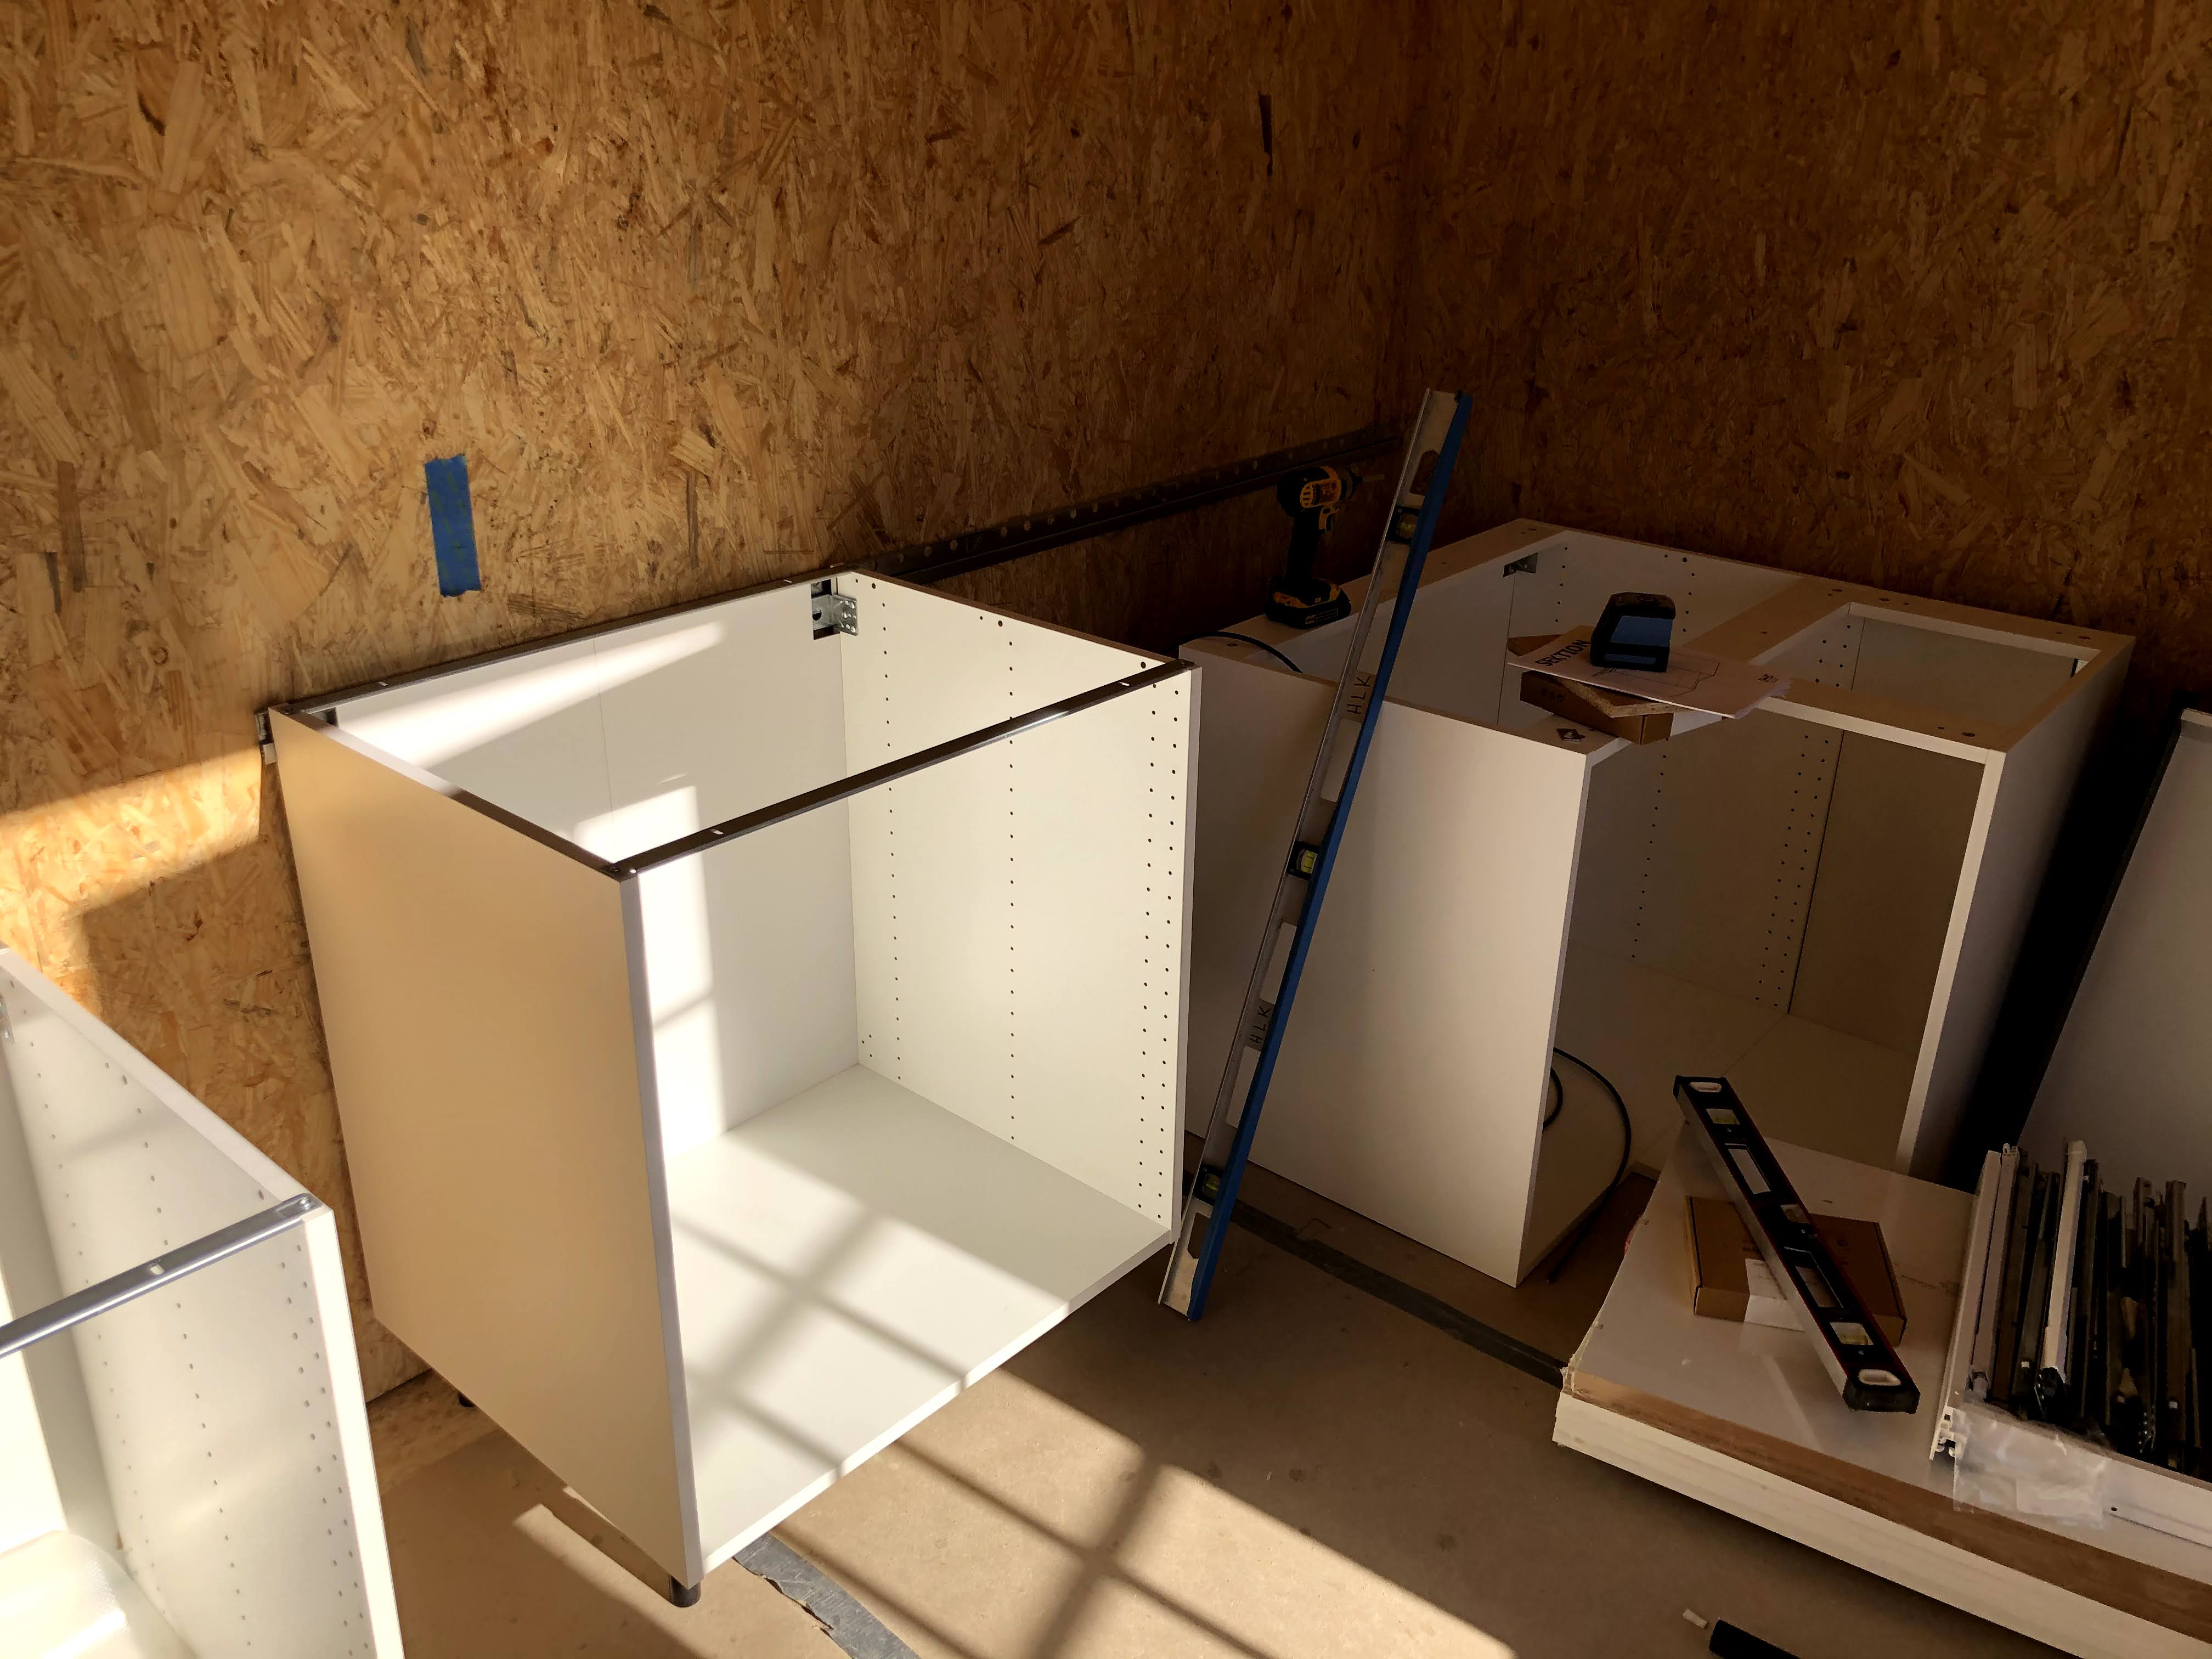
I ordered these WAY too soon, so they sat in the middle of my workspace for a long, long time before I actually got around to building them. When it did come time to build, I opted to hire someone from Task Rabbit to build out all the shells and drawers for me. It took him about 3 hours, and I'm sure it would've take me at least twice that long. Here are some of the shells before I mounted them on the wall:

IKEA provides a mounting rail that's really easy to work with. I mounted the rail to the wall and started hanging them:
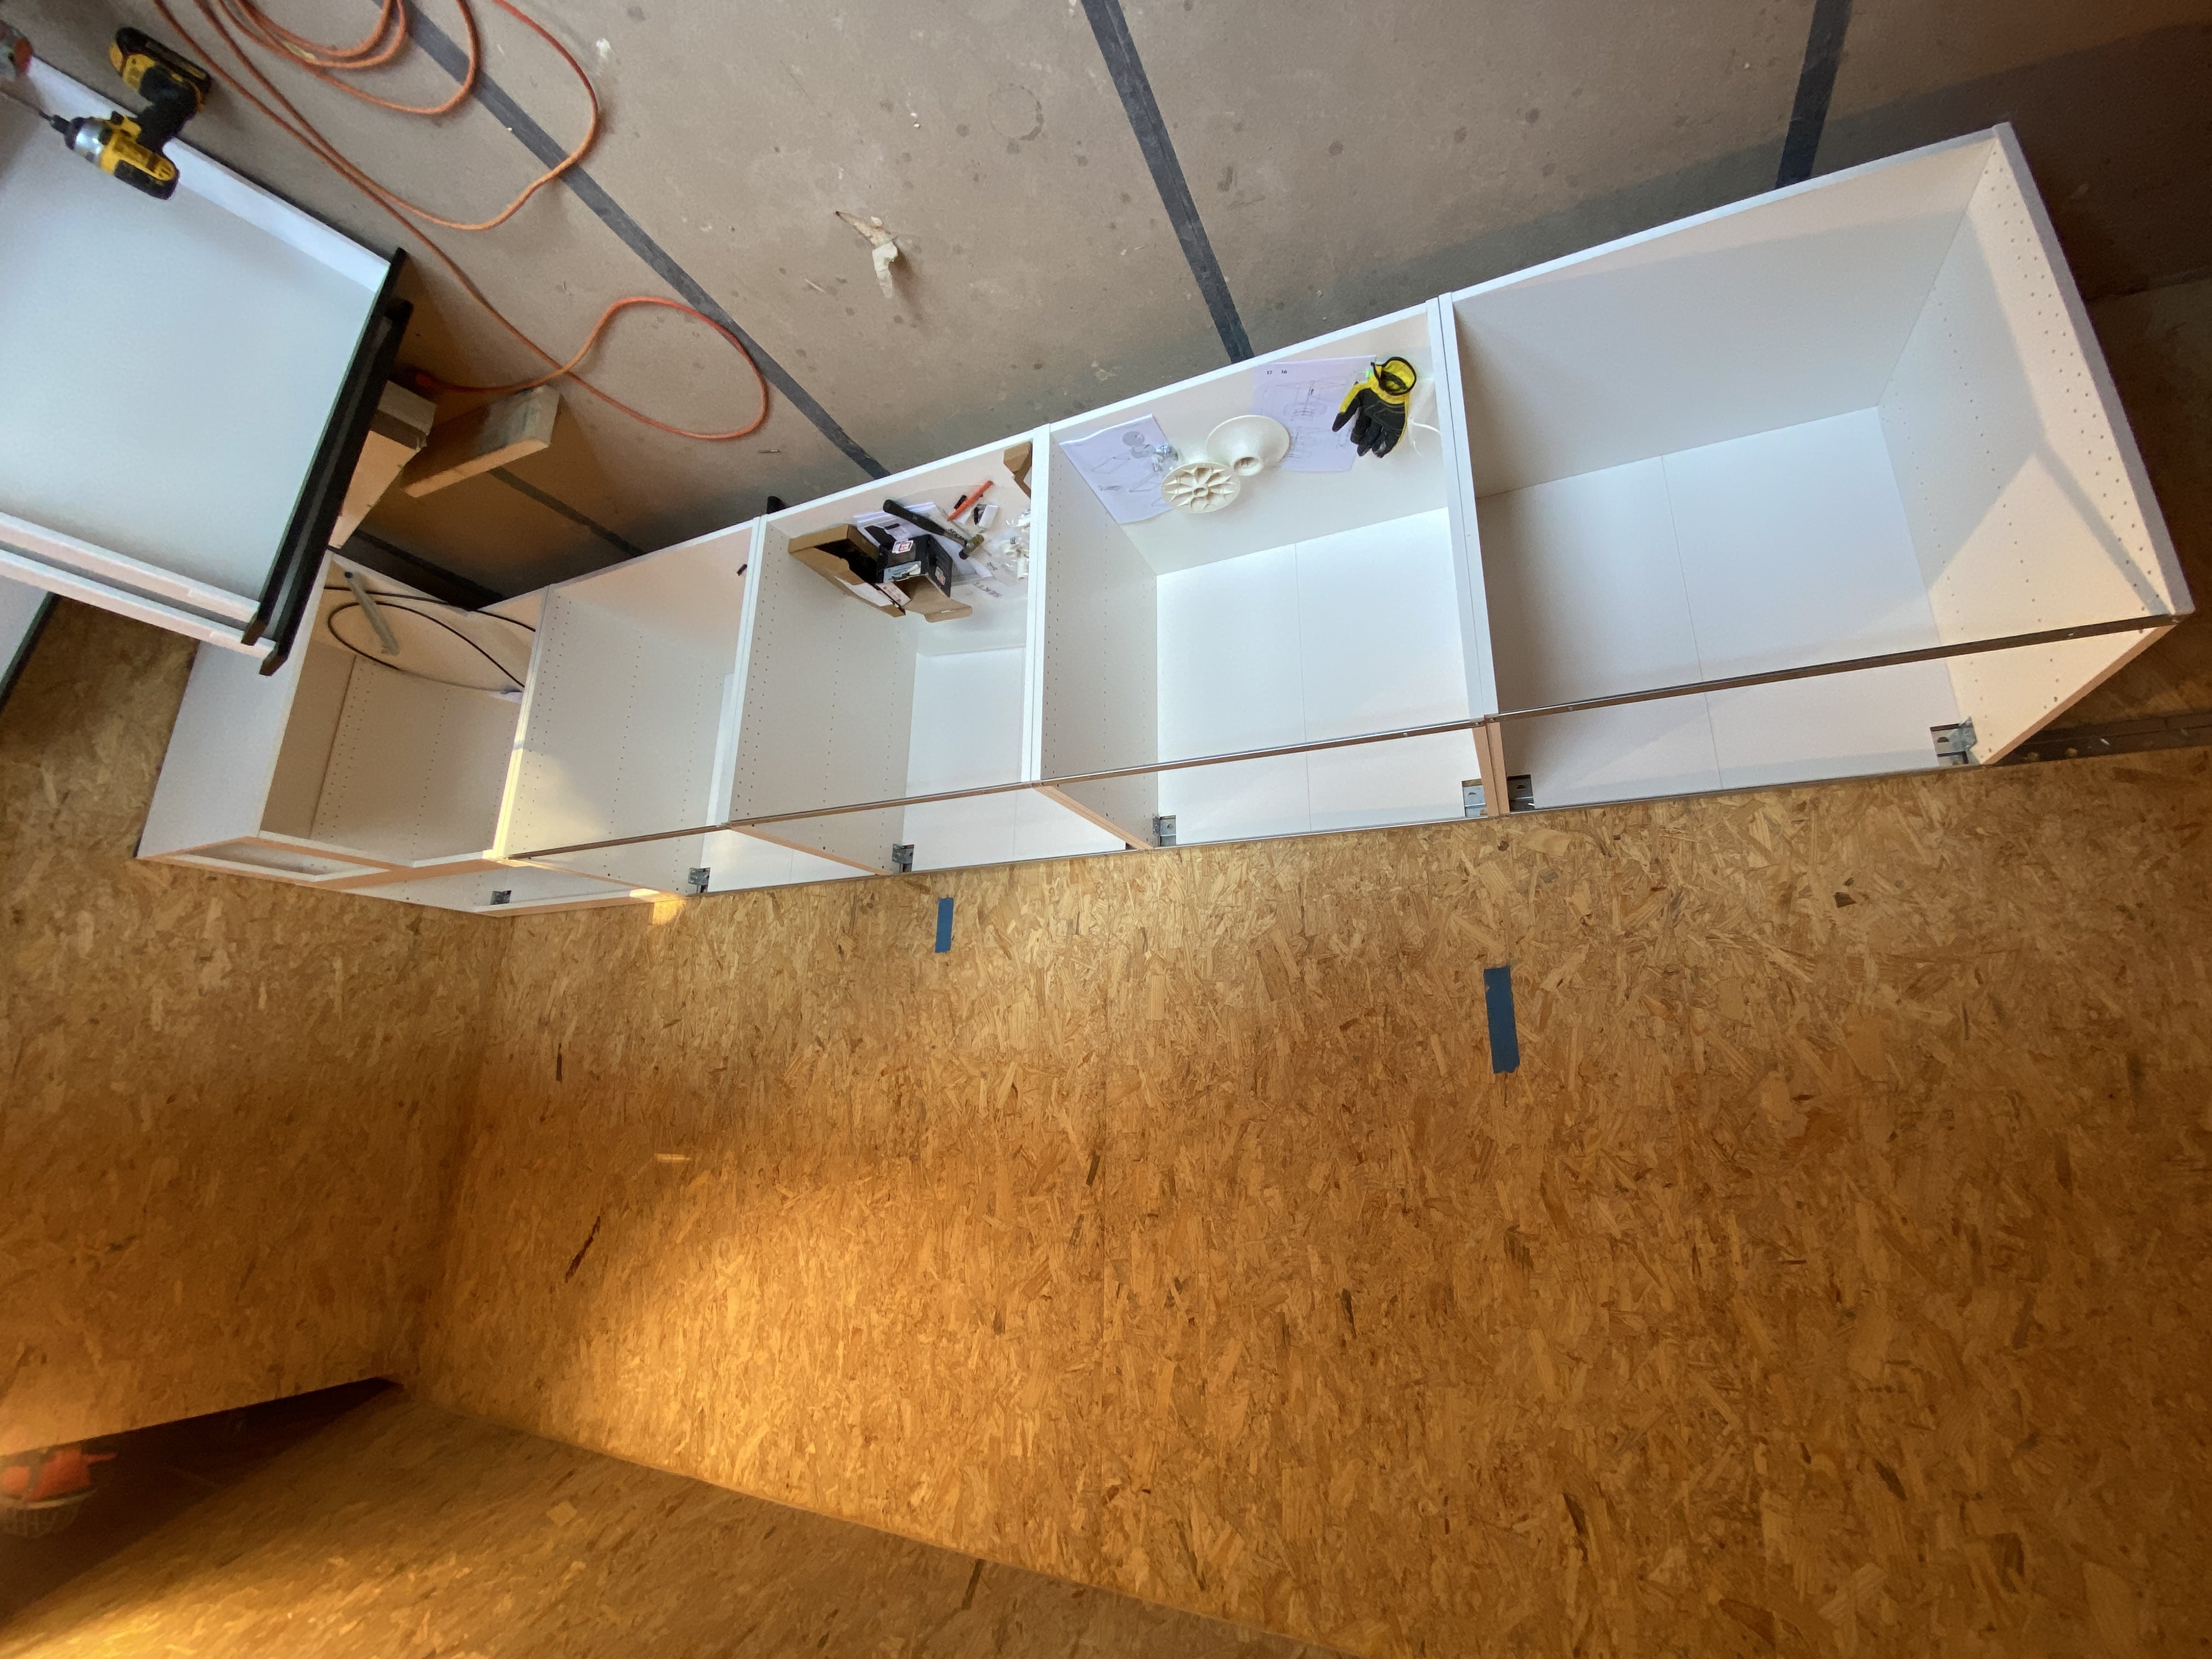
They hang off of the rail with special hardware and rest on
self-leveling legs in the front. I also screwed the cabinets to
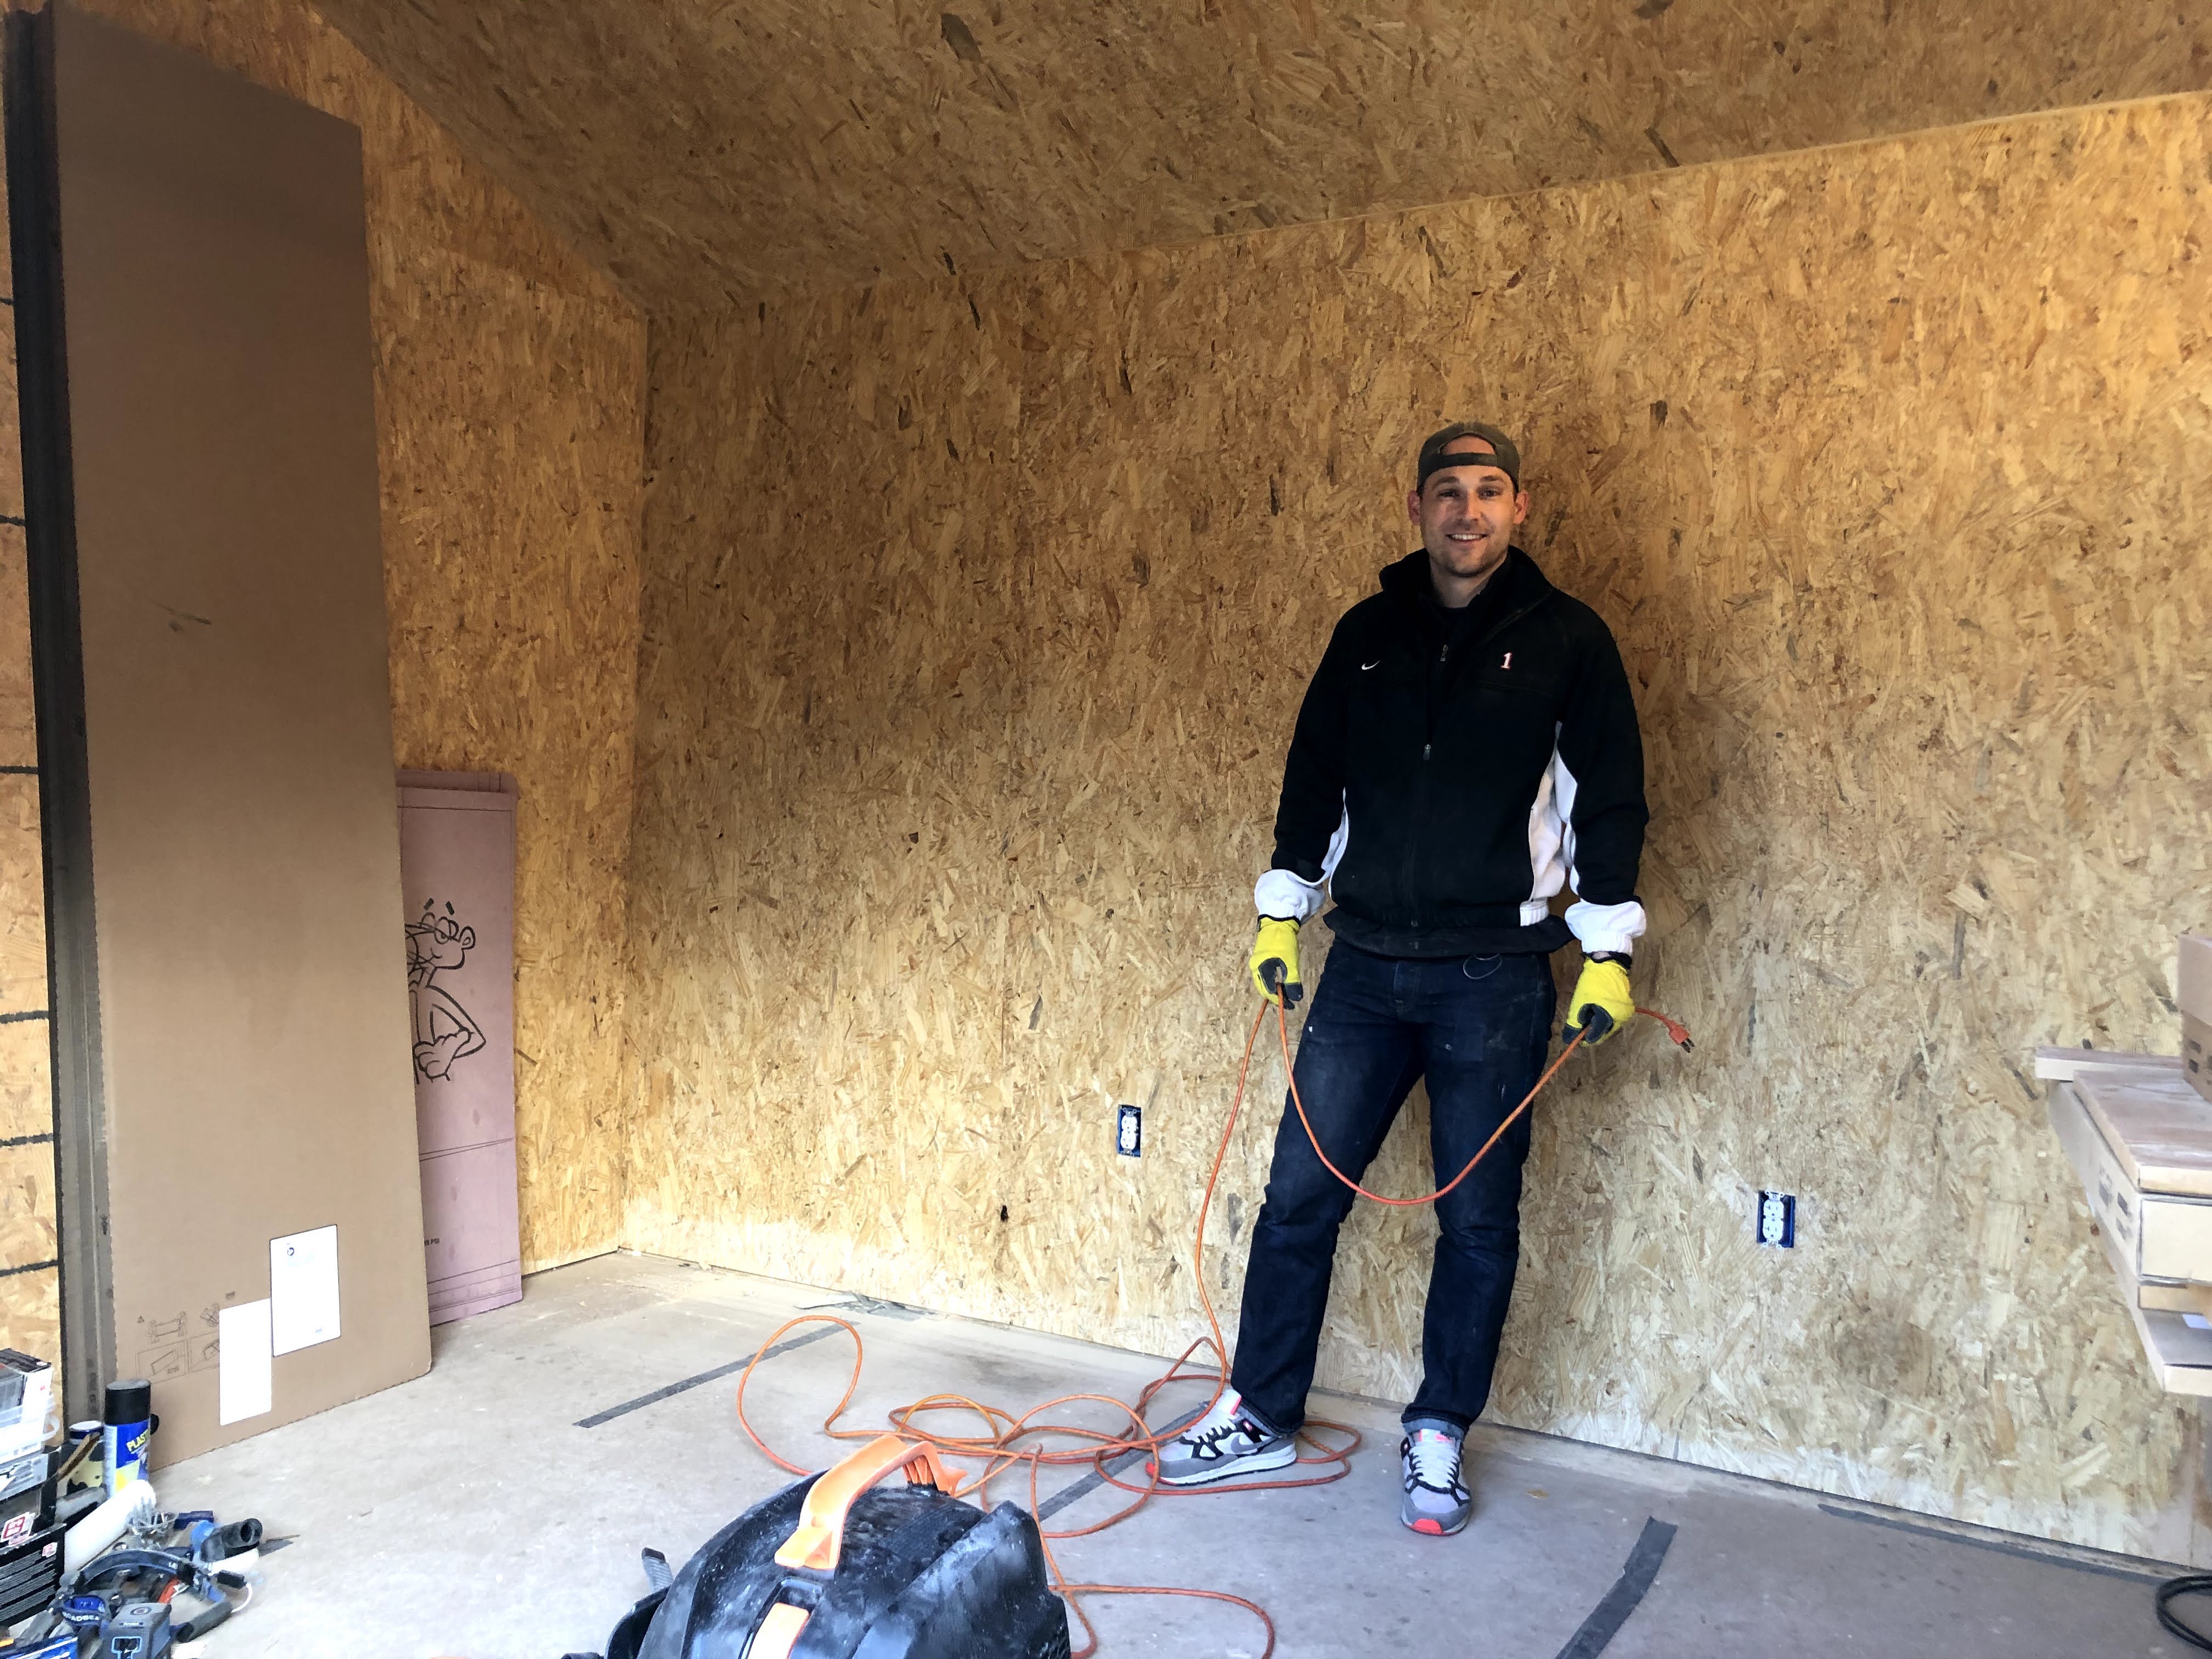
each other to make everything more solid as an entire unit. Here
I am posing in front of my new cabinets, like a very cool and
normal person.

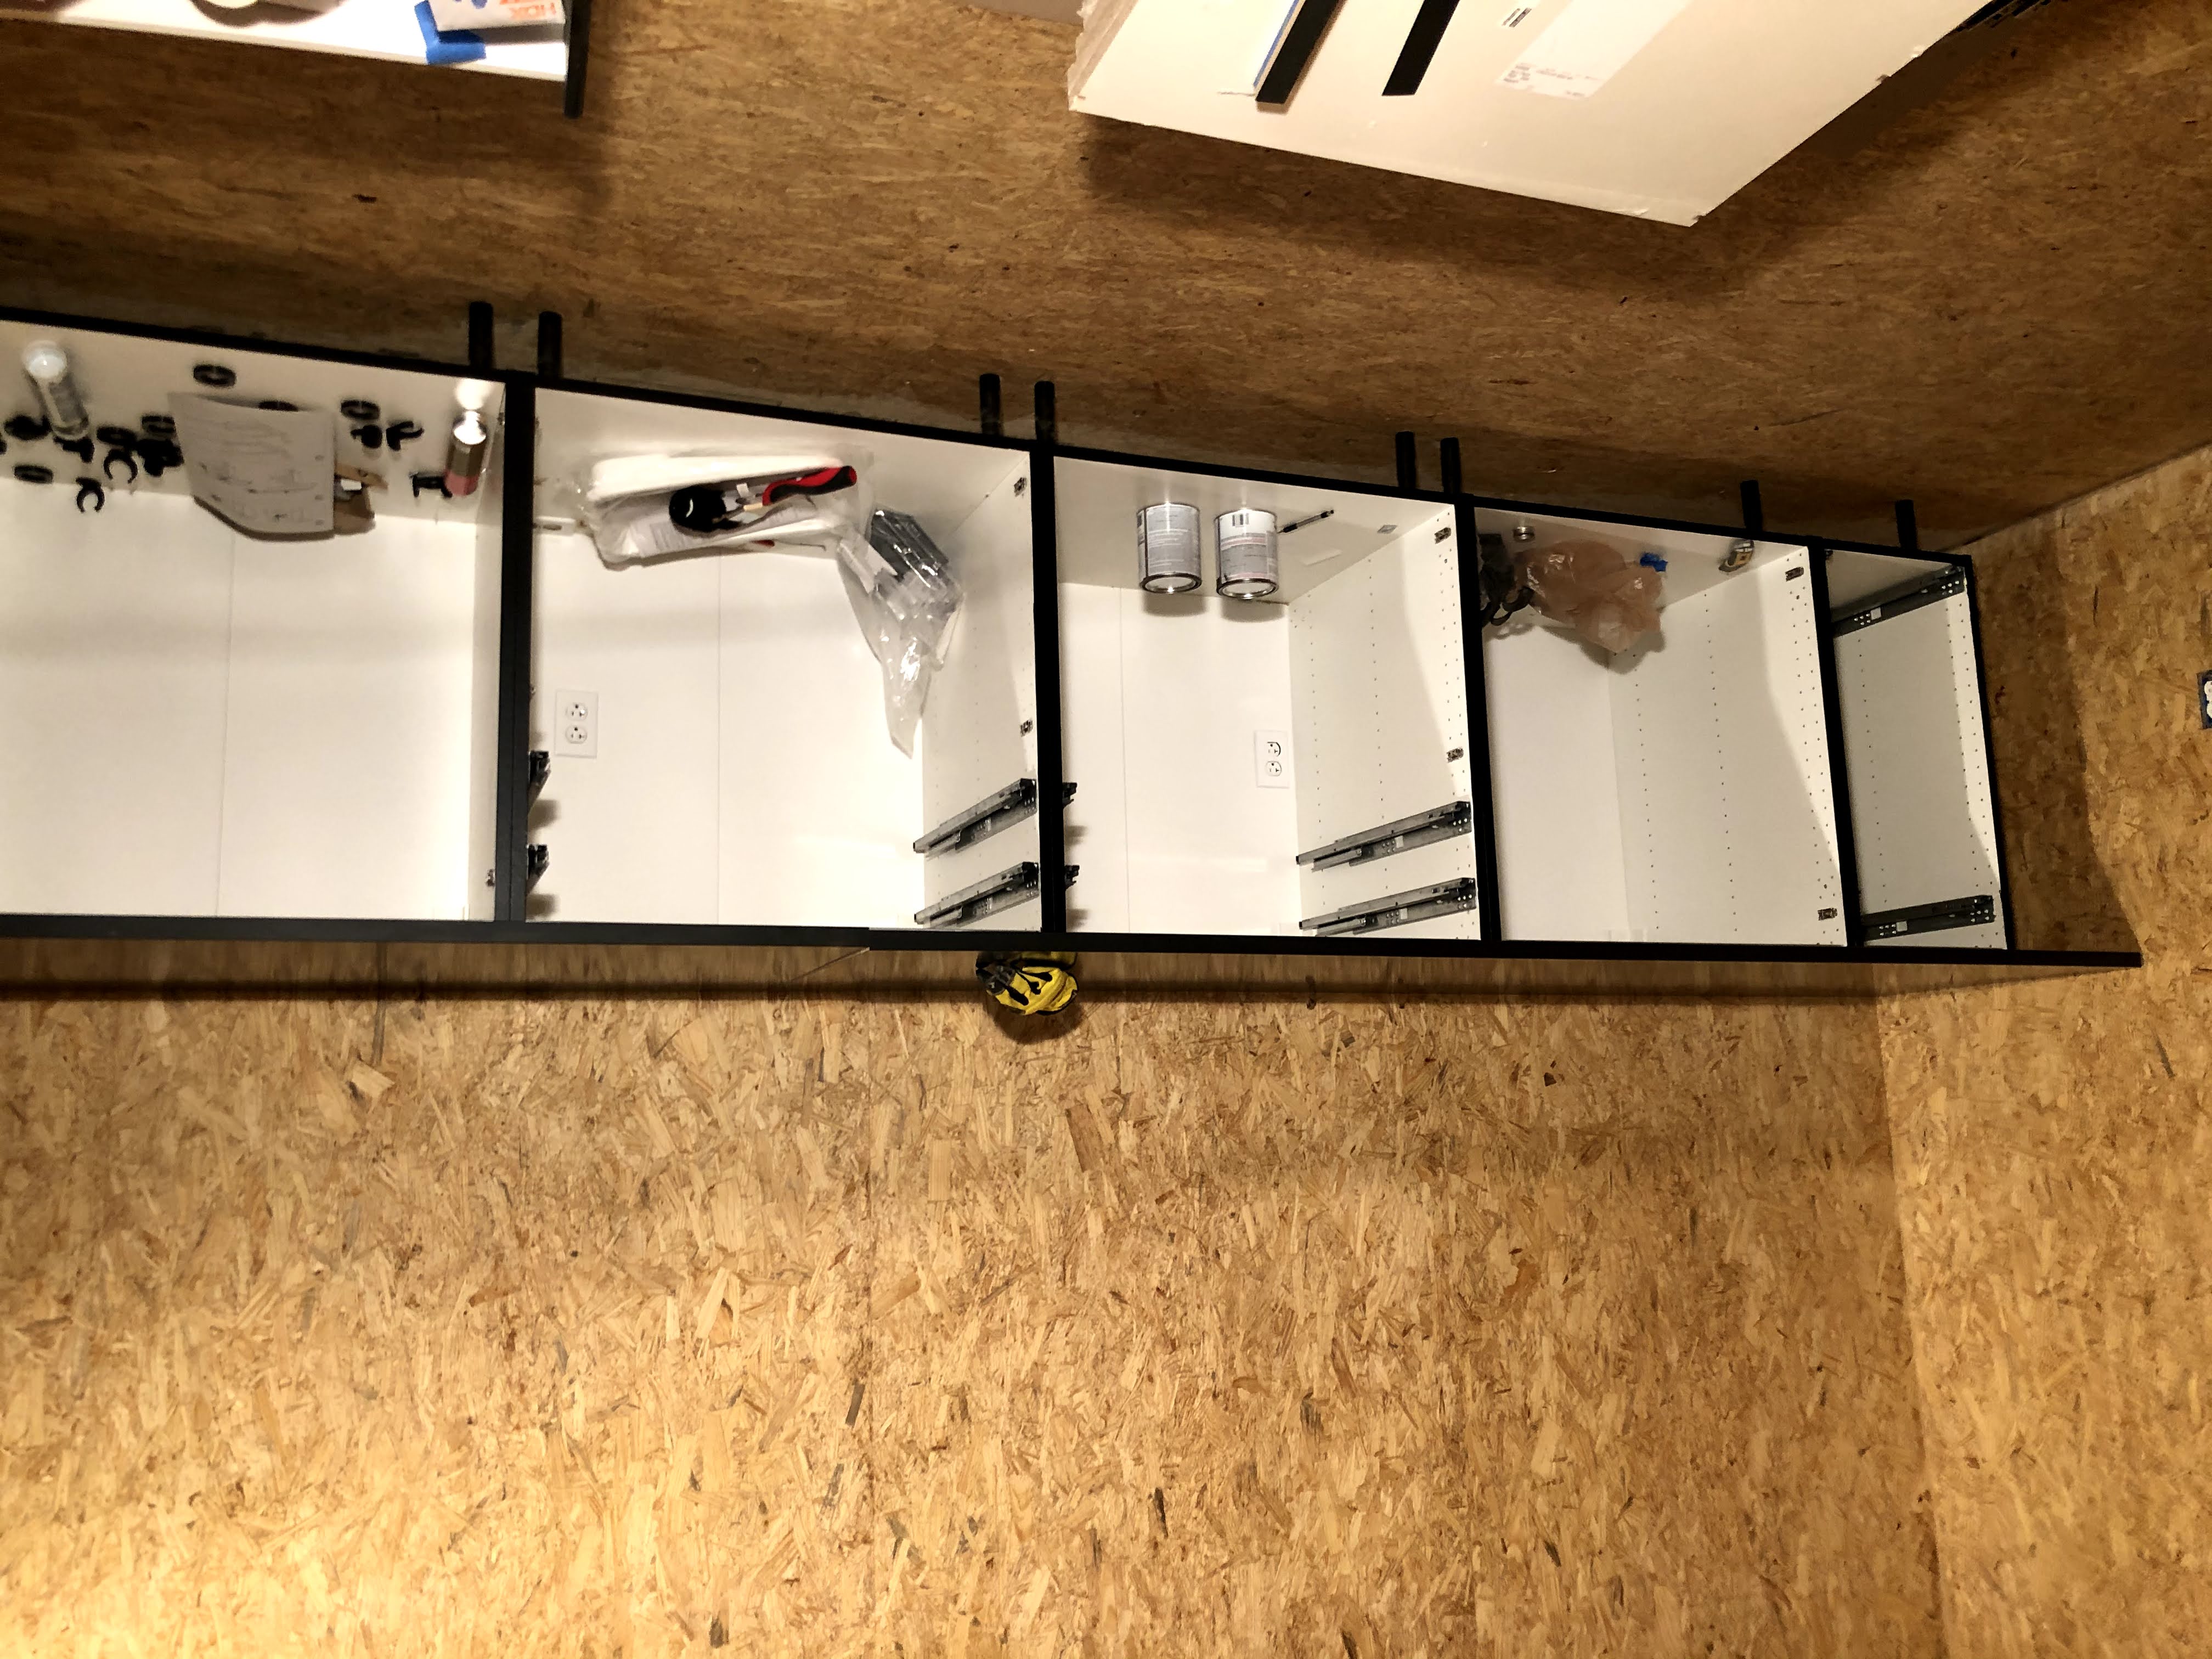
After I mounted all the doors I realized that the cabinet shells are very white, and throw off the whole matte-black-cabinet vibe I was going for. I took the doors off and painted all the exposed parts of the shells black so that no white would show through.
Installing Hardware To put the pulls on the cabinets and
drawers, I made two simple jigs to help me line everything up consistently. I only ruined one drawer face, so I count this as a success.
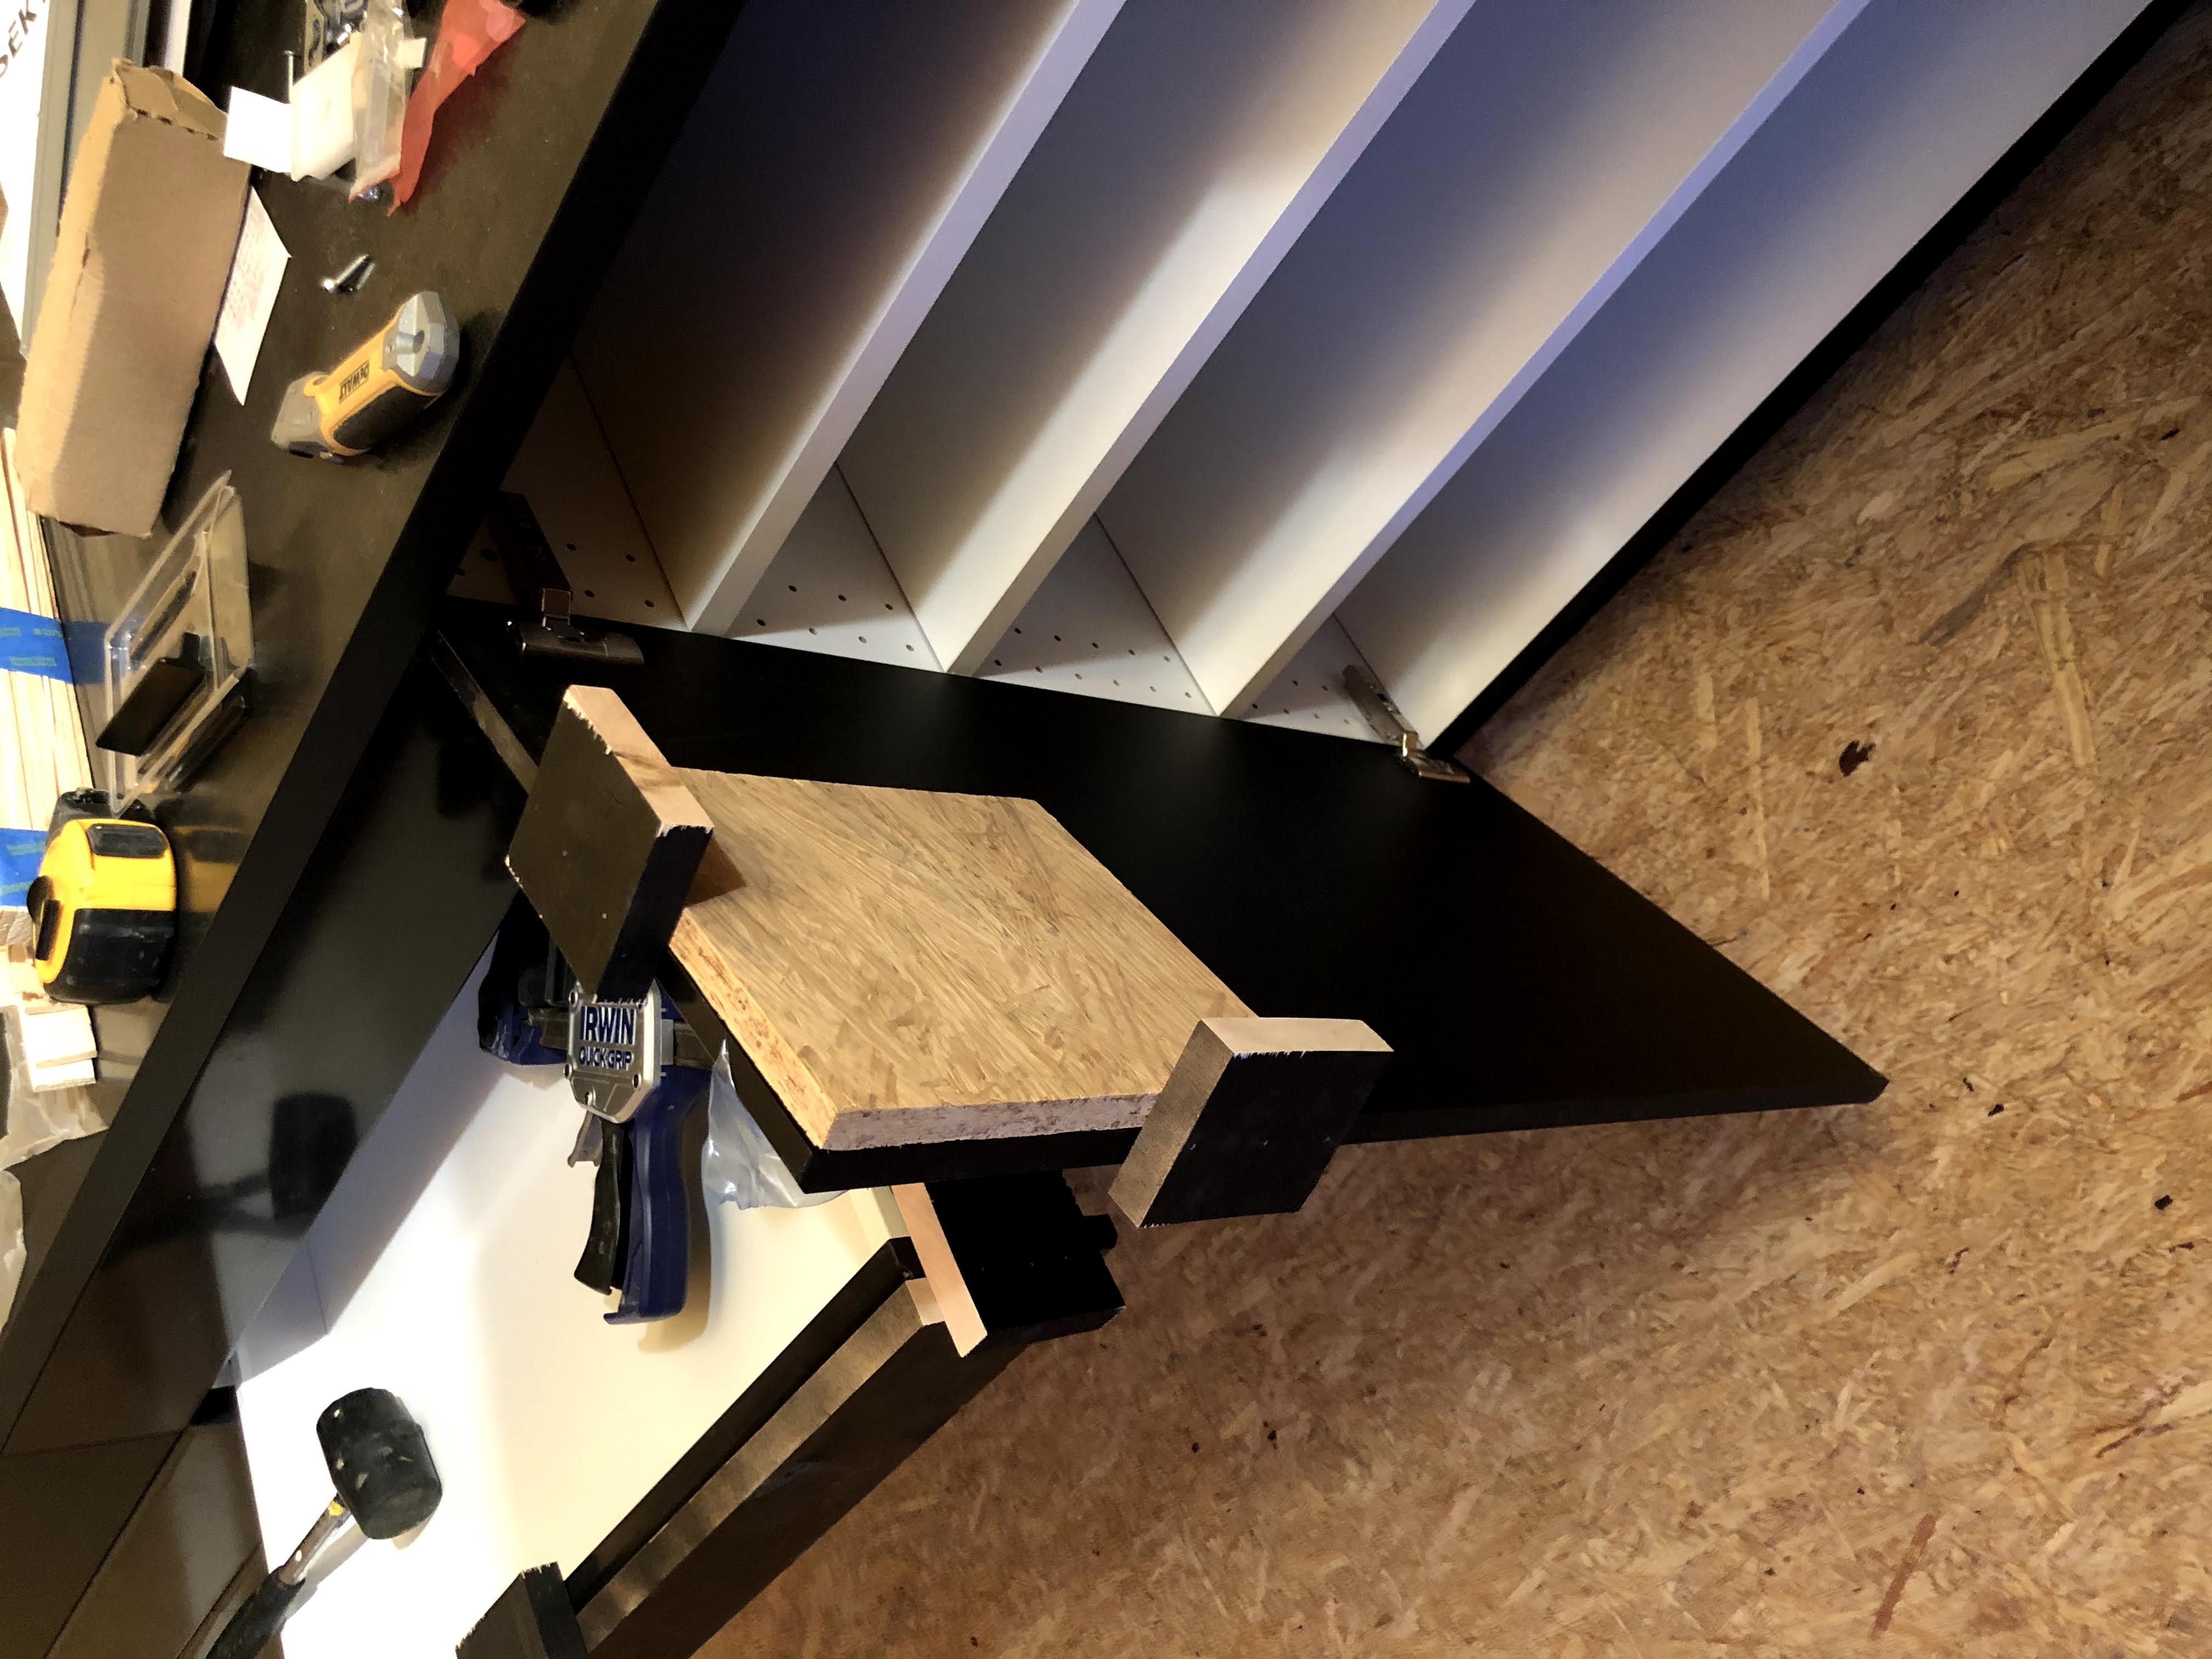
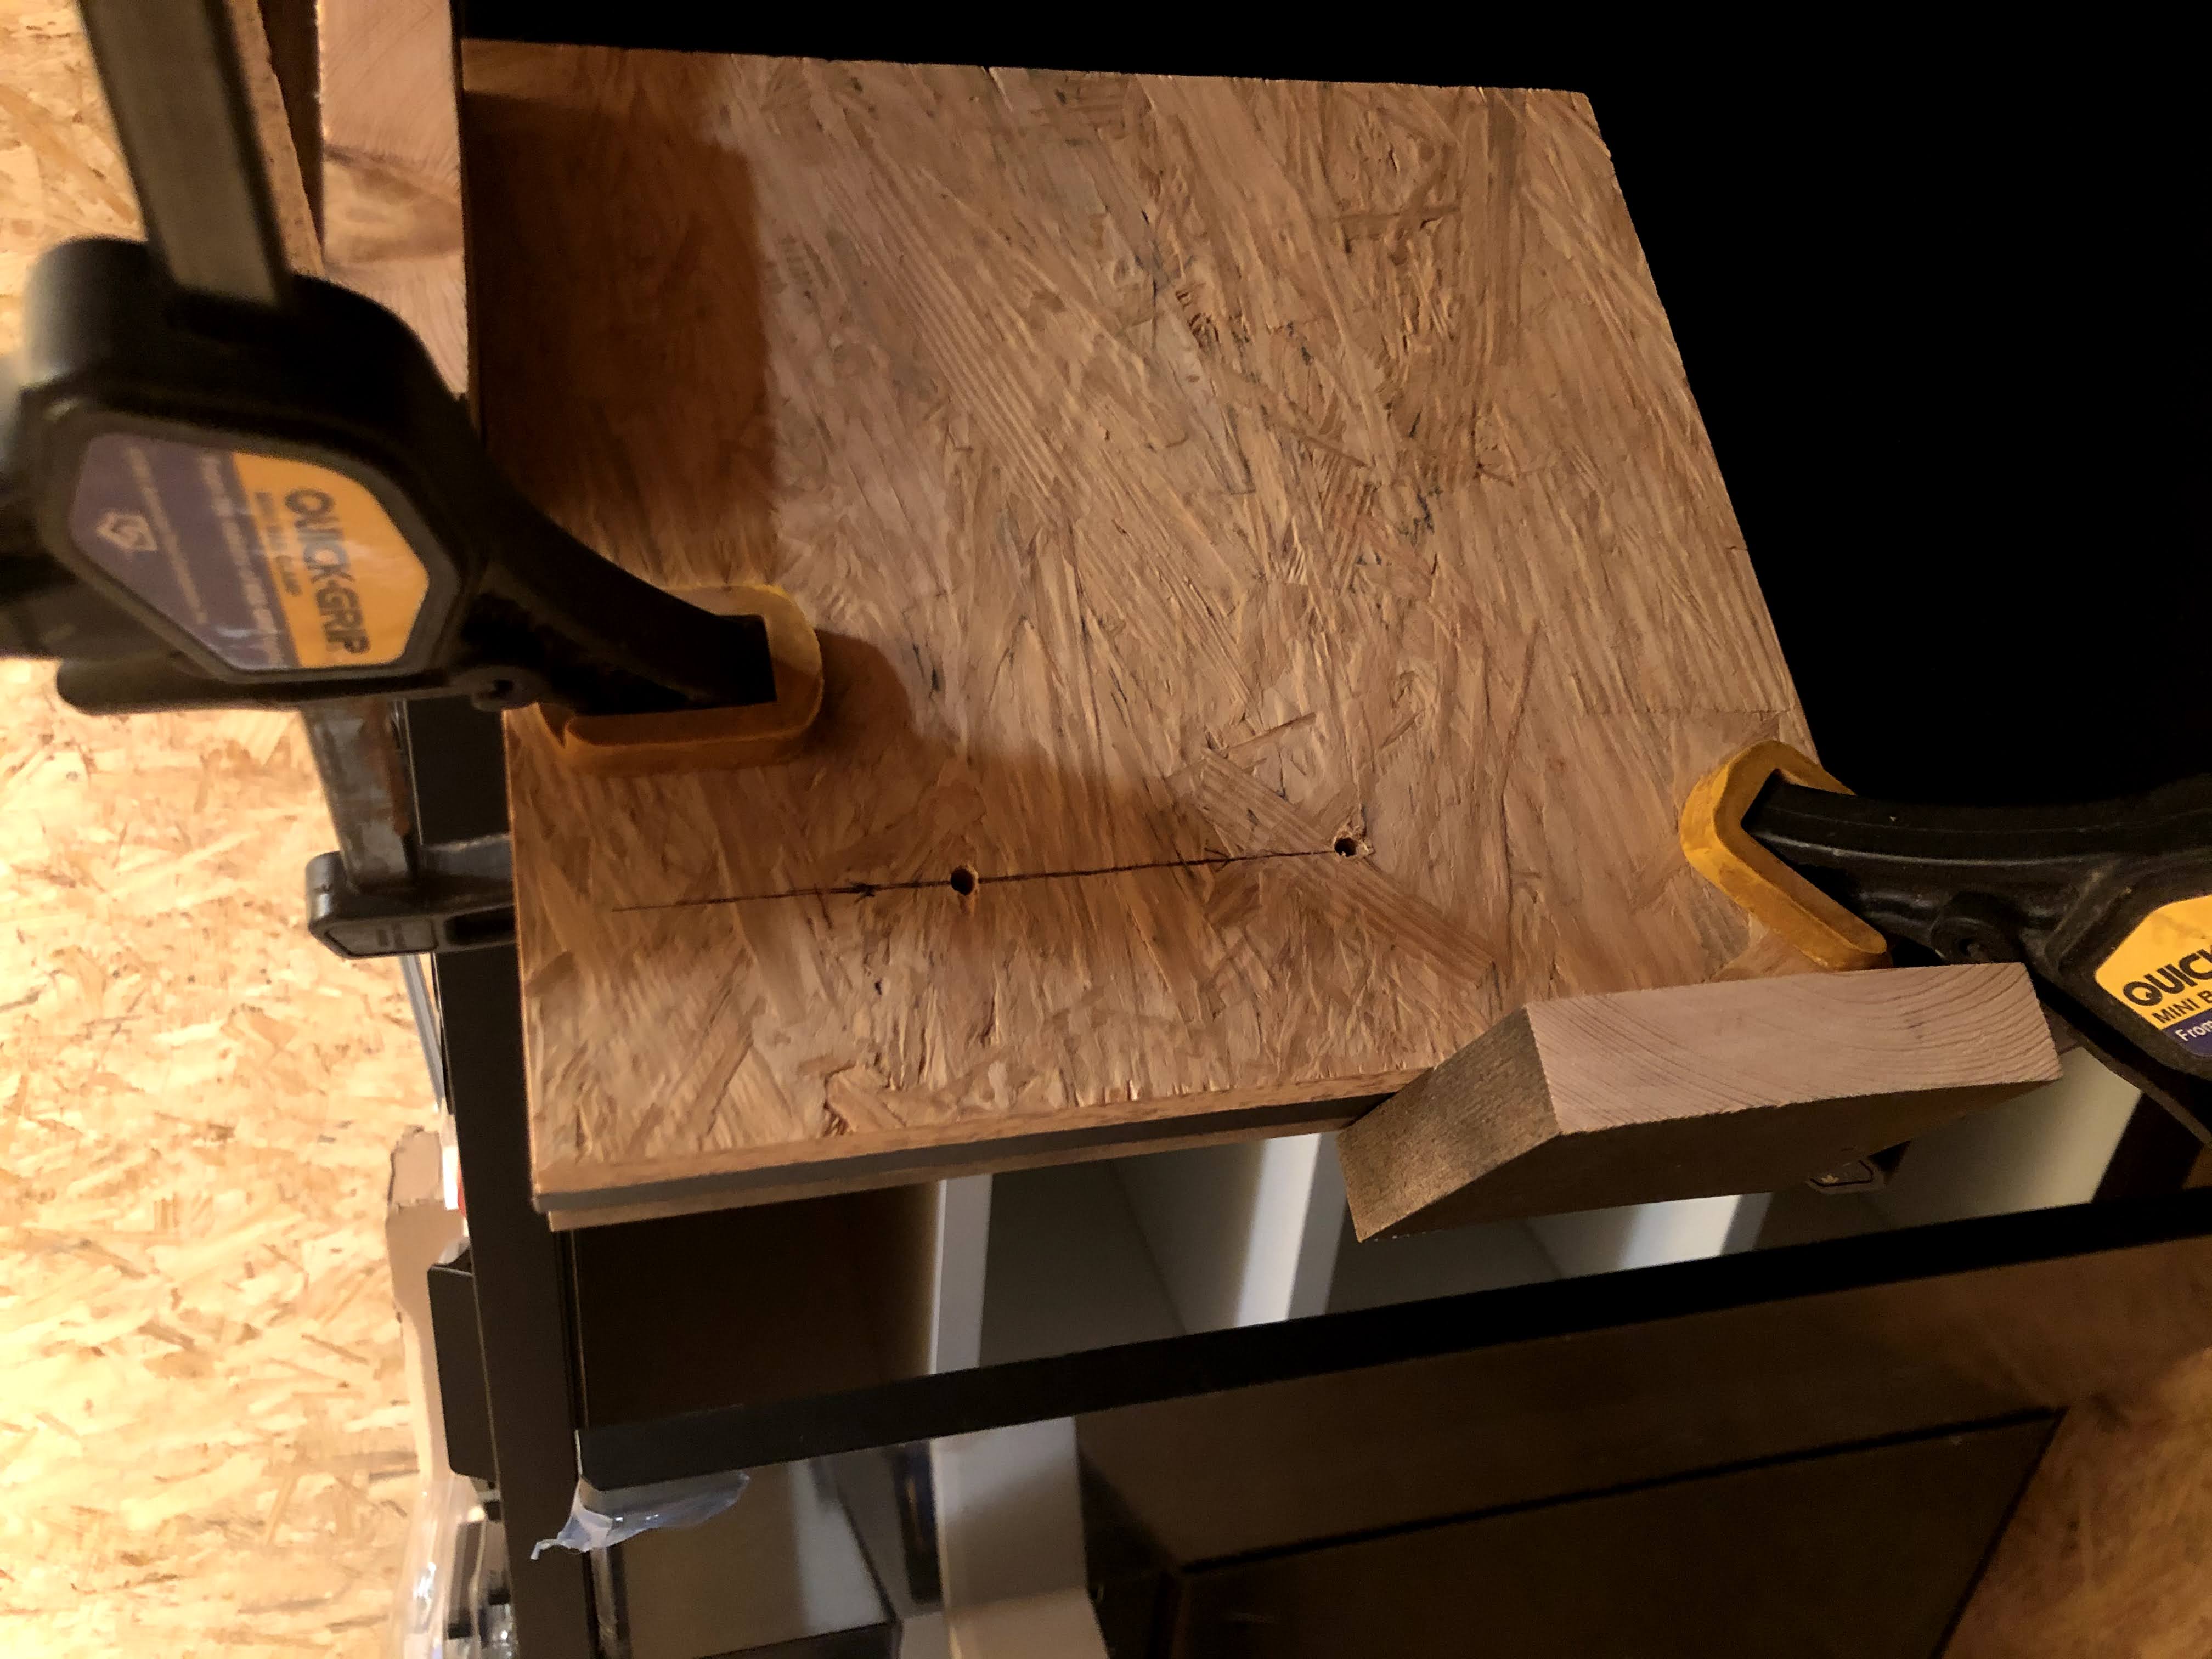
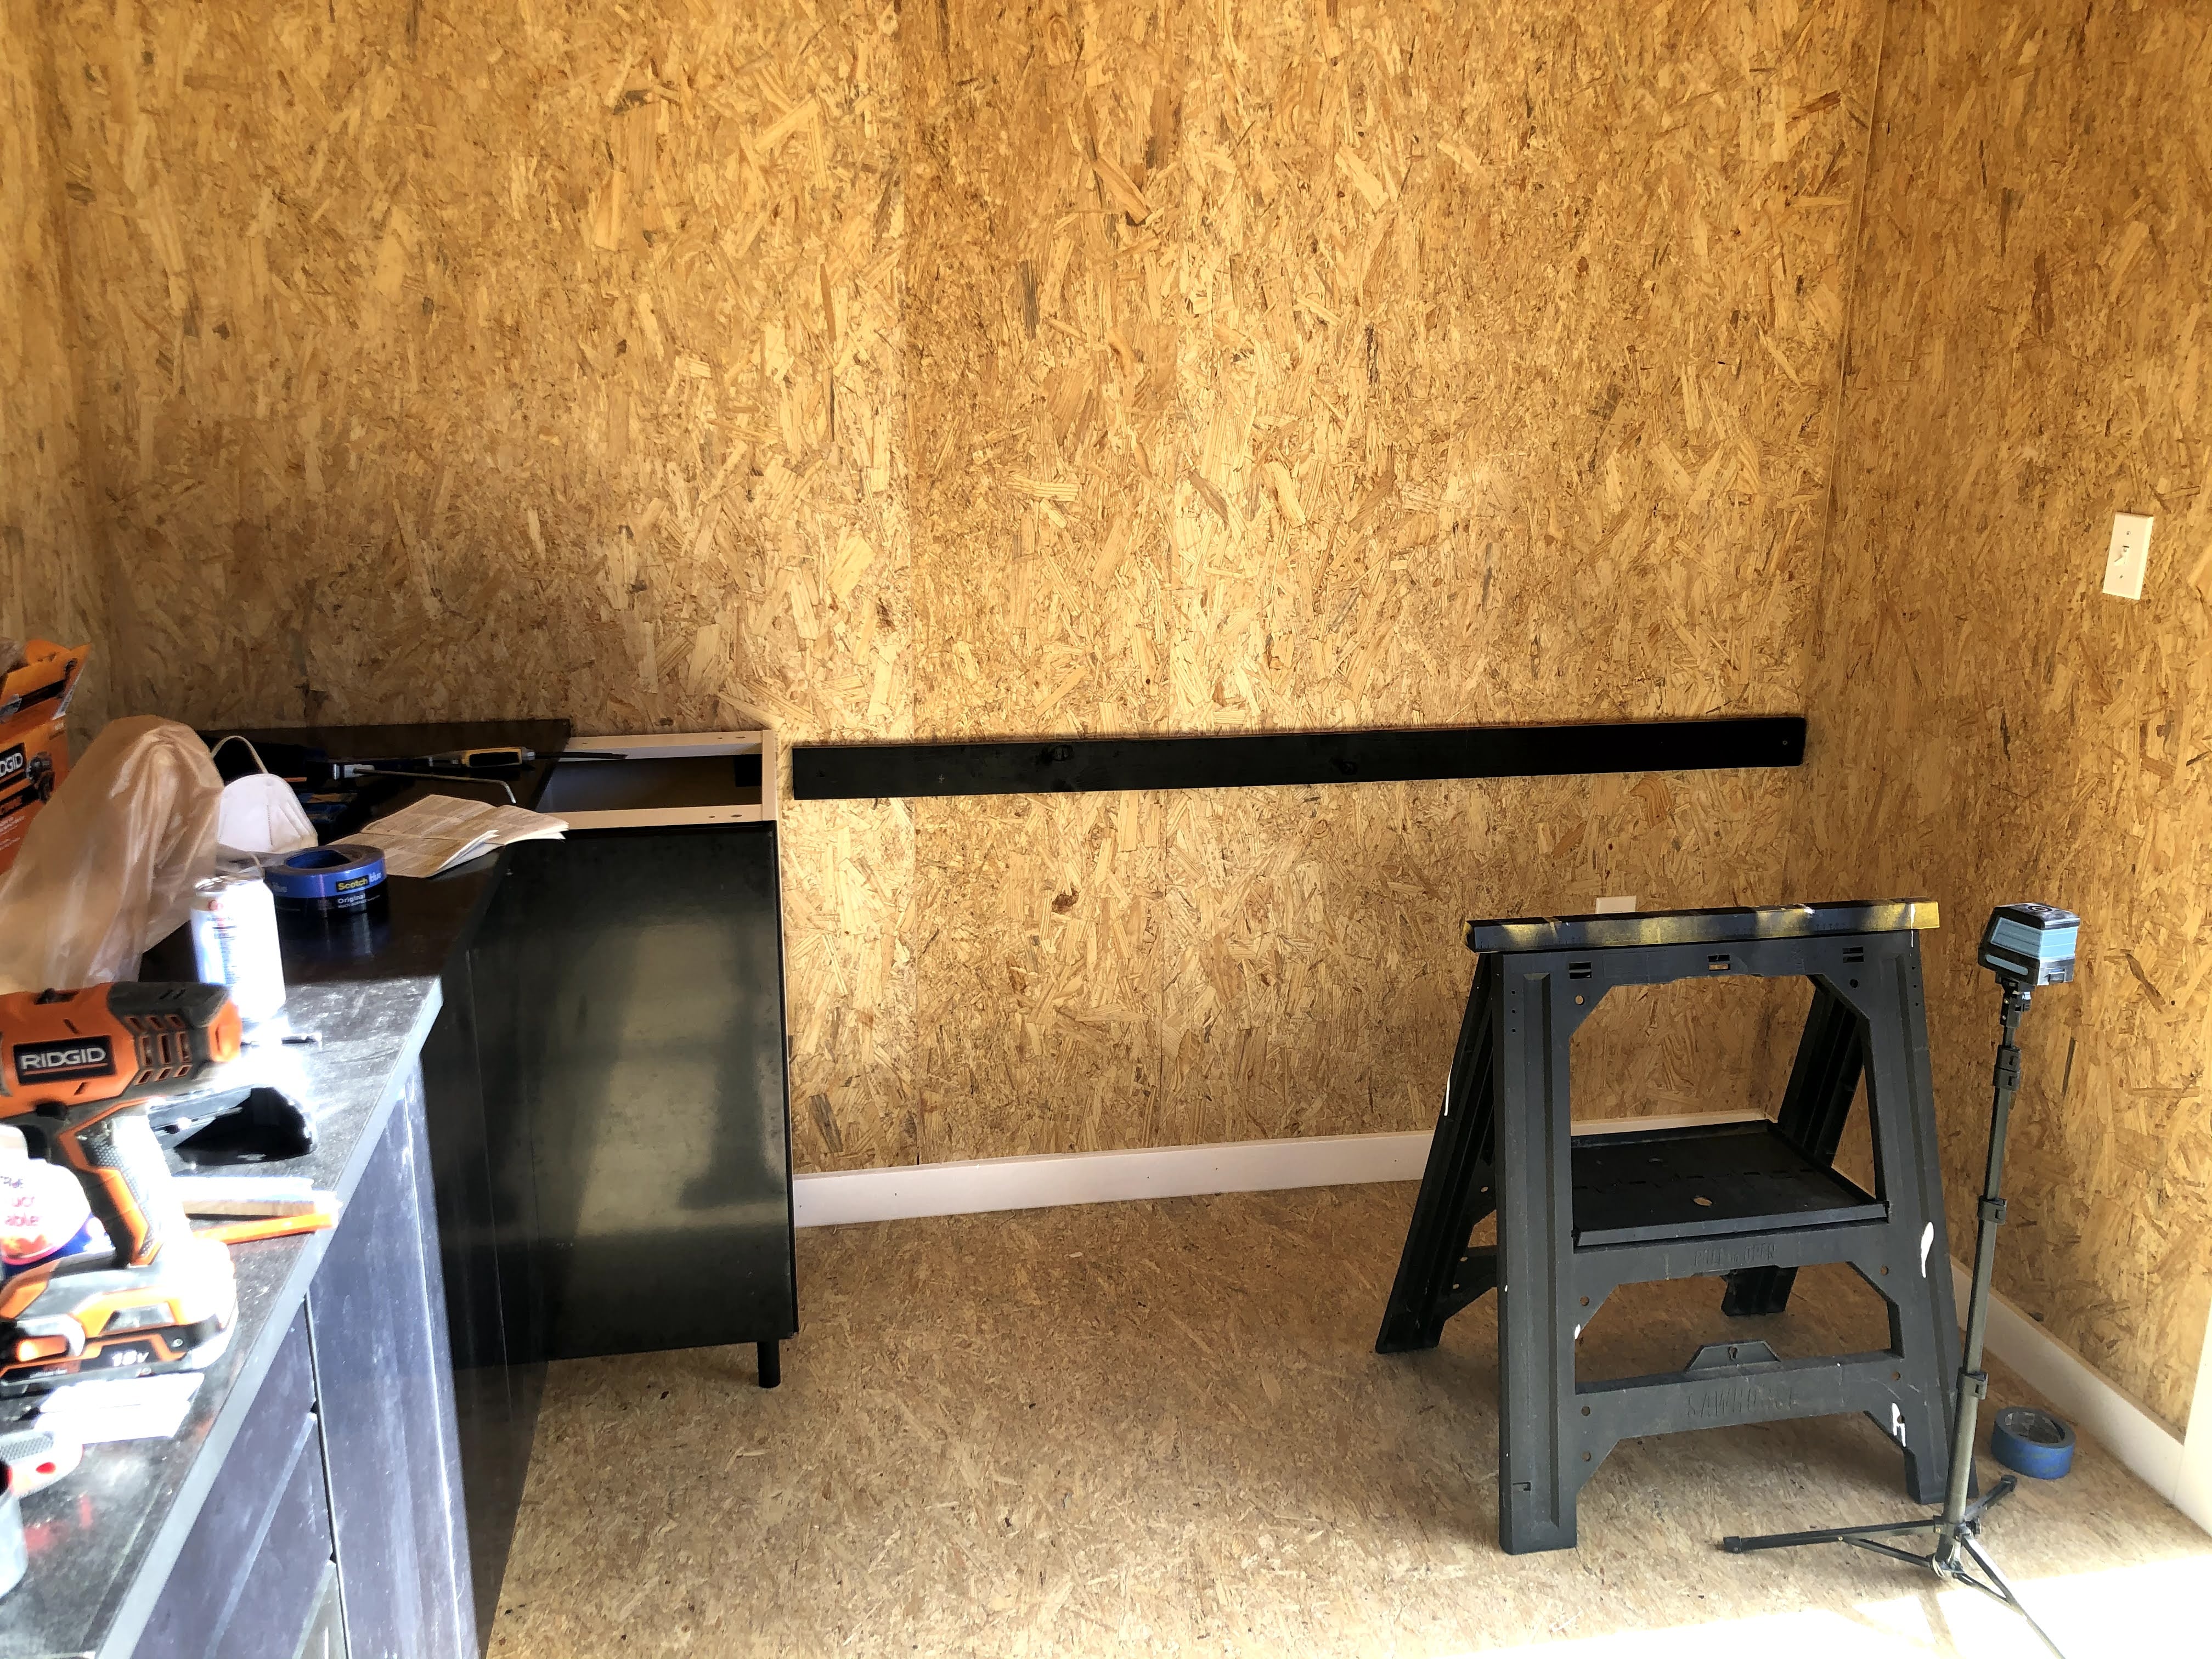
On the short end wall, I mentioned having a counter with nothing underneath, as a sort of work table. I reinforced this section of counter-top with two sheets of OSB, and then ran a board along the back and side wall for it to rest on.

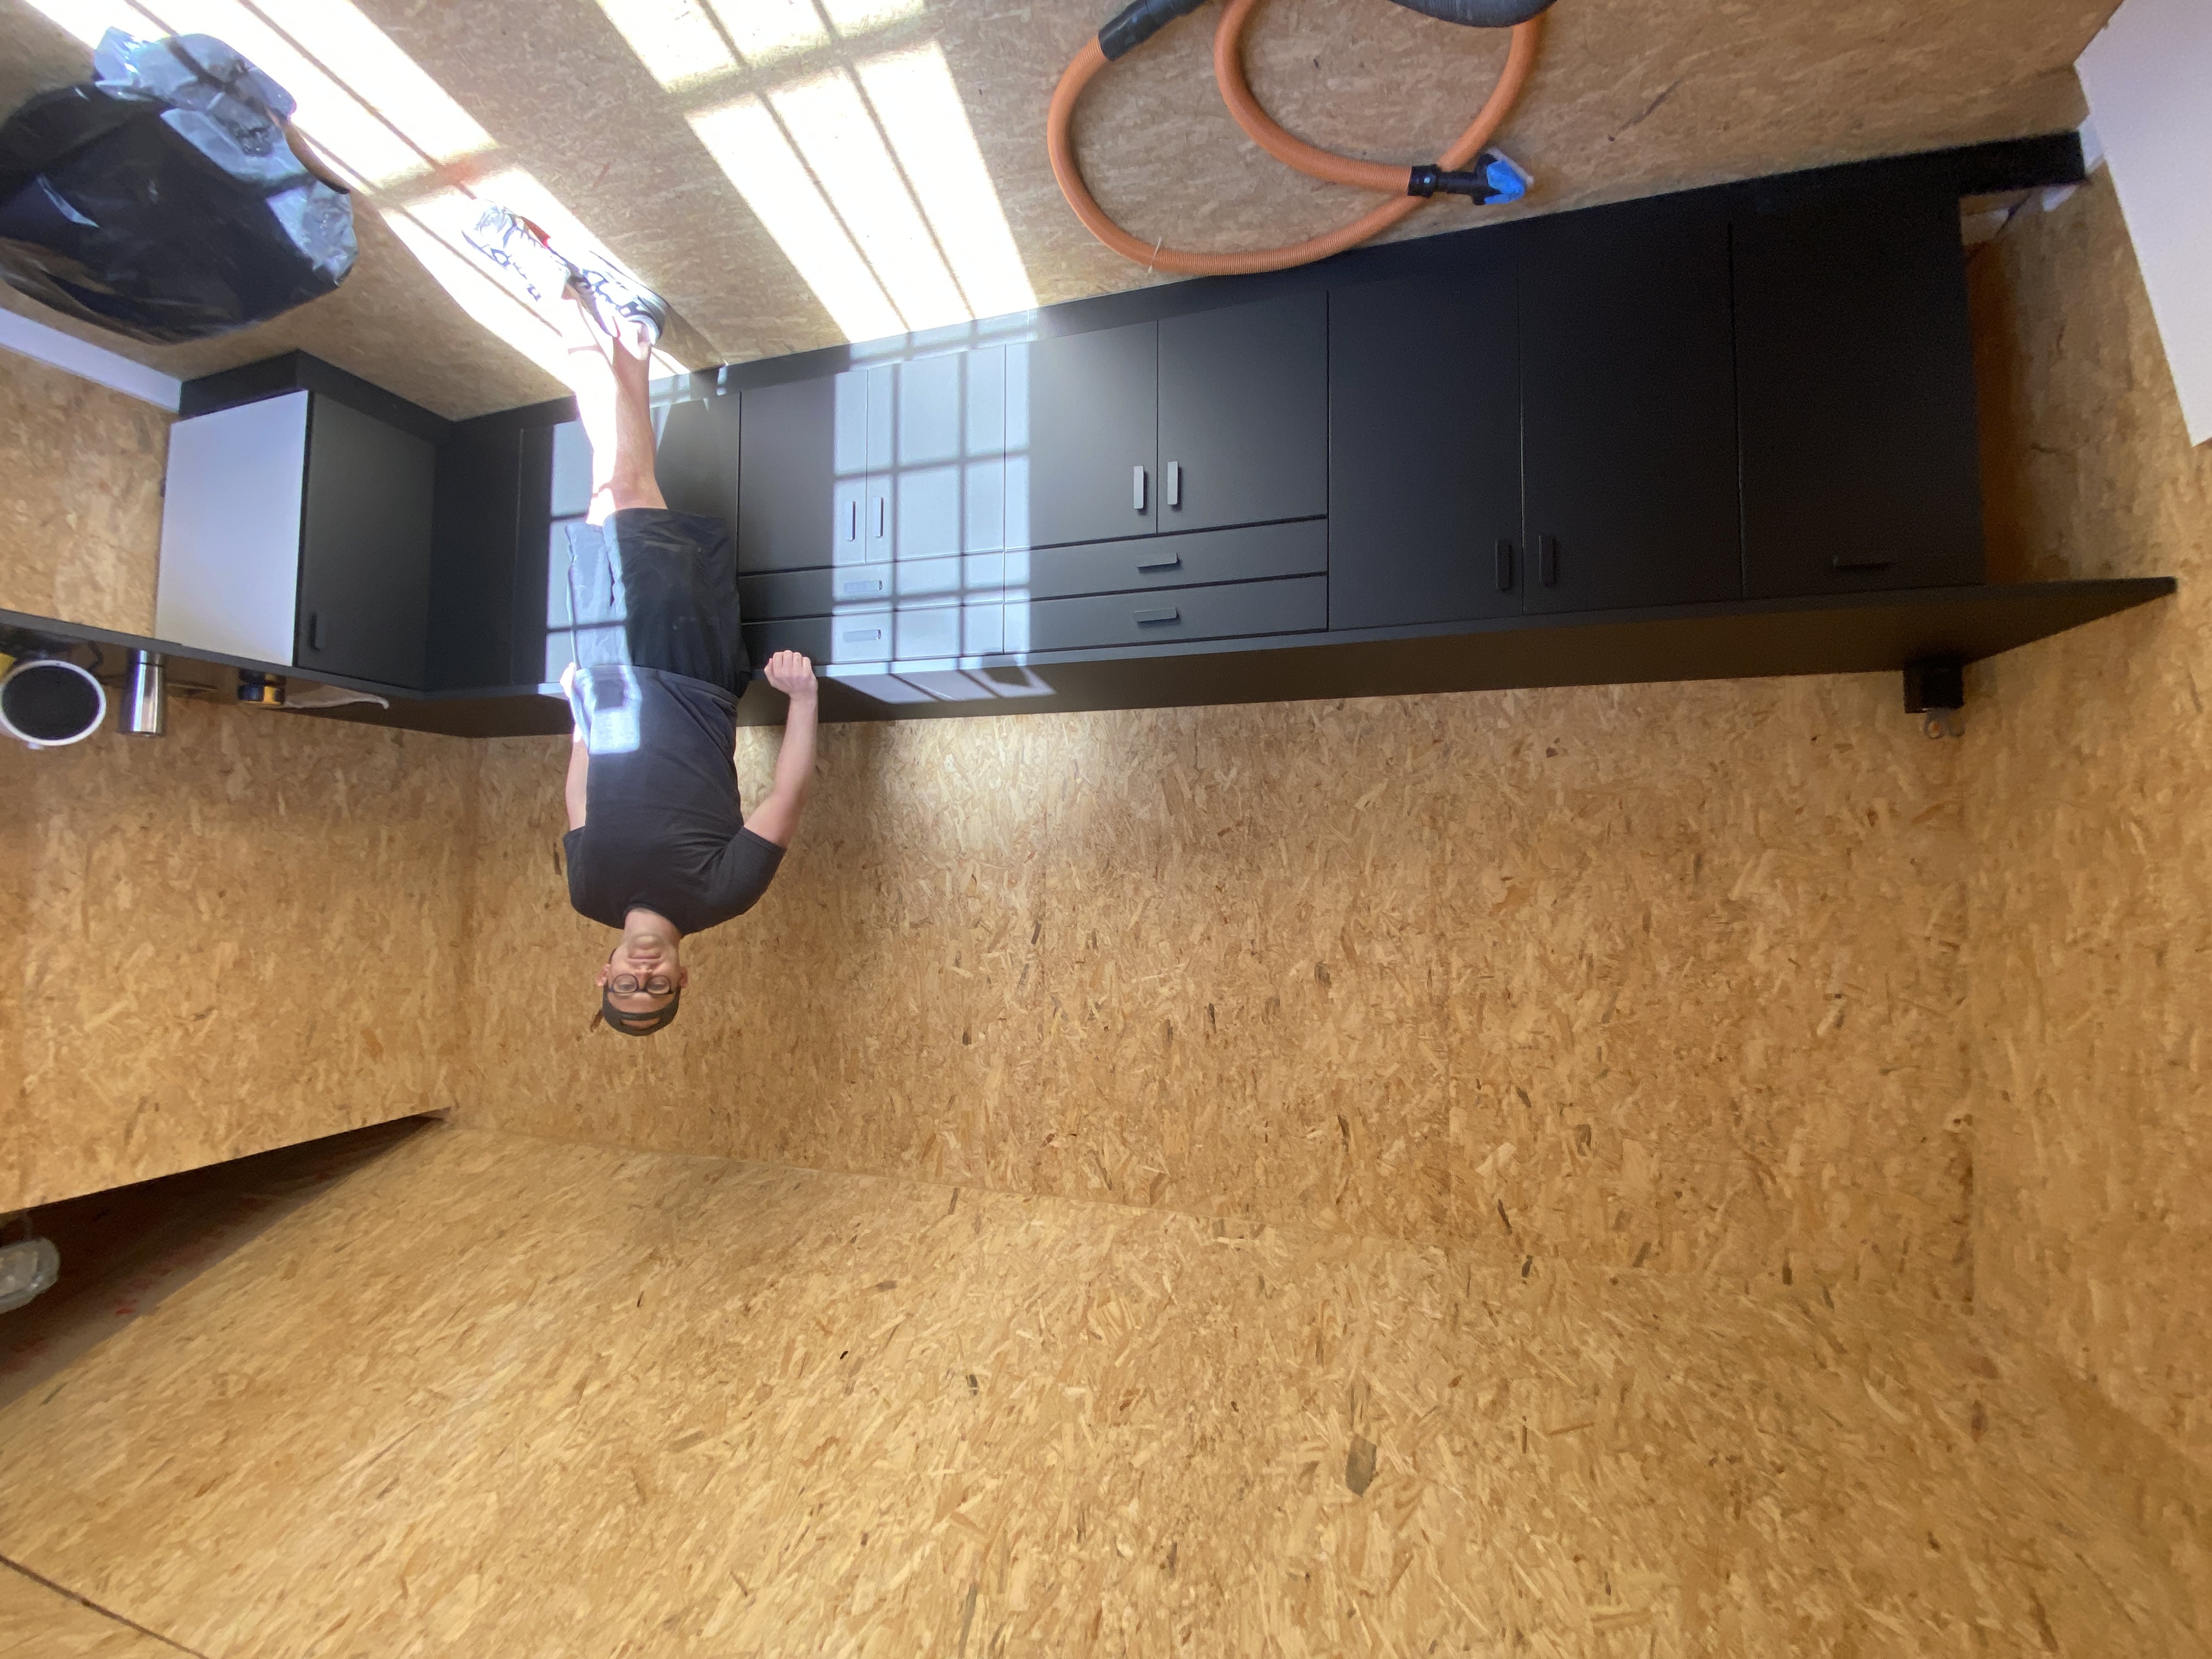
Having the cabinets all put together made a huge difference in how finished the whole thing felt.
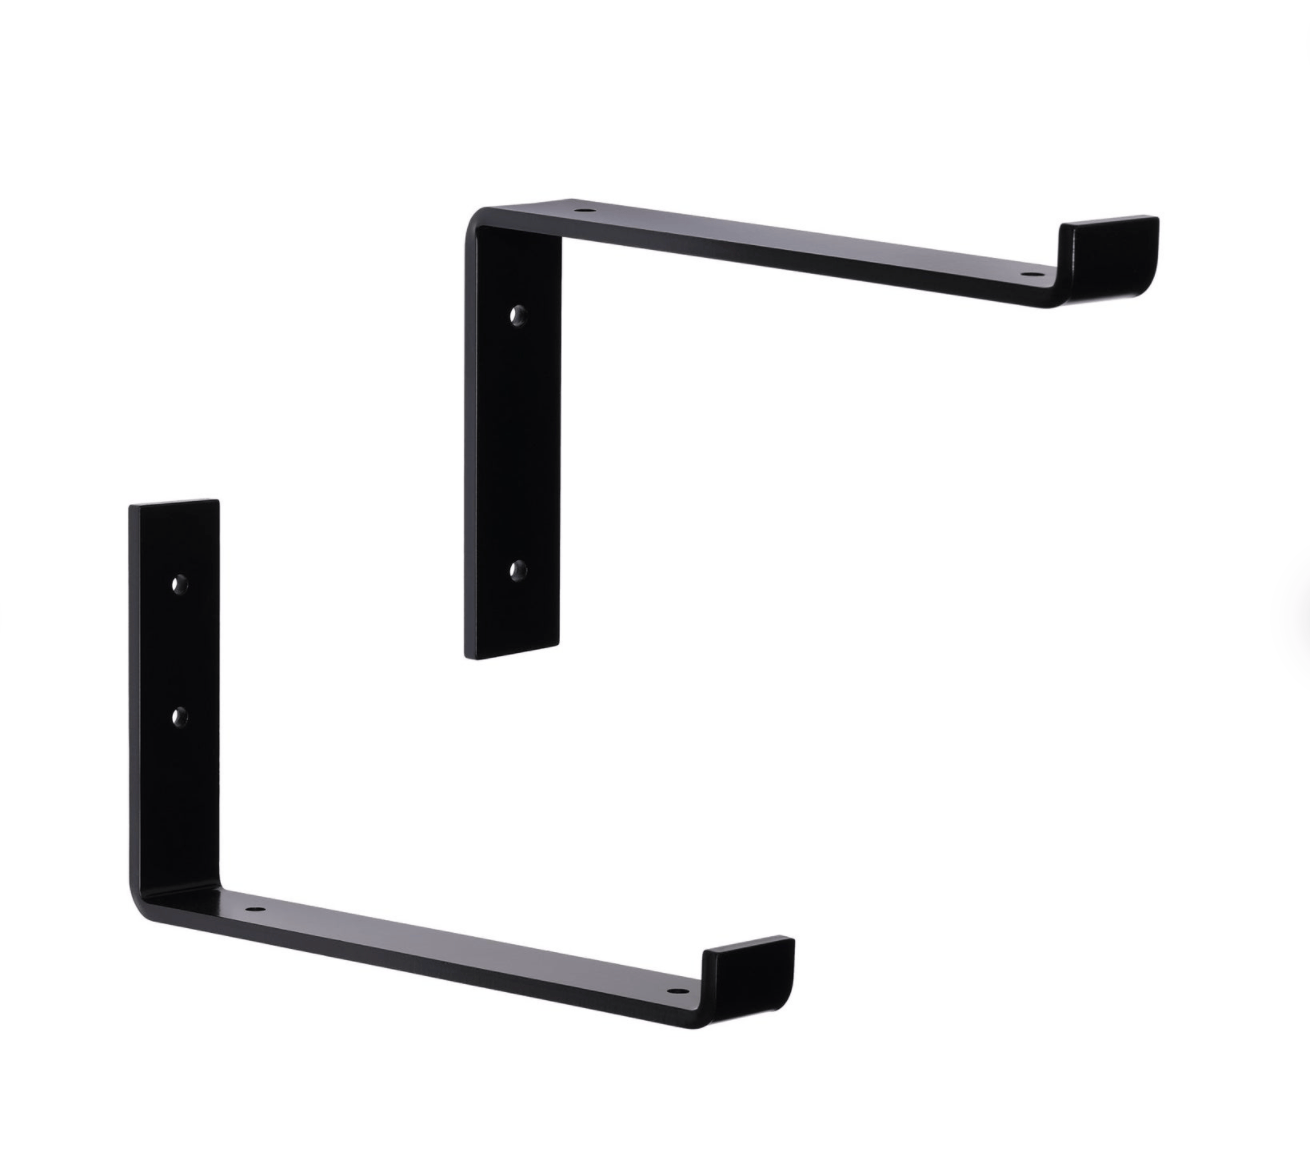
Shelving With the cabinets in, I turned my attention to the
next finish detail: shelves. I really wanted a dramatic wall, so I had plans for some pretty intense shelves. I bought these brackets from Etsy. They're heavy duty and very cool looking. They come in two styles, I got the "J" style (lower left).
The shelves are made of... you guessed it, OSB!
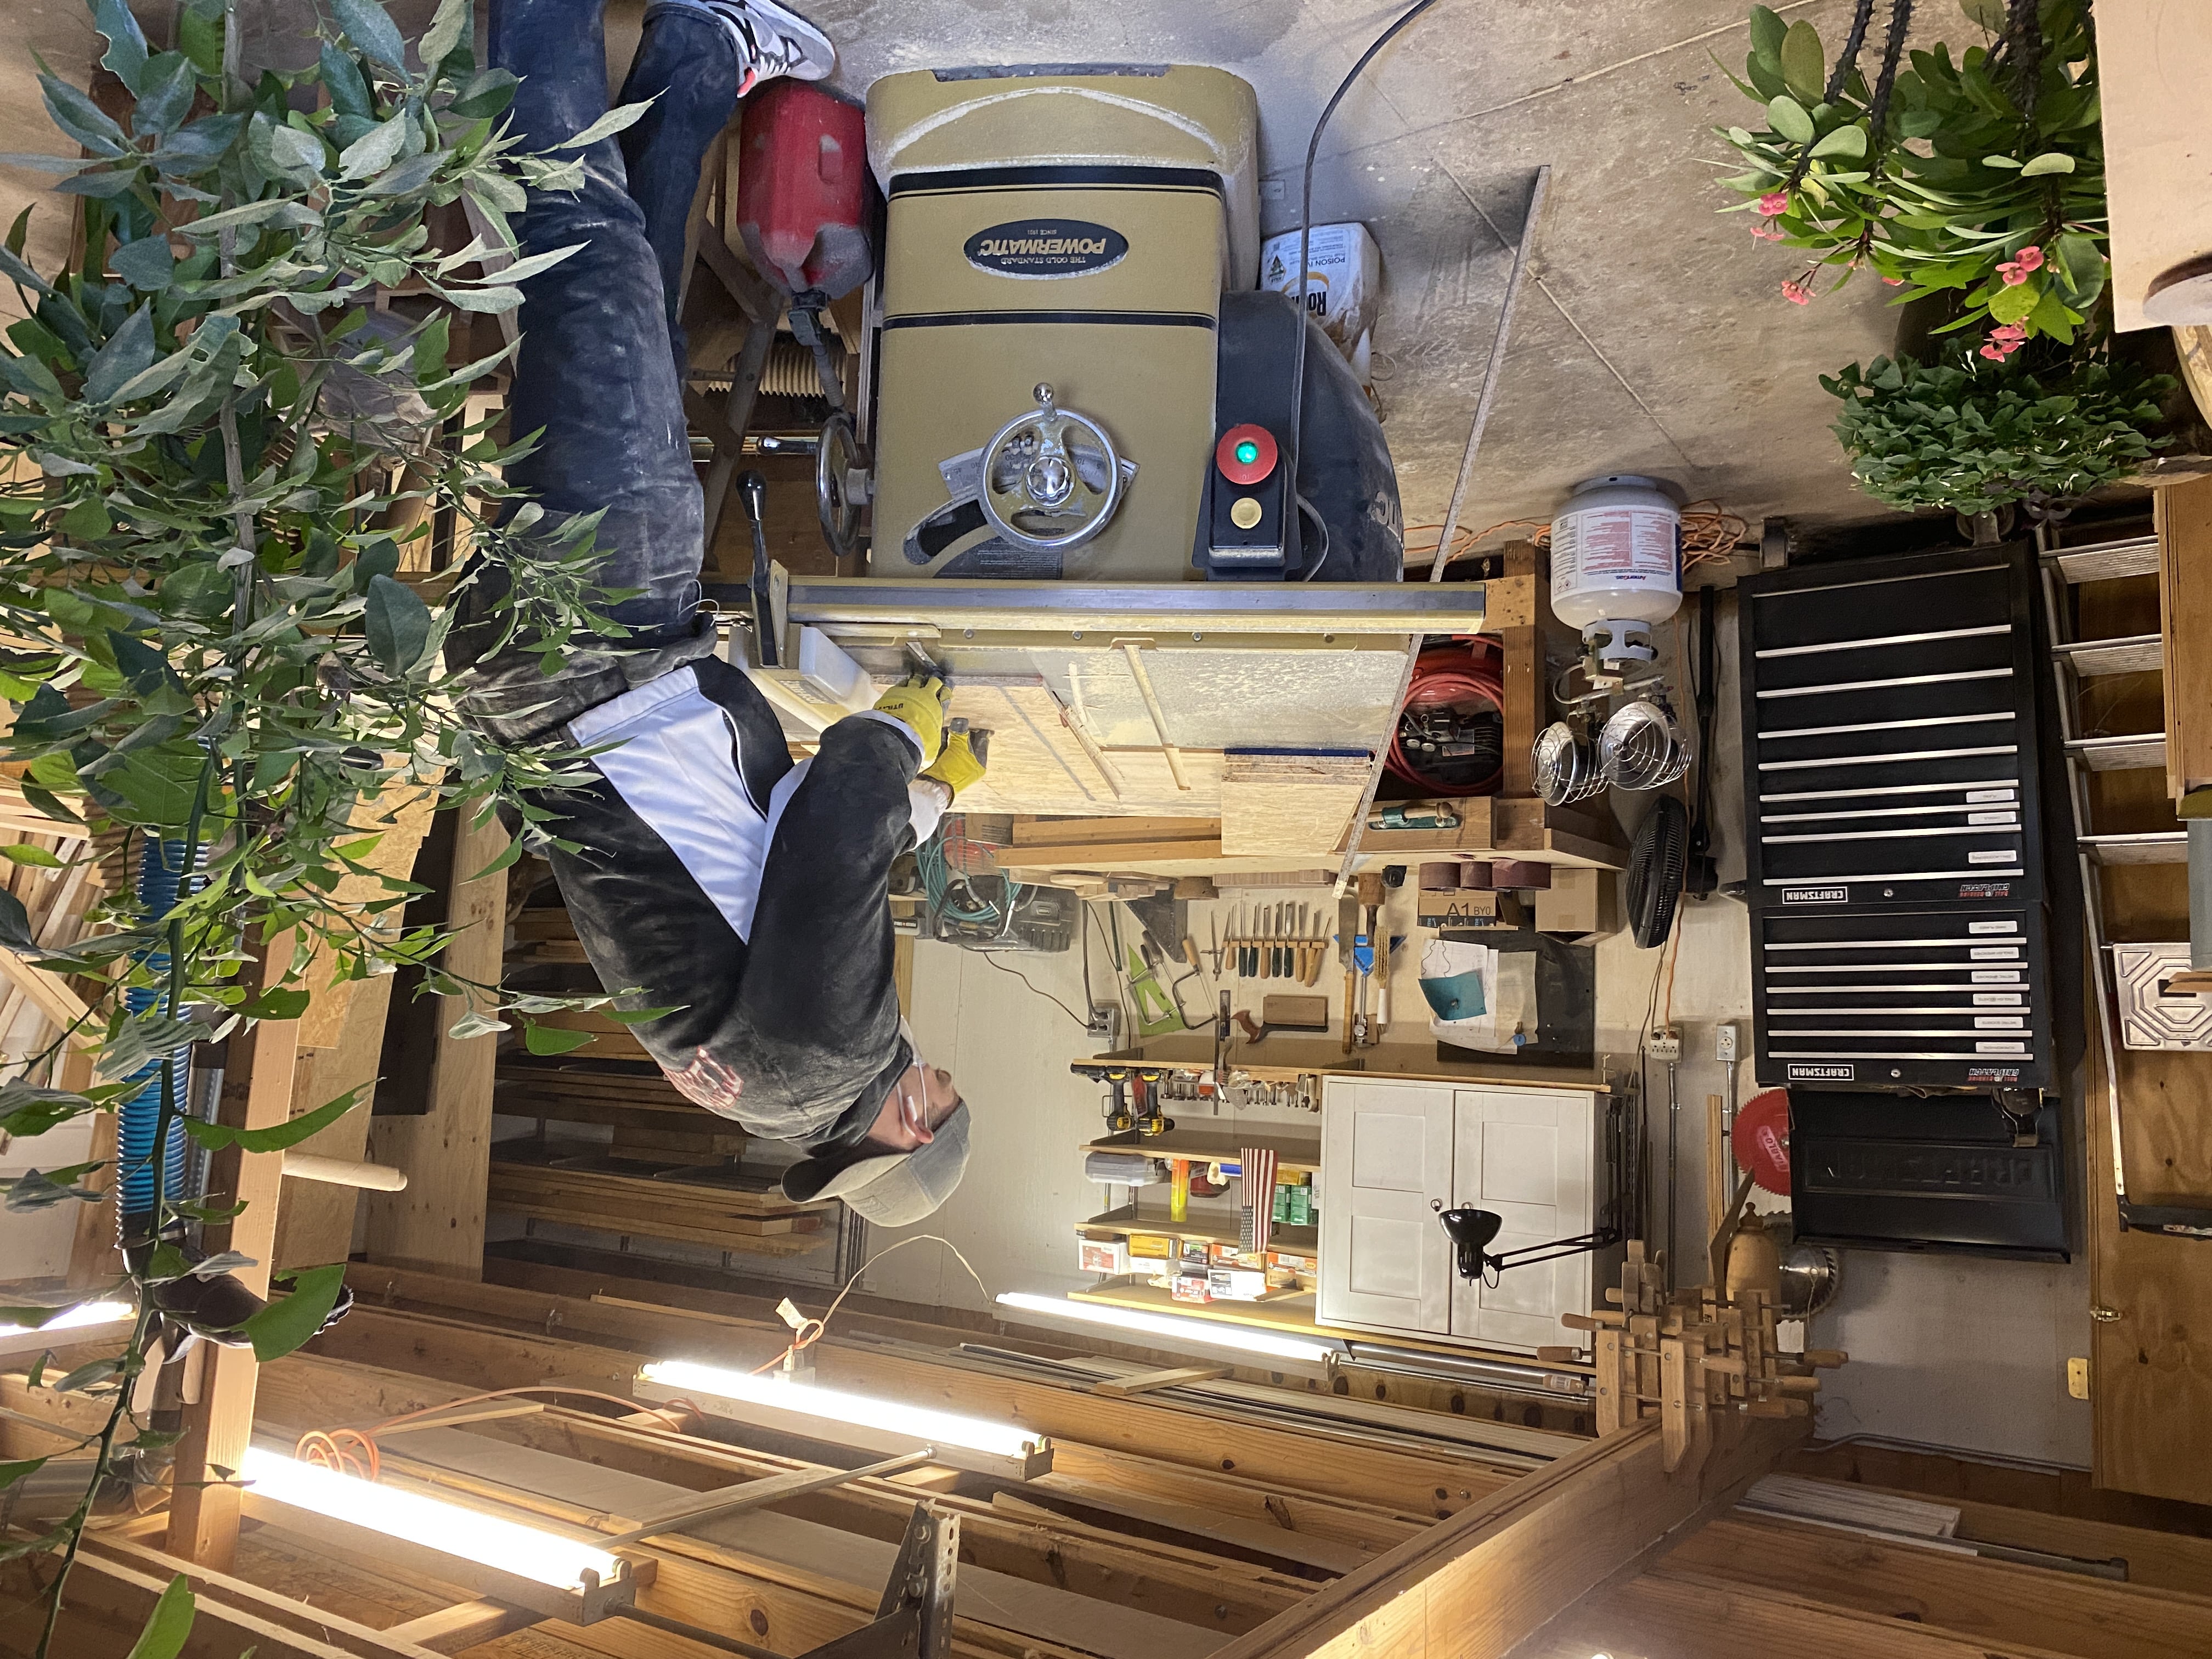
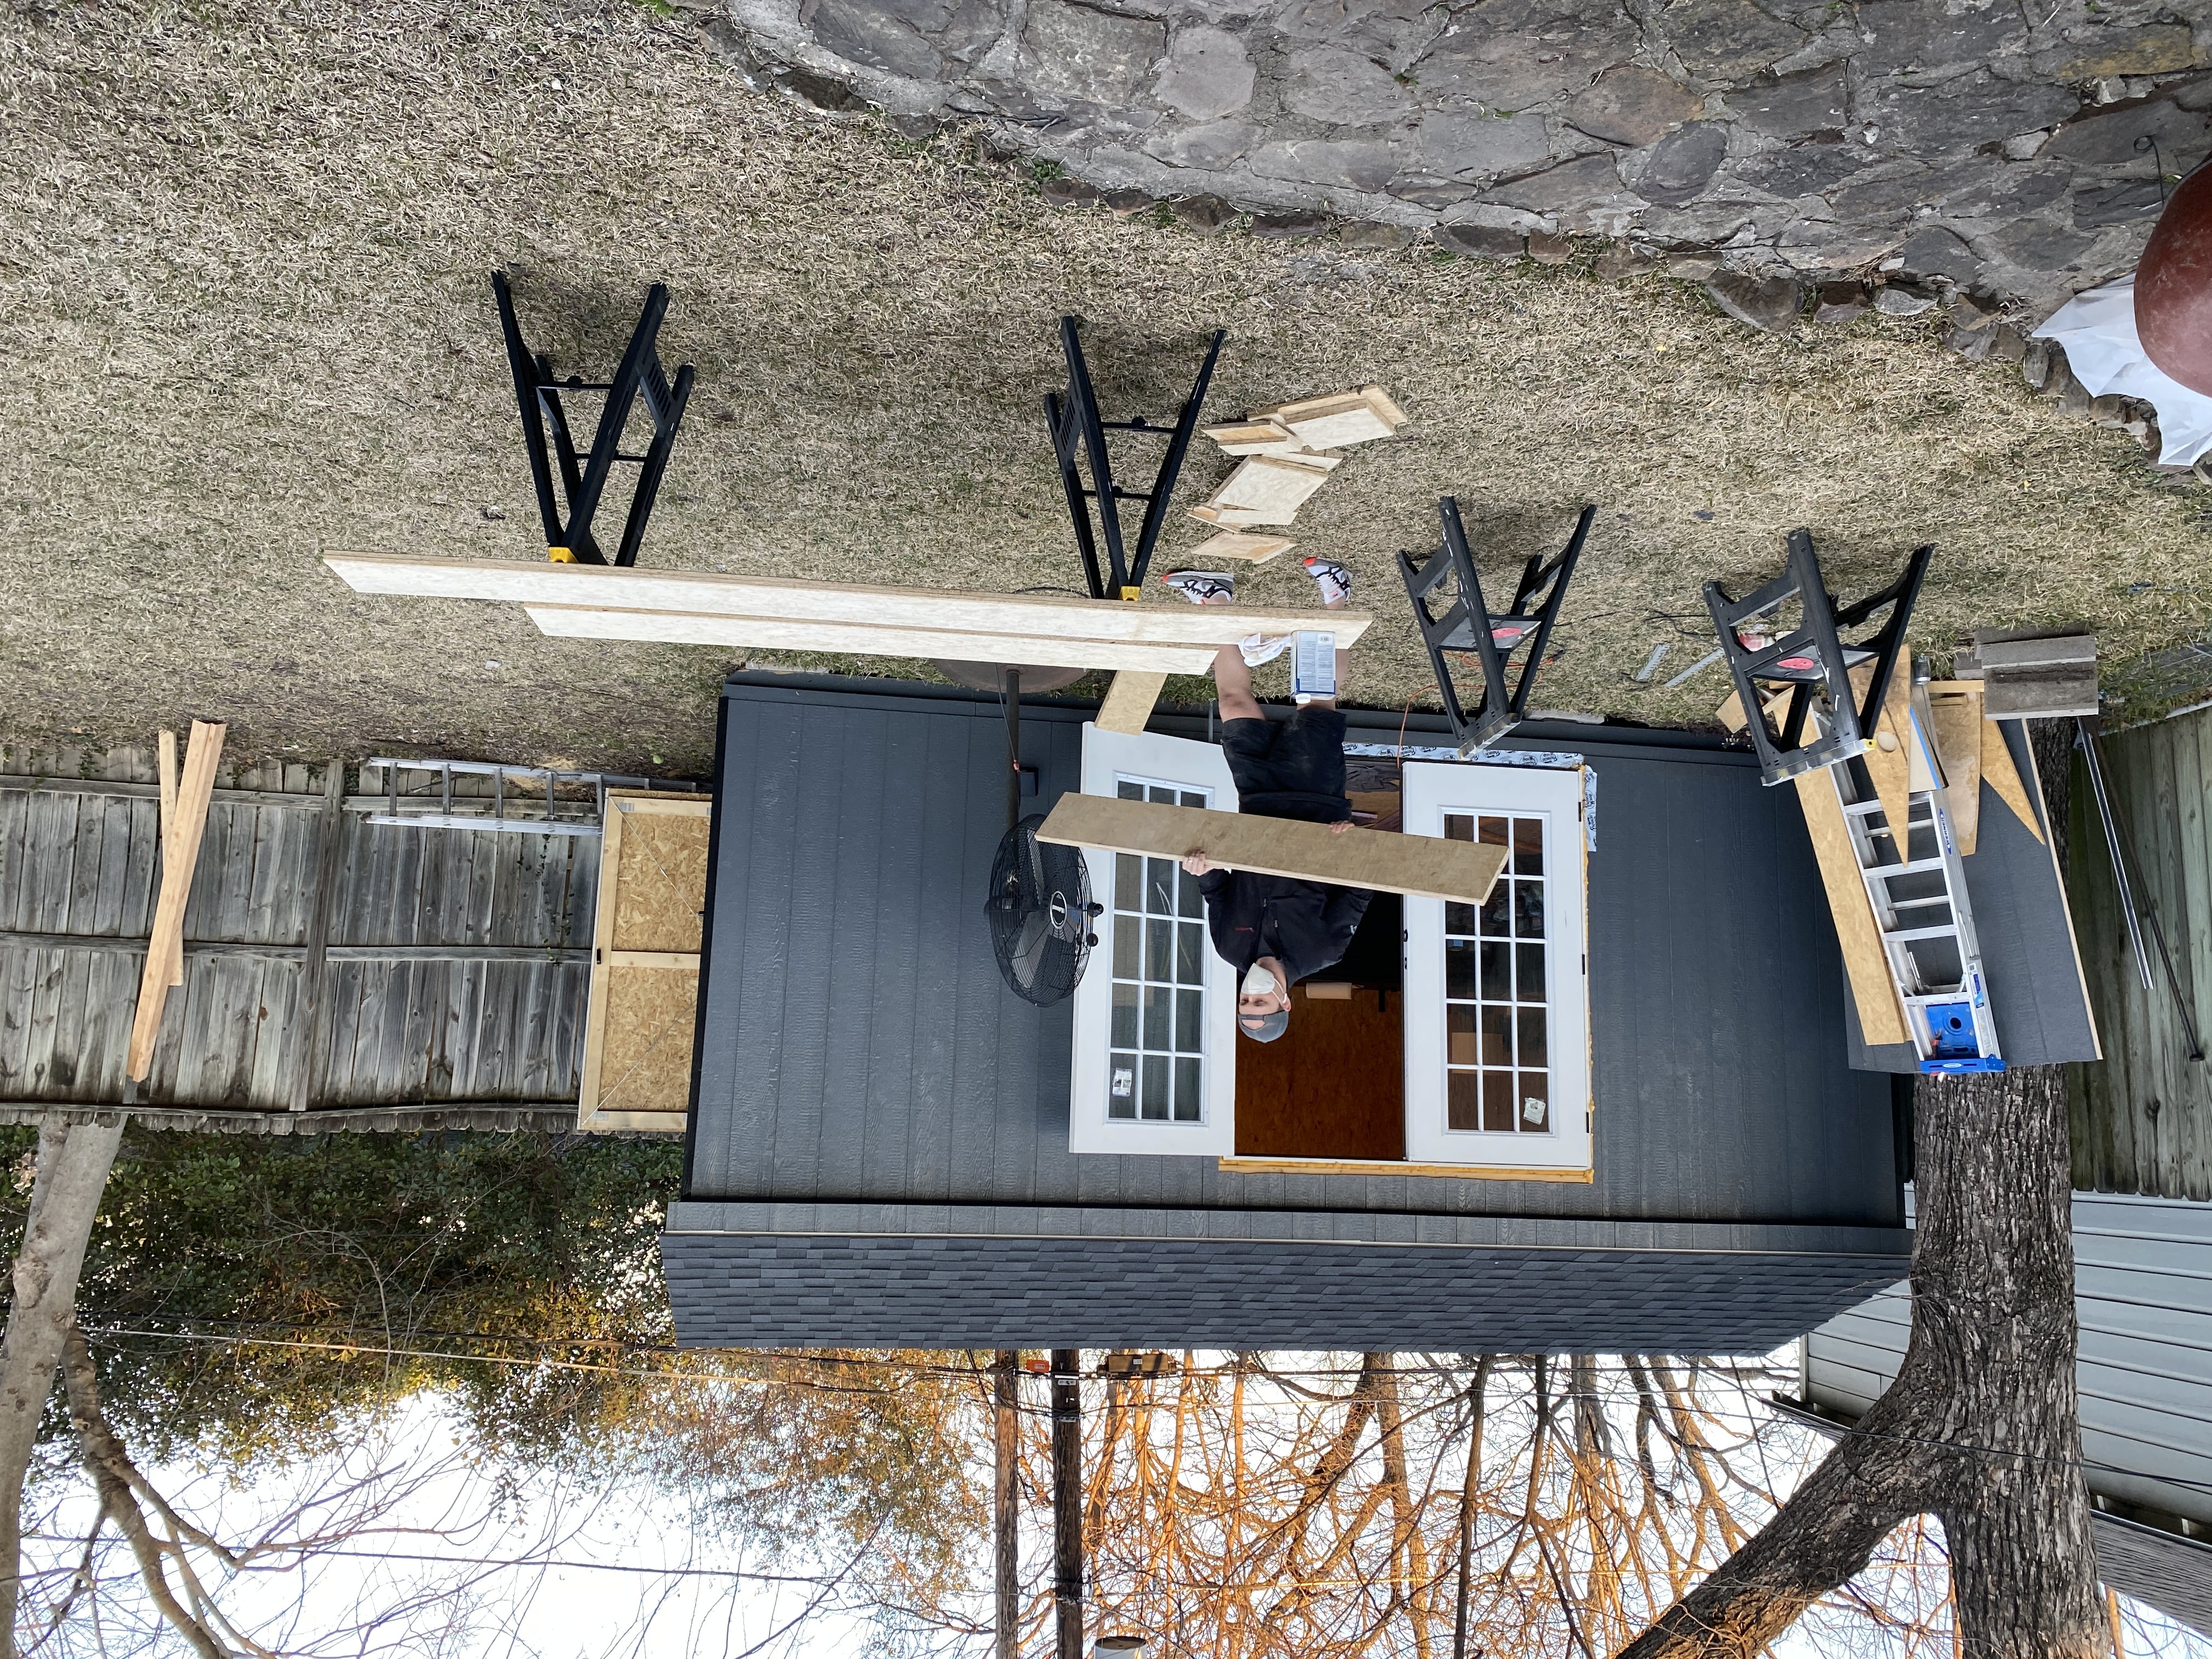
I had a few sheets left over so I cut them down to the right size in my neighbors garage. Using the table saw, I also chamfered the edges so that they aren't sharp and fit snugly in the brackets.
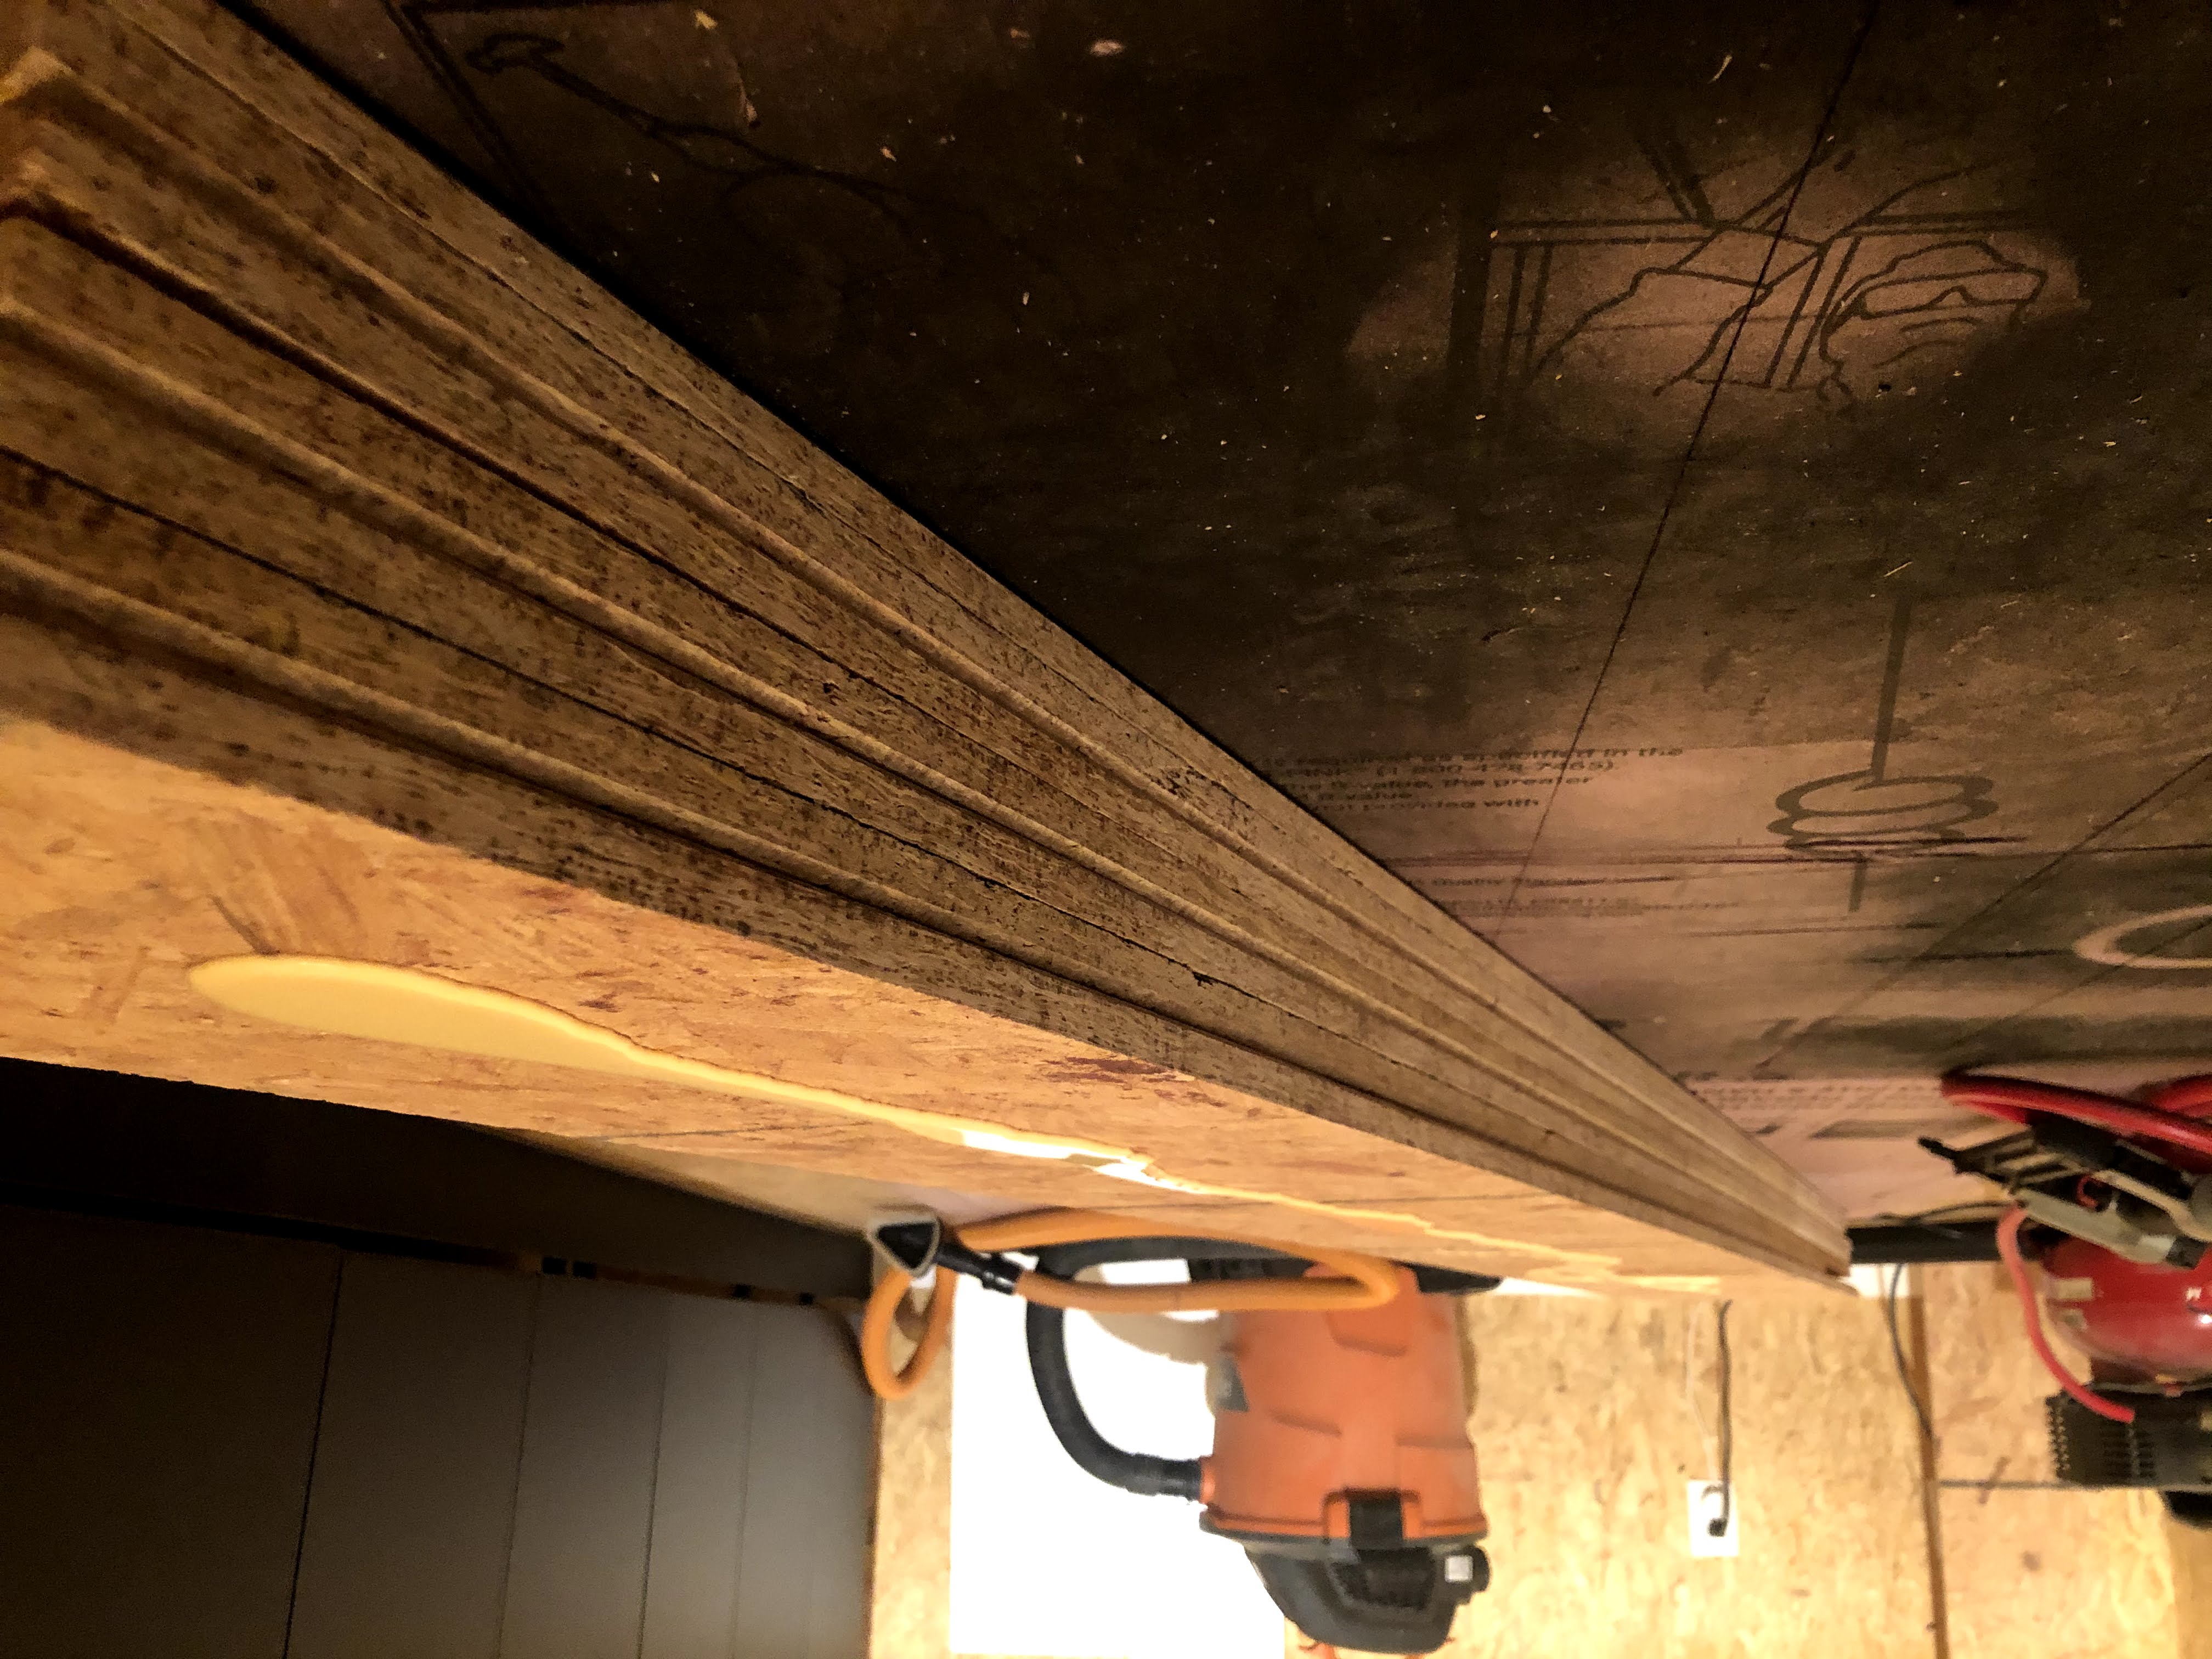
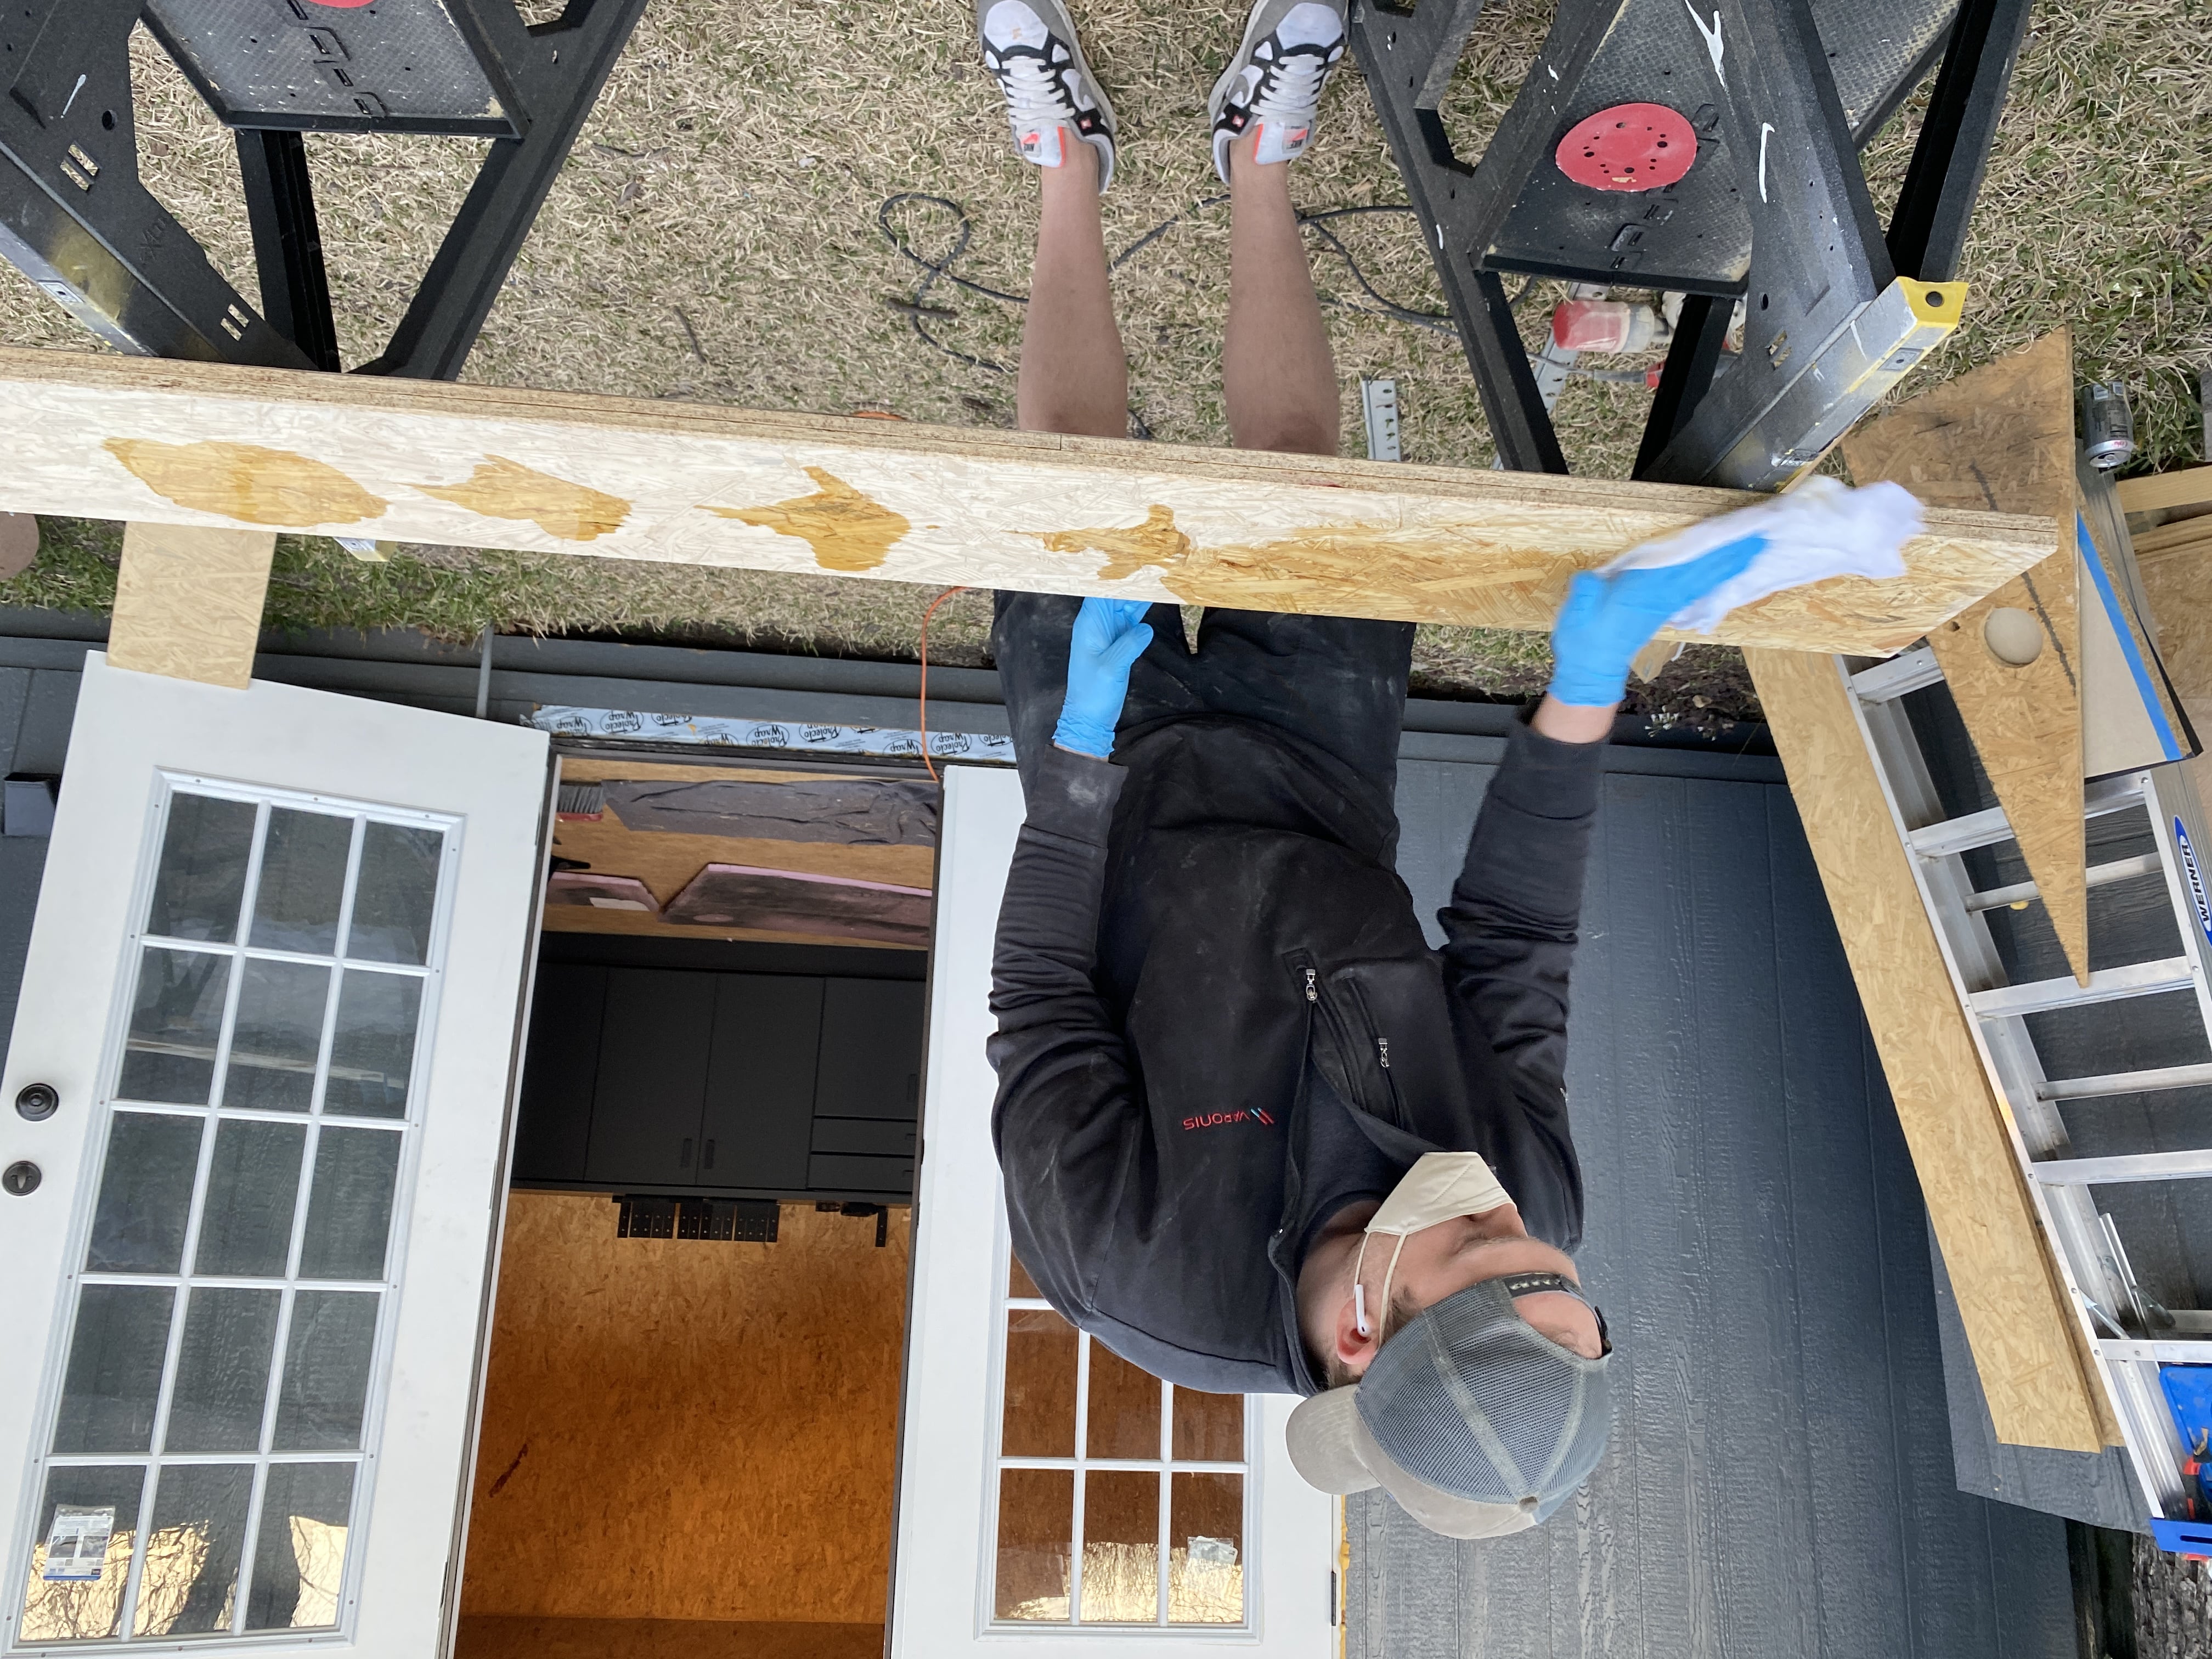
I made the shelves by gluing and nailing two pieces together, so
that they're about an inch and half thick, and both sides are
sanded and smooth. Then I put teak oil on them so they'd match
the rest of the room.
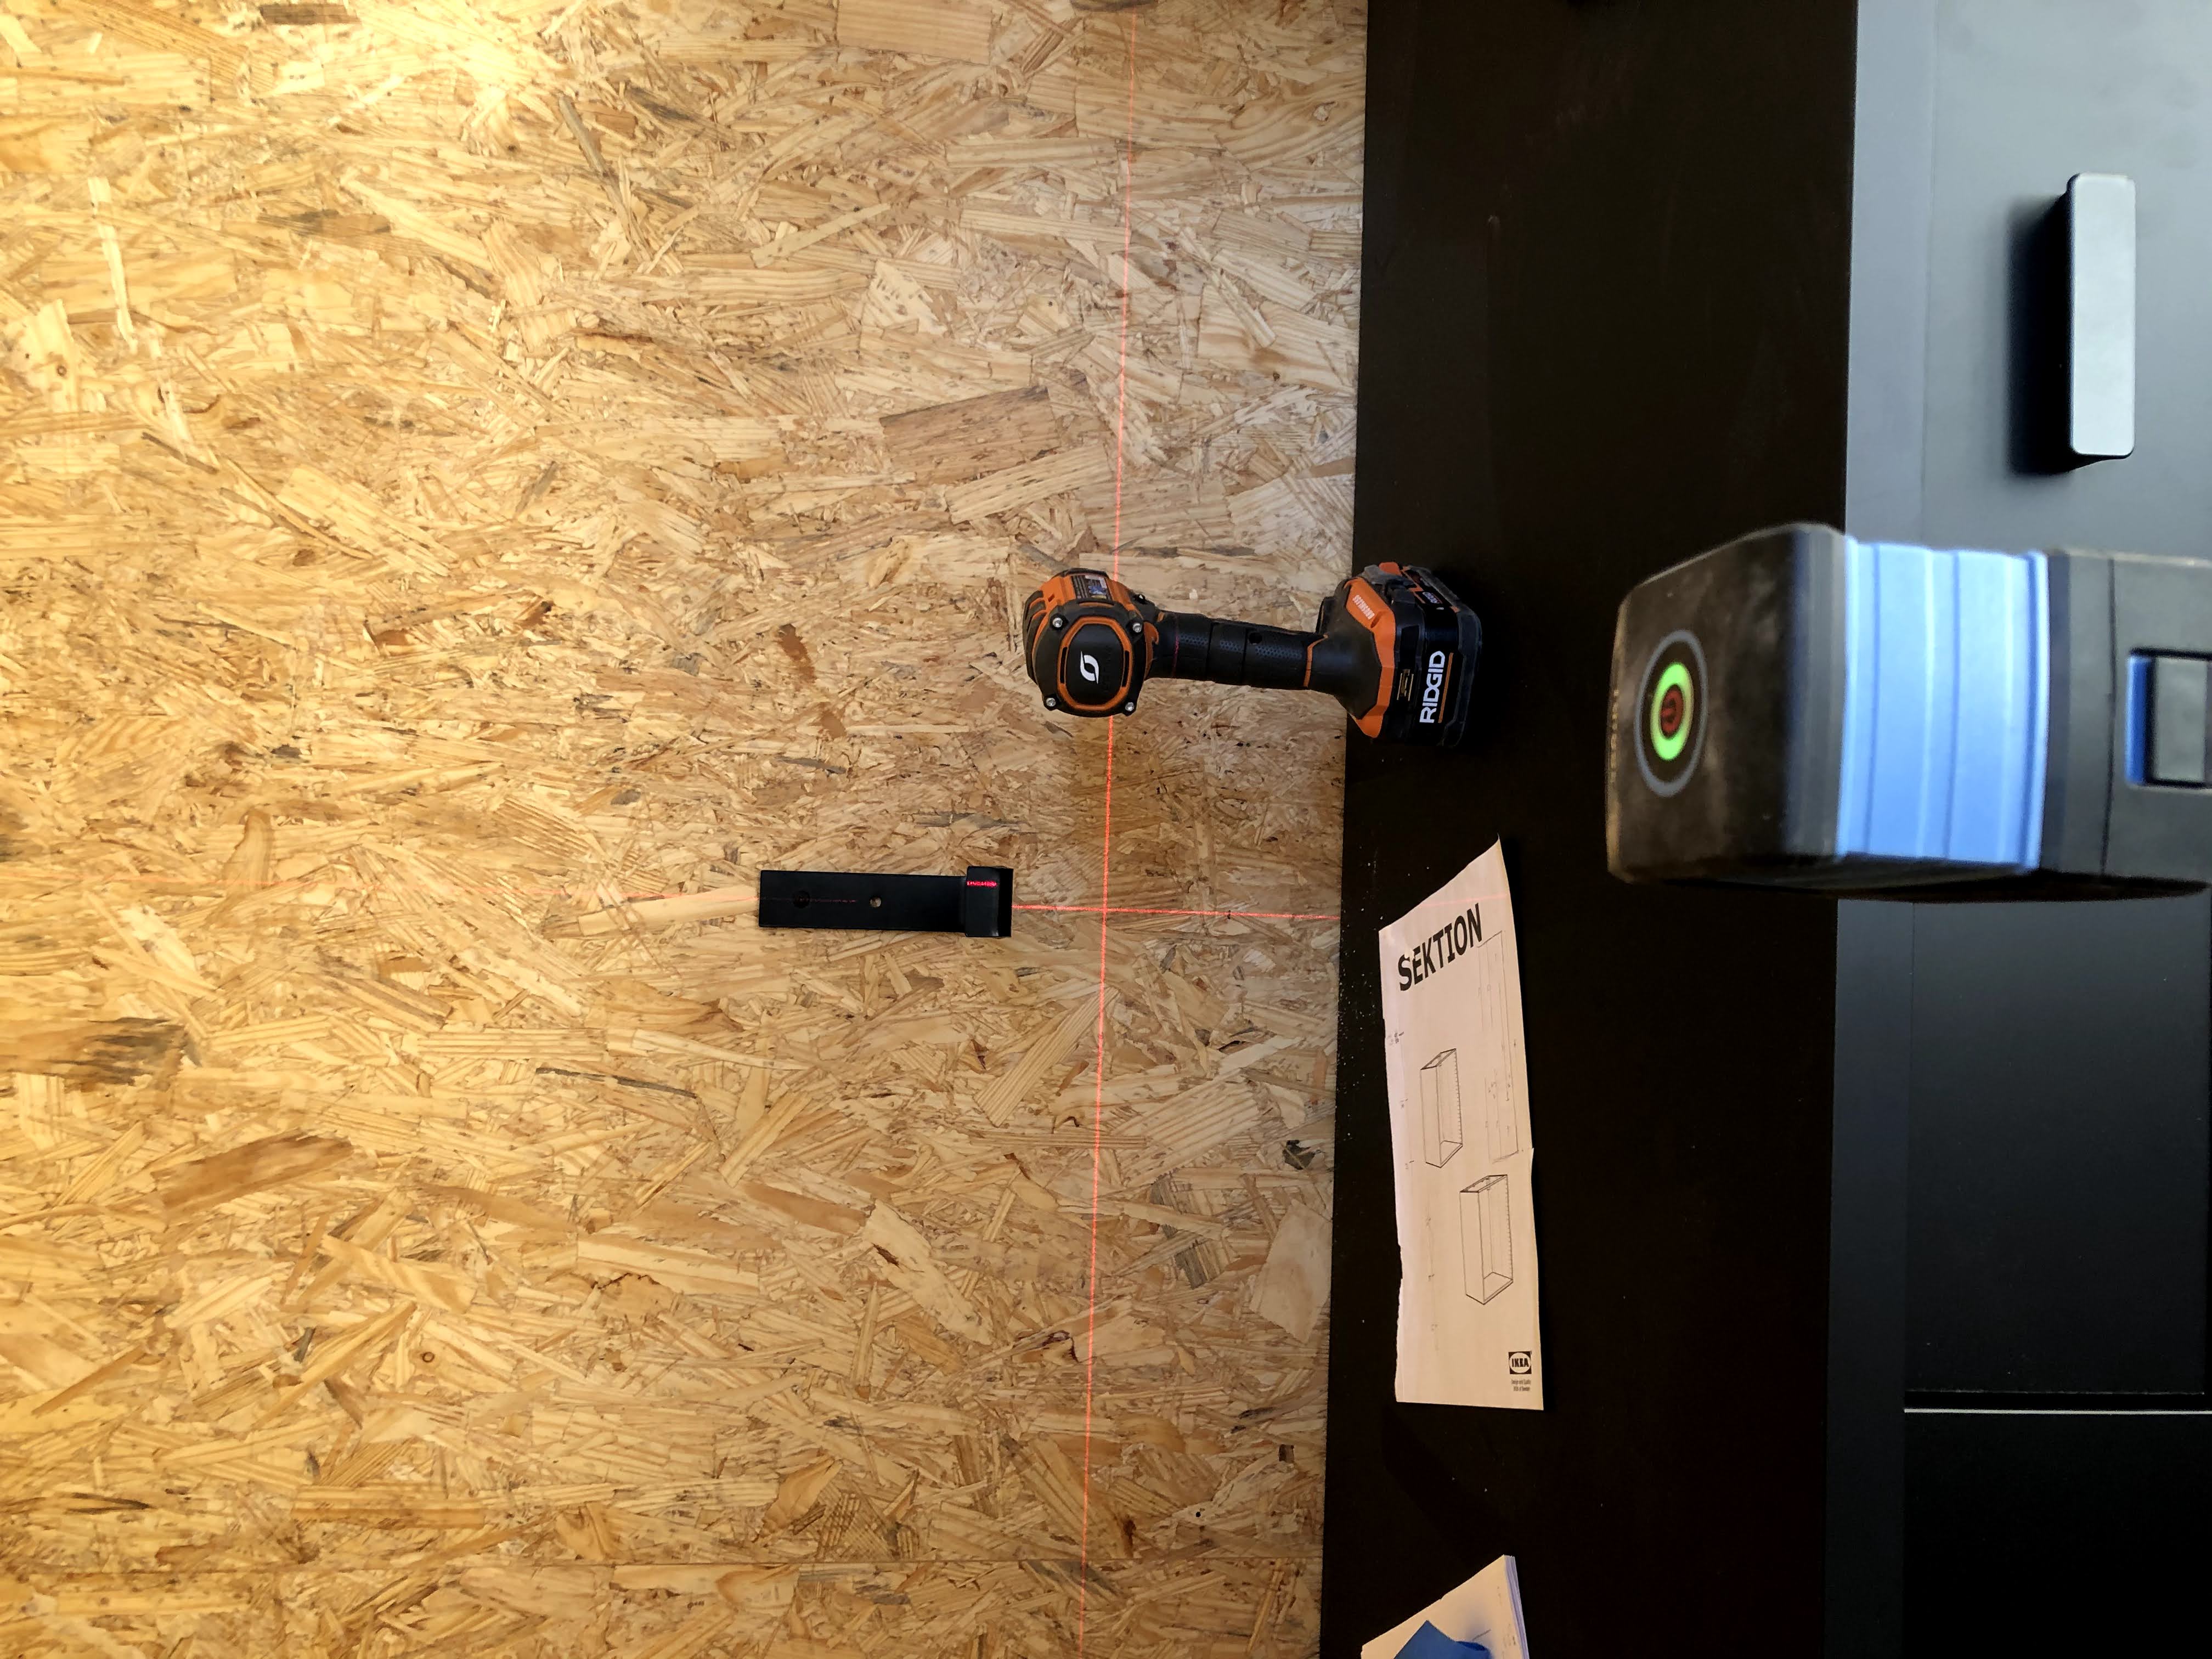
Mounting the brackets was pretty straightforward after I
calculated the spacing. The laser level made this easier. It
really was a great investment.
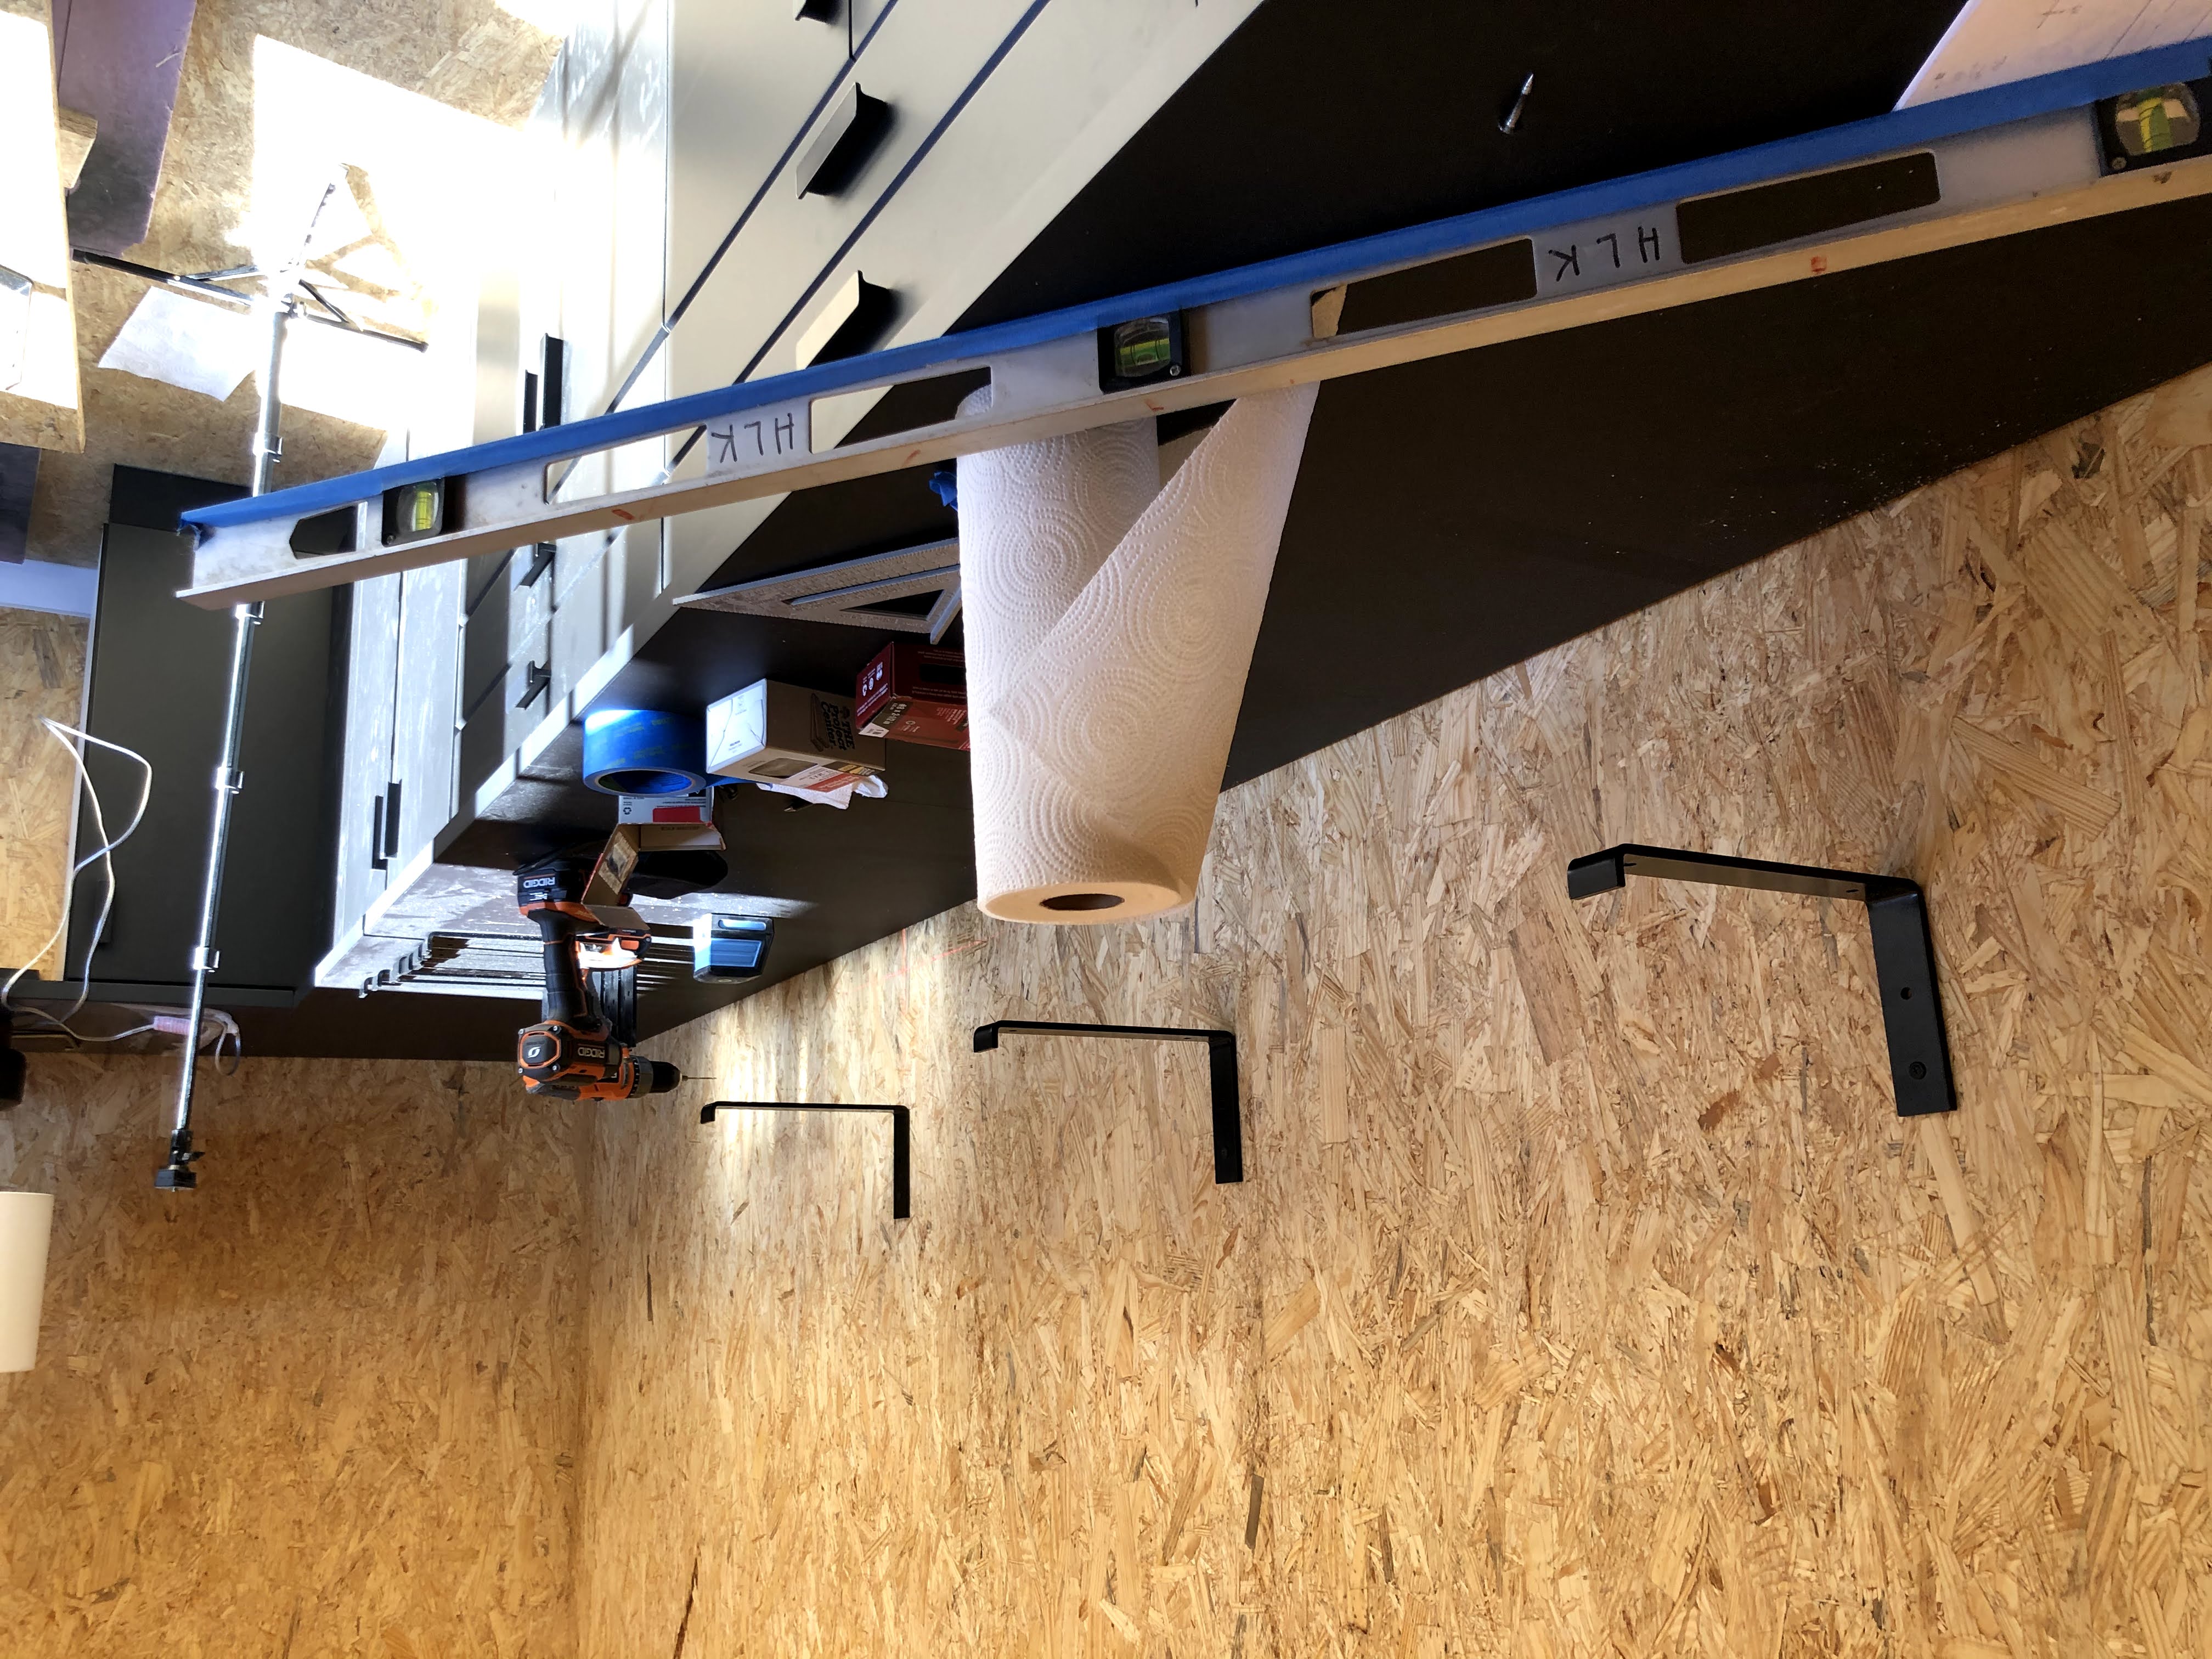
Based on the great suggestion from my wife, I went with a long, low shelf in the middle and then two higher shelves on either side. This gives me room in the middle for a giant painting (which I love), and room on either side of the countertop for a lamp, printer, etc.
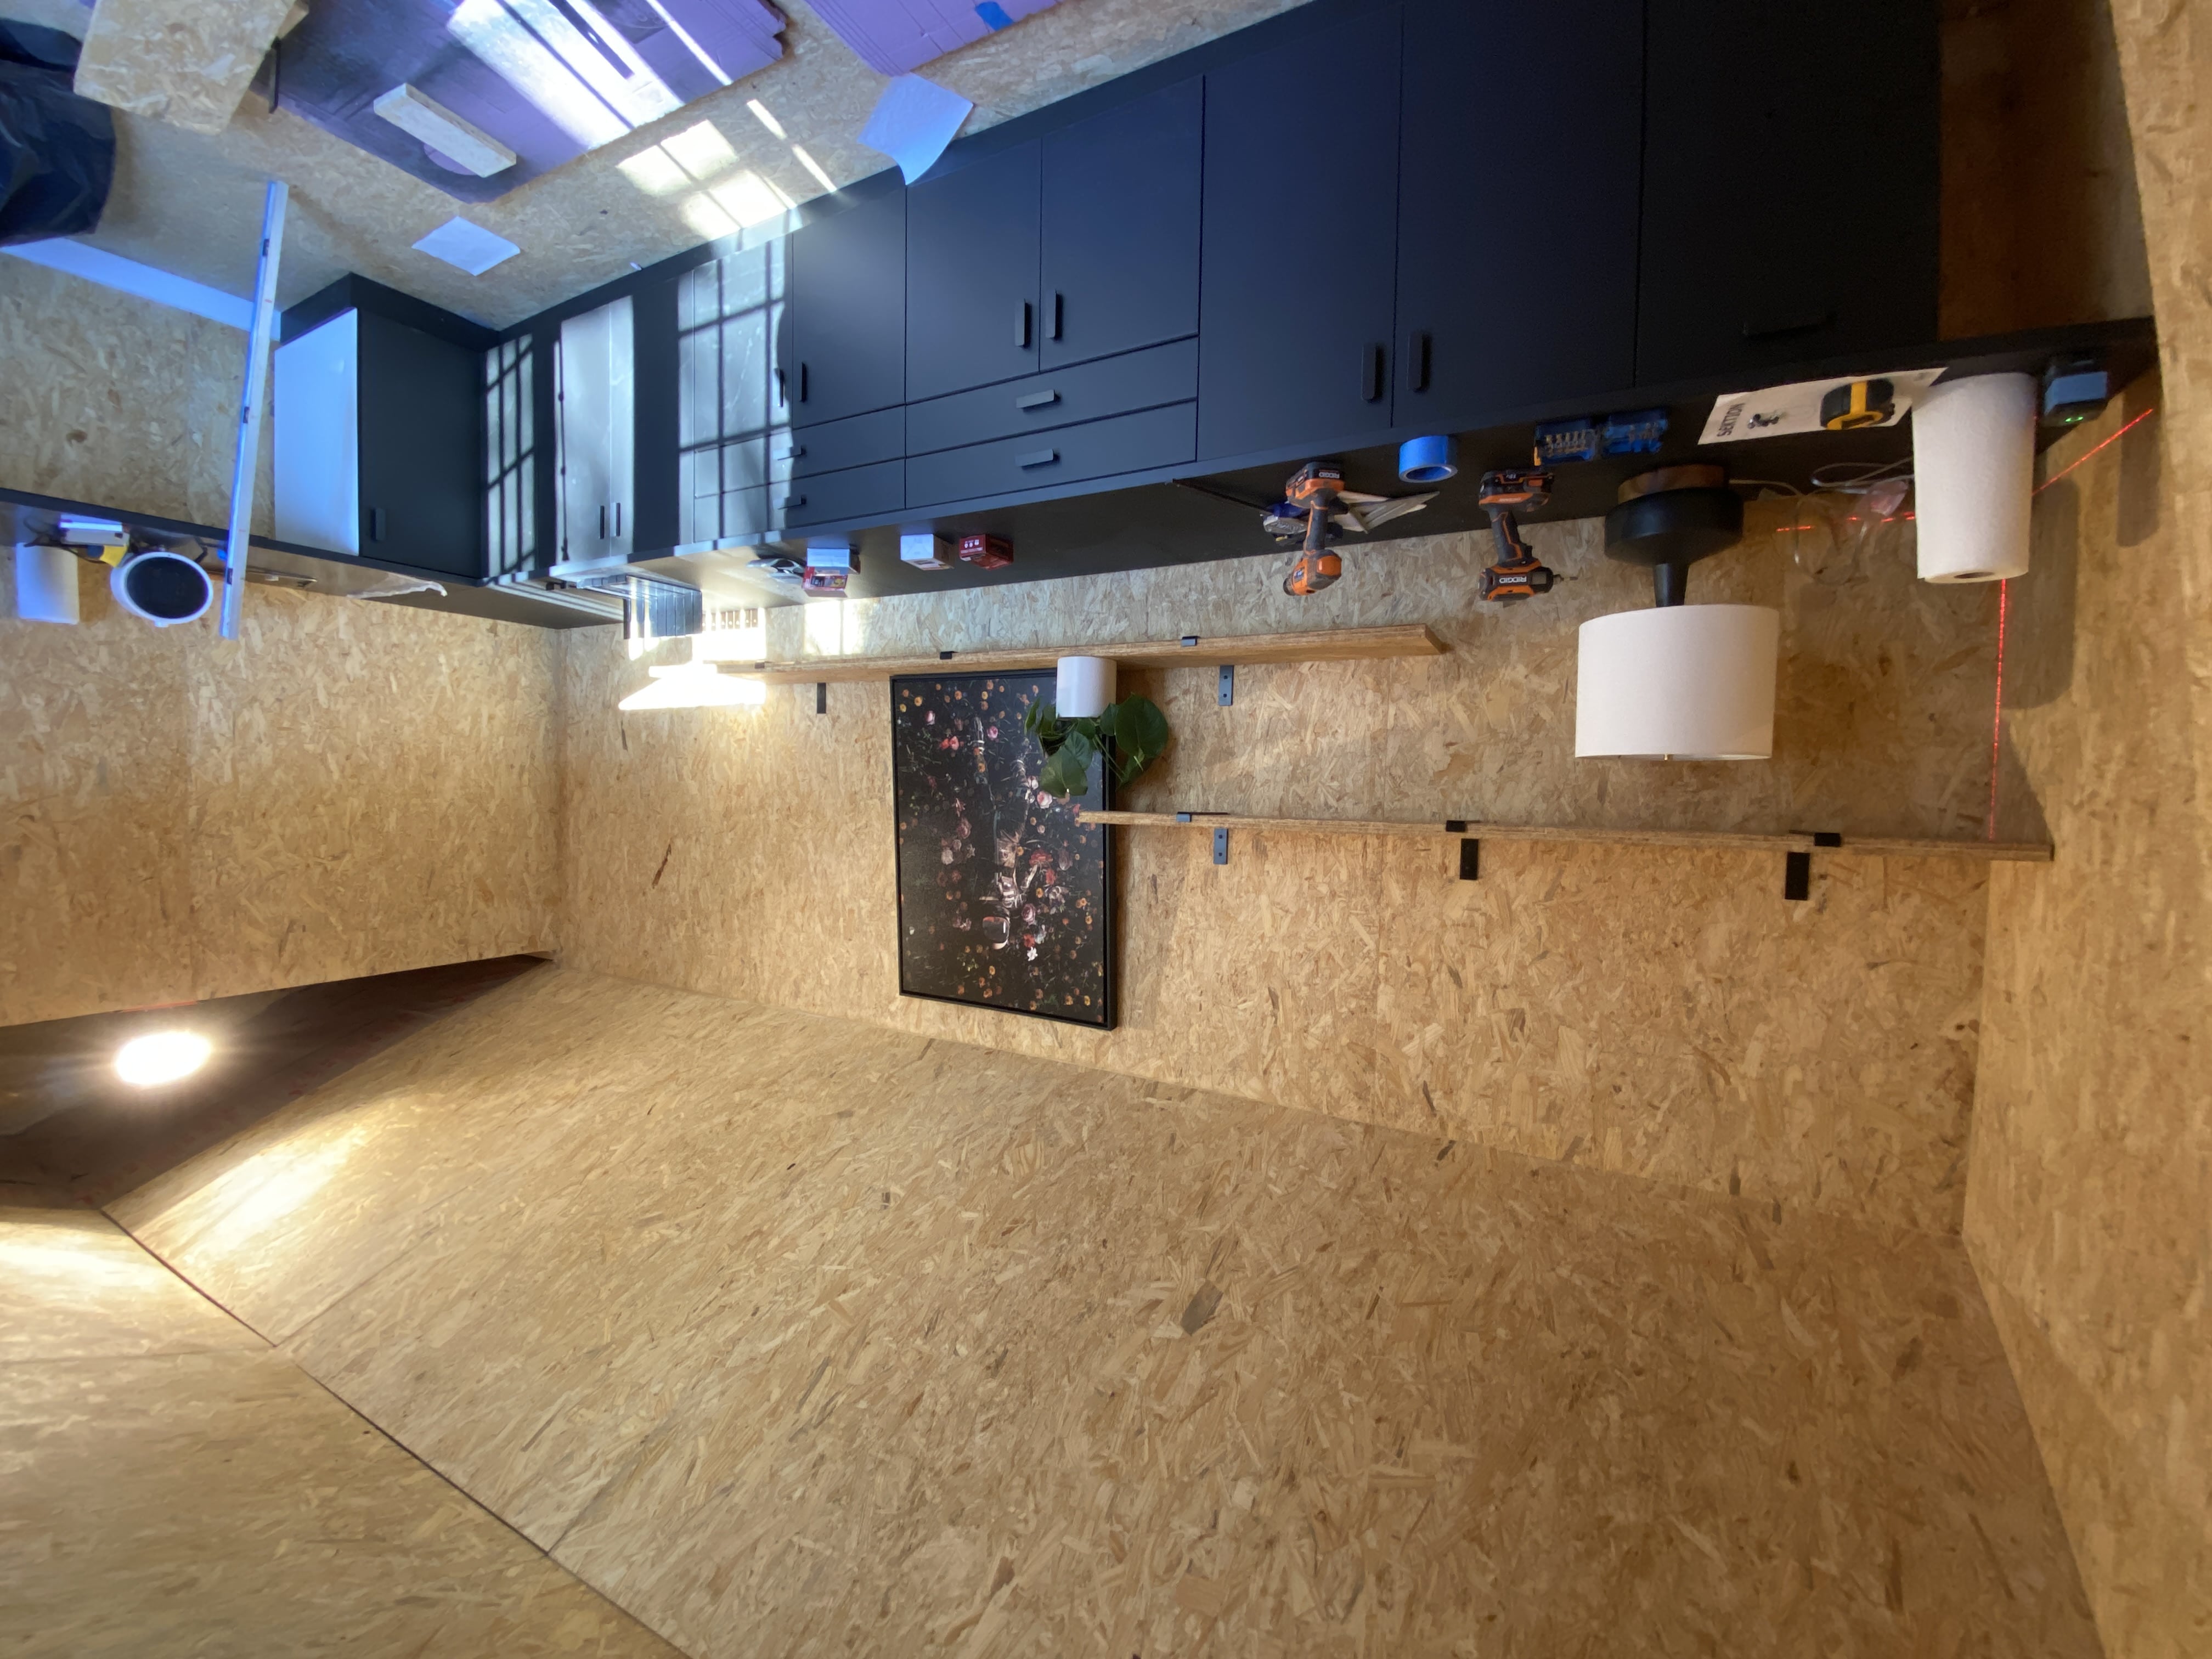
I'm super thrilled with how they turned out.
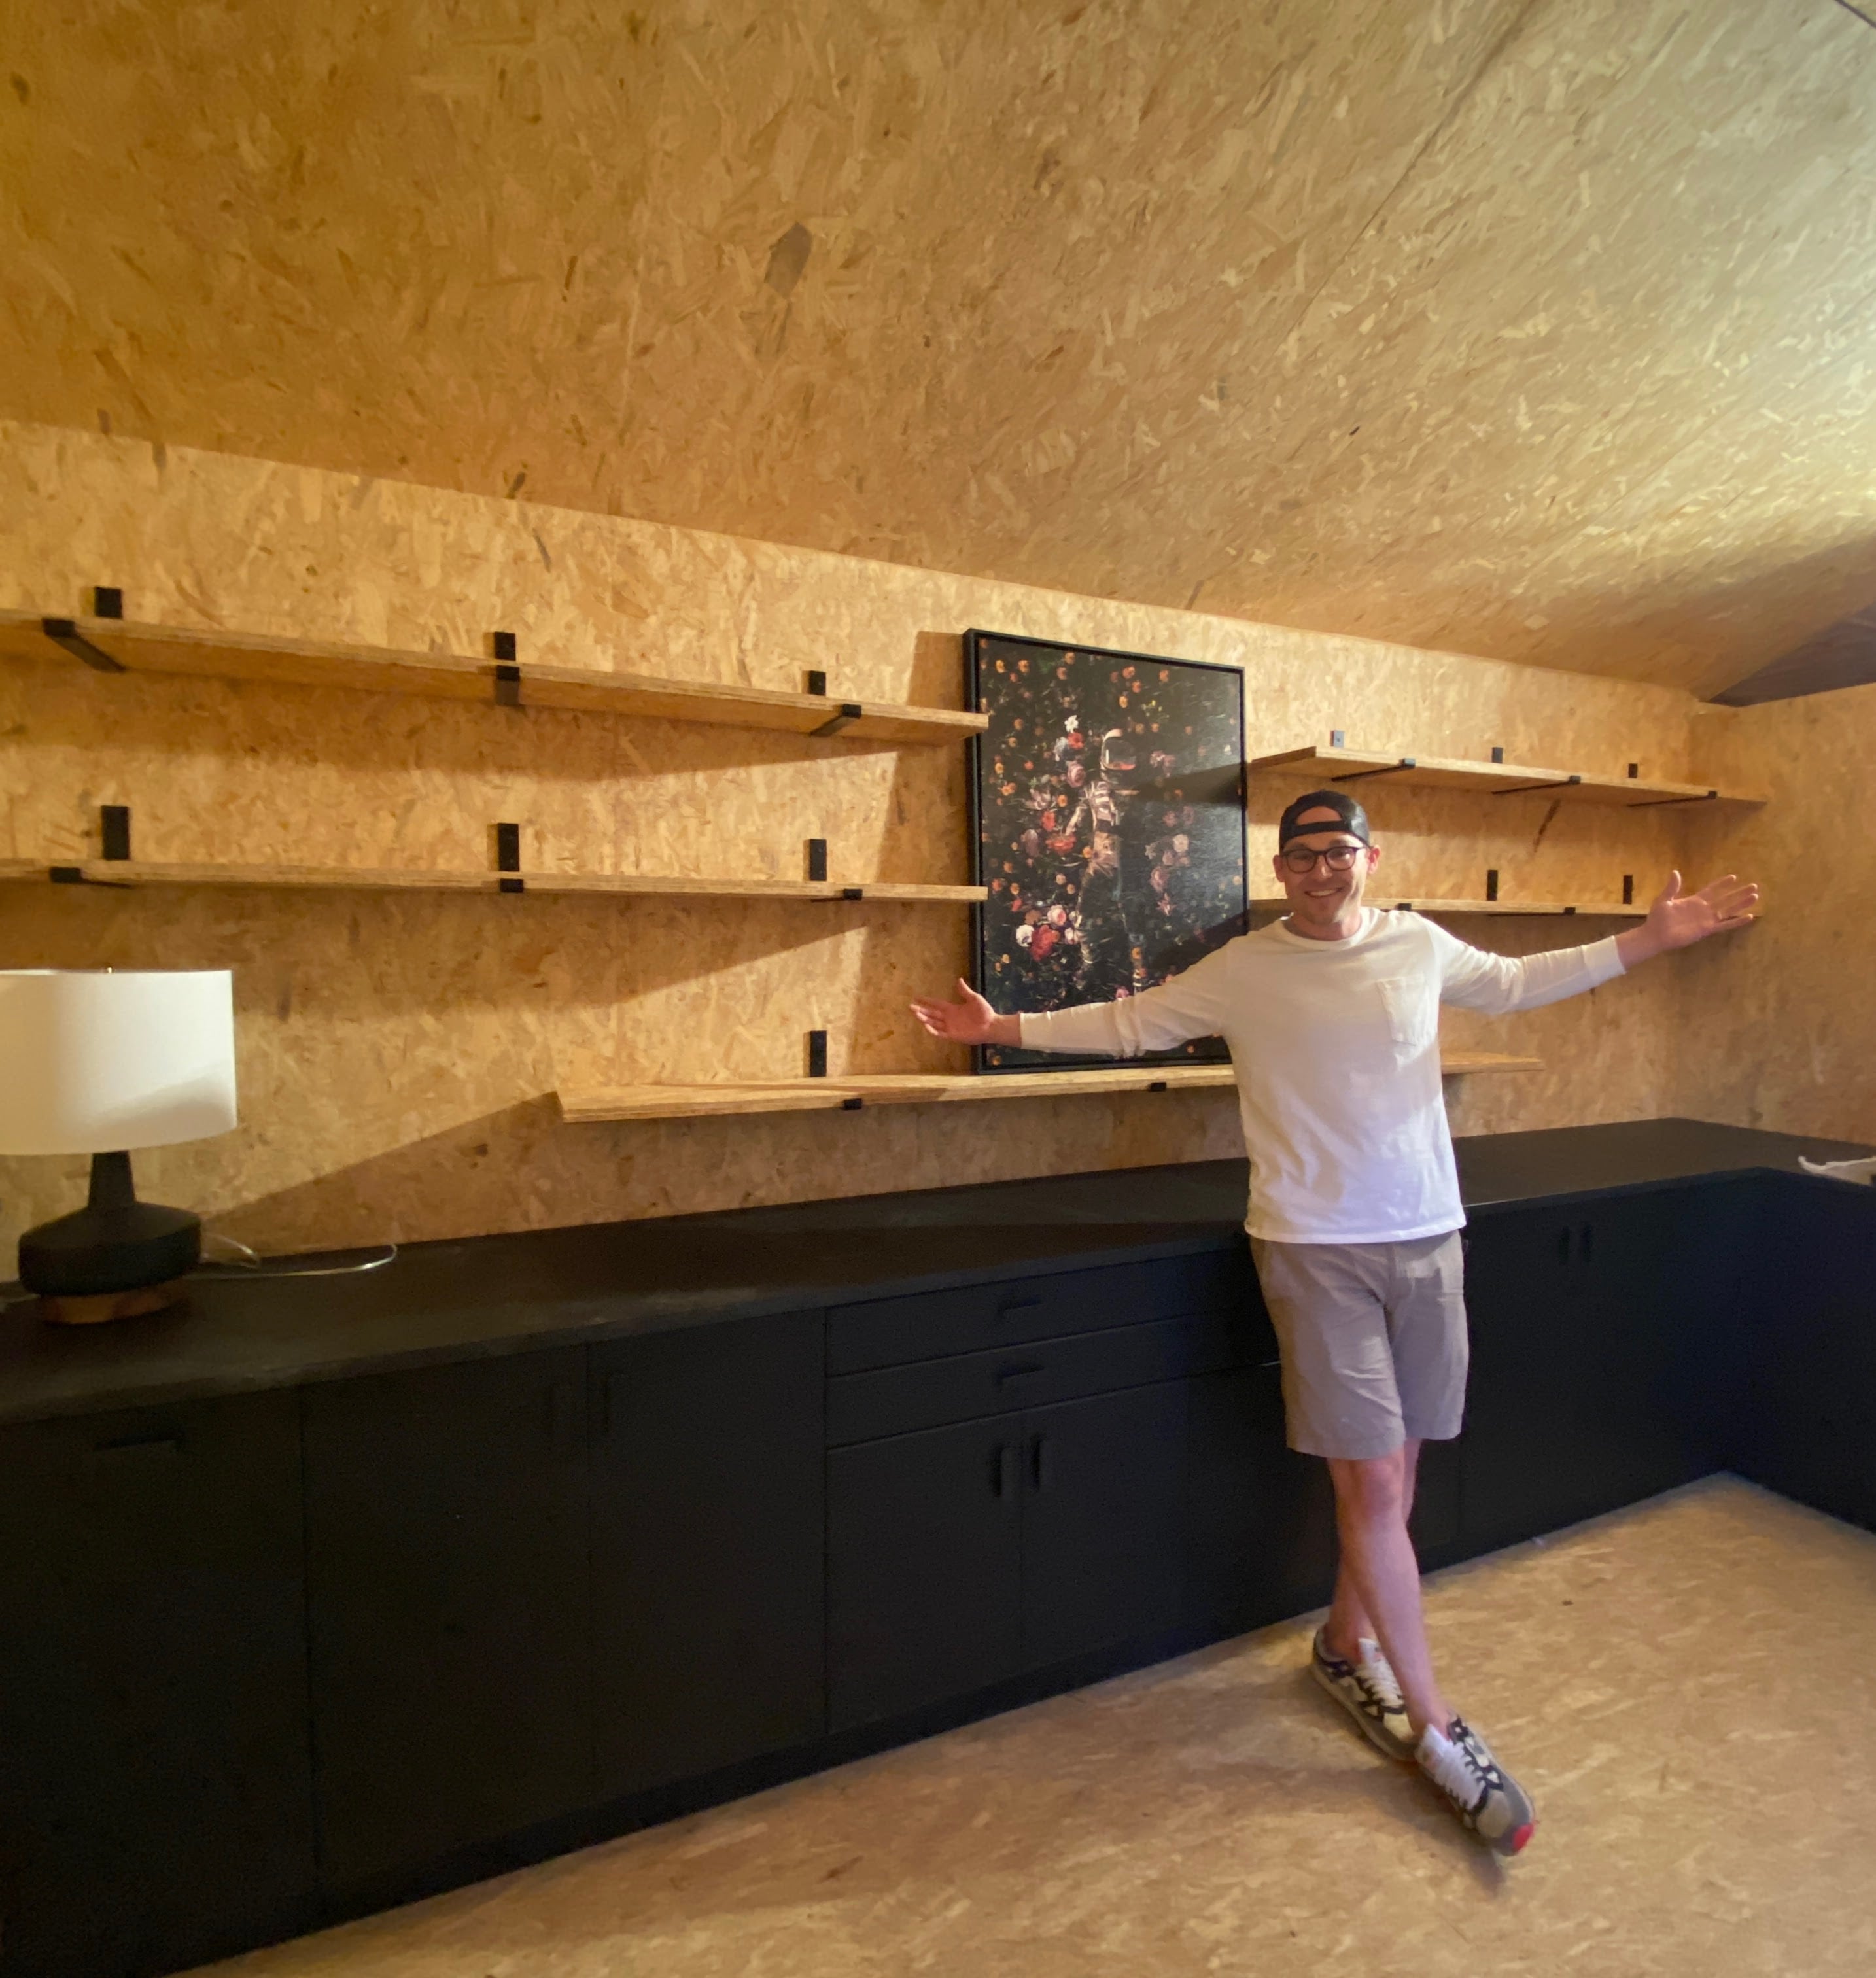
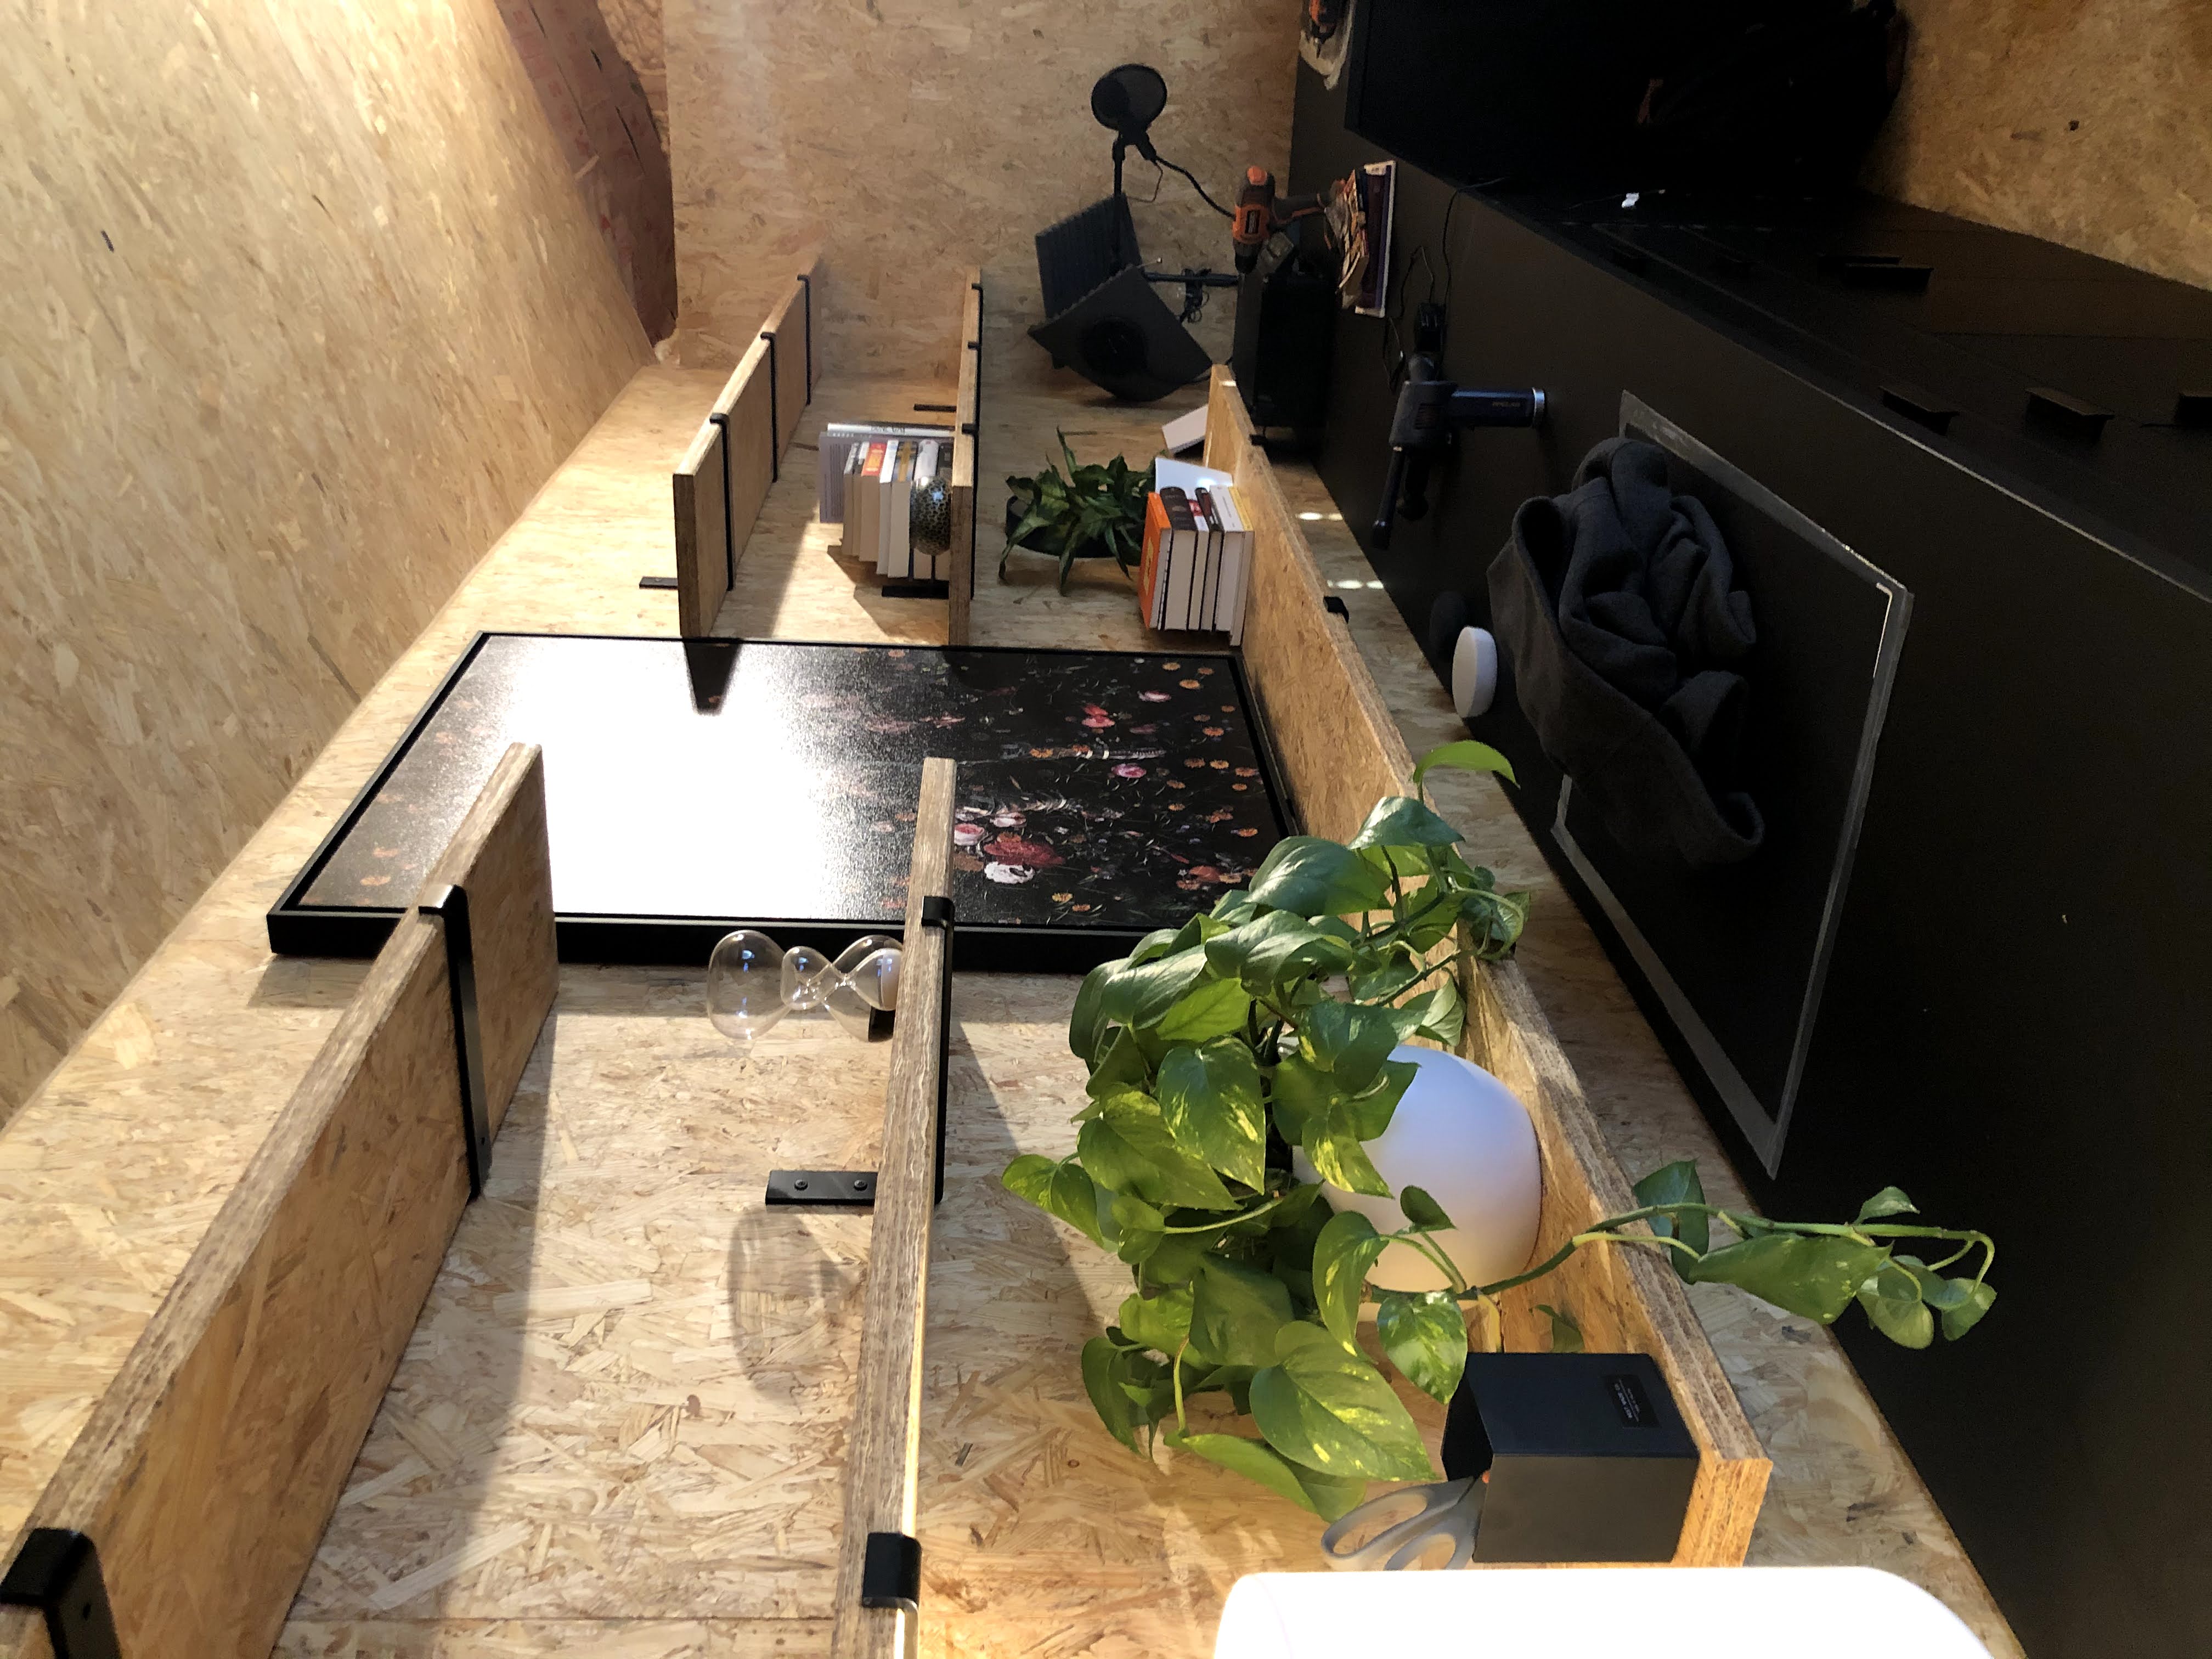
I'll be adding more plants and other things very soon. ## Move in Day! After a couple of months of working on it, the shedquarters was finally ready for me to move my desk in there. With the help of my wife, we got it all moved over and I am officially working in the shed now!
It's everything I had hoped it would be!

There are still lots of things to do, so there will continue to be updates, but most of what is remaining is cosmetic, decorating, etc. (Except for the main light.) ## More Coming... I'll keep updating this until it's done, so check back soon! There will continue to be a lot of pictures. You can also follow along on Twitter
About a month ago, I got a 10x20 shed delivered so I could build out a shedquarters office in my backyard. It's been a ton of fun (and work) so far! I'm going to share a lot of it on this thread over the next couple of months until it's done. (Also at https://t.co/qAXSKUZdyk .) pic.twitter.com/G1MOWBS777
— Aaron Francis ( @aarondfrancis ) December 1, 2020